I love re-using vintage kimono silk for new garments. I’ve used it for the Vionnet dress, my Deco Echo top, the jacket and over-skirt of my Japonisme dress, the Carte Blanche gown, the lining of my 1770s Lady Anne Darcy dress, my (as yet unfinished) 1770s jacket, the sash of my chemise a la reine, and a few other garments. Yep. I really love re-using kimono silk!
Here is how to unpick and prep a silk kimono for re-use.
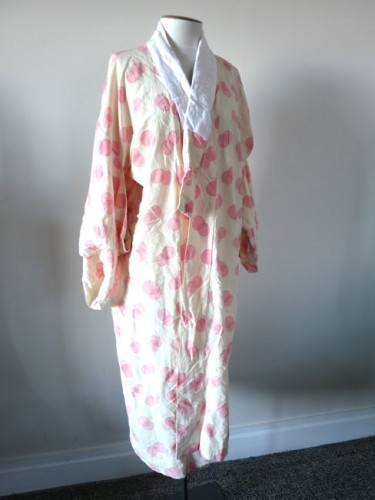
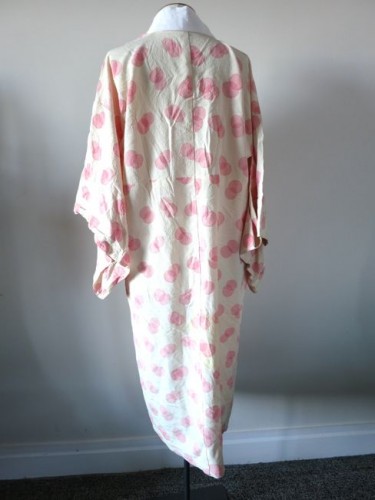
This time I’m working with a silk crepe under-kimono. You can tell it is meant to be worn as an under-layer because of the white collar cover. It is unlined, and calf length, but the process for pulling it apart is the same as for any kimono.
First, some basic things about kimono.
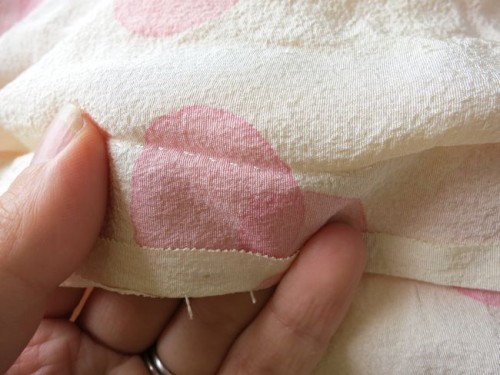
Kimono fabric is a special fabric woven to a narrow width, between 13.5″ & 16″. Kimono are constructed entirely of rectangular shapes, mainly in full widths of the fabric. In places where the kimono uses narrower widths, the extra fabric is just folded into the seams (just like 18th century dress construction!).
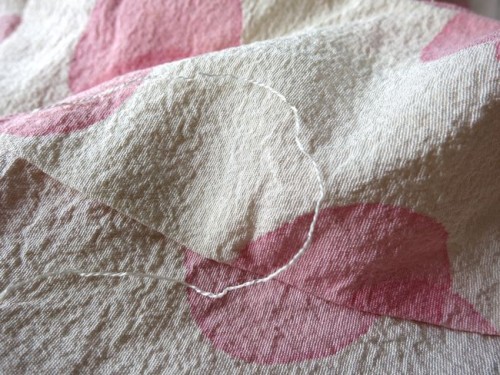
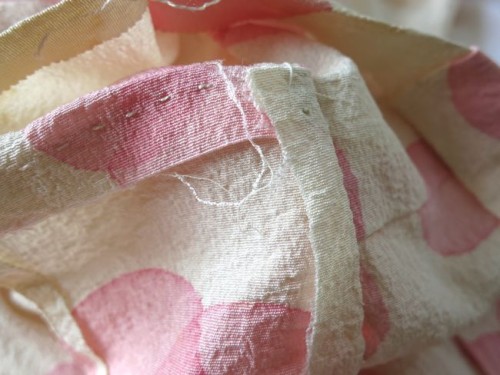
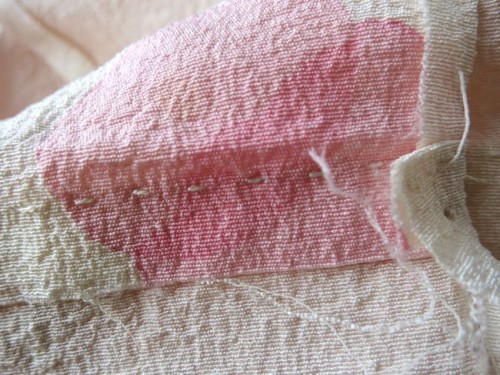
Kimono are completely hand sewn with silk thread, using running stitches, tacking stitches, and hidden fold stitches.
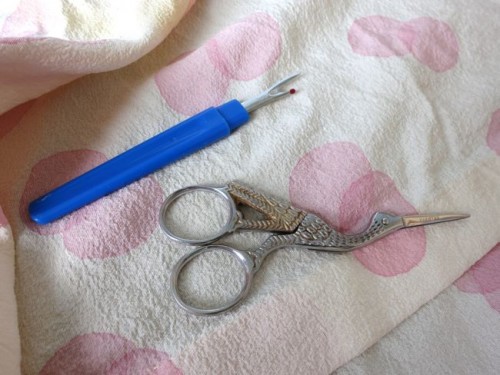
To pick the kimono apart, I use a seam ripper, and thread scissors.
Because the kimono is hand sewn, it’s easy to slip the thread scissors into a seam and snip some of the threads:
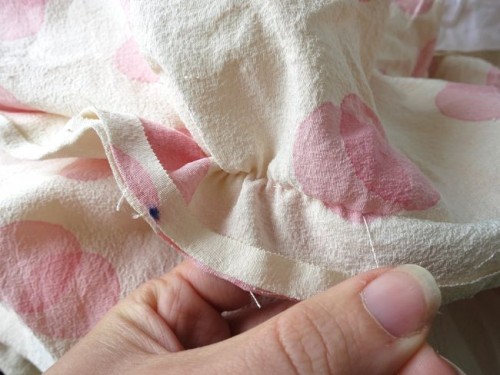
With the seam open, just keep snipping threads. Watch out for backstitching at the beginning of seams.
On seams with long lengths of running stitches, you can pull a length of thread, snip a few inches down the seam, and pull the whole thread out at once, gathering the seam as you pull, and then the gathers release as the cut thread pulls through.
When you have snipped and pulled out all the threads, you will have reduced the kimono to a pile of rectangles – and possibly a little bit of fluff and dirt and musty smell.
With most kimono the outer fabric will yield two very long full-width lengths that ran from the front of the kimono to the back hem, with a join down the centre back. There will also be two medium full-width lengths from the sleeves. Finally, there will be a number of narrower partial-width lengths that formed the collar. You may also have two short, narrow pieces from the inner opening of the sleeves, though these may also be in a contrast fabric.
Lined kimono will also have one or two different colours of lining fabric.
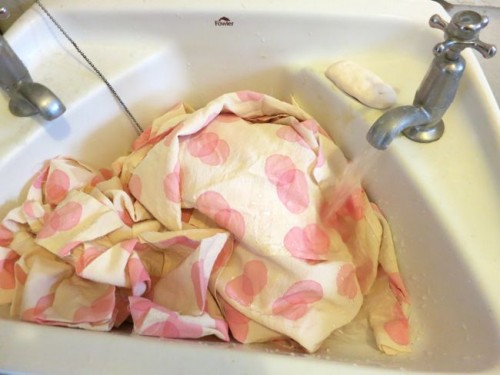
Time to wash it!
Because these are vintage silk, and may be using dyes that run, it’s important to wash your kimono pieces by hand, with COLD water.
It’s also important to wash the different colours of kimono fabric (outer fabric, lower lining, upper lining) in separate batches, just in case one batch has a non water-fast dye. As my fabric is non-lined, I don’t have to worry about that.
If your kimono is particularly dirty, or smells a bit musty add some gentle detergent or shampoo to your wash. A little vinegar also helps to get rid of a musty smell.
Gentle agitate your silk fabric the wash water. If the agitation releases a lot of dirt into the wash water, drain the water, rinse the fabric thoroughly, and then fill another batch of wash water. Repeat until the water runs clear, or until all the fabric is releasing is dye, not dirt.
When your fabric is clean and thoroughly rinsed, hang it out to dry.
When dry, press with an iron on a silk setting, and your fabric is ready to go – time to turn it into something gorgeous and new!







That’s so cool! Where do you get your kimono?
I get my kimono at the Asia Gallery, a fabulous Japanese import store in Wellington. It’s where I got Murasaki the dress form, and they gave me all those Japanese patterns I blogged about a few weeks back.
Where do you recommend starting? From the collar or the hem, or somewhere else? I have a vintage furisode which is in great condition except that the main body of the lining – not the coloured sleeve and hem parts – has completely discoloured to a blotchy tea-brown and I want to replace it while doing as little damage to the kimono itself as possible.
Hmmmm… I usually start from the CB of the collar, but it really doesn’t make any difference. If you just want to replace the lining, I’d recommend taking out the lining only, and using it as a pattern for a replacement lining.
I remember being able to lay out and match up the pattern of the purple flowered kimono I made my first corset out of. In fact. I’ve probably got pictures round here somewhere.
Here we go
Kimono: http://dianavilliers.livejournal.com/334027.html
Unpicked fabric: http://dianavilliers.livejournal.com/334245.html#cutid1
Corset pieces: http://dianavilliers.livejournal.com/335563.html
Thanks Sarah!
That was fun! Watching someone do all the fiddly bits. I do like your crane scissors – most appropriate!
Thank you! The crane scissors were a present from my parents earlyish in my sewing career. They must be over 15 years old now, and need to be sharpened.
What a great way to pick up some wonderful fabric! I’m always on the look out for vintage silks so will definitely head over to Kilbirnie for a look. Thank you.
I was under the impression that as an animal based material (like wool), silk has a different PH level to plant based fabrics and therefore washing with detergent will cause the yellowing that you find on so many vintage garments. I’ve been using baby shampoo or a mild wool soap instead. Have I been over cautious?
Oh dear! I’ve enabled you!
No, I don’t think you have been over-cautious. That’s why I recommend a gentle detergent. I use an organic, PH neutral detergent for all of my washing (and an organic, PH neutral shampoo), so I’m able to use it for silks without thinking about it. I don’t know if baby shampoo is any better than regular shampoo. It’s not something I have any experience with 😉