

Hoorah! We’re to that point – the point where you get to put your boning in your paniers, and they really starts to looks like a real garment.
When we finished the last step your panier bag was fully assembled, and looked like this:
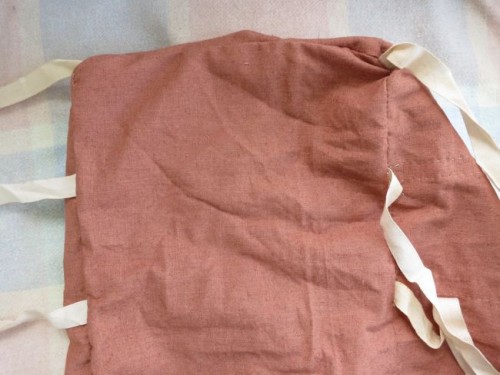
Panier bag right side out with front and back ties
Now we put the hoops in.
First, from the inside, measure along each hoop channel, and make a note of how long it is.
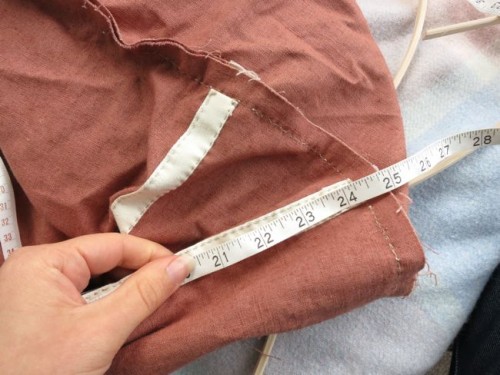
Measuring my hoop channels
They should be 24″ long, but it still pays to check. Mine all came out at 24 1/4″, so that is how long I cut each of my pieces of boning/hooping:
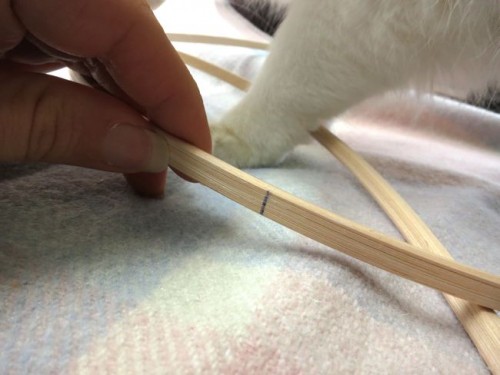
Marking my cane hooping (with bonus Felicity leg)
You can use all sorts of things as hooping (I covered them in my materials list), but the most common, easiest to work with and most period accurate are cane and wire hooping.

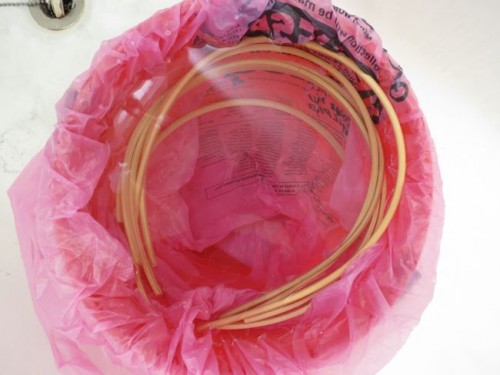
My cane hooping
I’m using cane hooping, which is the most period accurate, and is quite easy to get (available at a lot of craft stores, and online), and very affordable (mine cost lest than NZ$8). The one drawback to cane is that it needs a bit more prep than wire hooping, but it’s really not much work.
First you need to cut your cane or other hooping. I cut mine with large pruning loppers, which gave me a nice crisp end, without too much fraying and splintering. I’ll still sand the ends later to smooth them out.
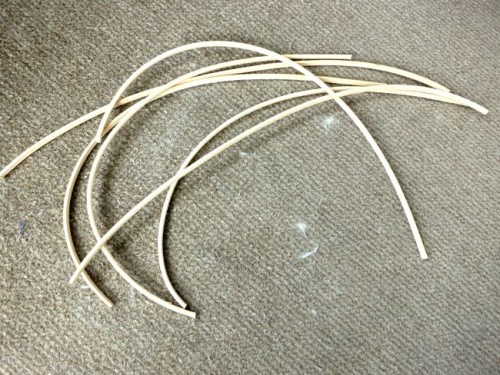
My cut hooping
Then I need to soak my cane and curve it to the right dimensions. You’ll notice that the cut piece of cane hooping in the above picture all have different curves, which would make for very funny looking paniers. To get an even curve, and to make your cane easy to work with and less likely to break later, you need to soak it.
Fill a round bucket that has a similar curve to the outside curve of your paniers with hot water. Gentle curve and force your cane pieces into the water, and wedge them down in the bucket so they don’t spring out:
The curved pieces of cane wedged in the bucket
Leave them like this for at least 12 hours, so that the water fully penetrates the cane. When you take them out they will be softer, and nicely formed into even curves:
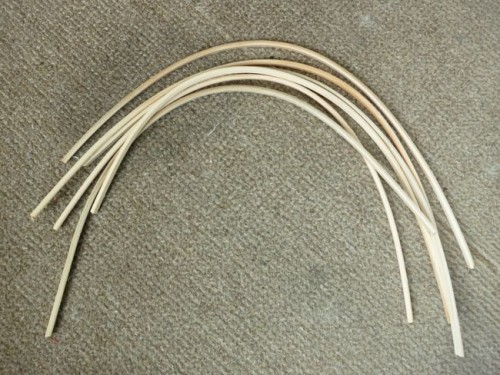
The damp cane, all nicely and evenly curved
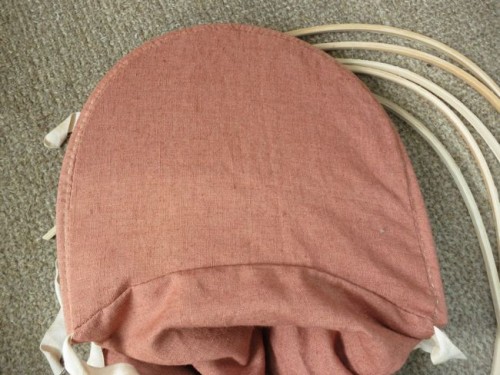
Give the ends a quick sand so that they won’t poke you or the fabric, and then you can begin inserting them into your paniers. Work with your paniers right side out, reaching through into the inside. Insert the lowest hoop channel first.
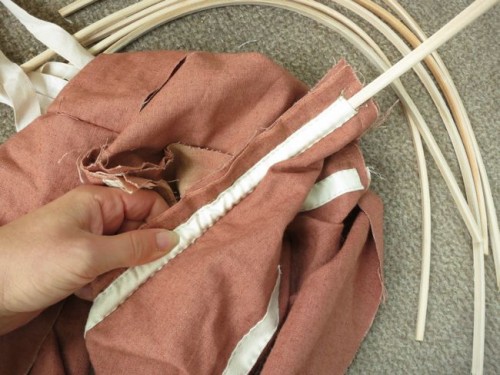
Sliding the cane hooping through a hoop channel
With the hoop mostly in you can work from the outside, sliding the bulk of the fabric around the hoop and forcing it to the end of your channel
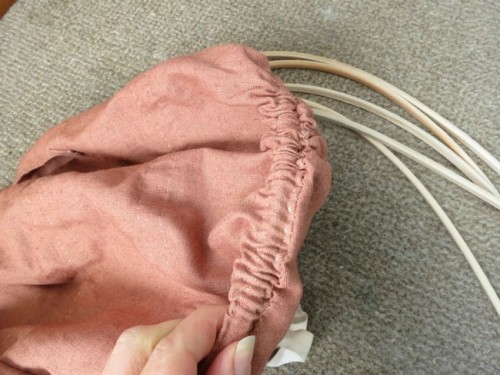
Sliding the fabric around the hoop
There is the first hoop done!
First hoop done
Now repeat this with the next hoop up:
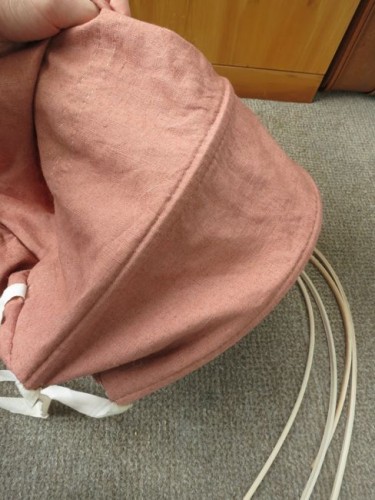
Hoop two done
And the final one:
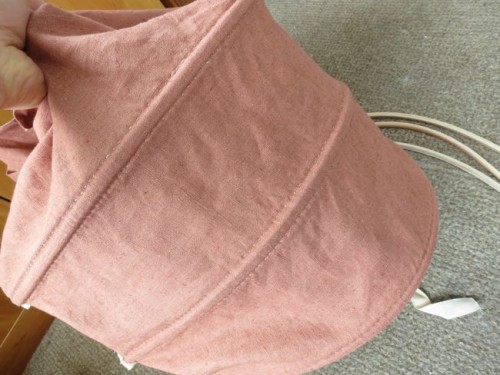
Hoop three done
Repeat for your other panier, and that’s your hooping done, and there is only one step to go for a finished set of paniers!
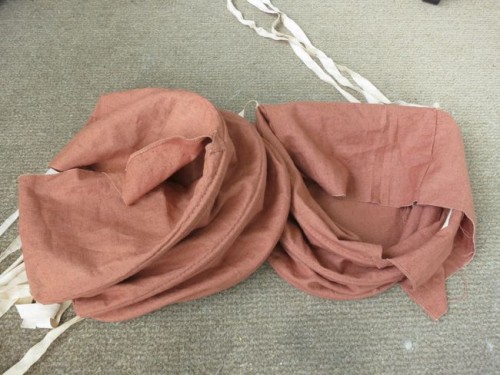
Two fully hooped/boned paniers
Very cool. I dated a wood-worker/carpenter for awhile, and I loved listening to him talk about manipulating wood. You make it sound simpler, though. (maybe he was trying to impress) Either way–it is so cool to watch this take shape.
Very interesting to see the process!
I found the pattern under Archives. After printing out the 36 pages (wish I had a lap top I could set up in my sewing area) I am ready to start sewing. In two days I am giving a tour in my colonial dress, so I had better get started. Two mini side pillows just did not work.