
In my Absolute Beginners Sewing class we make drawstring bags, cushion covers with zips, and pyjama pants. Pyjama pants are an awesome beginners project because they are easy to make, are made from easy to work with fabrics, and everyone uses them – or at least knows someone who will (which is quite an important consideration in picking a class project!).
Beyond the ‘they work for everyone’ factor, I really like them as an intro to garment making, because they have just enough techniques to be interesting, without getting overwhelming, and they have just enough opportunities to work on fit, without getting bogged down in fit.
Also, even an absolute beginner can make a pair of pyjamas from start to finish in 5 hours or less. Results!
This is the process for pyjama pant making I like to teach to beginner sewers, because it (as mentioned) covers enough techniques, without cramming in too many, allows us to think about fit and alterations, and the process of assembling a garment, is quick, and almost fool-proof. It doesn’t follow a specific patterns instructions, because I feel it’s important that sewists understand that there are often multiple correct ways to get to an end, and you just have to figure out the ones that work for you.
My process doesn’t include pockets, because I hate the feel of them in pyjama pants.
Right, so let’s go make some pyjama pants!
Fitting:
Start with a pyjama pants pattern. I prefer patterns with side seams, like the one I am using, New Look 6321. You can certainly use a pattern without side seams – just skip the step where you sew the long outside seam.
If you are really adventurous, you can even use an old pair of pyjamas to create a pattern.
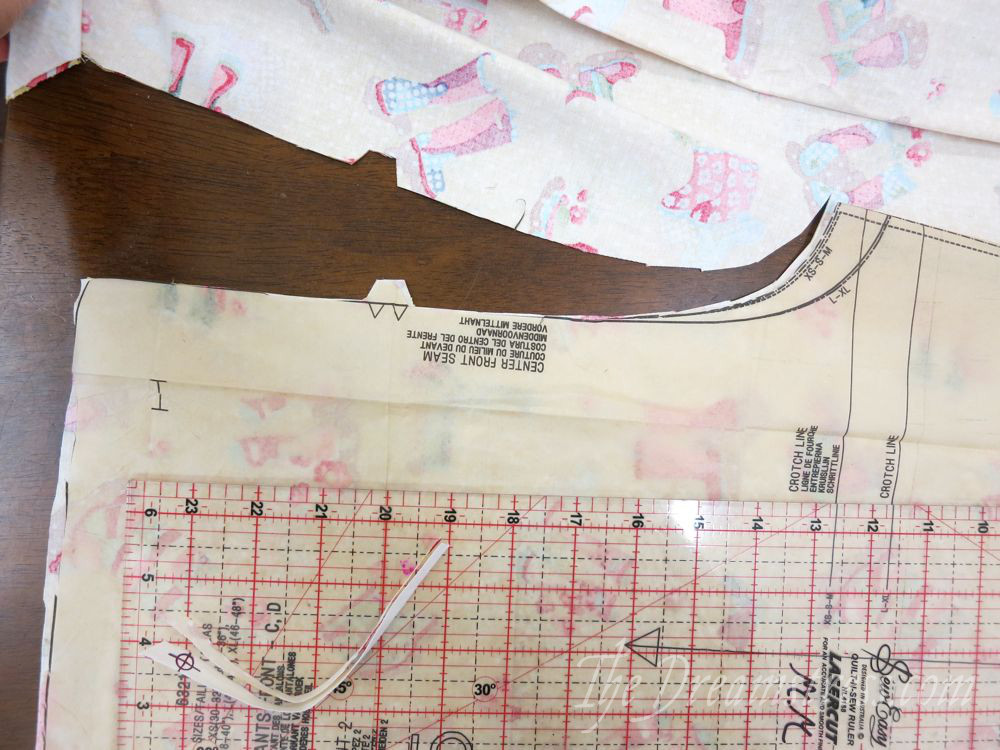
Consult the back of the pattern envelope to determine which size you should use. Choose based on your hip size. If in doubt, measure across the pattern pieces at the hipline (just before the curve of the crotch seam) to check the actual measurement of the pattern – don’t forget to subtract seam allowances, and remember that you will need 4-6″ of ease for movement and comfort.
Now, check your pattern for things like length. Hold the pants front piece up so that the top of the pattern piece matches the very bottom of your ribcage. The hem end of the pyjamas should just trail on the floor. If they are too long, shorted by folding up on the ‘lengthen or shorten here’ lines. If they are too short, add length from the bottom end (pyjama pants are quite loose, so you can safely lengthen from the hem rather than at the lengthen line).
Cutting:
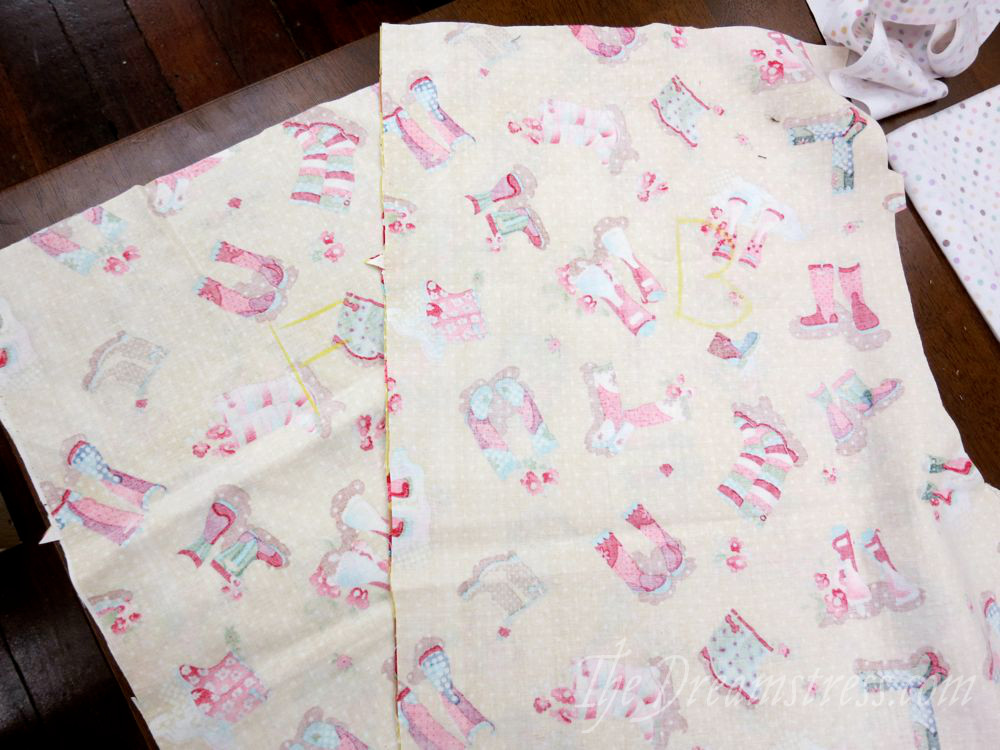
Fold your fabric right side together, with the selvedge edges matching.
Lay your front pattern piece out on the fabric, with the long, straight outer edge along the edge of your fabric. This is a more frugal use of fabric, as it keeps the bigger piece along the central fold of the fabric.
I like to use pattern weights (in this case, large quilters rulers) to keep my pattern pieces spread out and weighted down, because it is faster and doesn’t damage the pattern piece, but you can pin if you prefer.
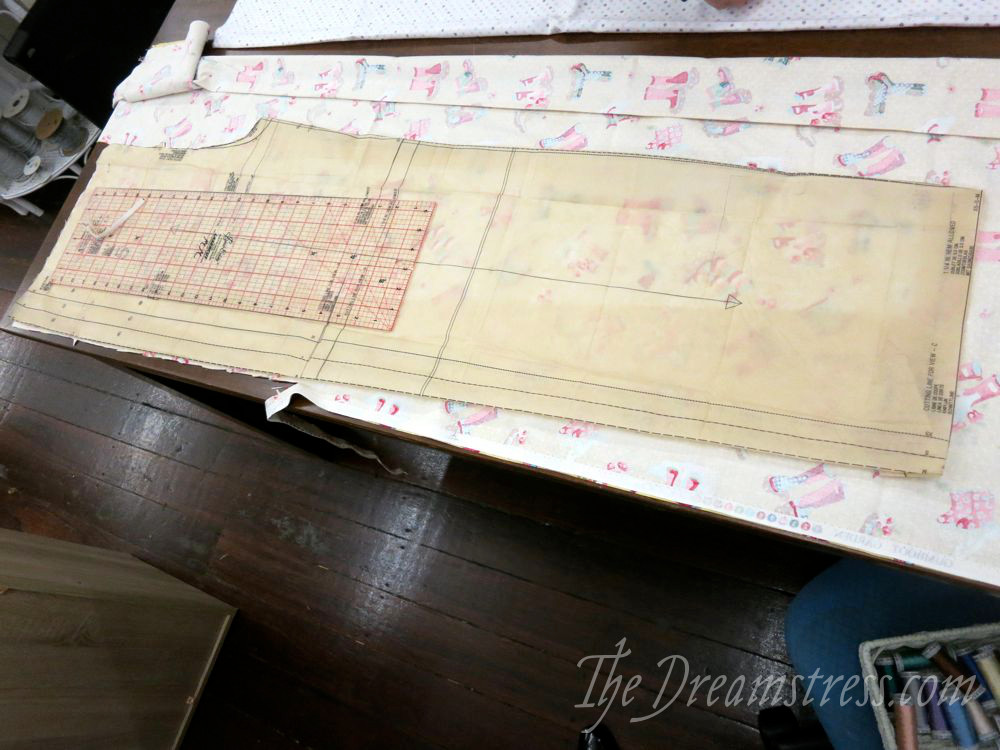
Laying out my front pattern piece
Measure from each end of the grainline marked on the pattern piece, out to either the selvedge edge of the fabric, or to the central fold, making sure that the grainline is exactly parallel to the selvedge/central fold.

Measuring the grainline, making sure it is 7.5″/19cm at each end
Grainline is important: If the grainline doesn’t run exactly straight on your pattern your pants may twist around your legs and hang oddly.
When you are sure that your grainline is running straight down the pattern, you can start cutting. Before you begin cutting, note the little triangular notches marked on your pattern. They are used to match the different pattern pieces as you sew.
Cut your notches OUTWARDS, as little mountains, rather than cutting them inward. If you cut them inwards you will have only .5cm seam allowance where they are cut, and you can’t let out the seam if they are too small.
It’s unlikely to matter with pyjama pants, but I really recommend making a practice of doing this as you sew, so that you can let out garments if they are too small, don’t fit you properly, or if you grow and want to let them out later on, so you can keep wearing them.
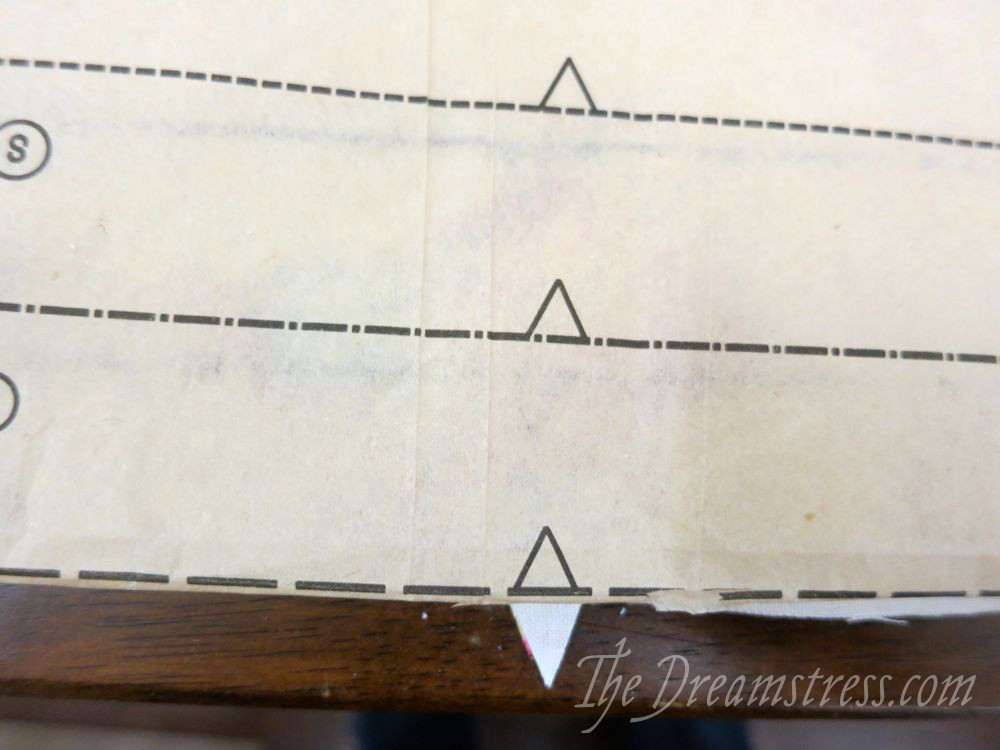
Where you have a double or triple notch, you can just cut across two or three notch widths:
Cutting a double notch
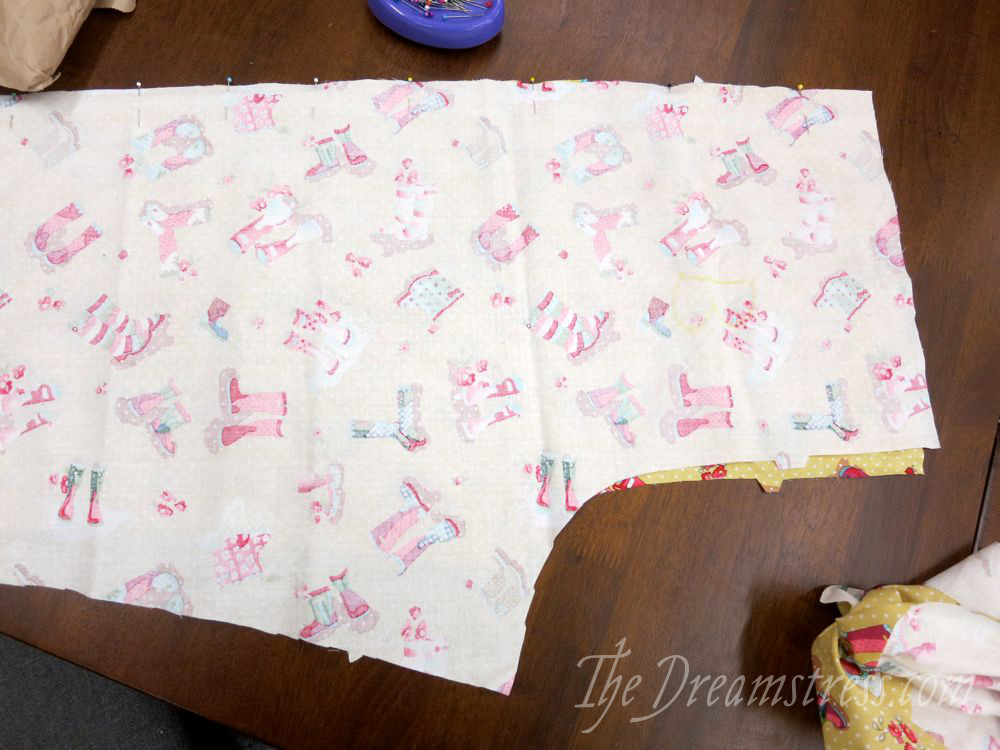
When you are done cutting your front, lay out your back piece just as you laid out the front and cut it.
When you have cut both pieces, mark the WRONG side of both front pieces with an F, and the wrong side of both back pieces with a B.
The marked fronts and backs
Sewing the legs:
Match your right front piece to your right back piece along the long, straight outer edge (if they don’t match, you have a left front and a right back, or vice versa, so just switch your front piece for the other one, and they will). Your notches will match up.
Pin the edge. Pin so that the top edges match exactly, and any differences in cutting hang off the bottom hem, but so that you can sew from the bottom up (you should almost always sew skirts and pants from the hem upward). You’ll have to think about how your seam will be heading into the sewing machine to get this right:
Pinning your long side seams
Pin with the heads of your pins hanging off the edge of the fabric: this makes them much easier to remove as you sew, and holds the fabric more securely. You can adjust the edge as you pin, to make sure every part of it matches exactly.
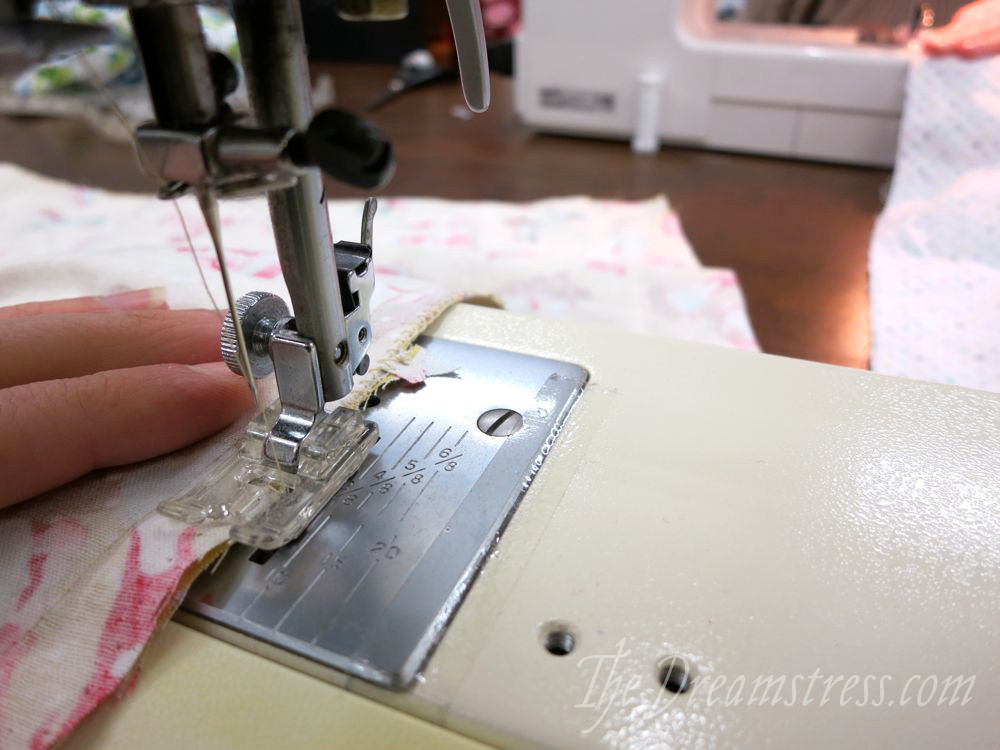
Sew using a 1.5cm / 5/8″ seam allowance, unless your pattern is an unusual one that uses a different seam allowance. Your stitch length should be a standard 2/2.5, depending on your sewing machine.

Sewing with a 1.5cm/ 5/8″ seam allowance
With both outer leg seams sewn, pin your shorter inner leg seam, matching notches. Remember to pin so you can sew from the bottom up:

Pinning the shorter inner-leg seam
Note that the back of the pyjama pants are bigger than the front (just like your back is bigger than your front), so it won’t lie flat as you do this.
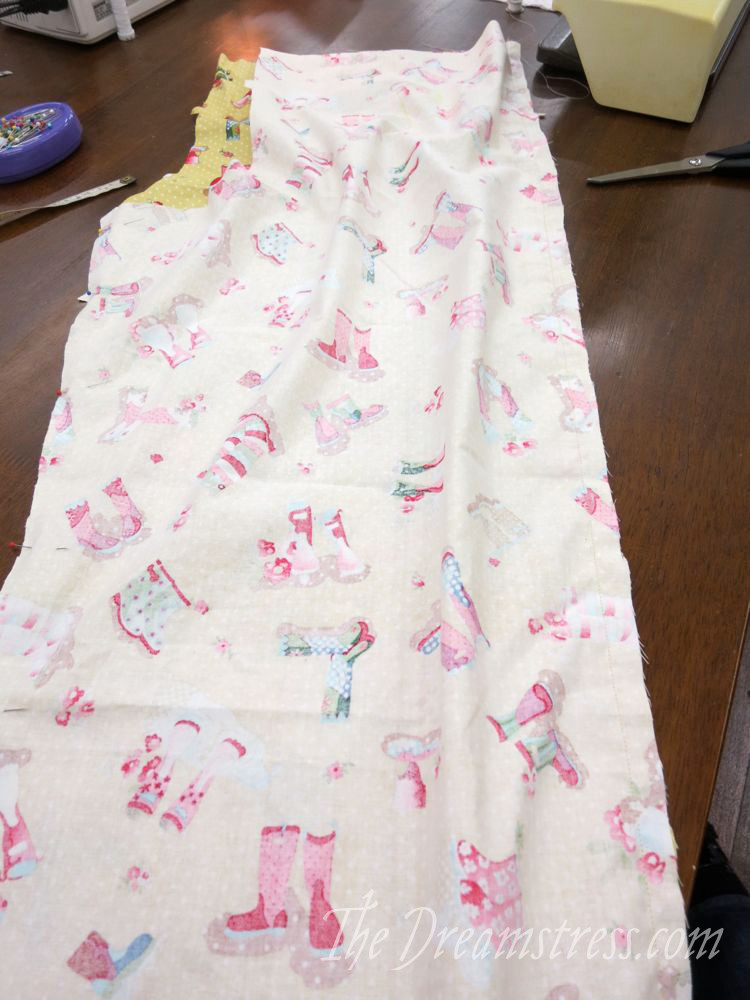
The extra fabric on the back of the pant’s leg
With both leg seams of both legs sewn, you’re going to be finishing the seams with zig-zag stitching. Set your sewing machine to a zig-zag stitch with a maximum height, and a fairly narrow width – I like 1.5, but it will depend on the machine.
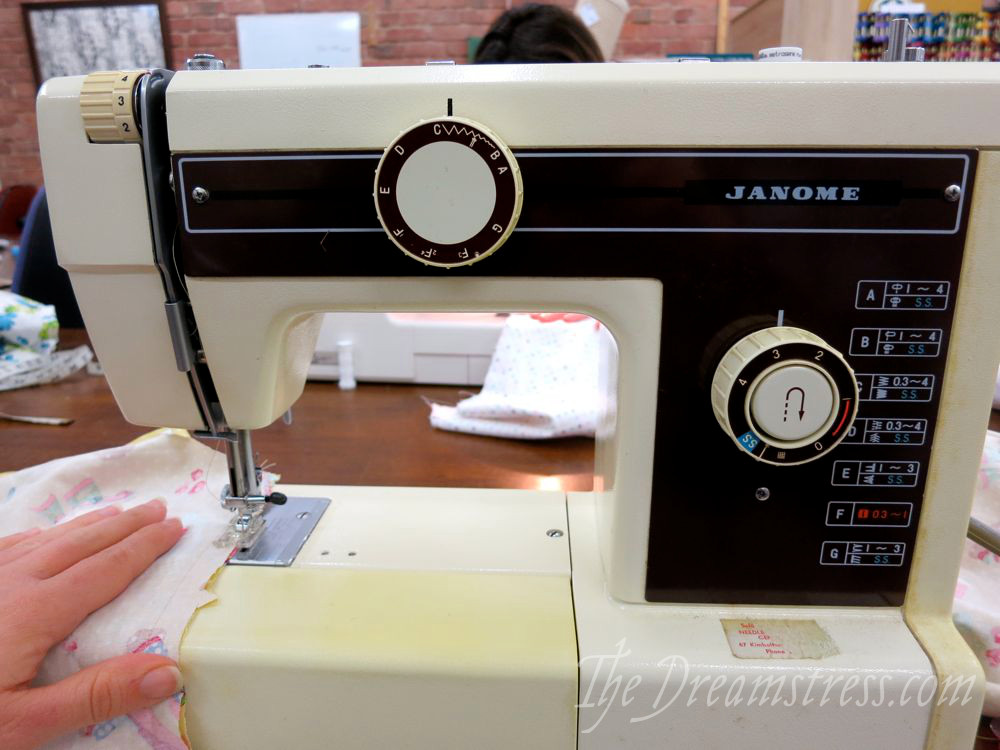
Machine set to a high, narrow zig-zag
Zig-zag finish all four sewn seams. Remember to place your fabric so that the zig-zag threads wraps over the outer cut edge.
Zig-zag stitching
You can zig zag over your notches, or cut them off as you come to them.
You’ll now have two finished legs to your pyjama pants, with seams sewn and finished with zig-zagging.
Assembling the pyjama pants:
When you sew, you almost always put right sides together, and match notches.
To put the two legs together with right sides together, turn one leg right sides out, but leave the other leg inside out, like so:
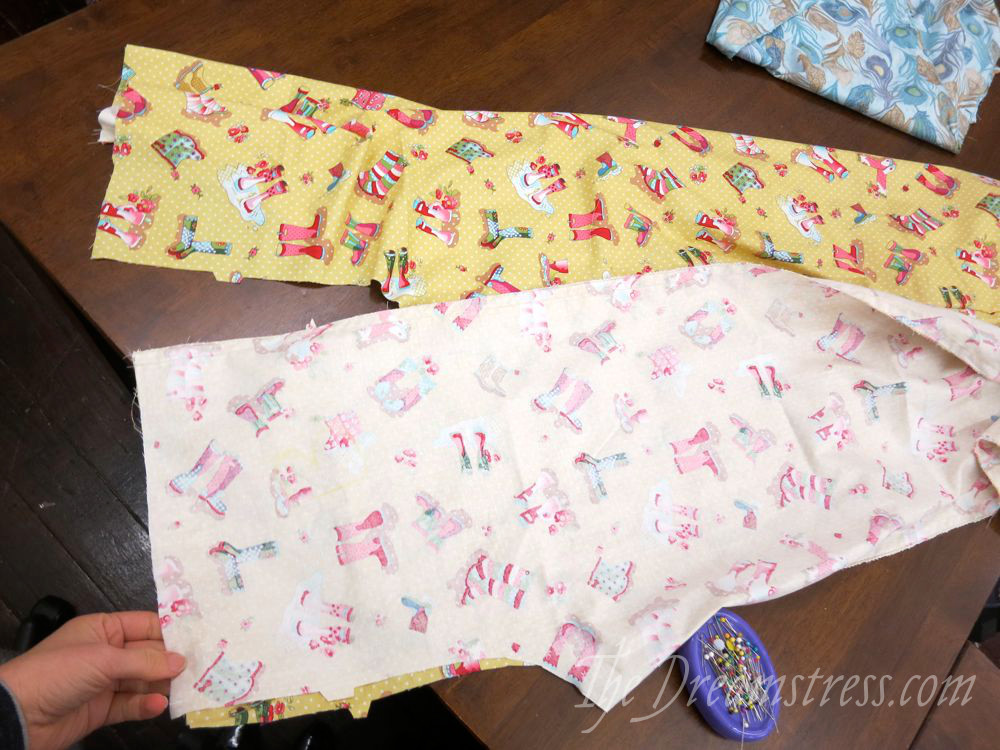
One leg right-side out, one leg inside out.
Now, stuff your right-side out leg into your inside out leg, from the top. Notice how the right sides of the fabric will match within the tubes of the leg.
Rotate your inner pyjama leg, so that your inner-leg seams (the ones at the bottom of the U of the crotch shape) match. Flip one seam one way, and the other the other, so that when you sew over them there isn’t so much bulk. Pin:
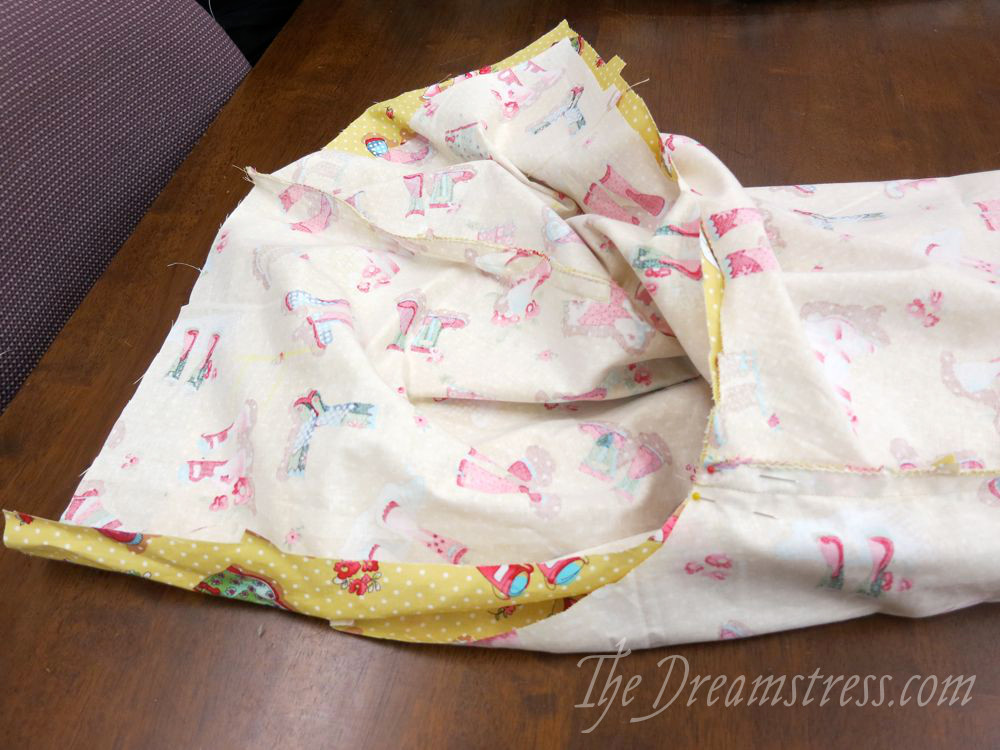
One leg inside the other, matching the inner-leg seam.
Matching notches, pin around the rest of the U shape. Don’t pin the straight top edge, as that will be your waist. Pin on the OUTSIDE of the U, with (as always) the heads of the pins hanging off the edge of the fabric.
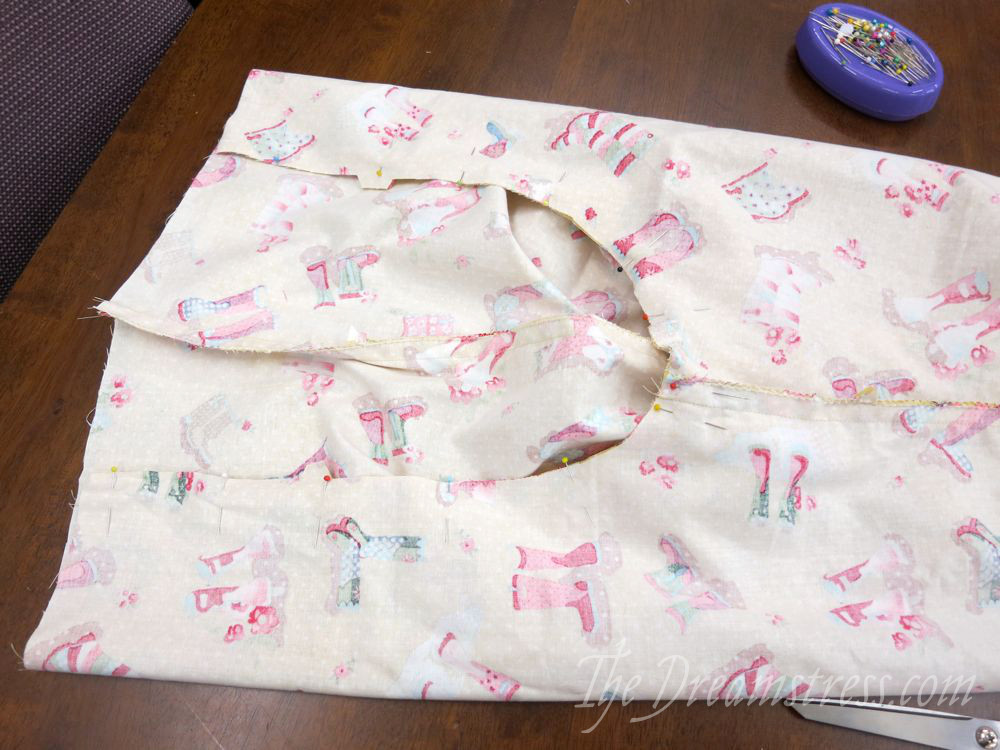
Pinning around the U shape.
Remove your box or table from your sewing machine so you can do free-arm sewing, and slip the other edge of the U under the free arm as you sew around the U shape.
Zig-zag the U seam, just as you did the other seams:
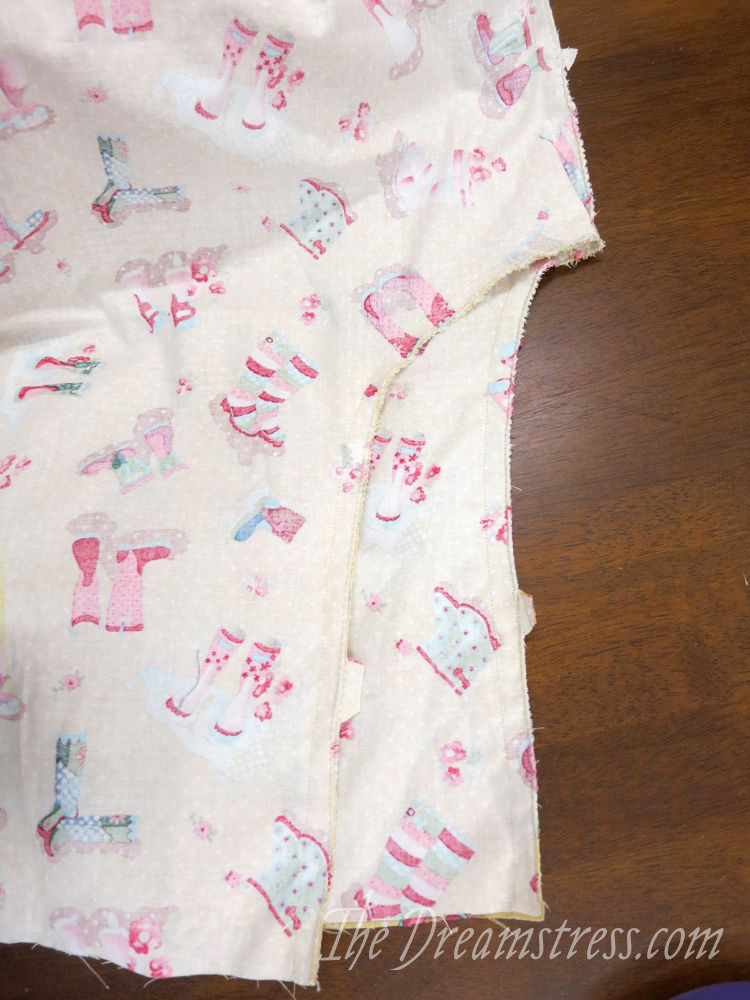
The sewn and zig-zagged U seam.
Now, turn the pyjama pants right side out, removing one leg from the other in the process, and you’ll have a pair of assemble pant shapes:
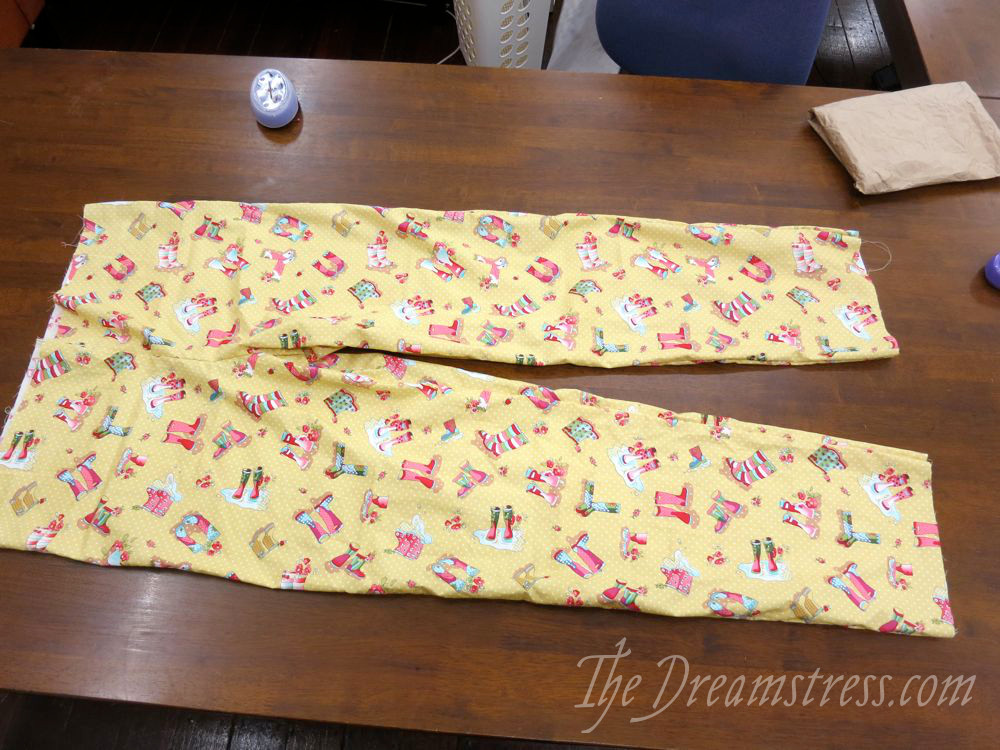
Pants! Hurrah!
In my next post, I’ll walk you through the final steps: adjusting the waistline, sewing the waist channel, and hemming.
Thanks for this tutorial! This is one project I might just make sometime.
I vaguely recall this assembling technique. and I’m going to try it.
I’ve sewn PJ pants where the whole assembly is right sides together. I sew the pants together as the pattern instructions indicate, I’m NOT particularly creative when I sew. The pants are sewn entirely with right sides together, starting with joining the crotch backs together and same for the fronts. Then the inner leg seam all in one motion, starting from the hem of the left leg (which will be the right leg when the pants are turned inside out) and finishing at the hem of the (left) right leg. That’s probably as clear as mud!
Does your technique produce a better fit?
BTW, your seam finish is terrific.
Linda
PS. Do you have a favorite PJ top pattern?