
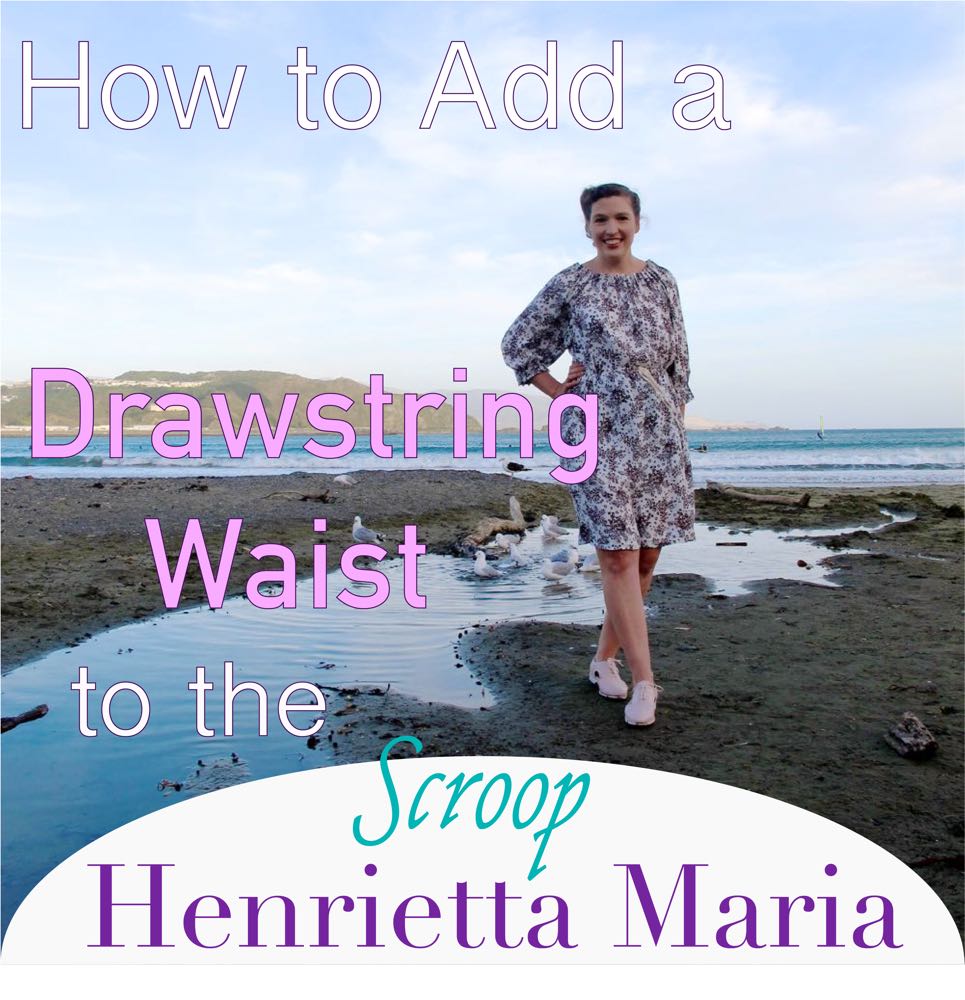
I’ve already shown how to add an elastic waistband to the Scroop Henrietta Maria dress, but there is another way to add waist definition (other than the simplest of all: wearing a belt, of course!): with a drawstring.
Here is how to create a drawstring on the Henrietta Maria. This technique will work on any loose, straight-cut dress, so feel free to adapt it for other garments.
You’ll be marking the waistband, working buttonholes for the drawstring to enter and exit through, sewing a casing channel, and then threading the drawstring through. Easy!

You’ll need:
- Ribbon or twill tape for a drawstring – under 1/2″ wide, and long enough to go around your waist, tie in a nice bow, and hang down an attractive amount.
- 2.5cm/1″ wide single-fold bias tape, as long as the finished waist measure of your Henrietta Maria (measure around your finished dress, or refer to the Finished Garment measurements in the pattern) + 15cm/6″.
- Chalk or fabric markers for marking
- A french curve or ruler.
- A scrap of lightweight fusible interfacing, approximately 5cm/2″ square.

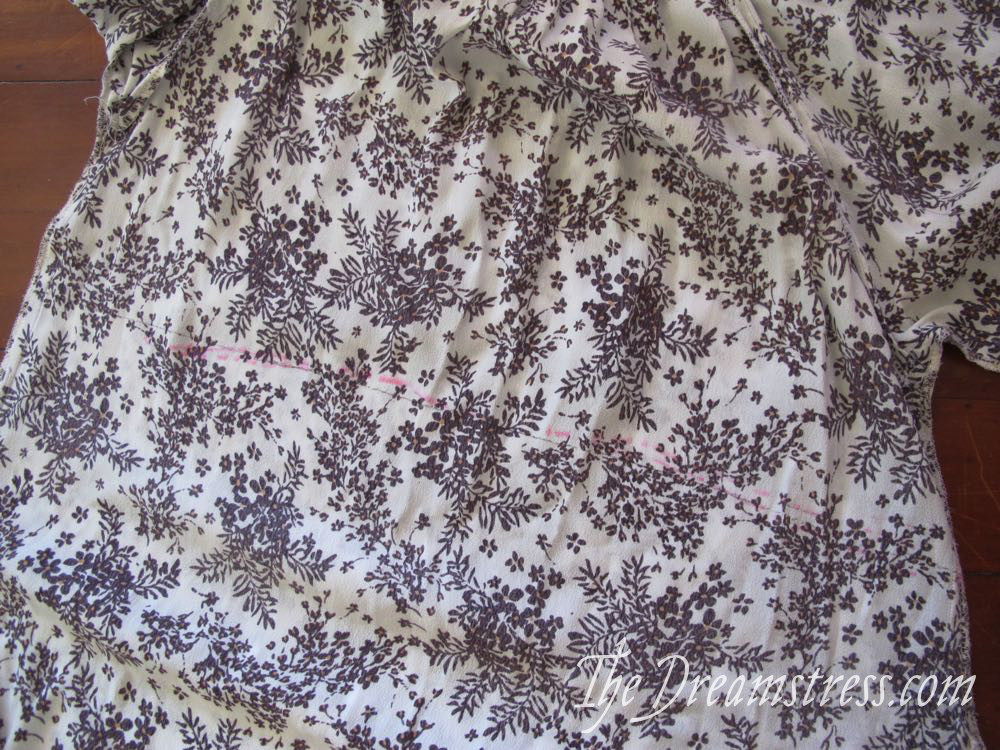
First, you need to mark a waistline on your Henrietta Maria. You can use the waistline marked on the pattern, or create a custom waistline, as explained in the Henrietta Maria with an elastic waist tutorial, or in this video:
The waistline can sit anywhere you choose, as long as it’s least 1″ above the top of the pockets. If you’ve made a dress without pockets, it can sit anywhere at all!
Take the dress off, and use a french curve or ruler to draw over your marked line, smoothing out any rough bits, and making sure it is clearly visible. I marked my original line in a pink Pilot Frixion highlighters, and re-drew it in a black Pilot Frixion pen:
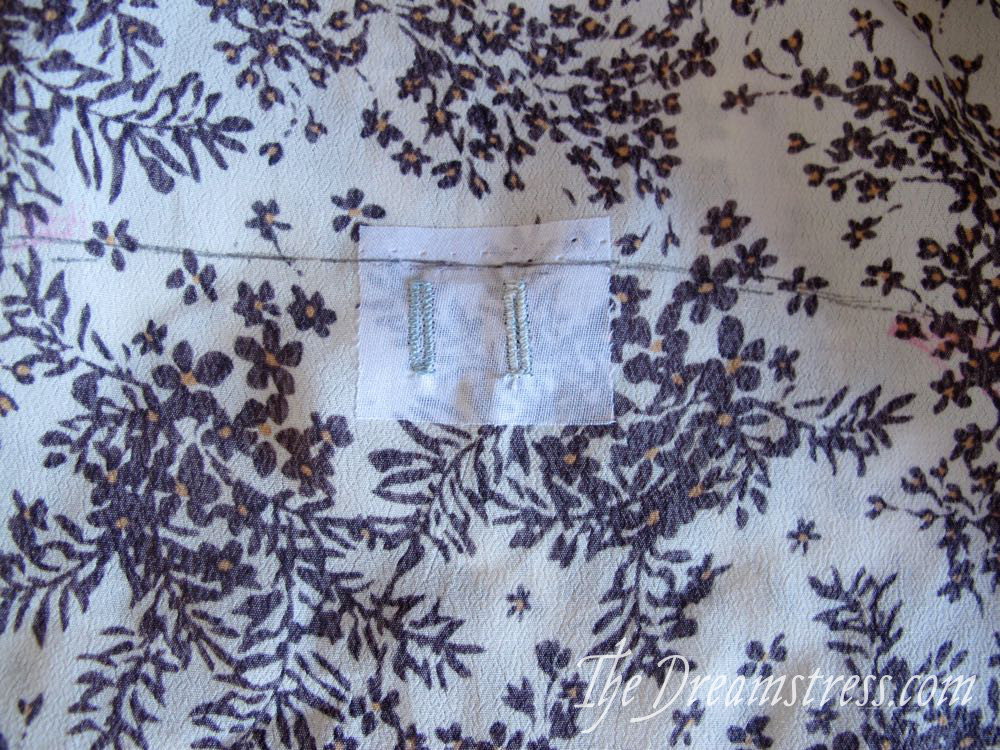
Next, fuse your interfacing to the exact centre front of the dress, placing the square of fusing so the top edge sits 1cm/3/8″ above the marked waistline
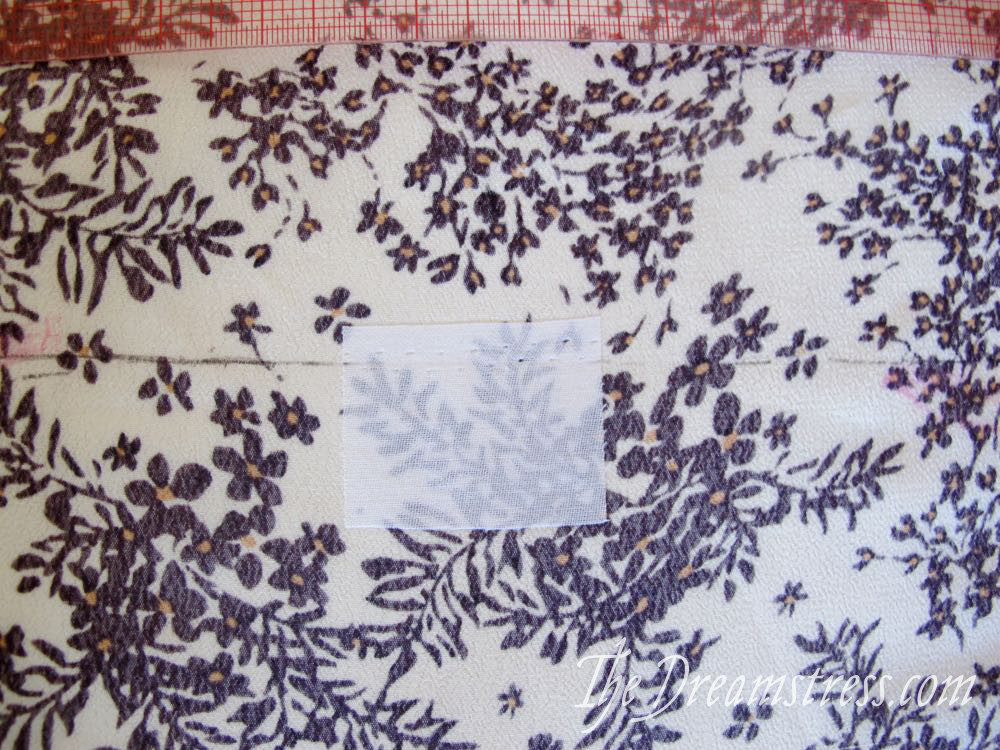
Mark 6mm/1/2″ high buttonholes on the right side of the dress. Their center lines should sit 1cm/3/8″ on either side of the center front line, with their top edge 3mm/1/4″ below the marked waistline.
Now, work your buttonholes as marked:

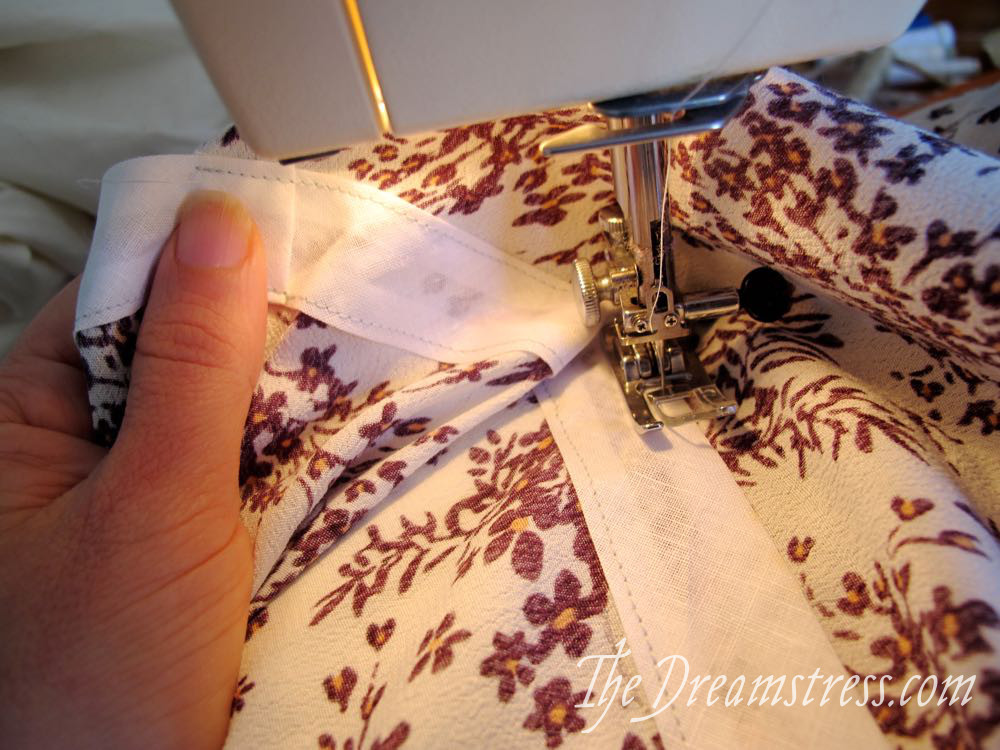
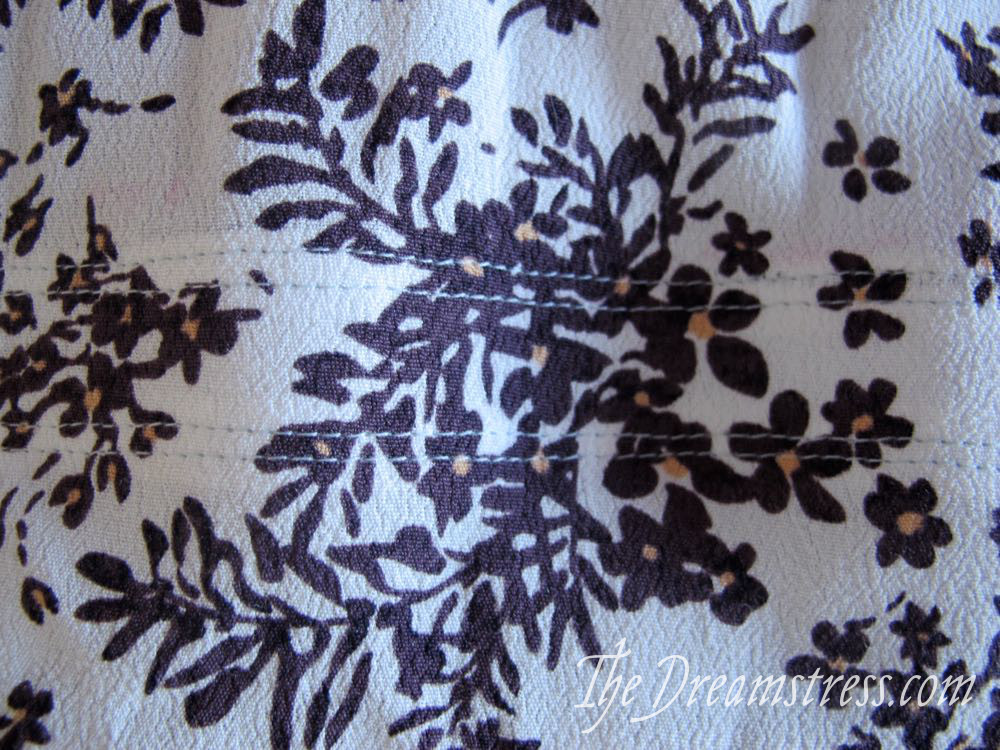
Next it’s time to sew on the bias tape to form a casing for your drawstring.
Starting at a side seam, place the bias tape just below the marked waist line, with one long edge just on the line.
Sew 2mm/1/8″ from the edge of the bias tape.
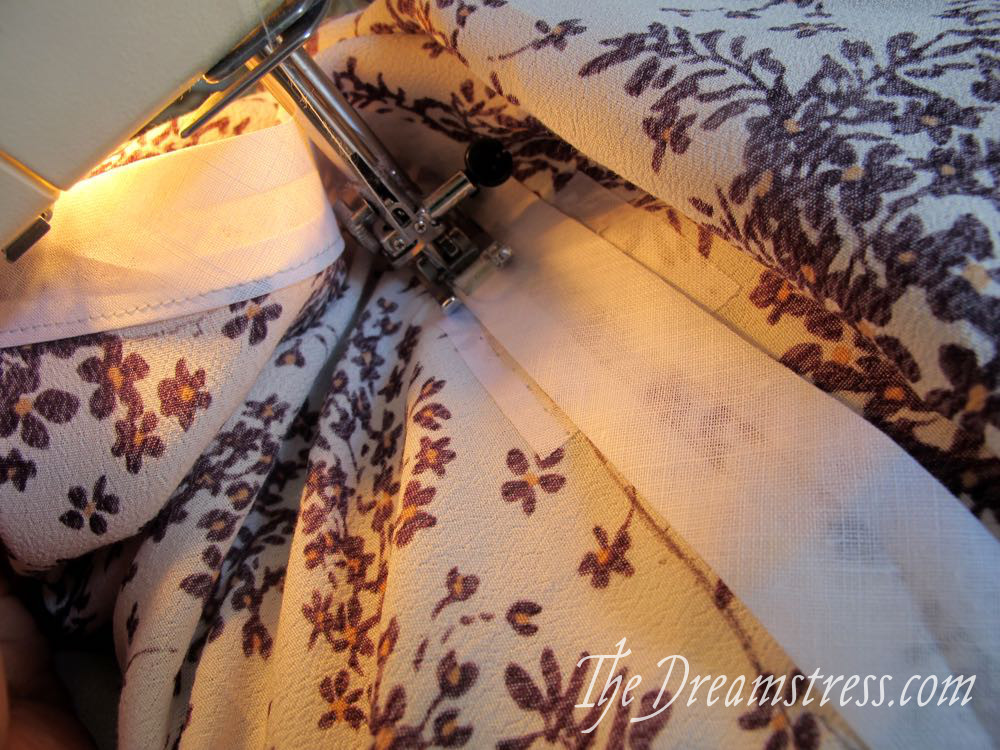
When you get back to where you started, cut your bias tape off so there is a 3cm/1.25″ or so overlap. Fold under half the overlap just before you finish sewing, so there are no raw edges of bias showing on the interior.

Now sew the other edge of your bias tape:
I decided that I wanted a little more definition to my channels, so I stitched an additional line of stitching 1/8″ inside the first stitching lines:
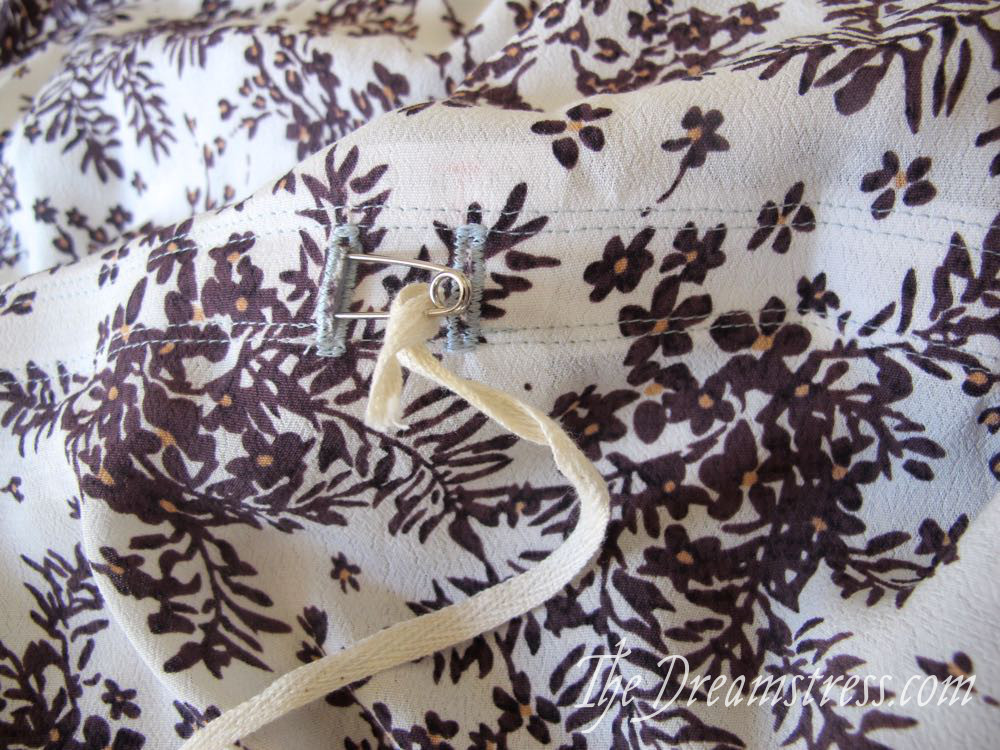
Remove any pen/chalk marks that are visible on the outside of the dress, and then it’s time to drawstring!

Cut open your buttonholes, taking care not to cut through the bias tape. Use a safety pin or a bodkin to thread your drawstring through the channel, in one buttonhole, all the way around, and out the other.
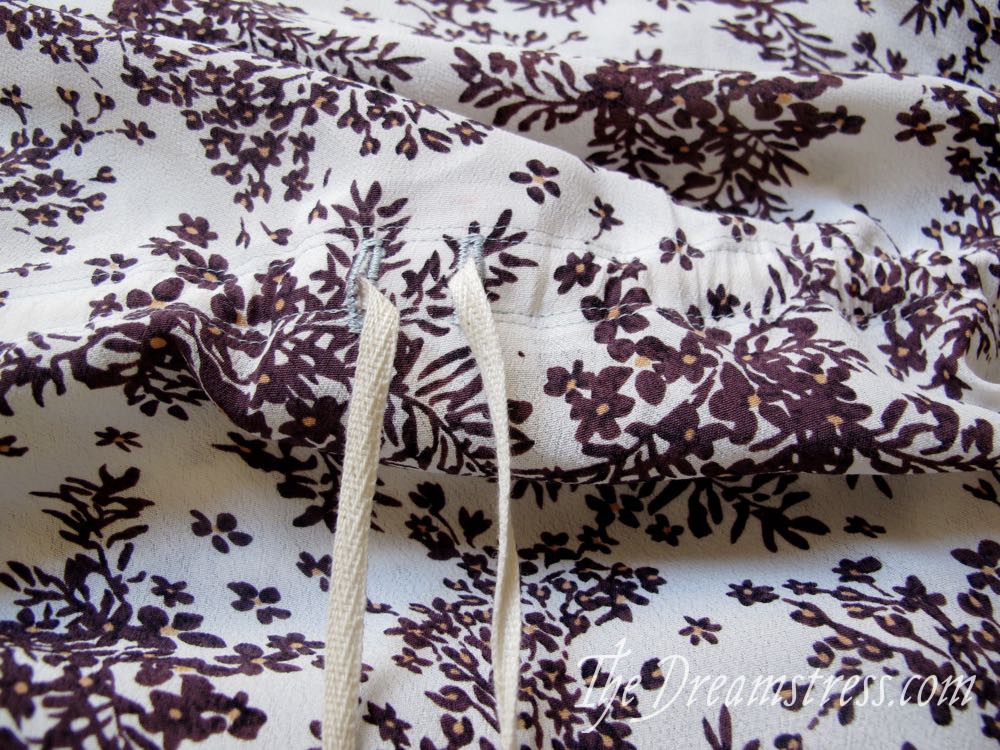
Finish off the edges of your drawstring by heat-sealing (if they are synthetic), tying them in tidy knots, or string a bead on to each end, and then add a knot, for a little bit of extra flair.
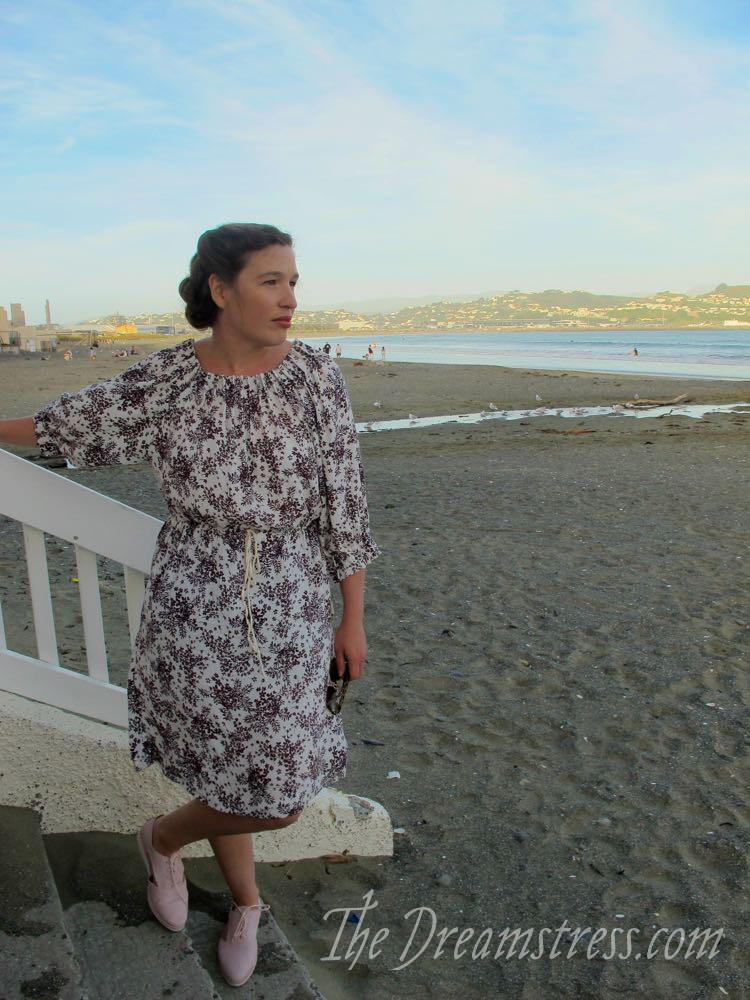
Ta da! You’re done! Enjoy!

Clear explanations, thanks.
A suggestion is to cross the ribbon inside the channel so it’s easier to straigten. The ribbon from the right side in the left buttonhole and the ribbon from the left side in the right buttonhole.
You make it all seem perfectly doable, thank you.
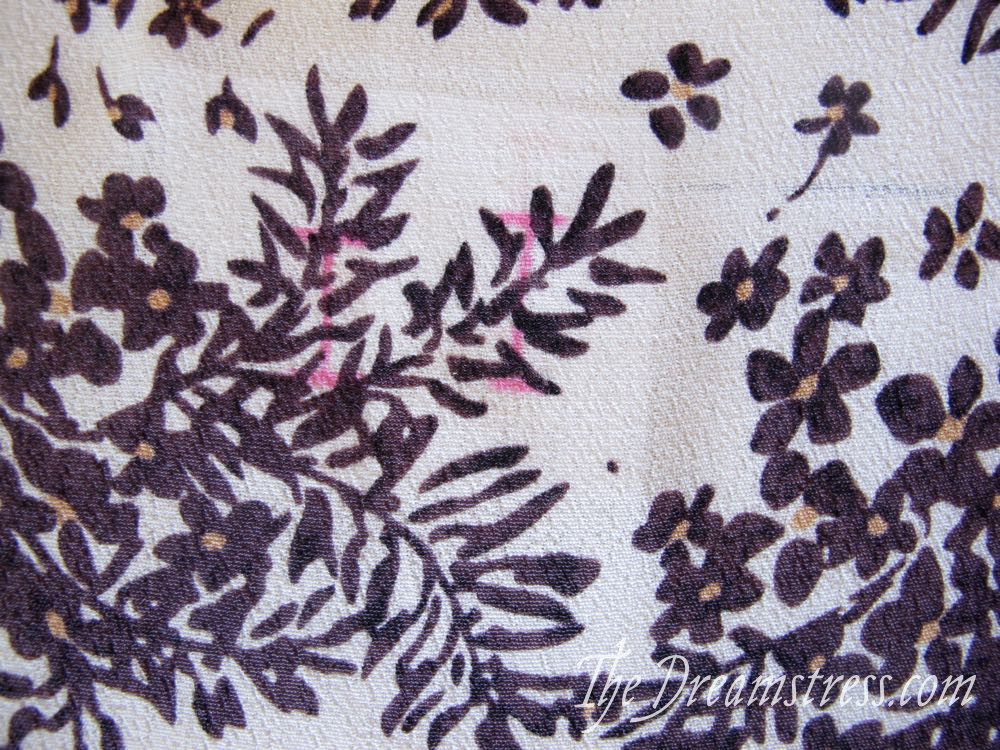
… That’s a very lovely fabric to make the Henrietta Maria in!