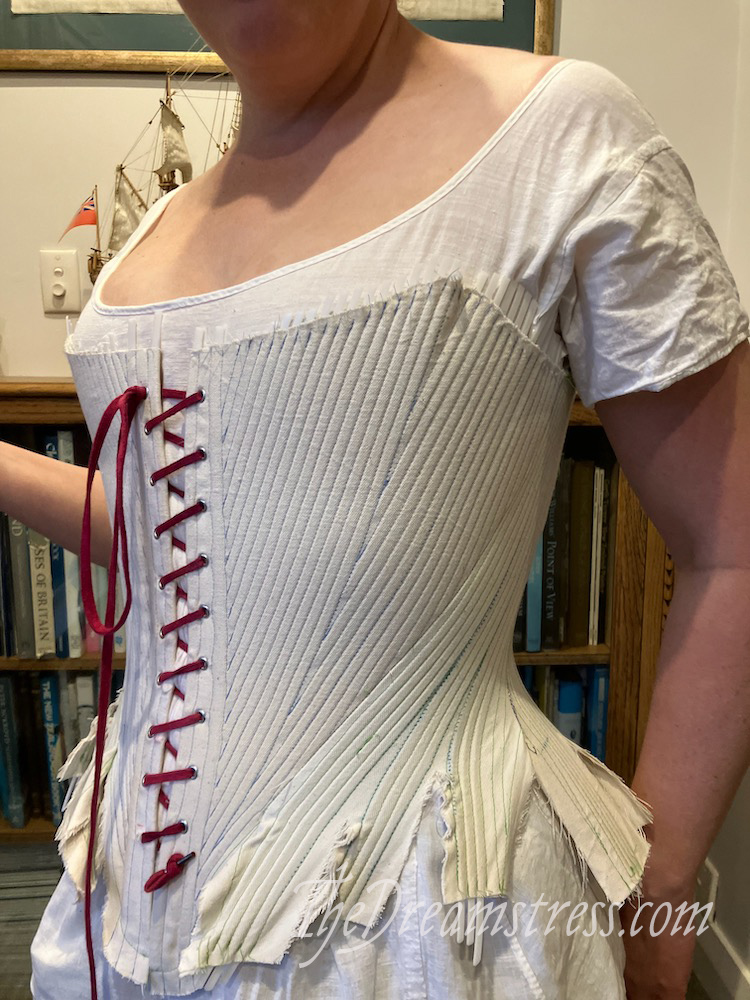
Latest Posts

Cutting out the Cassandra Stays thedreamstress.com

The Cassandra Stays Sew Along: Cutting Out & Basting

Previously on The Cassandra Stays Sew Along:


You’ve chosen your fabrics, made some buckram for the historical version, made a mock-up, fitted it to your figure, and transferred all your alterations to your pattern.  Now it’s time to cut your fabric!

Cutting Out

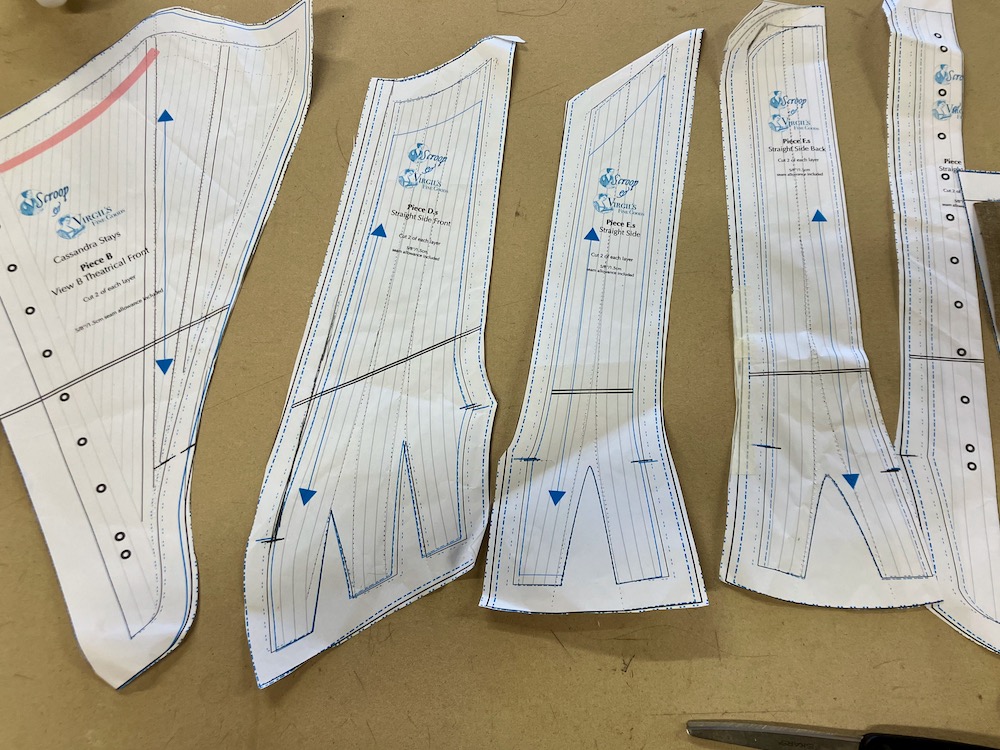
First, double-triple-quadruple check that you have made all your alterations to your pattern piece.  In English we say ‘measure twice, cut once’.  I had a sewing student from Latvia, and she said in Latvia they say ‘measure seven times, cut once’.  That’s my kind of risk-adverse cutting!

There’s no big tips for cutting out stays: you’re working with nice stable fabric that shouldn’t be too tricky.

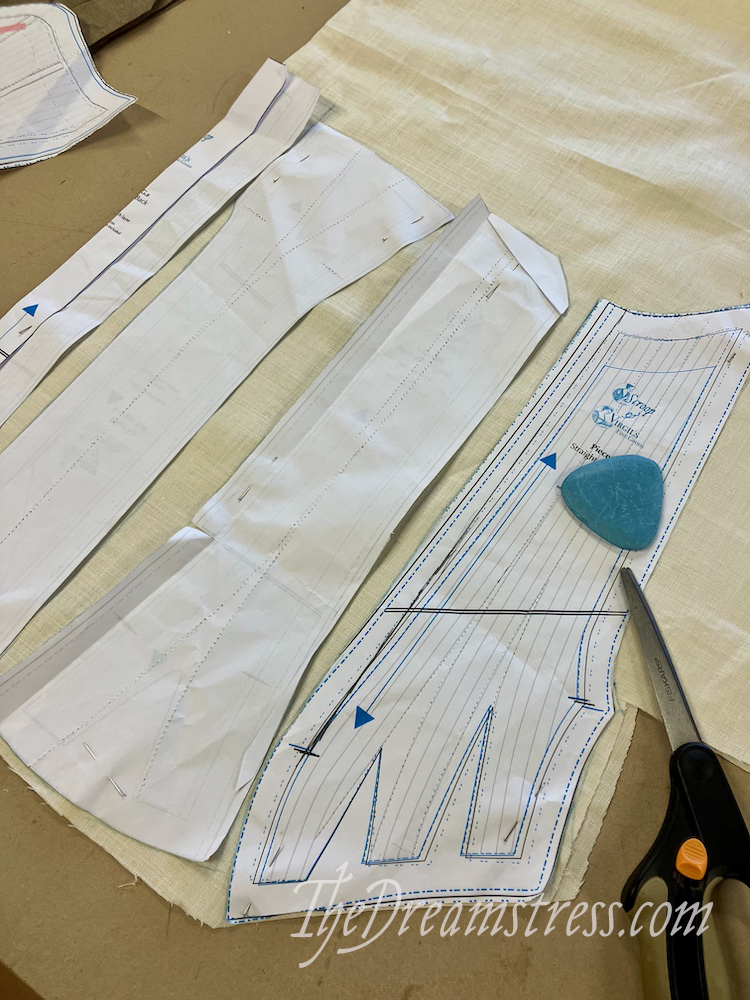
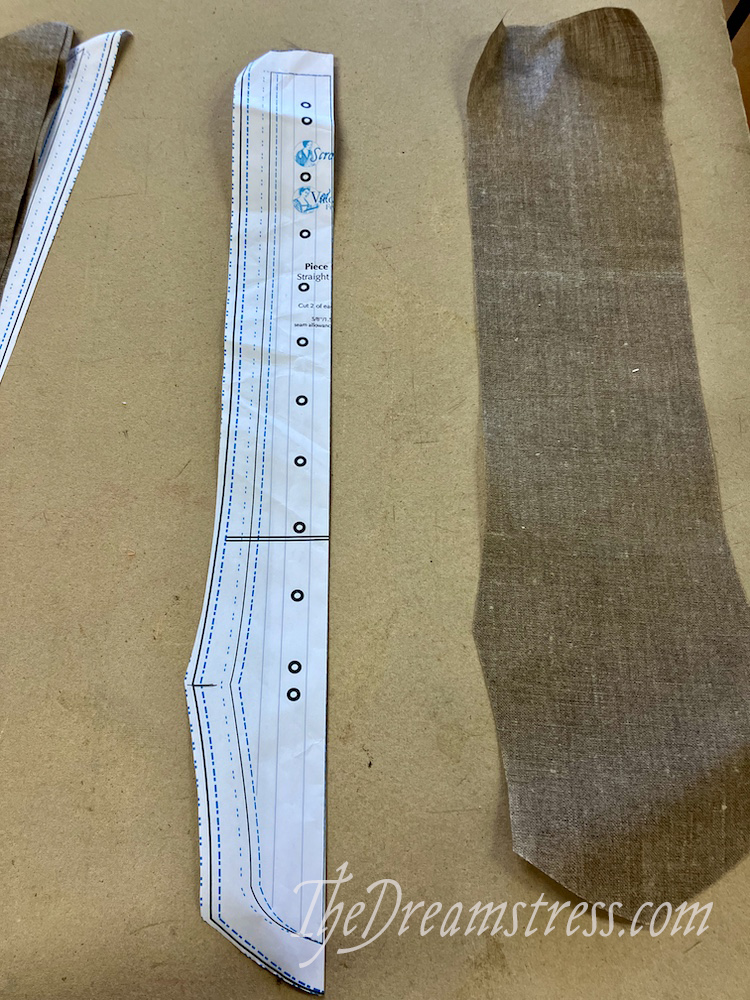
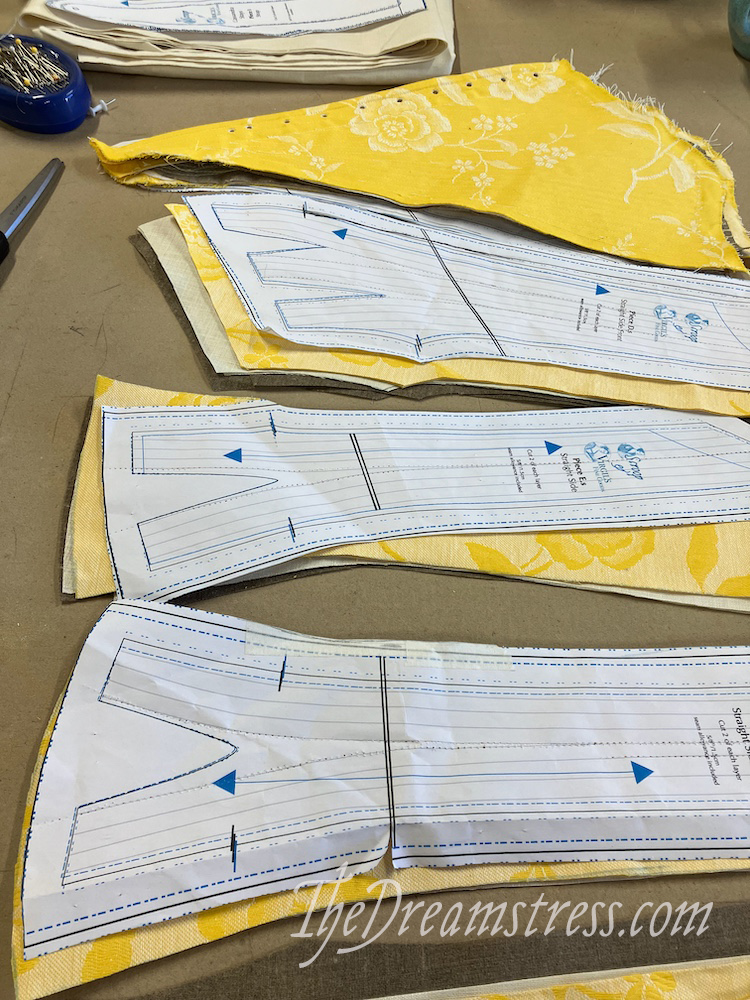
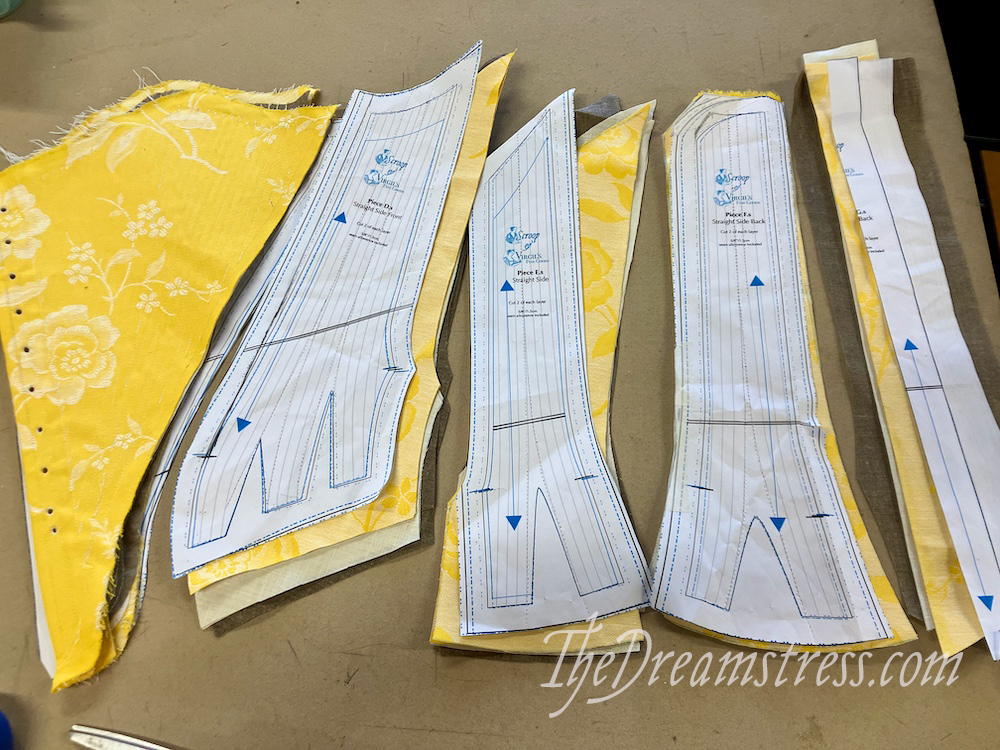
If you’re doing the historical version I like to cut my buckram first, and use it as a template for the other pieces, as it doesn’t fray or warp at all.
Cutting out the Cassandra Stays thedreamstress.com

Then I cut the inner support layer:

Cutting out the Cassandra Stays thedreamstress.com

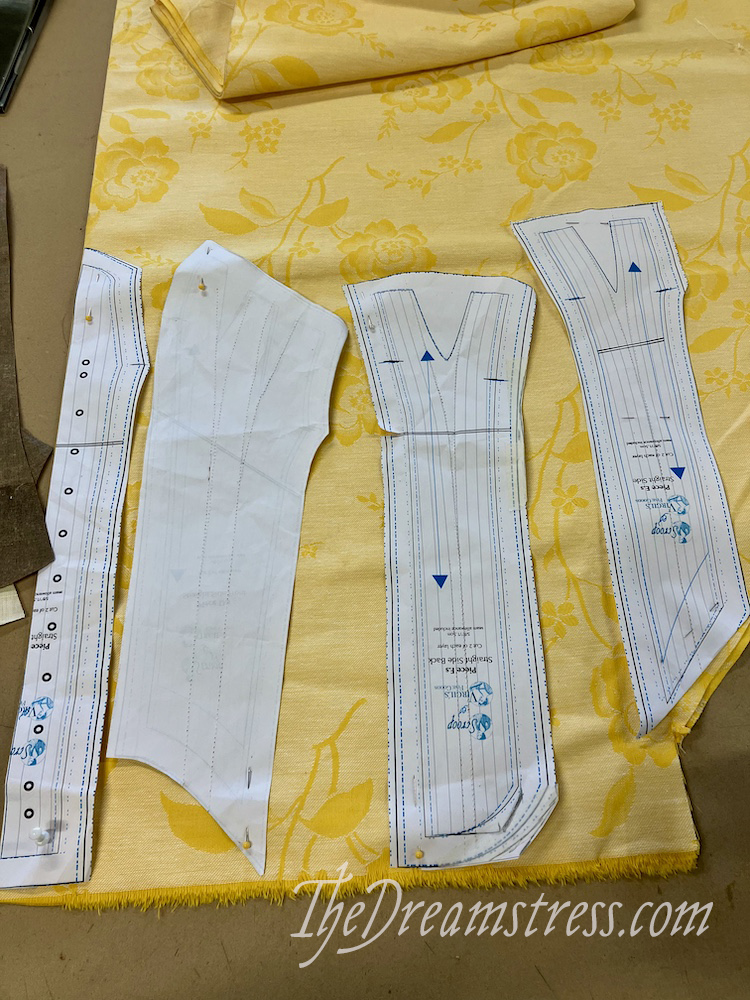
And finally the outer fabric:

Cutting out the Cassandra Stays thedreamstress.com

My outer fabric is directional and has a large-scale pattern, so I had to place all my pattern pieces so the top was heading in the same direction, and ensure that the pattern would flow nicely around the stays.

To check this, I chalked around each pattern piece before I cut out, and checked that the motifs fell in an attractive pattern.
Cutting out the Cassandra Stays thedreamstress.com

Basting:

Now that you are done cutting out, it’s time to assemble the layers in preparation for sewing the boning channels.

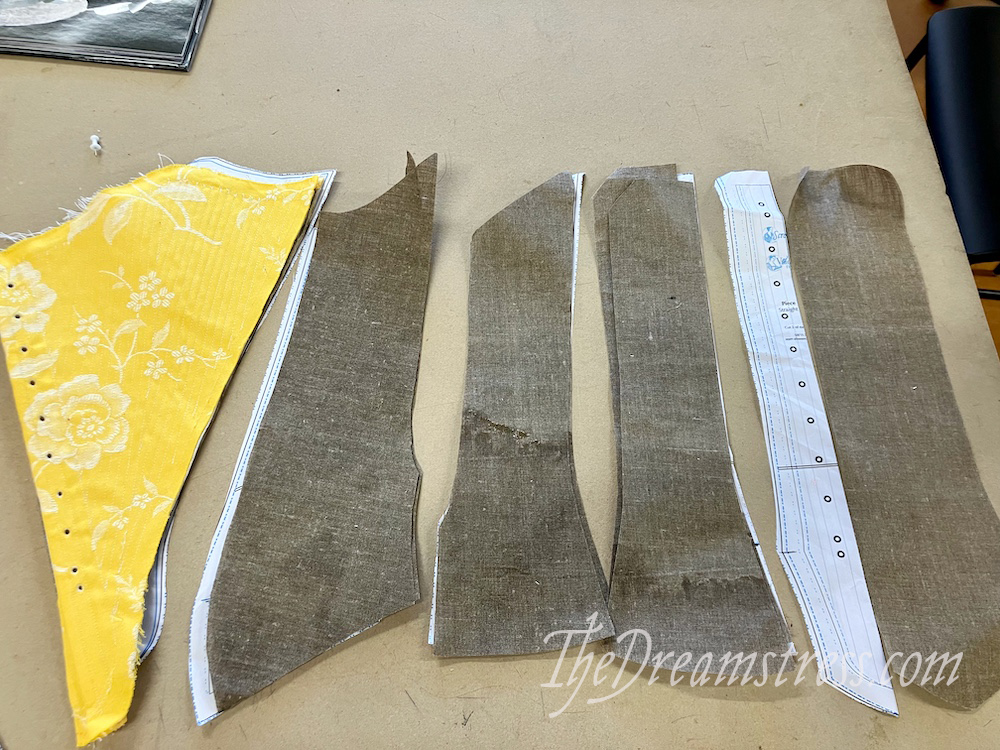
I’m using the historical fabrics, so here are my layers:

  1. Linen Damask
  2. Midweight Linen
  3. Linen Buckram

Cutting out the Cassandra Stays thedreamstress.com

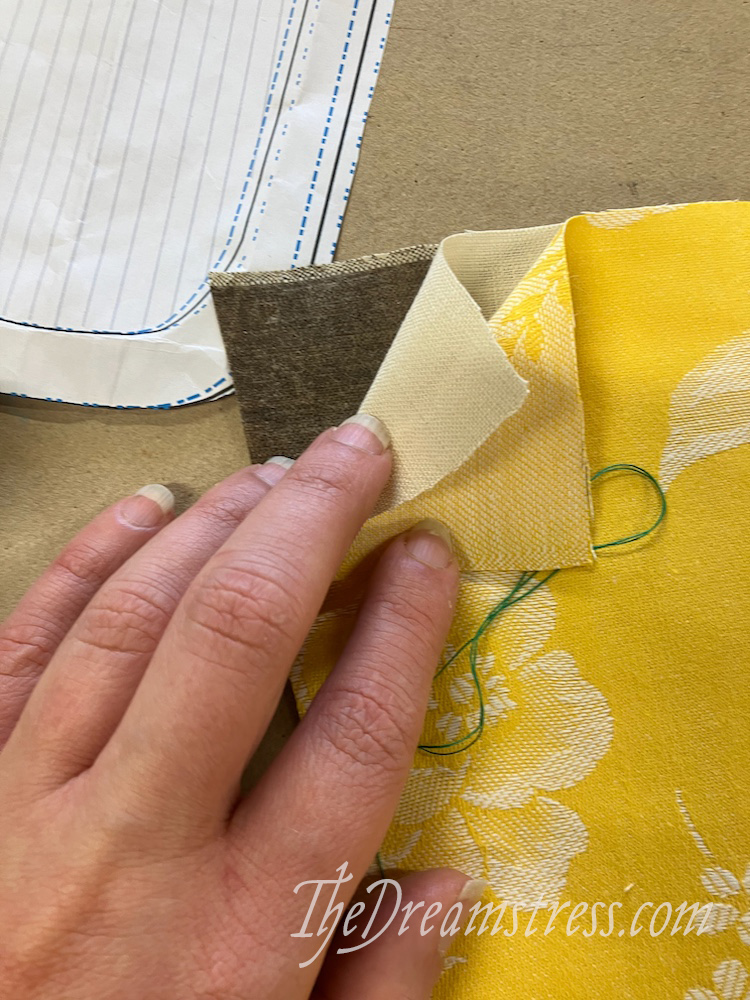
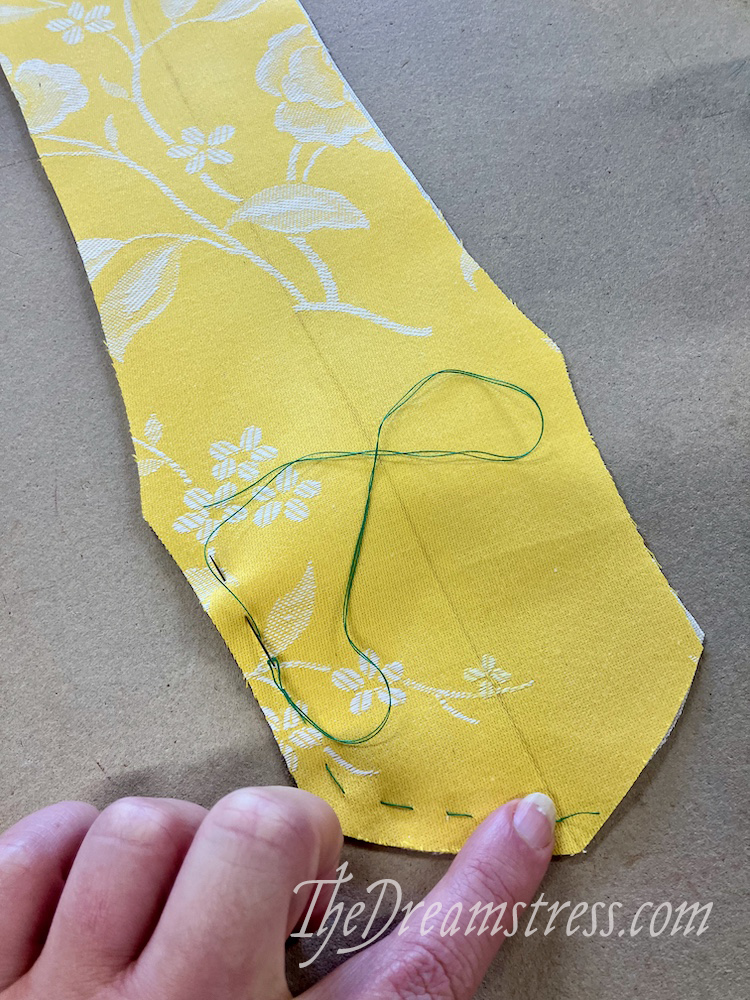
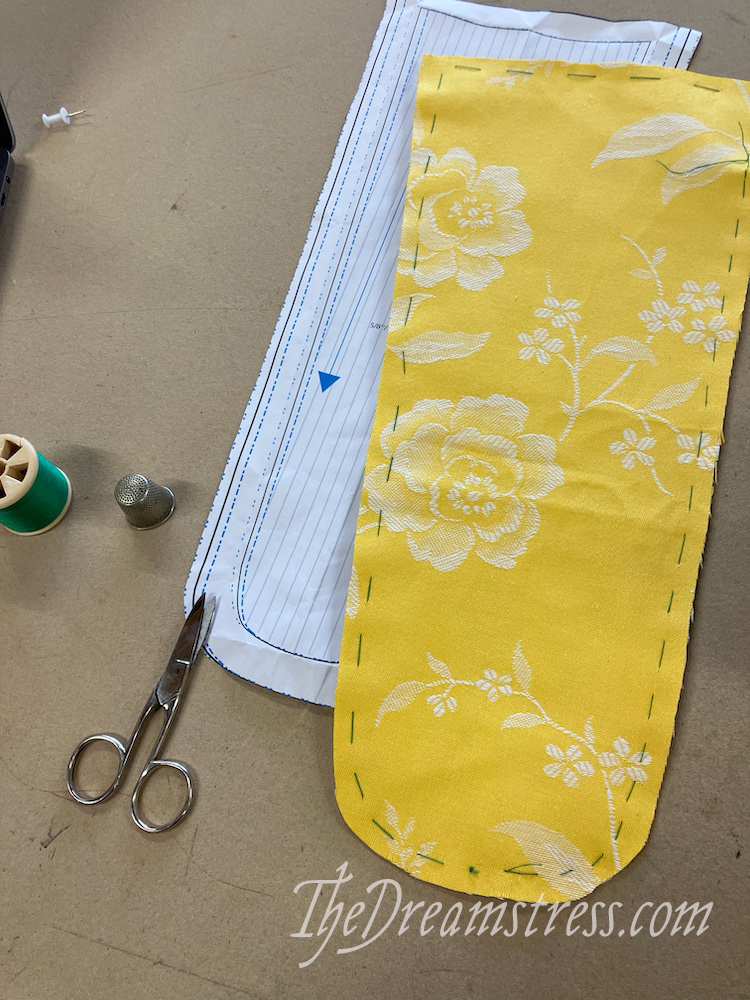
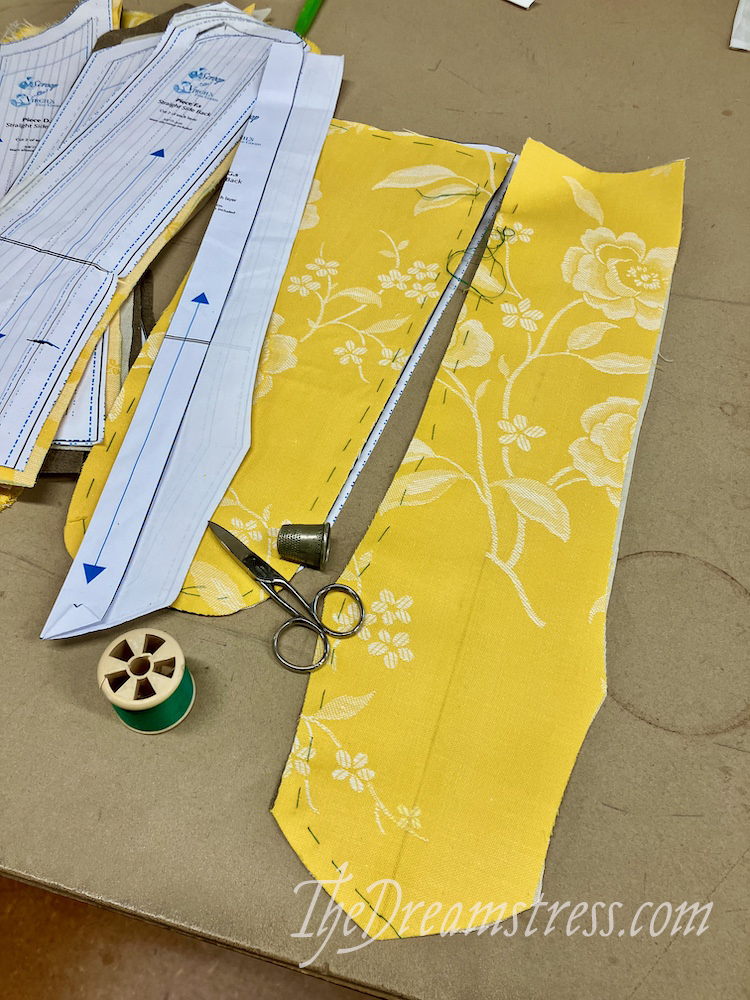
I lay them on top of each other, and then baste around them to hold all three layers together:
Cutting out the Cassandra Stays thedreamstress.com

I’m using a contrasting cotton thread, so it’s easy to see, and making sure to baste in the seam allowances, so my basting is out of the way of the boning channels
Cutting out the Cassandra Stays thedreamstress.com

Cutting out the Cassandra Stays thedreamstress.com

Do it for all your pieces, and then you are ready for the next big exciting step: boning channels!

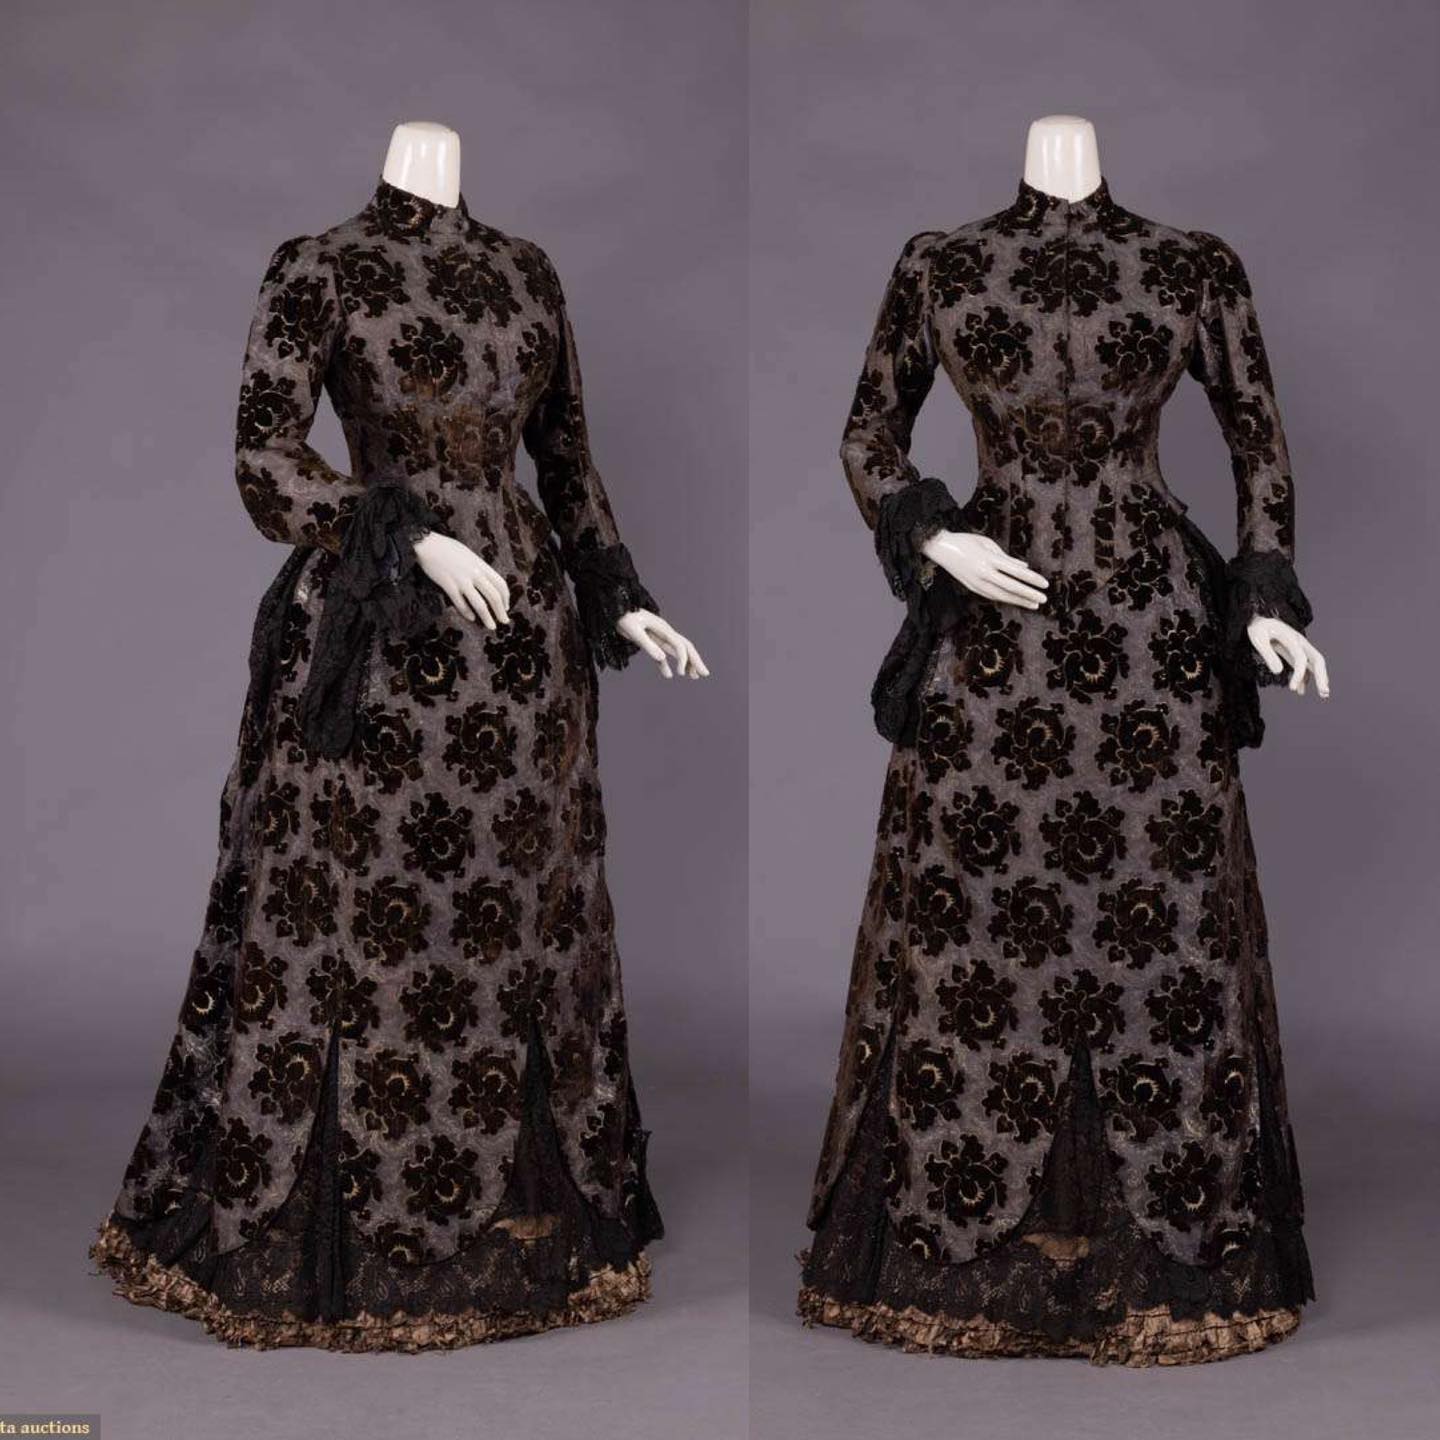
Day dress of cut velvet and patterned silk, c. 1885 Sold by Augusta Auctions, Spring Sartorial Surprise - Visions of Vintage, May, 2022 Sturbridge, MA

Rate the Dress: 1880s cut velvet

I haven’t quite managed to get Rate the Dress back on a same-time-same-day-of-the-week schedule, but at least it’s happening weekly-ish, give or take a day or two.  Let’s find out how you like this weeks(ish) offering of an 1880s day dress that blends simplicity and extravagance.

Last week:  the Marchesa a la modé in puce and coral

Everyone appreciated the Marchesa’s portrait last week, and the way it clearly showed her personality and interests.  Most of you also appreciated her very fashionable outfit, but not everyone was entirely on-board.  Things that came in for criticism were the too-plain skirt, the contrasting colours, and the skirt clips.

A number of commenters noted that they hadn’t ever noticed skirt clips like that before, and I know of at least a handful of images with them off the top of my head, so I’ve added a post about 18th century bodice clips to my (very, very long) to-do list.

The Total: 8.5 out of 10

Things continue to approve!  I’m pleased that you enjoyed discussing the Marchesa’s very trendy outfit, even if it wasn’t to your personal taste.

This week: A very-fitted 1880s dress in cut velvet

As not everyone was a fan of the bold and clashing hues in last week’s Rate the Dress, and felt that there was too much expanse of plain fabric, this week I’ve opted for the opposite.  This 1880s day dress features bold patterning in very subdued tones.

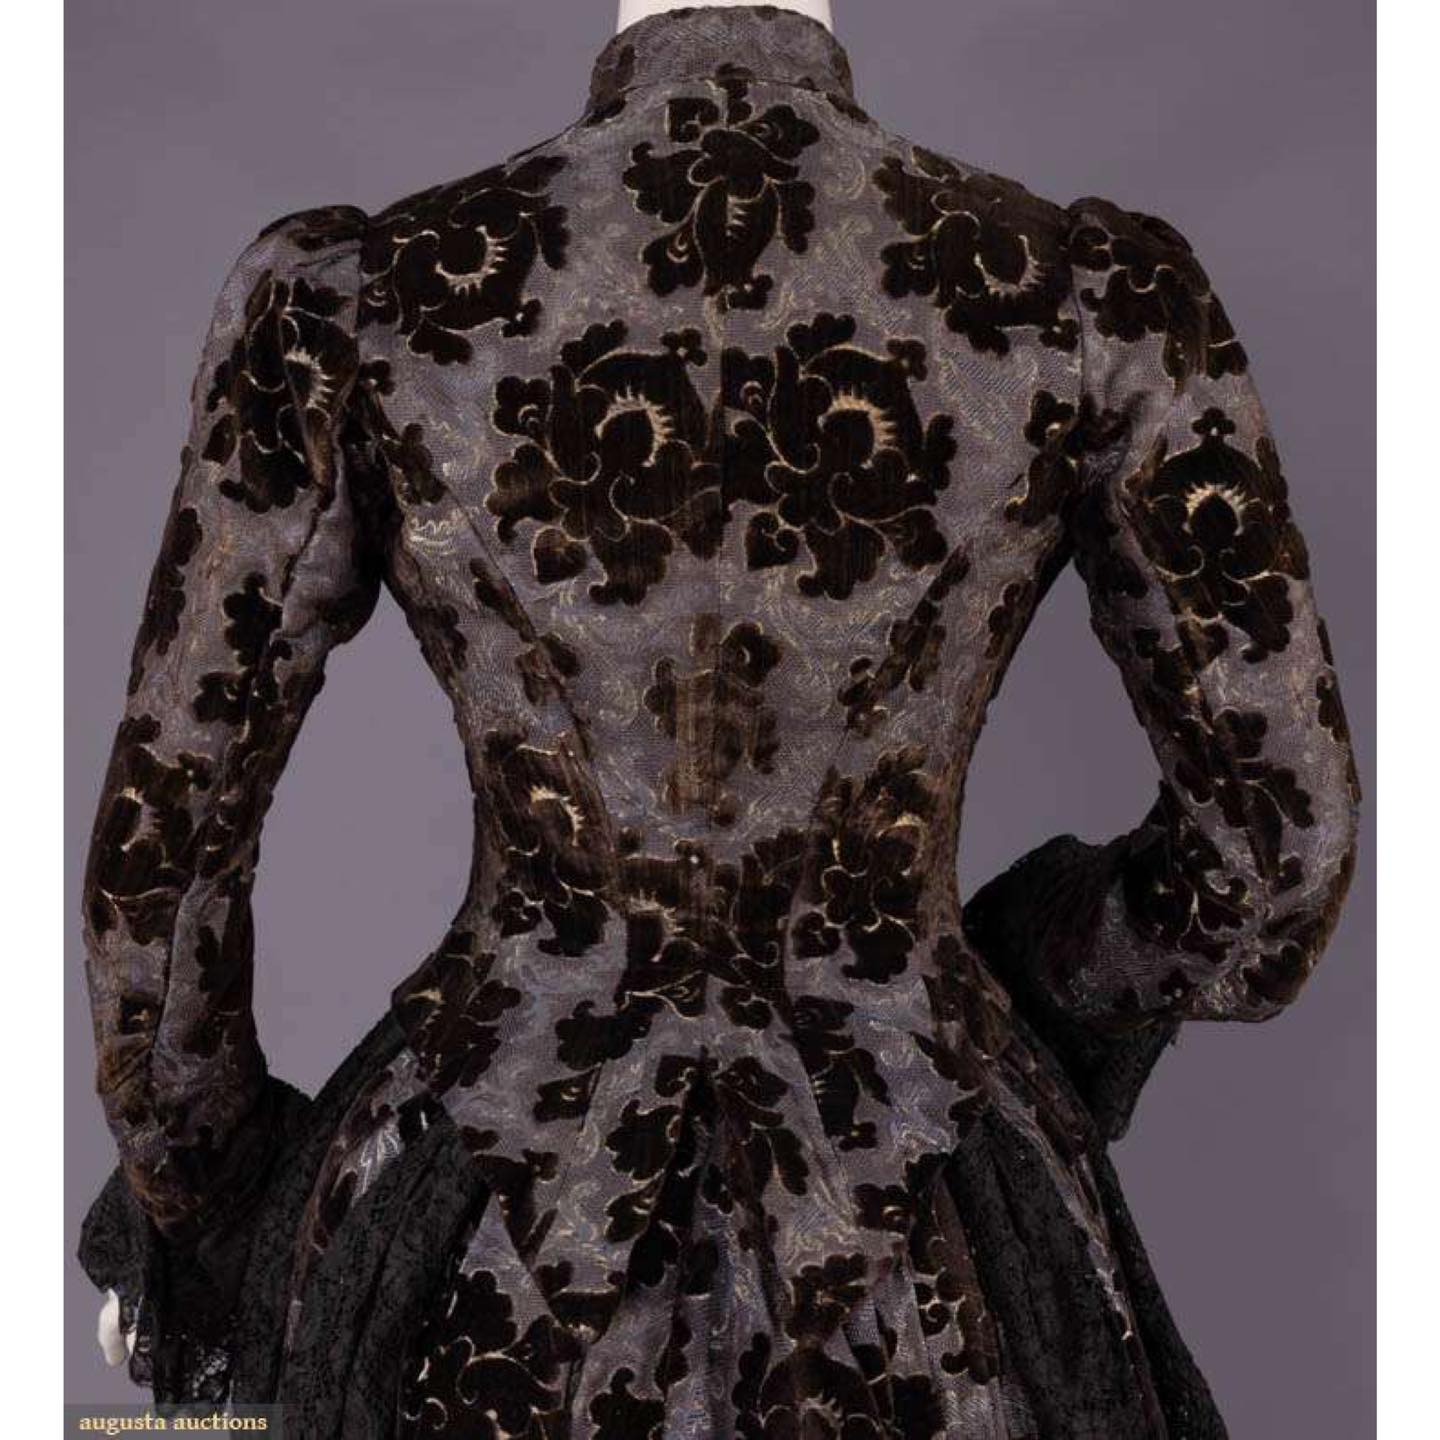
Day dress of cut velvet and patterned silk, c. 1885 Sold by Augusta Auctions, Spring Sartorial Surprise - Visions of Vintage, May, 2022 Sturbridge, MA

Day dress of cut velvet and patterned silk, c. 1885 Sold by Augusta Auctions, Spring Sartorial Surprise – Visions of Vintage, May, 2022 Sturbridge, MA

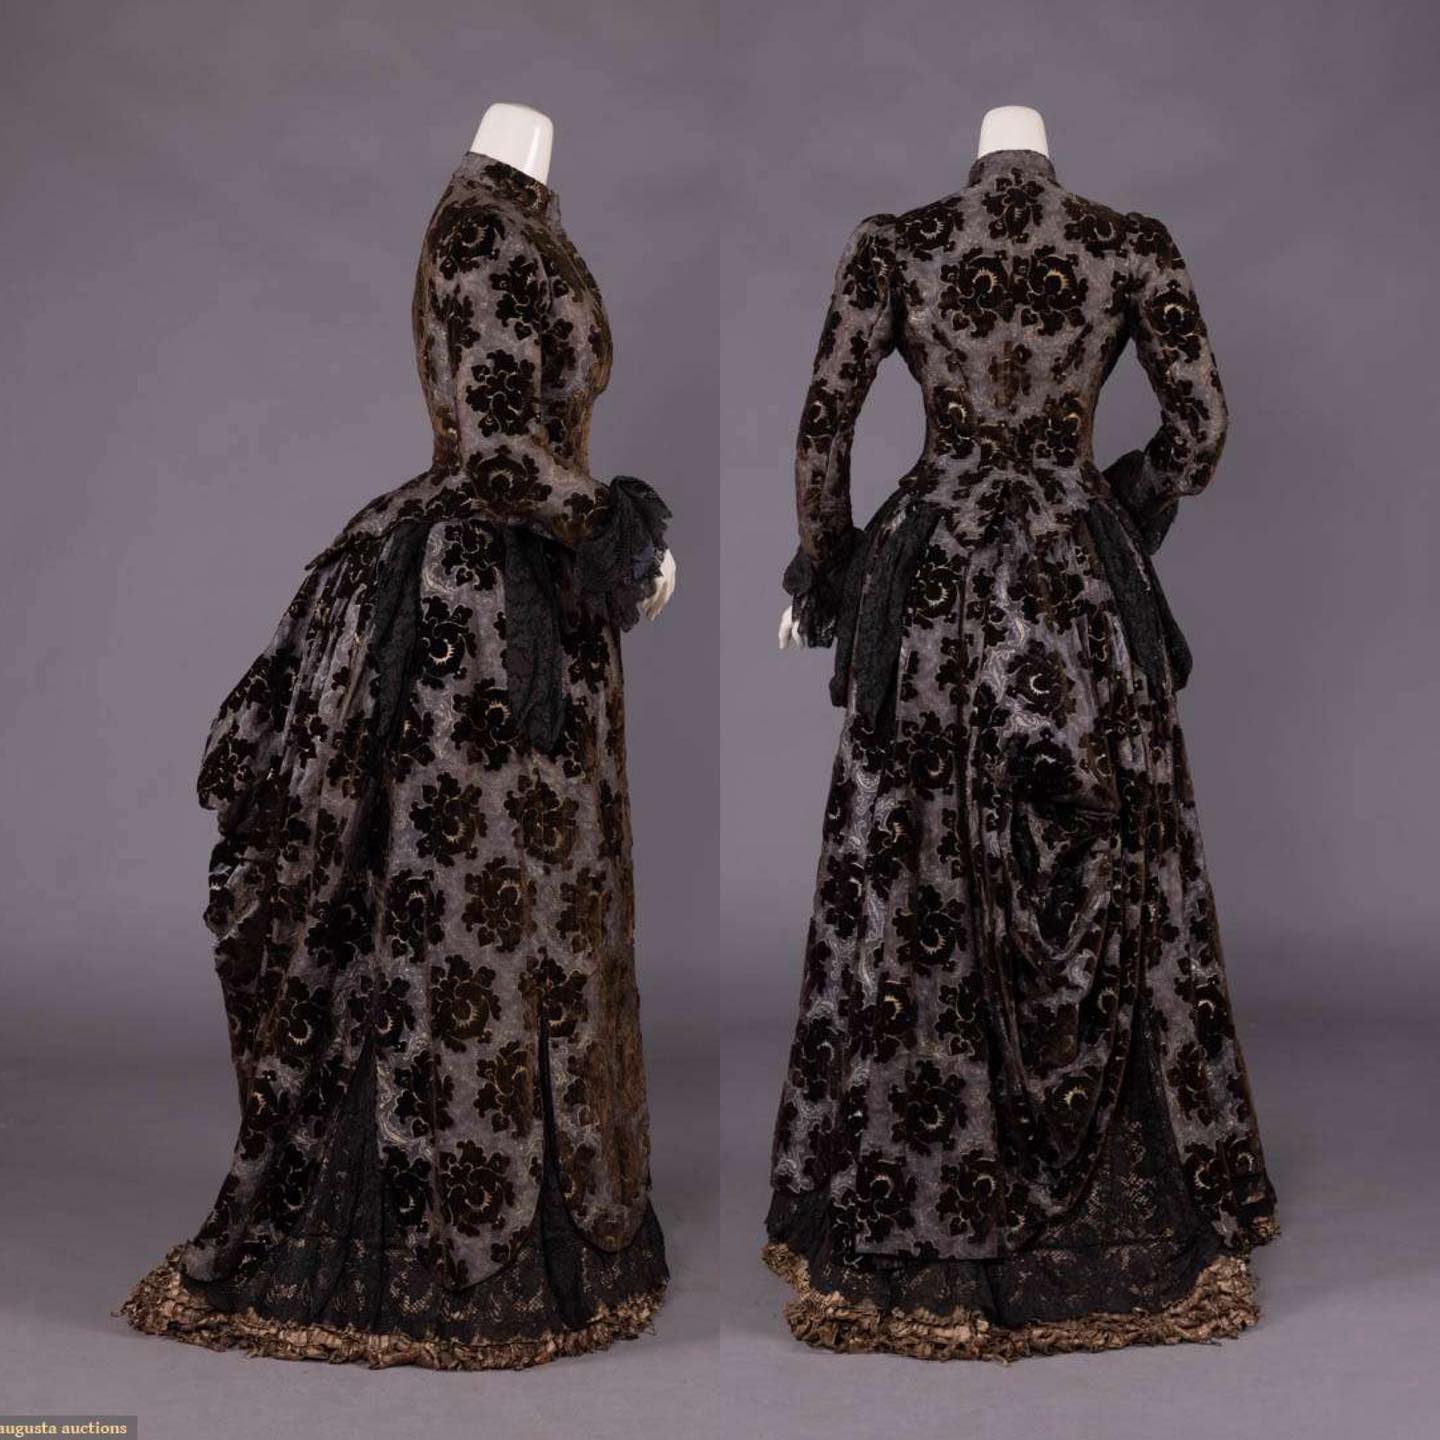
The bold patterning is balanced both by the muted colours, and by a very severe, fitted silhouette, which bursts out into typical 1880s extravagance only at the hem, cuffs, and in the draping of the bustle.

Day dress of cut velvet and patterned silk, c. 1885 Sold by Augusta Auctions, Spring Sartorial Surprise - Visions of Vintage, May, 2022 Sturbridge, MA

Day dress of cut velvet and patterned silk, c. 1885 Sold by Augusta Auctions, Spring Sartorial Surprise – Visions of Vintage, May, 2022 Sturbridge, MA

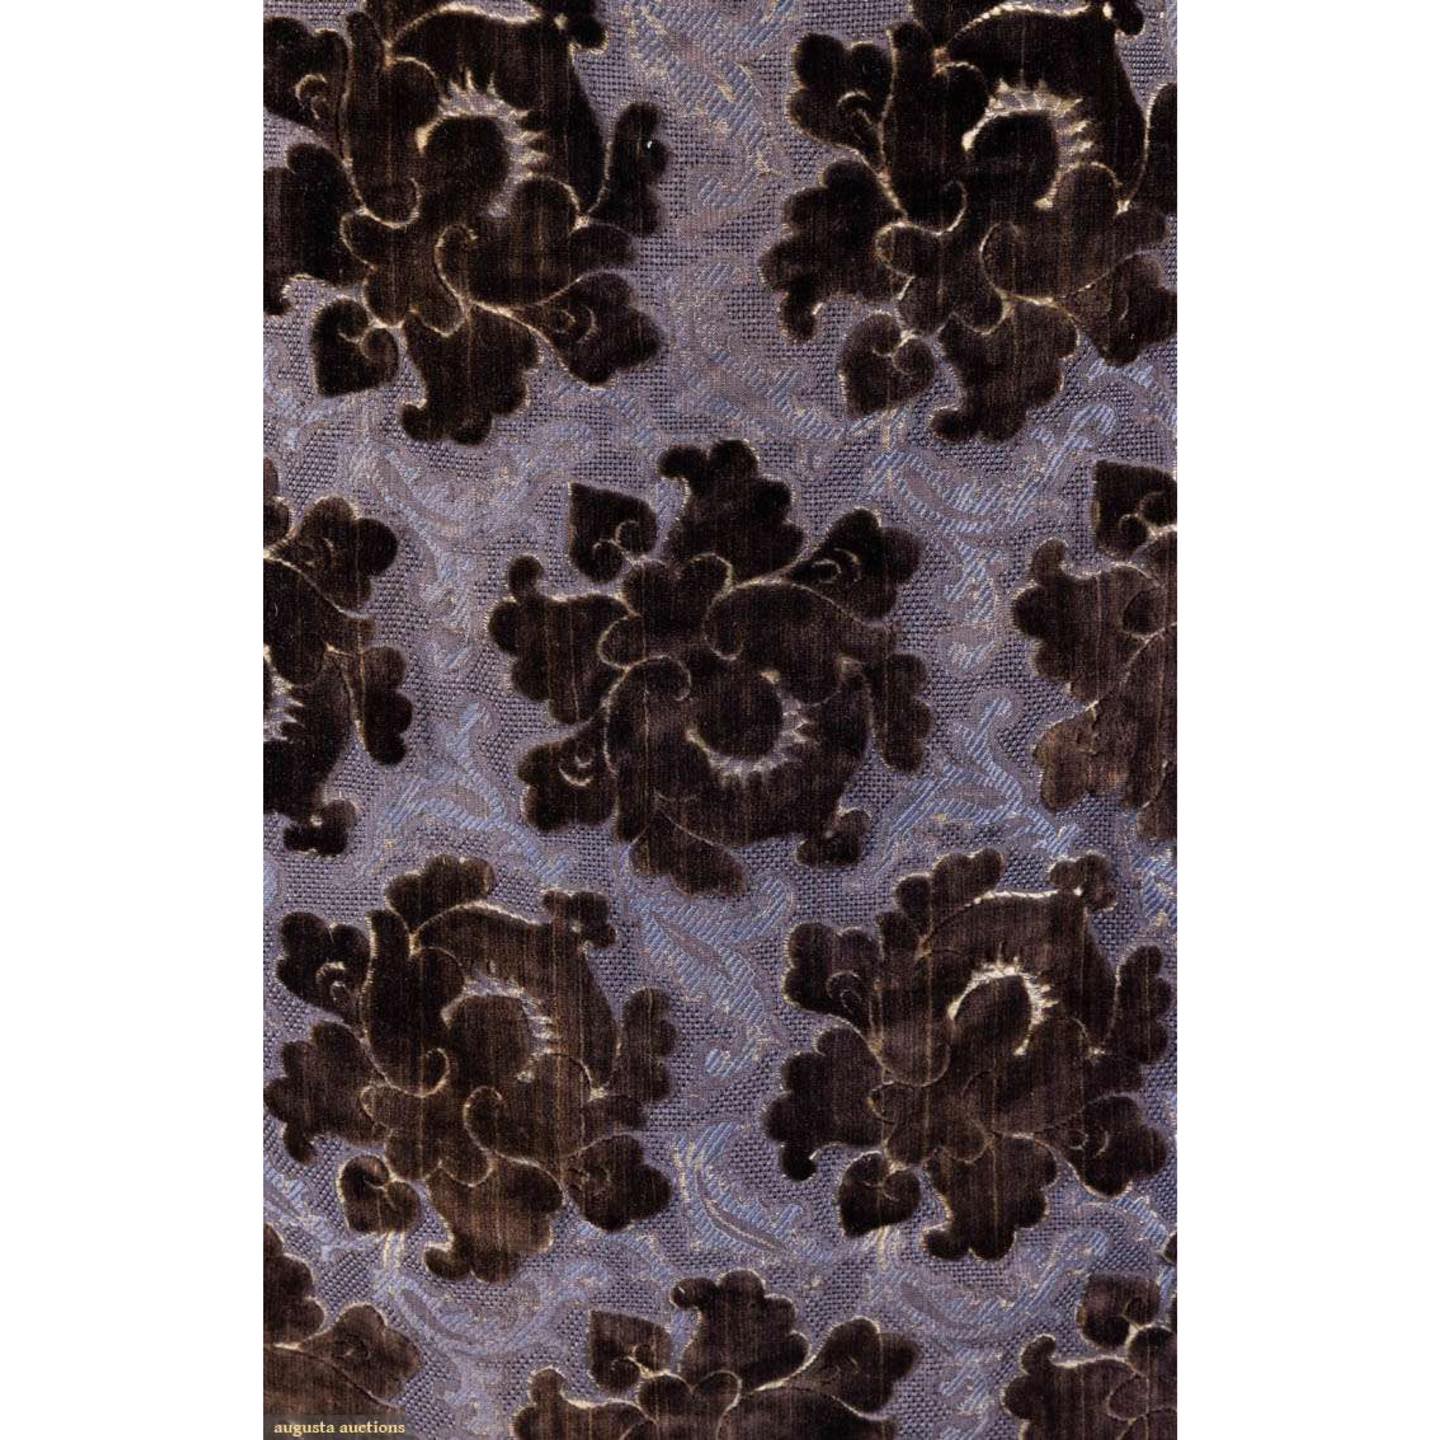
The fabric may be subdued in colours, but it’s very detailed and dynamic up close:

Day dress of cut velvet and patterned silk, c. 1885 Sold by Augusta Auctions, Spring Sartorial Surprise - Visions of Vintage, May, 2022 Sturbridge, MA

Day dress of cut velvet and patterned silk, c. 1885 Sold by Augusta Auctions, Spring Sartorial Surprise – Visions of Vintage, May, 2022 Sturbridge, MA

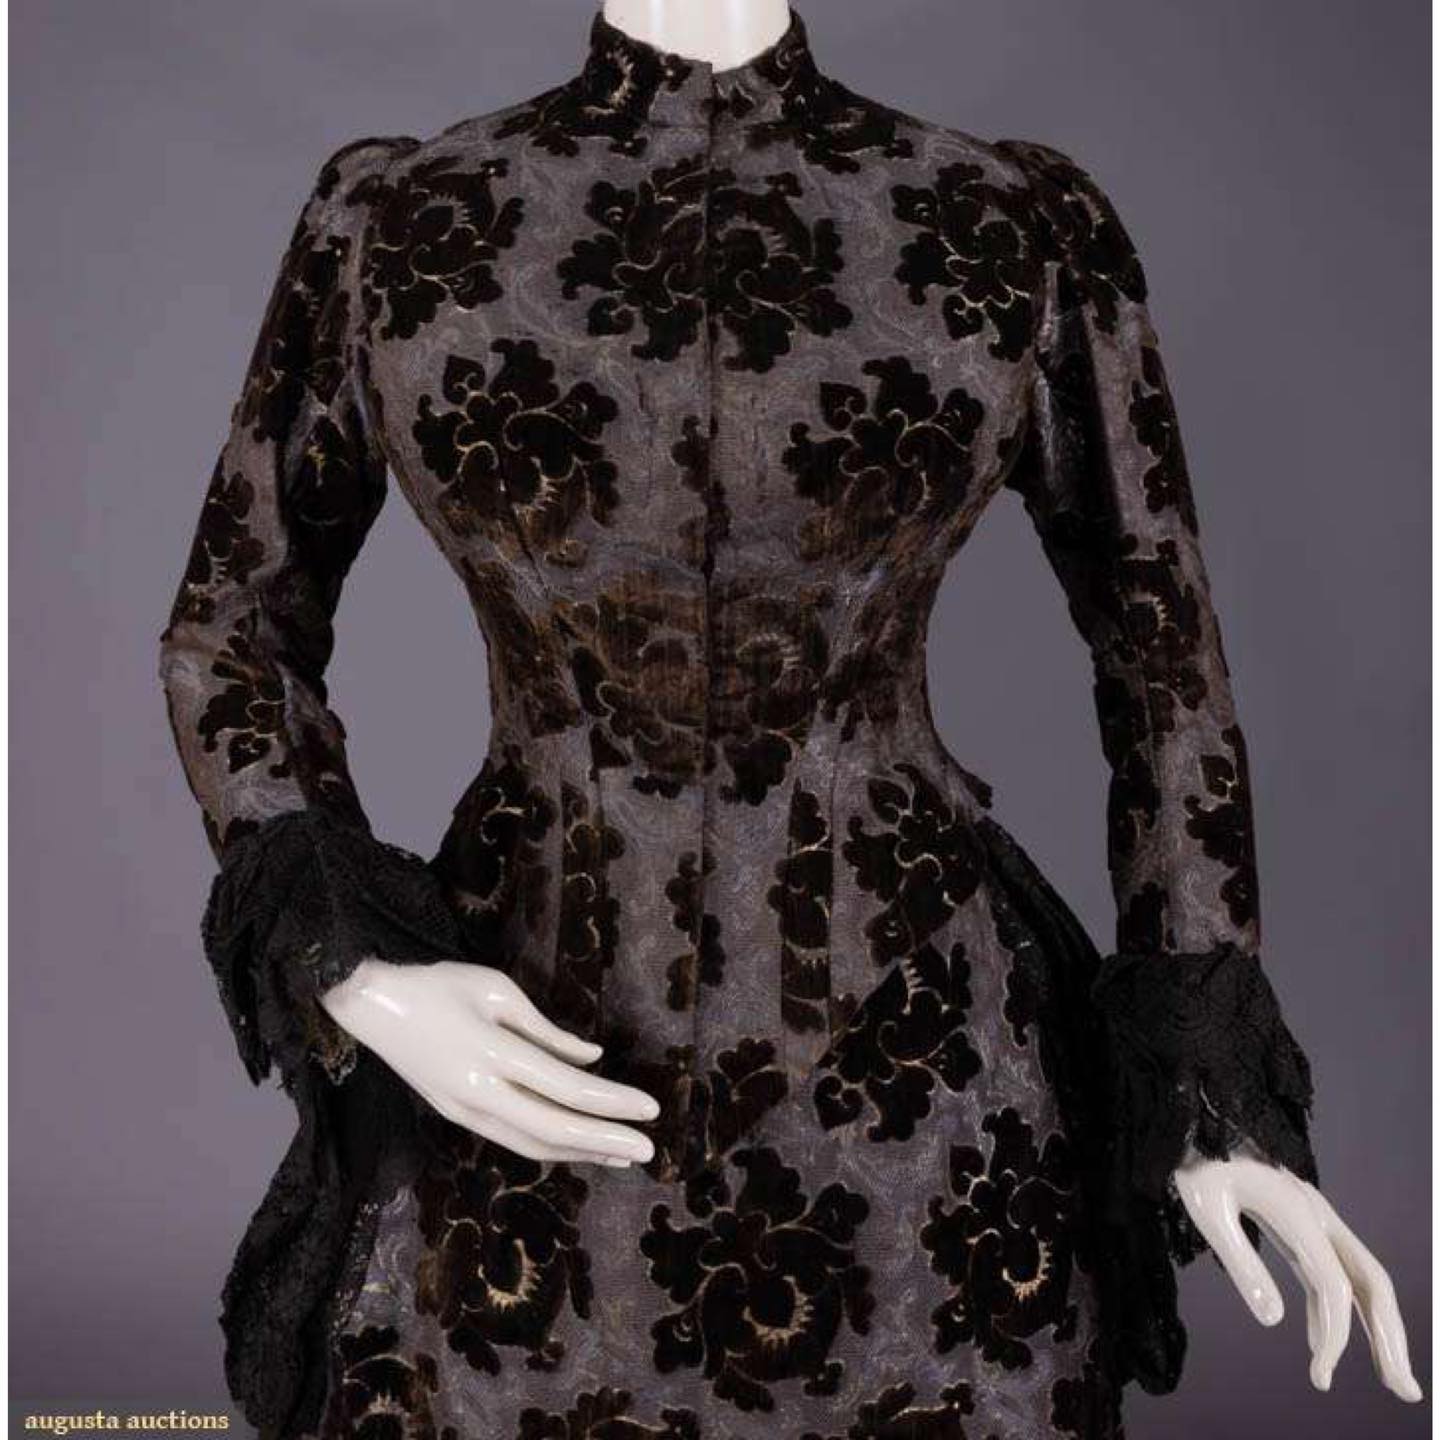
The layout of the pattern means it could not be mirrored across the seams of the bodice, but the dressmaker has made an effort to balance the pattern and create as much symmetry as possible.

Day dress of cut velvet and patterned silk, c. 1885 Sold by Augusta Auctions, Spring Sartorial Surprise - Visions of Vintage, May, 2022 Sturbridge, MA

Day dress of cut velvet and patterned silk, c. 1885 Sold by Augusta Auctions, Spring Sartorial Surprise – Visions of Vintage, May, 2022 Sturbridge, MA

The bodice would probably have been worn with a small ruffle of white or cream lace at the neck.

What do you think?  Is this an attractive balance of 1880s extravagance and subtlety?

Rate the Dress on a Scale of 1 to 10

A reminder about rating — feel free to be critical if you don’t like a thing, but make sure that your comments aren’t actually insulting to those who do like a garment.  Phrase criticism as your opinion, rather than a flat fact. Our different tastes are what make Rate the Dress so interesting.  It’s no fun when a comment implies that anyone who doesn’t agree with it, or who would wear a garment, is totally lacking in taste.

As usual, nothing more complicated than a .5.  I also hugely appreciate it if you only do one rating, and set it on a line at the very end of your comment.

How to hack the Cassandra Stays pattern to be front-lacing only

Tutorial: How to alter the Cassandra Stays pattern to be front-laced only

Previously on The Cassandra Stays Sew Along:


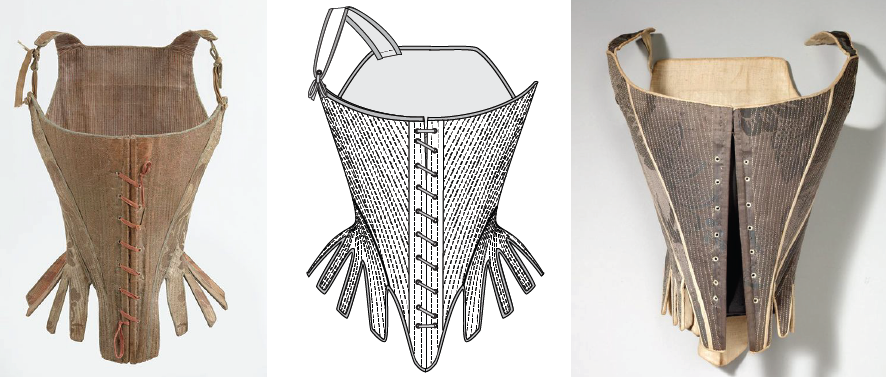
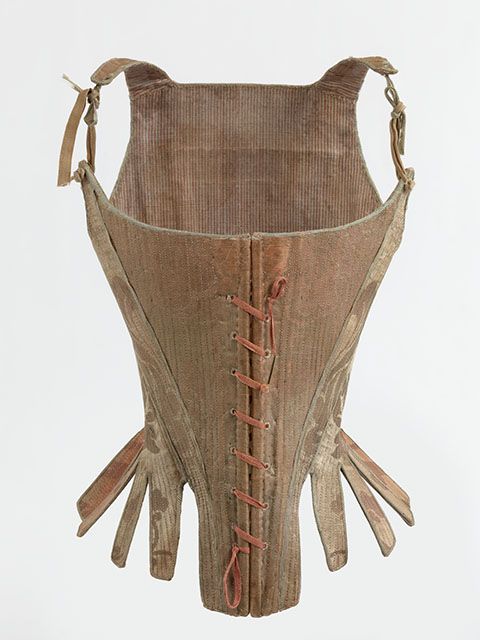
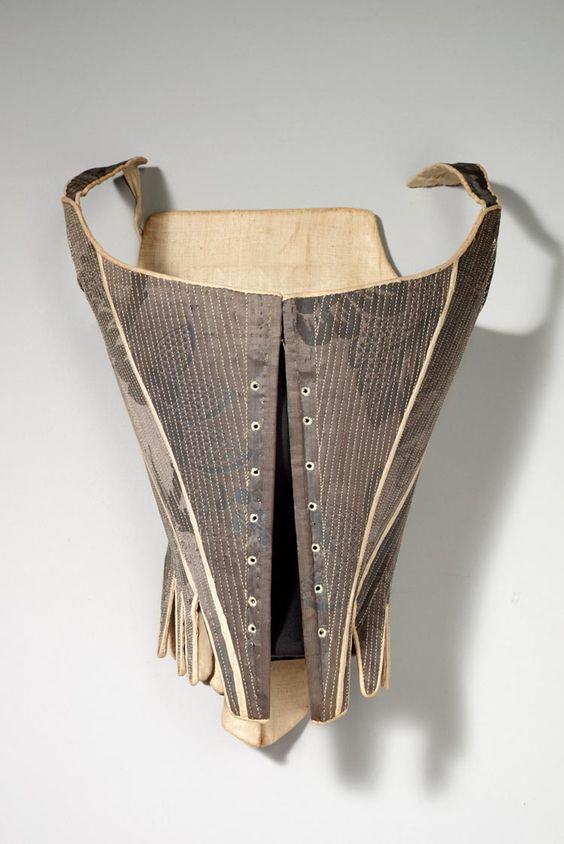
We designed View B of the Cassandra Stays to have front and back lacing for maximum flexibility.  However, it’s very easy to alter View B to be front-laced only.  It’s historically accurate too, based on examples like these stays:

Dutch corset from Antwerp, 1770-90

Dutch corset from Antwerp, 1770-90

And these stays:

I’ve used these two pairs of stays as the primary inspiration for the pair of stays I’m making for the Cassandra Stays Sew Along.

Here’s how I altered the Cassandra Pattern to be front-laced only!

Fitting for Front-Laced Only Stays:

It’s very important to get the fit just right in front-lacing only stays.  After all, you’ll only have one set of lacing to adjust to your body.

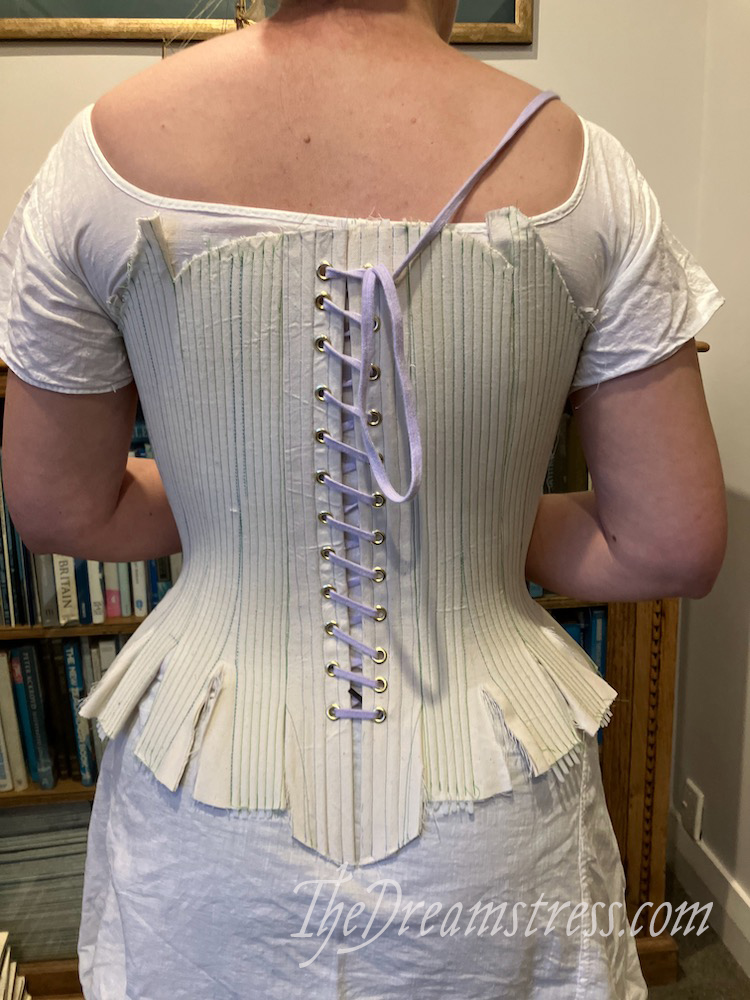
When fitting, aim for a back lacing gap that is 1.5cm/5/8” or under, and perfectly even up and down.  No gap at all is best.

You can see here that I either need to be able to comfortably tighten the lacing just a bit more in the middle, or let out my seams in the middle where it wants to bow out just a wee bit:

Fitting the Scroop Cassandra Stays thedreamstress.com

Make a careful note of exactly how wide your back lacing gap is.

Moving to the front of the stays, let’s look at the front lacing gap.  Think about how tightly laced you want it in front.  I want the option to lace my stays totally  closed at the front at their snuggest, or to wear them with a bit of a cap and the stomacher showing for a more casual look.

Fitting the Scroop Cassandra Stays thedreamstress.com

Keep in mind any changes your body might go through.  I fitted my stays after 2 months on meds that made me gain weight, right before switching to meds that have minor weight loss as a common side effect, so I’ve left just a little gap in case I drop a kilo or two.  I can also take in or let out the seams of the final stays when I get to the final fitting, and this should let me finesse them to wherever my body is at that point.

When you are completely happy with your stays fit and all your adjustments, it’s time to transfer the adjustments to the pattern.

Pattern Adjustments:

Fitting the Scroop Cassandra Stays thedreamstress.com

Transfer all your adjustments to your pattern, and when you come to Piece G (the centre back piece) draw a line parallel to the centre back line that is 1/2 of your lacing gap.  Fold under the centre back seam allowance of Piece G on that line.

In my case I fit for no back gap whatsoever, so I folded in my pattern piece right along the centre back line:

Cutting out the Cassandra Stays thedreamstress.com

You’ll now be cutting your center back piece with this line along a fold:

Cutting out the Cassandra Stays thedreamstress.com

Cutting out the Cassandra Stays thedreamstress.com

Cutting out the Cassandra Stays thedreamstress.com

And that’s literally all you have to do to alter the Cassandra Pattern to have no back lacing!

Now you’re ready to cut out.  And that will be the subject of the next post.  After Rate the Dress, of course…