Update: I’m so sorry! I finished my paniers on Wednesday, wrote the final posts on how to make them, scheduled all the posts, and headed off for a much-need relaxing long weekend with friends. And then stupid WordPress didn’t publish my posts!
So, to those of you who were counting on the end of the tutorial, I apologise! And to those of you who were just deprived of your daily entertainment, well, I apologise too! On the bright side, now I have pretty pictures and a fun trip to tell you about on Wed!
~~~~~~~~~~~
Right, back to the Panier-Along! Let’s get these done!
Yay! Final steps! Today we’ll be pleating the top of your panier bags, and sewing them to the channels that your waist ties will go through. First, hem the short edges of both of your 3″ x 7″ waist pieces. I’ve done mine by hand, but machine is fine too. When you are done it will measure about 6-6.5″ long
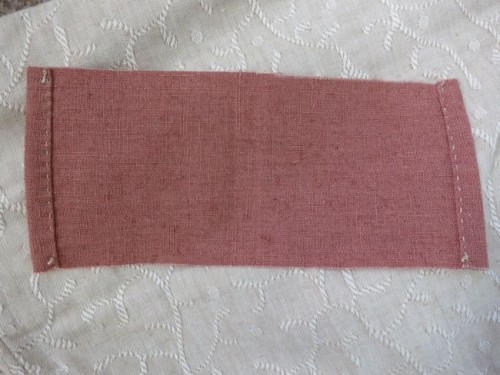
Hemmed waist piece
Now you’ll be pleating the top of your panier-bags so that they fit the waist pieces.
Mark the centre of your panier inside piece, and pin the pocket slit edges of your panier bag on either side of it. Rather than butting the edges together at the centre leave a little gap to make it easier to slip your hand in.
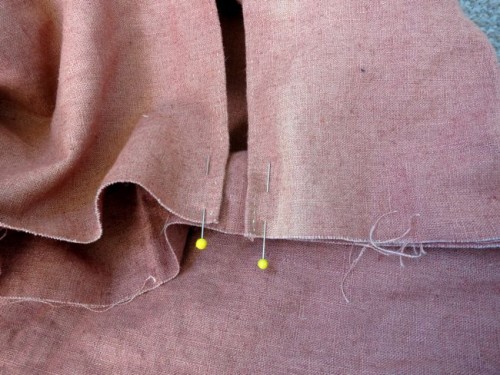
Pocket slit pinned to panier inside
Now, pleat your panier bag inside and outside pieces together so that they measure the same length as your hemmed waist channel piece.
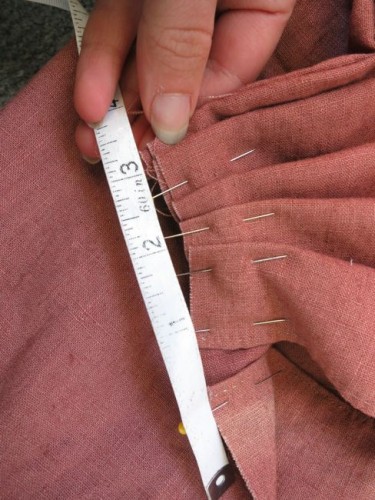
Checking that each half of the panier bag is pleated to 3″
You’ll need one pleat of the shorter panier inside piece and longer outside pieces together, and four pleats in the panier outside piece by itself on each side of the pocket slit.
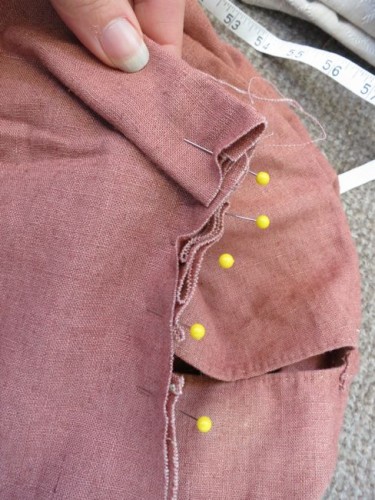
Single pleat of the panier inside piece and outside piece together
Check that your pleated together panier bag top is the same length as your waist piece:
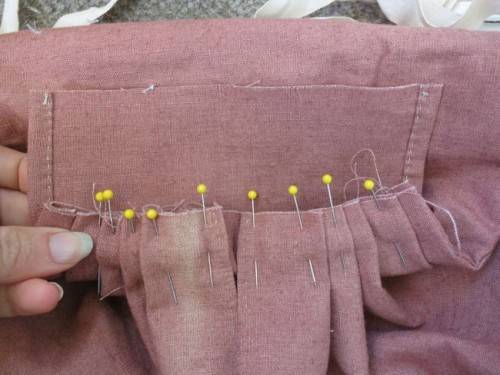
Checking the pleated bag against the waist piece
Once you have your pleats figured out, pin your waist piece to your pleats, with the right side of the panier waist piece to the right side of the panier inside piece.
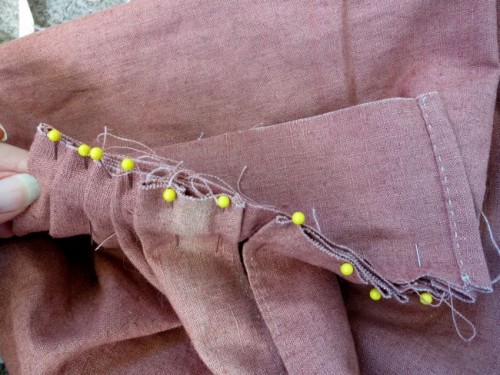
Pleated panier bag pinned to waist piece
Sew the pieces together:

Sewn together panier bag and waist piece
Now, fold the long raw edge of your waist piece under 1/2″, and fold the waist piece over so that it encloses the raw edges you have just sewn, forming a long tube with all the raw bits inside (just like you would sew a waistband). Topstitch in place.

Waist channel topstitched in place
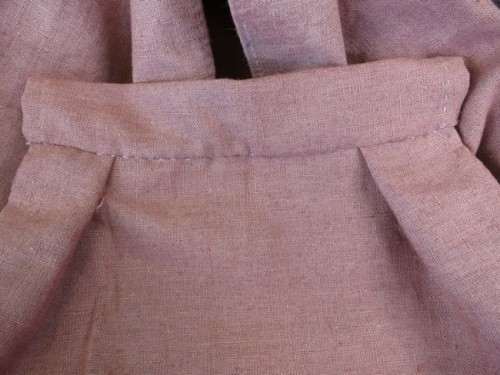
The waist channel from the back/inside
Now, thread your twill-tape waist tie through the channel (a big safety pin will help with this), and your first panier is done!
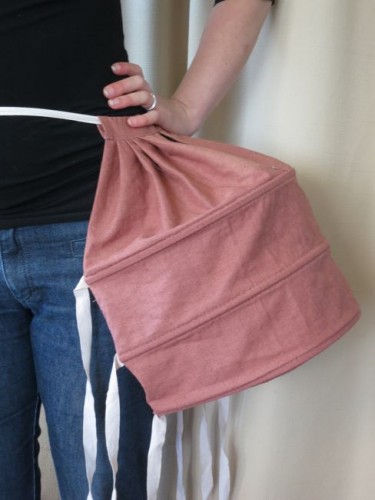
A finished panier bag
Do the same to the other one, and you have a finished pair of paniers.
I’ll show you my finished paniers tomorrow!


Just finished the paniers. They look good. I had already pleated the 16 inch panels to fit the 11 inch panels, sewed them together and turned the paniers inside out when I read the p.s. part about the 7 inch strips. I had to sew them on by hand over the finished part which I gathered by hand. This was very tough with several layers of white demin to deal with. Tomorrow we will see how they look under my colonial dress when I have 4 school groups to talk about 18th century clothes with and take on a tour of the Hermitage.
I love your tutorials! They are really helping me with my version 18th century dress robe!!! My panier along are beatiful, such as yours! Ty so much!!!