
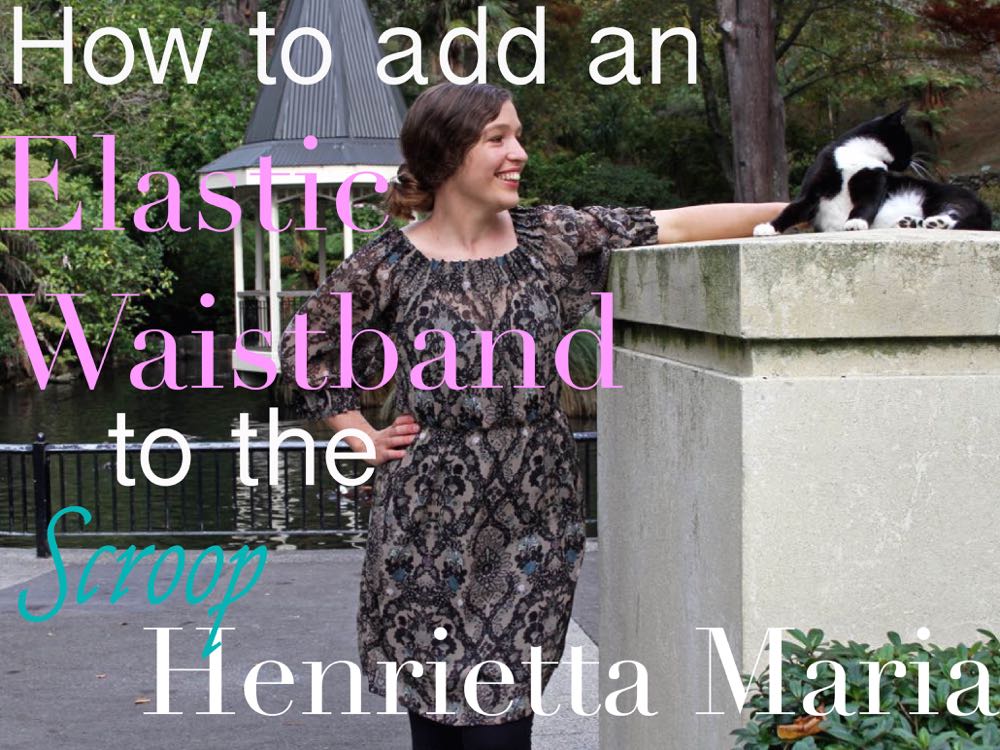
It’s the tutorial you’ve all been waiting for! How to add an elastic waistband to the Scroop Henrietta Maria dress.

It’s not hard to do: you mark your waistline, sew a piece of elastic in a circle, and sew it on while stretching it to fit the dress.
You’ll need:
- A piece of narrow 1cm/3/8″ wide elastic as long as your waist measure
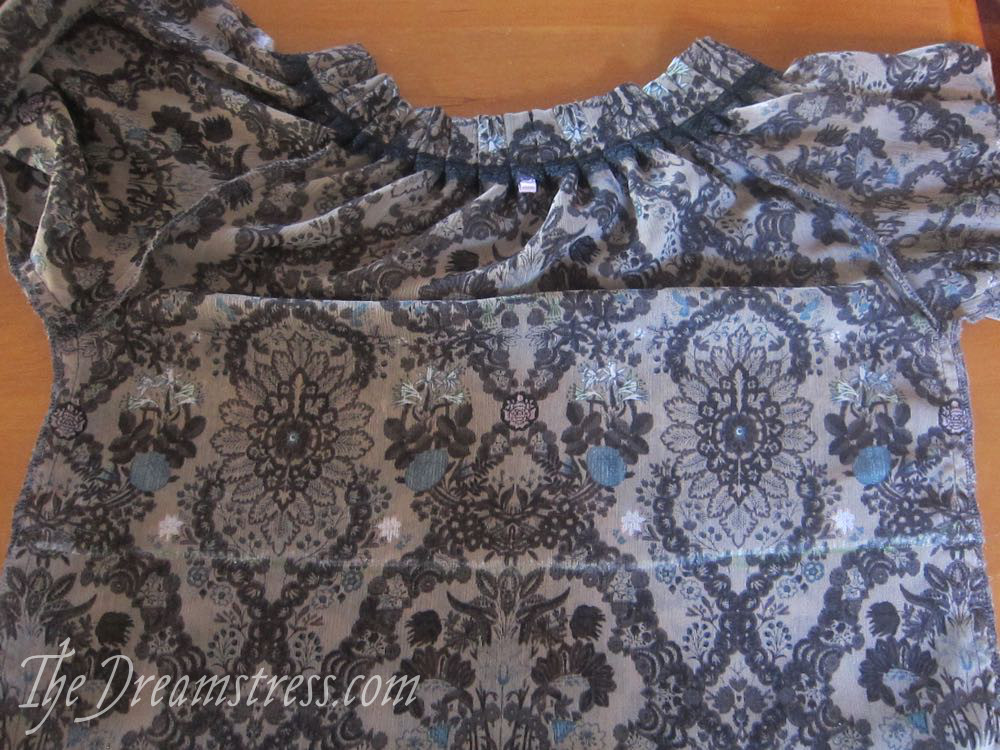
- A Henrietta Maria dress, finished except for hemming.
- Chalk or fabric markers for marking
- A french curve (helpful, but not necessary)
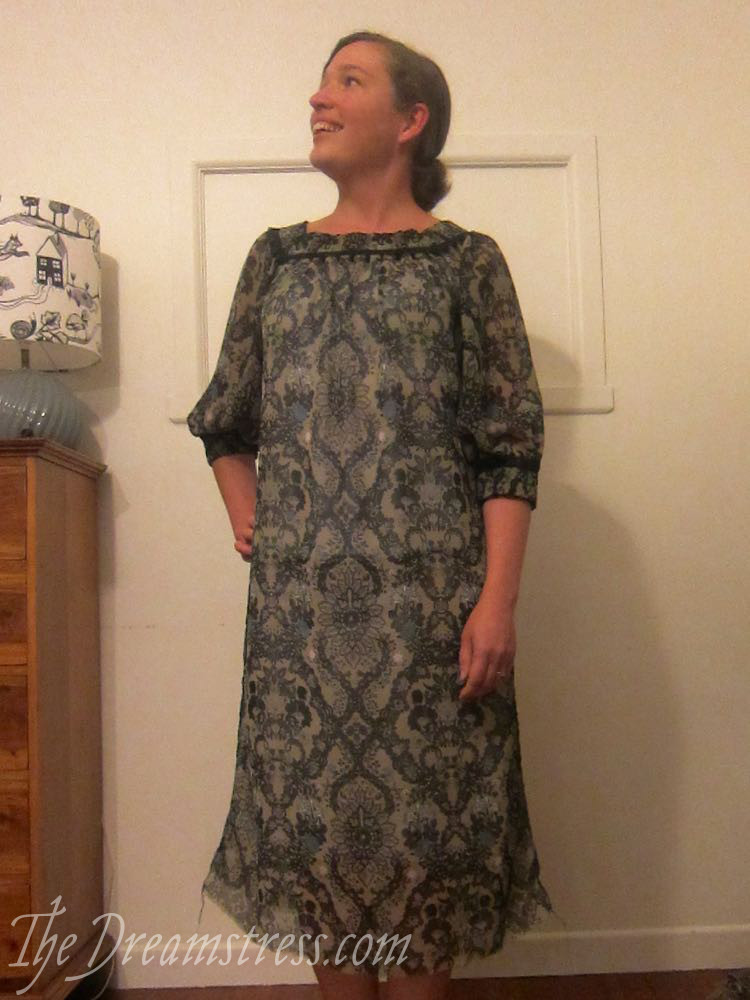
Put your dress on inside out:
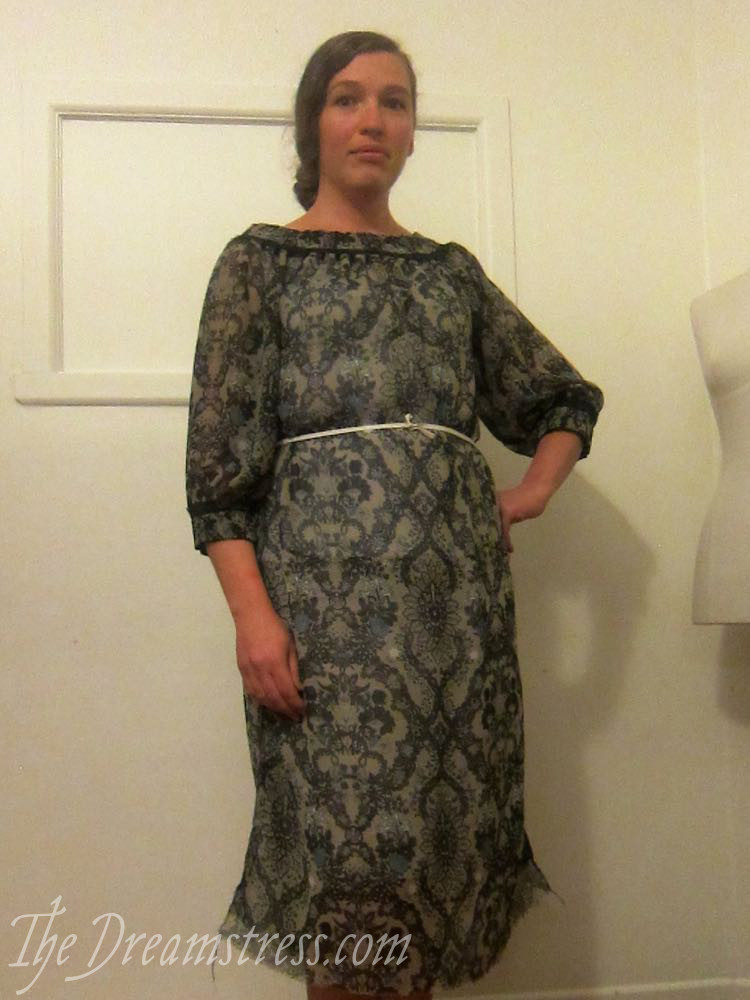
Pin or tie your elastic so it sits snuggly and comfortably at the line where you would like it to sit on the dress:
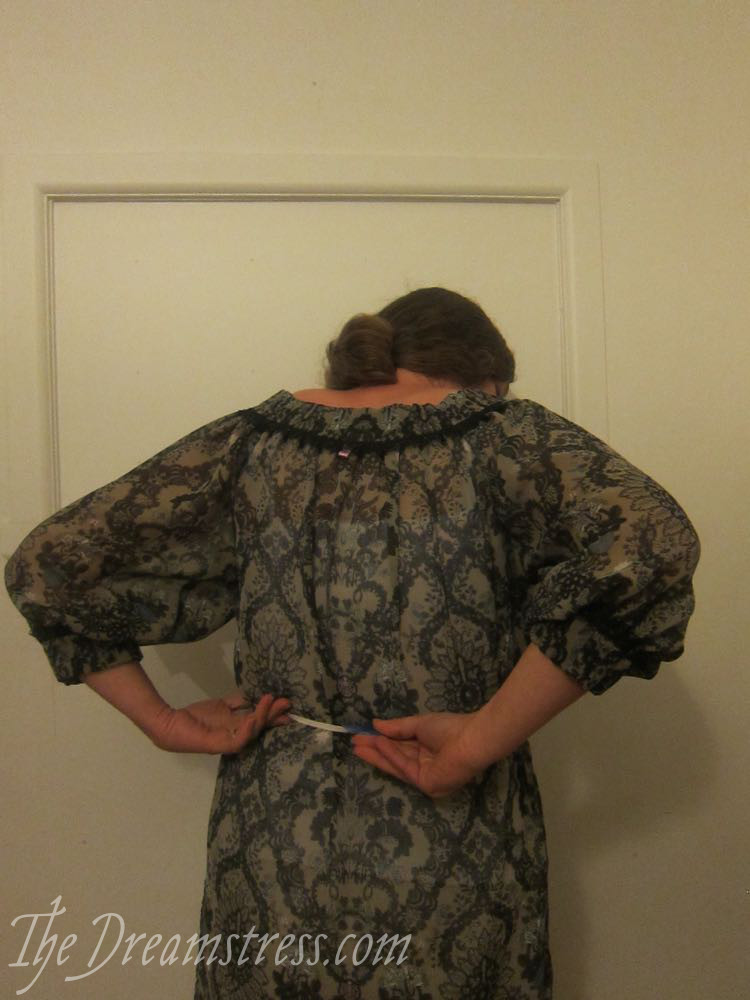
Using chalk or a fabric pen, mark the line of the elastic, front and back:
>>> Tip: You can just use the waistline marked on the pattern, but trying it on and marking ensures the elastic will sit exactly where you want it.
Take the dress off, and use a french curve to draw over your marked line, smoothing out any rough bits, and making sure it is clearly visible. I’ve done mine in white chalk AND green Pilot Frixion highlighters, to make sure you can see it in the tutorial.
Pin and sew your elastic into a circle:
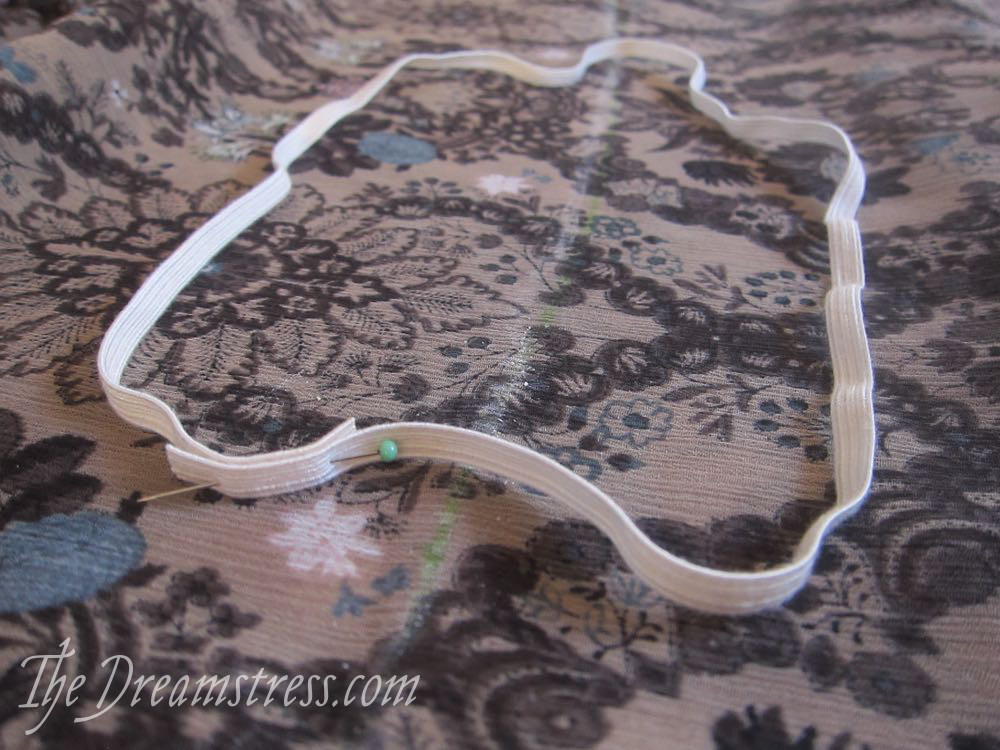
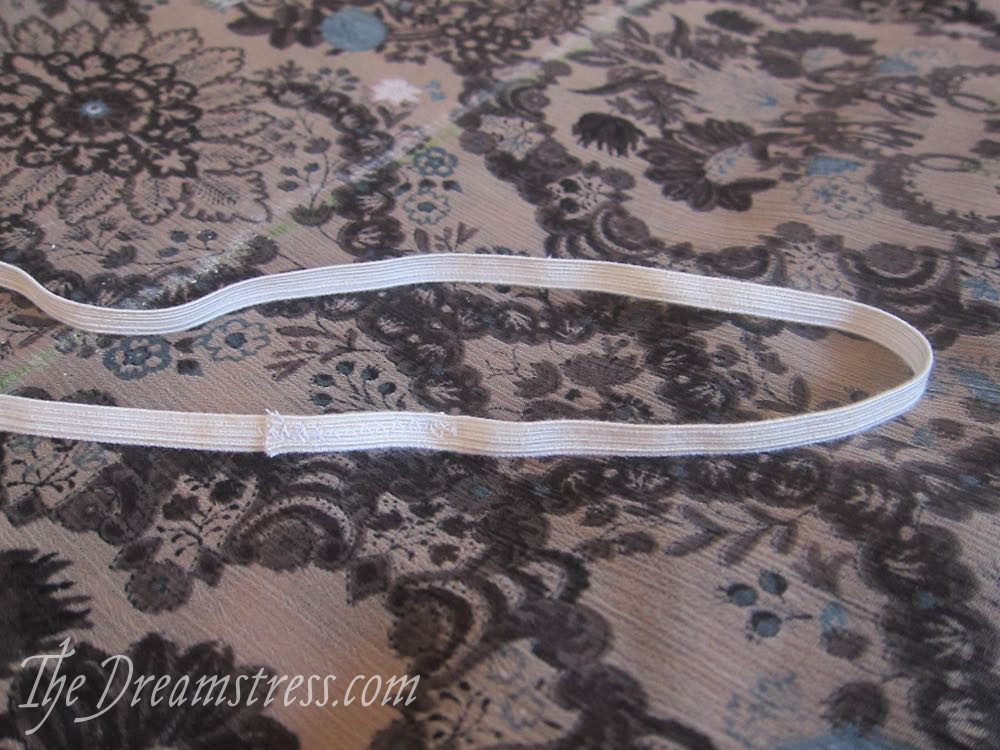
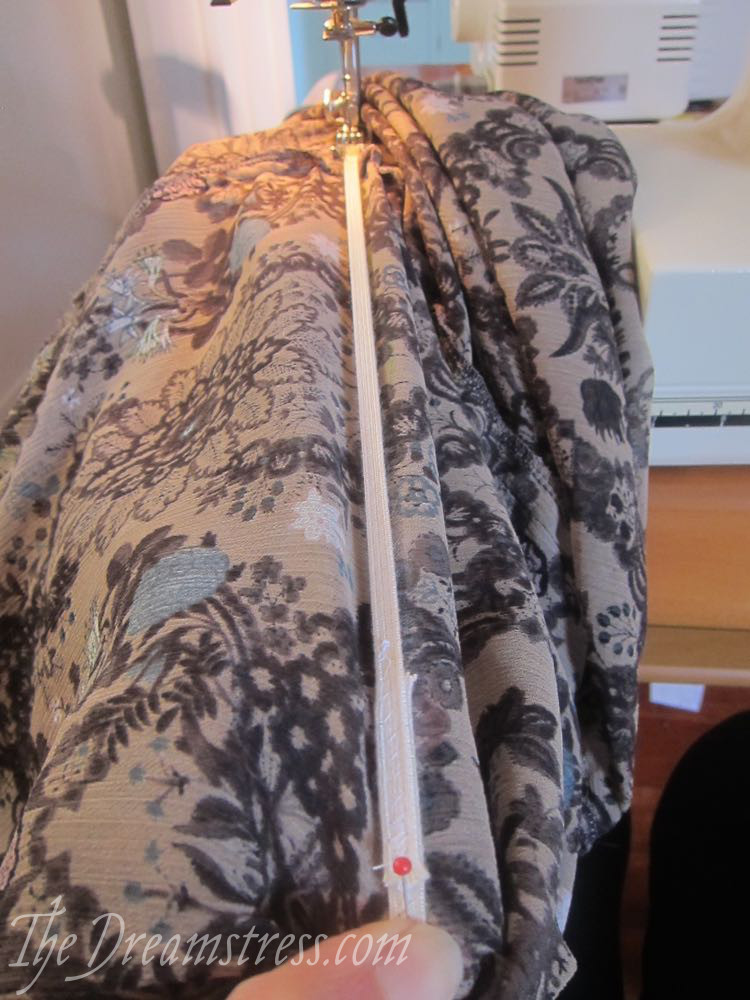
Mark the centre front and centre back of your dress at the waistline, and divide your elastic into four quarters marked with pins:

(optional step: remind cat that elastic with pins in it is not likely to be a happy cat toy).
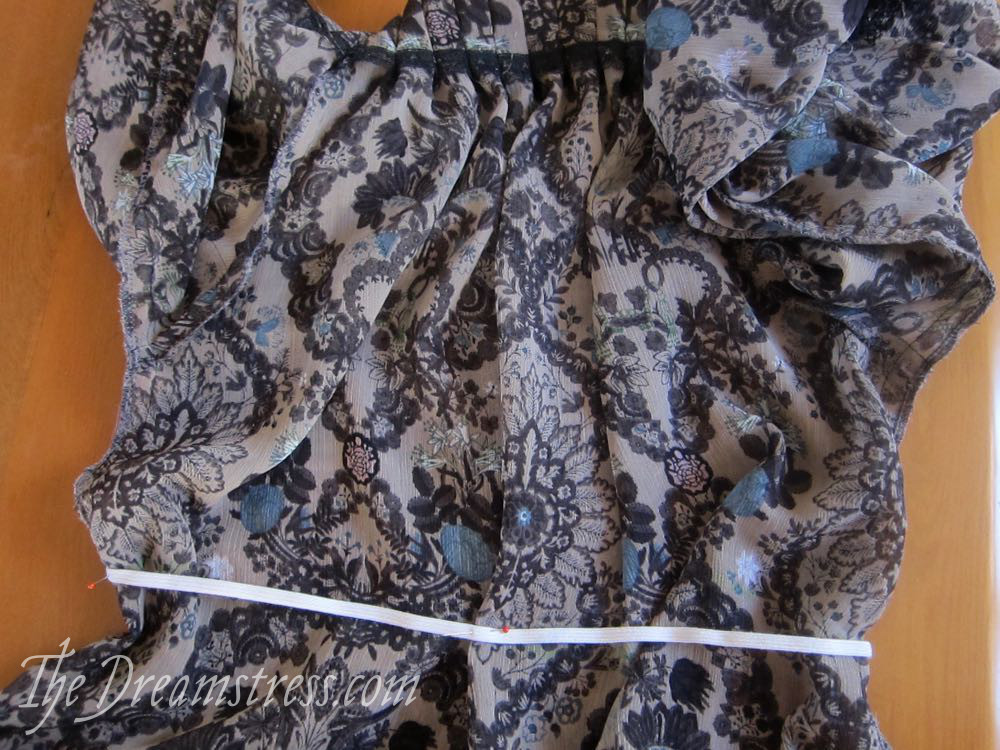
Pin the elastic around the waist, matching each quarter point to a side or centre mark:
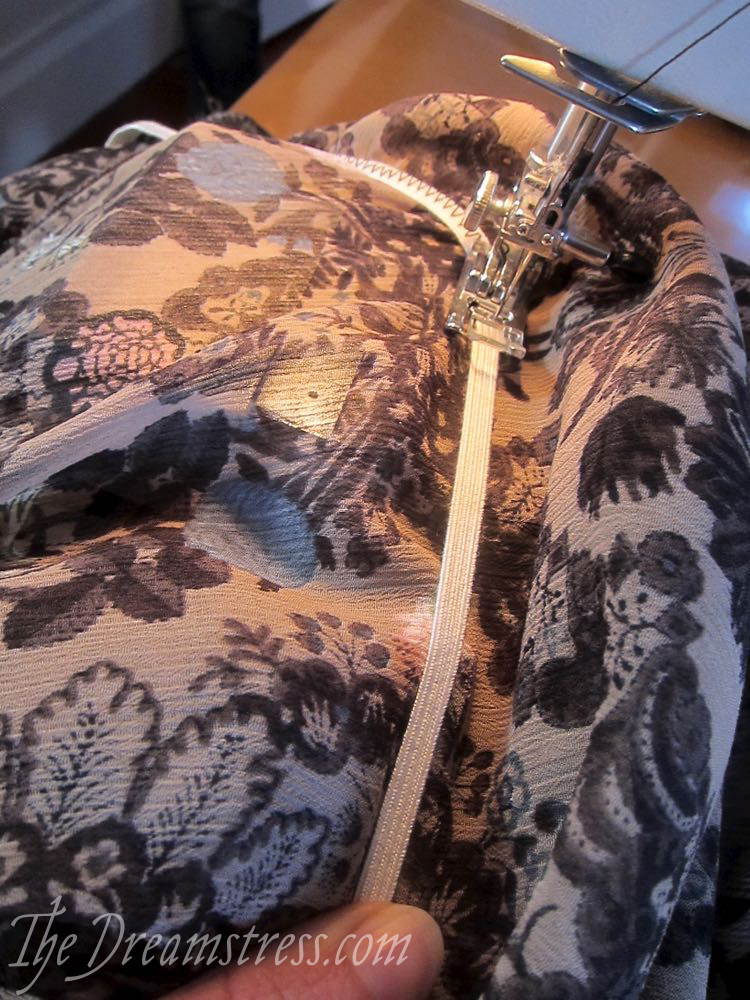
Set your sewing machine to a moderately high, moderately wide, zig-zag stitch.
Starting at a side seam, set the elastic and dress under the sewing machine, and sew a few stitch and backstitch to secure your start point. Sink your needle. Then stretch the elastic between your start point and your first pinned quarter, so there are no gathers:
Carefully sew along the stretched elastic, keeping it centred on your marked line:
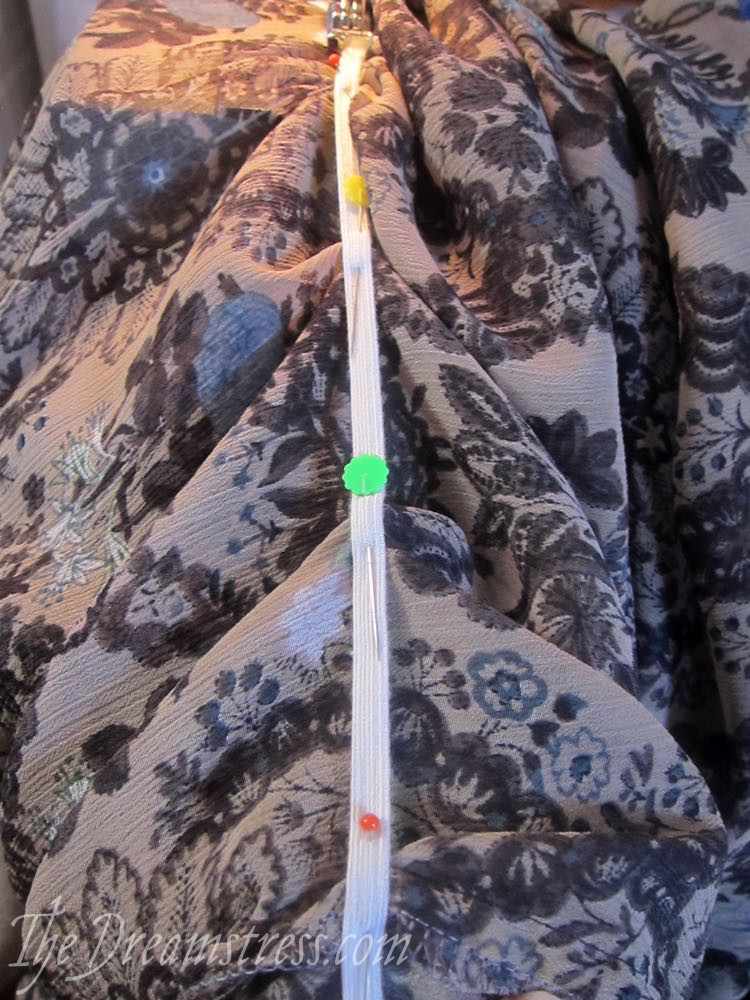
If you have trouble holding it steady, you can stretch it an pin it between the four quarters, so that you have less fabric to control:
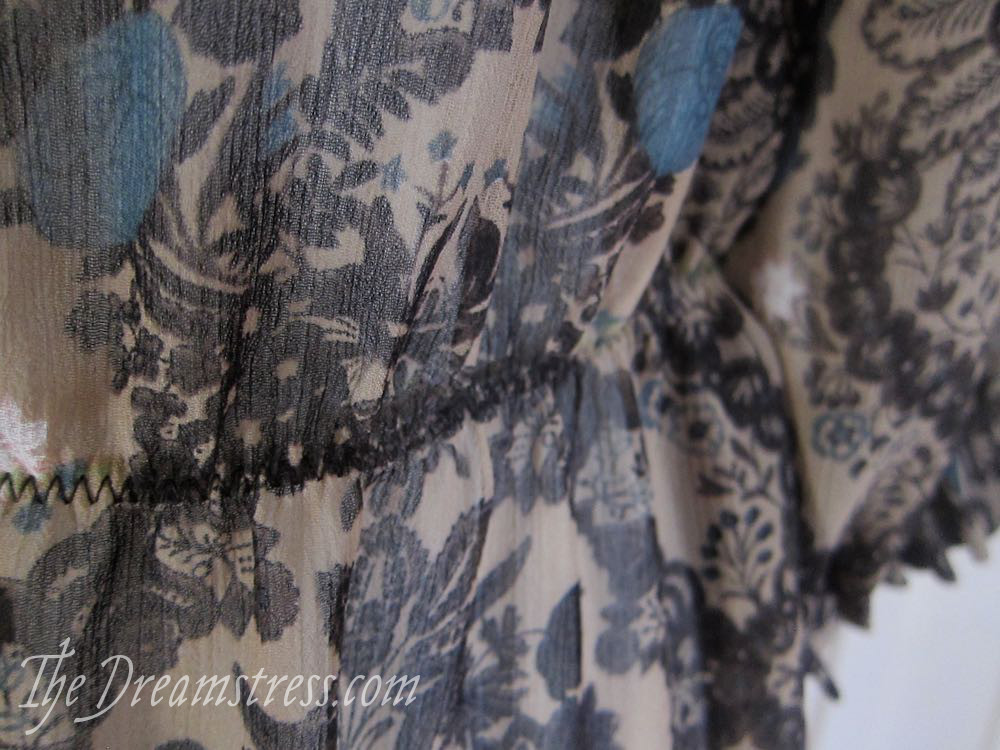
Don’t worry if your stitching wobbles a bit on the elastic, as it won’t be noticeable from the outside:
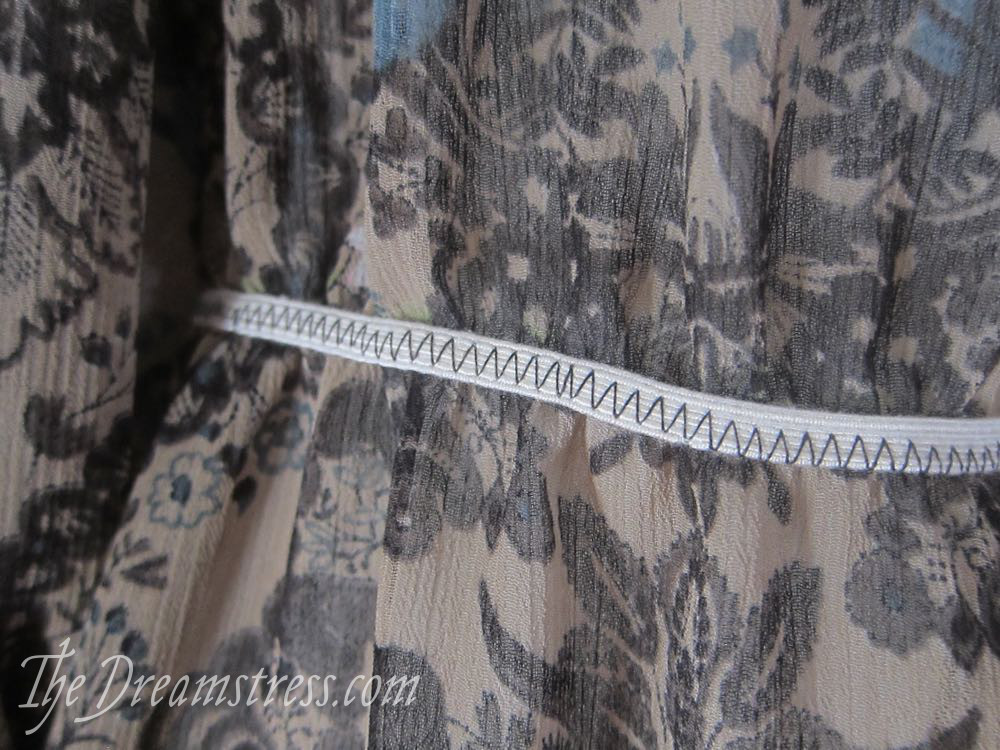
>>> Tip: Some sewers use a straight stitch for this method, and that is completely acceptable if that’s how you do it. I prefer as a zig-zag, as I find that the edges of the elastic curls around a straight stitch, and that the straight stitches end up being so tiny that they are impossible to unpick if anything goes wrong.
And here is the finished result!

Coming tomorrow…more pictures. With cats!