I started this post for May’s Historical Sew Monthly theme of ‘Literature’, but due to my arm injury I wasn’t able to finish it during May.
So, a little late, because I’m still on doctor enforced limited-computer time, a historical book review for a very fun piece, full of costume descriptions and illustration.
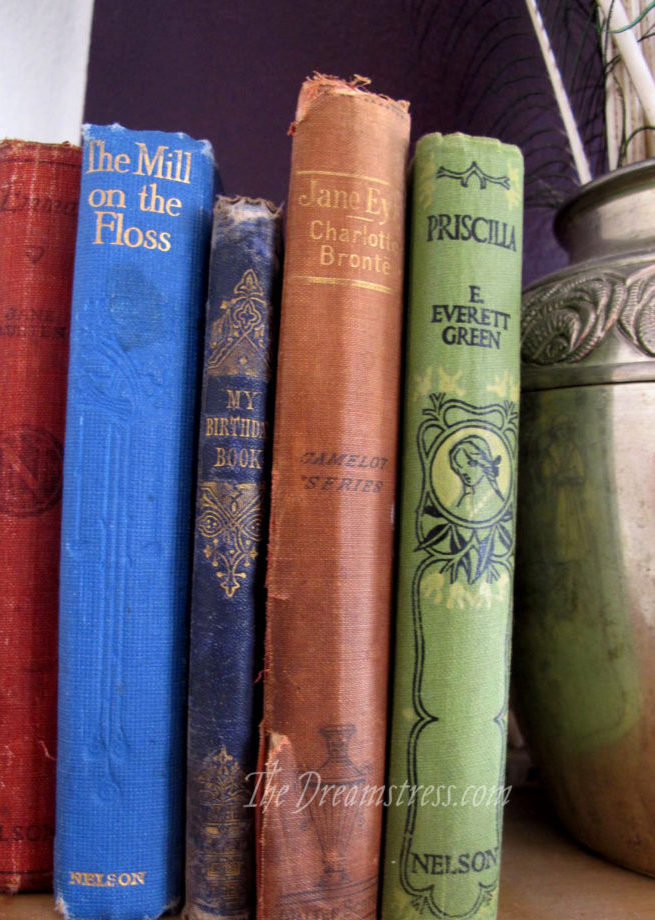
Priscilla is an 1890s romance novel by E Everett-Green, a prolific writer of ‘pious and improving’ stories for girls, as well as historical novels (and daughter of the truly amazing Mary Anne Everett Green). Knowing Everett-Green’s reputation for moralistic literature, Priscilla surprised me.
Despite the titular Priscilla dominating the plot, the book is not really about her: it’s a picture of six possibilities of late-Victorian womanhood; archetypical ingenue Priscilla; her sister Ruth, the pattern card of the ideal 19th century wife, sister & daughter, in a style that was already a bit old-fashioned for the 1890s; spinster cousin Barbara Stillingfield, grown cold and warped with stifled love and hope; petted and fete’d society beauty Olive Gardner; society matron Mrs Pym; and Gwendolyn Pym, firmly focused on the possibilities beyond the bounds of acceptable 19th century feminine pursuits.
The central story (Priscilla’s) is pretty standard Victorian (or any era) romance: a meet-cute followed by opportunities for relationship-building slightly outside the societal norm, an obligatory save-her-life moment, and the the realisation of ‘Oh no, we’re in love! But society/family obligations says it should not be’. Attempts to un-fall-in-love, momentous occasion throw lovers together, much angst, more angst, hand wringing, yet more angst, annnnnnnnnnggggggggggst. Oh yay, the course of true love reaches its conclusion!
(No spoiler warnings, because you already know how that plot goes).

Priscilla’s story, is, in short, boring. Priscilla is also boring, and to honest, a bit of a tiresome brat. She may be “a dainty little creature in a simple white cotton frock, with speedwell-blue eyes, a wild-rose complexion…”, but the very first thing she does is to fling the book her sister Ruth is reading, on to the ground in a petty tantrum.
Treating books badly is not a good way to get people who like reading books (which, presumably would apply to anyone reading about said book-hurtling) on your side!
And Priscilla doesn’t improve much. She grows up a little bit, does a bit more to help out, but she’s still the only young character in the book to behave in a petty, jealous, competitive manner – which does little to earn her the proper title of ‘heroine’ in a book that is otherwise free of the typical ‘catty female’ trope.
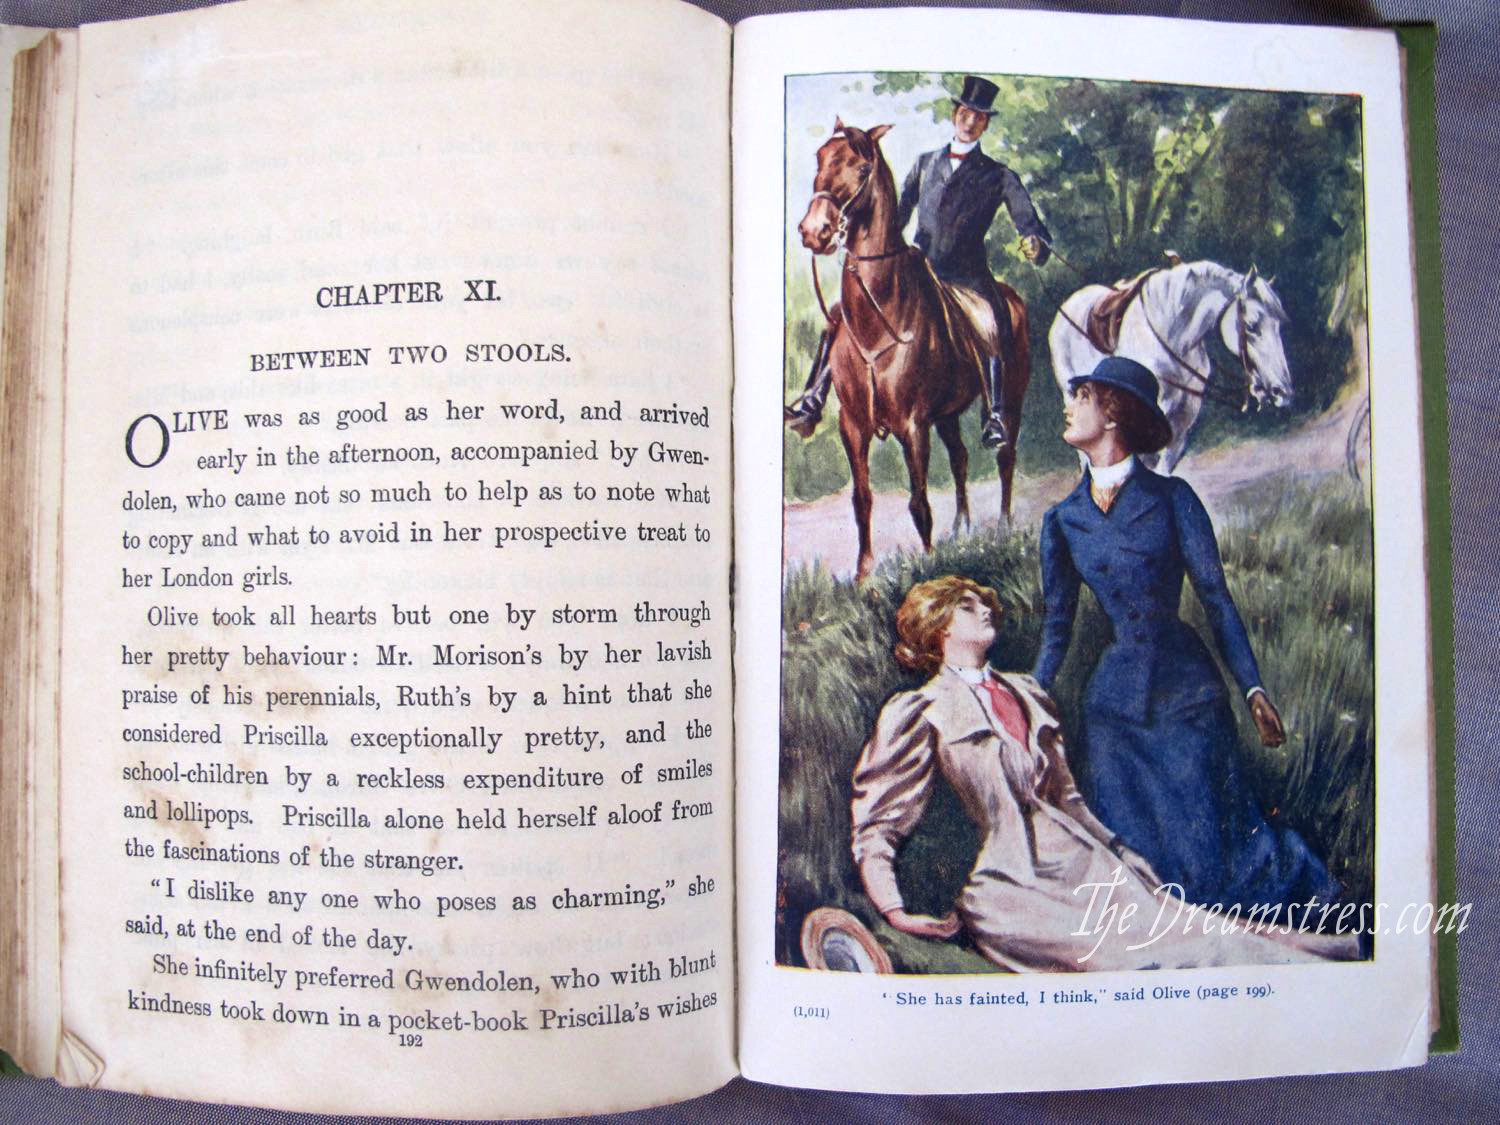
Interestingly, the most character-building thing that Priscilla does is to learn to ride a bike. The bike is a reward she earns through being helpful, and which she uses to be of further help in her district. It’s a notable choice of symbolic personality growth for its period: bike riding was still a contentious activity for women in the 1890s, and was not considered ladylike in many circles. The appropriateness of Priscilla riding is a point of much debate in the book. As late as 1907 the Girl’s Own Paper, for which Everett-Green wrote stories, warned against bicycle riding as a ‘man-game that murders beauty’ because it ‘rolls the spine, interferes with the proper function of the hips, and gives the bicycle face, with its ‘blintering eyes’, look of deep concern, square jaws, and flabby mock turtle cheeks'(!). In the context of the book’s time, Everett-Green’s choice of a bicycle to move Priscilla from a selfish child to a helpful adult is almost subversive.
There are other hints that all is not what might be expected in a late Victorian morality tale. Pattern-card of propriety and morality Ruth’s choices of self-sacrifise on the alter of family duty is called into question by the saintliest character in the book – and many others. Ruth is following the accepted paths of action for an eldest daughter by 19th century standards of virtue, but it is made quite clear that she may be misstepping, and is wrong to be ‘throwing away happiness’ for ‘a fancied duty’. Rich society belle Olive Gardner, who has long expected to marry the hero, and who would be jealous and conniving in any other story, is instead sweet, kind, open minded, generous spirited enough to immediately acknowledge Priscilla’s beauty, and has no interest in a rivalry with Priscilla. And spinster Barbara, derided by Priscilla as ‘hard, self-contained, and reserved’, is ultimately treated with sympathy – given a reason for her temperament, and a happy ending to her story.
Priscilla is a romance novel, so everyone gets a happy ending, but some are more unusual than others, and the most profoundly unexpected happy ending belongs to Gwendolyn Pym.
Gwen has no beauty, no desire for wealth, or a society marriage. Instead, her passion is for helping factory girls, for working to advance women’s rights – and particularly working women’s rights. Gwen wants ‘to do good to my kind – to spend my whole life in trying to lift the burden off people who have never had a chance of being decently happy or respectable.’
On the surface, Gwen’s aspirations aren’t that far off mainstream expectations of women’s behaviour for her period. If you can’t be a wife and mother, serve the world. However, how Gwen chooses to do it is quite amazing, and controversial, and why she chooses the path she does is even more amazing.
Gwen is presented as possibly the most admirable and moral character in Priscilla, but it’s also made clear that she does not believe in God (!) and considers herself an agnostic – a radical departure from the norm for the time (and there is also the definite hint that Gwen is totally uninterested in men, thought this shouldn’t necessarily be interpreted as her being lesbian in the modern sense, as the societal constructs around sexuality were totally different*). She also ultimately chooses her duty to the women she helps over her duty to her family, and explicitly states this bold choice. On being informed of this, Gwen’s mother, self-focused Mrs Pym, wails that she will ‘become a woman agitator…speak on platforms, or sit in vestries, or do any of the atrocious things that are turning good women into bad imitations of men nowdays?’ Gwen’s response is that ‘none of those things seem dreadful to me if one could be of service to one’s kind’, and you get the very firm idea, in reading it, that the author agrees, and that you, as the reader, thinking you were getting into a frothy romance, have suddenly been given a very firm dose of 19th century feminism, and have even been introduced to the radical concept that morality and religion are not the same thing.
Priscilla was a surprise to me, having read other Everett-Green works, and knowing her reputation as a clergyman’s daughter, and an active member of the Anglican church. I expected a standard tale of sweet-femininity and standard-virtue winning fair (*cough* and rich) gentleman, but I was also show a ‘mannish’, independent, brusk, untidy, totally uninterested in standard manners, and, as presented by the author, aspirational heroine – albeit one who had to be slipped into the story sideways.
It was a good reminder that no matter what our perceptions of the past, there was almost always a broader range of ideas and pattern cards to follow available.
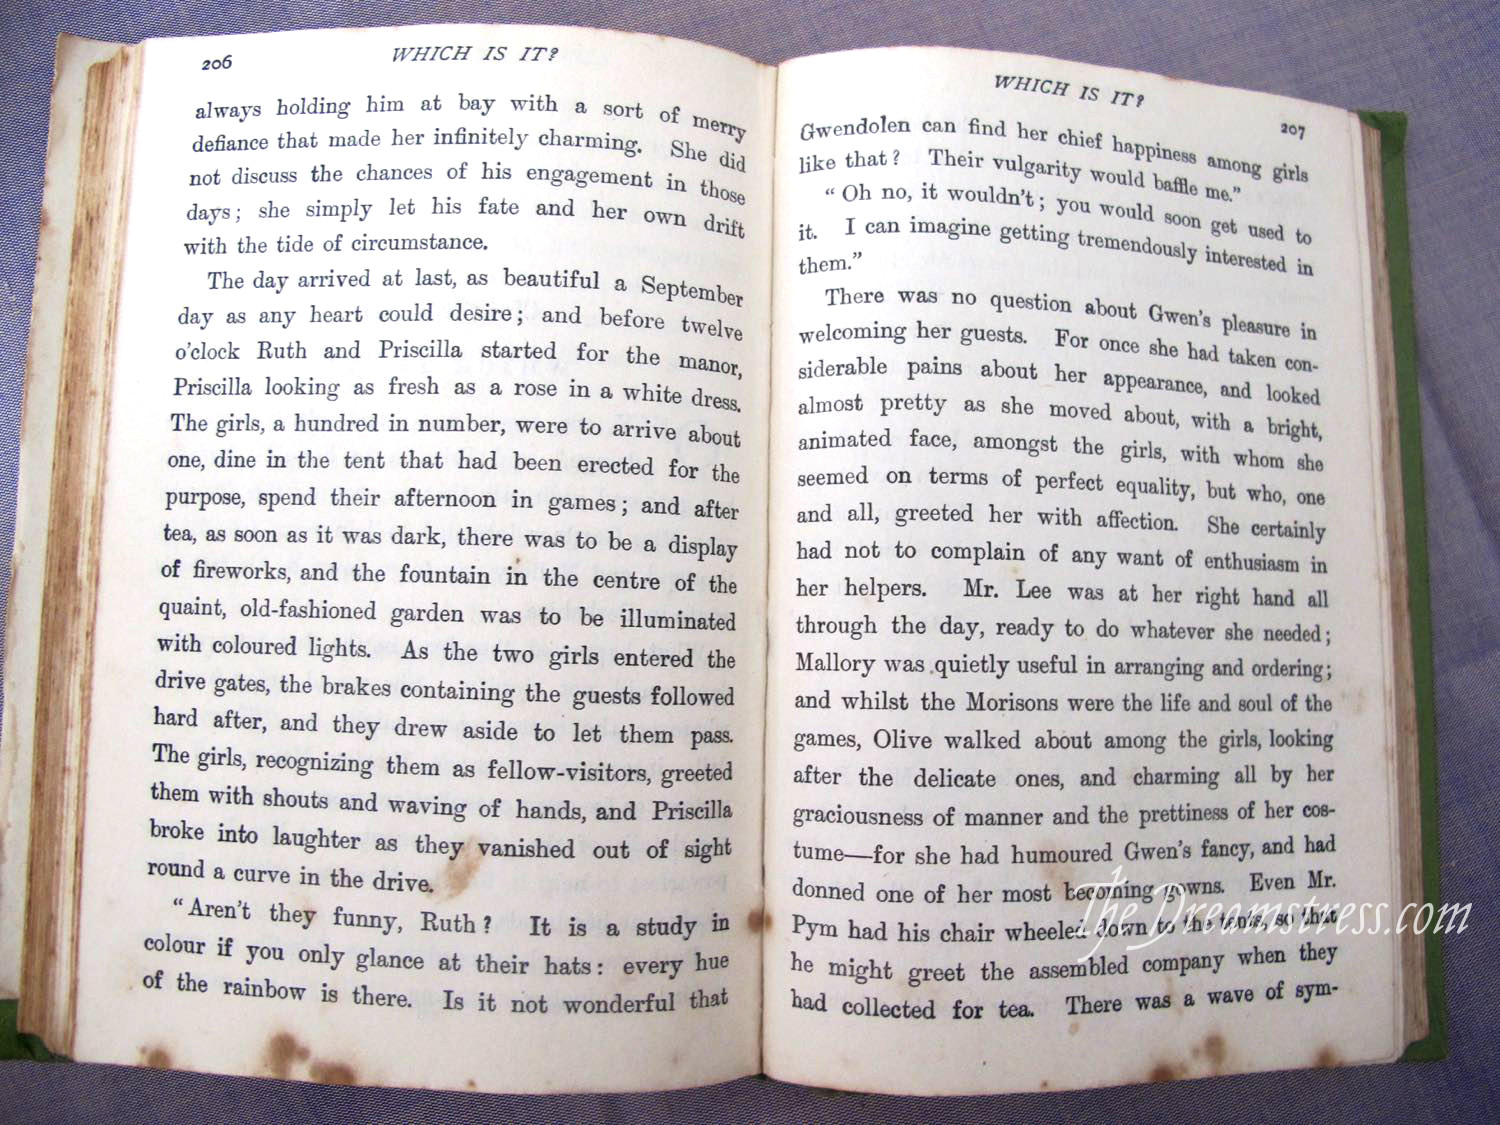
Sadly, I haven’t managed to find a copy of Priscilla on any of the out-of-copyright publishing sites on the internet (Project Gutenberg, etc.), but if you can get your hands on it, I thoroughly recommend it. It’s still a standard Victorian novel in many ways, but in the small ways it steps out of the mould, it’s quite amazing and eye-opening.
*It may be of interest that Everett-Green lived with a female companion for most of her adult life, though I can’t find anything on what form that companionship took – it might very well have been simply a friendship.


