A lot of people have asked about pockets for the Scroop Modern Fantail skirt.
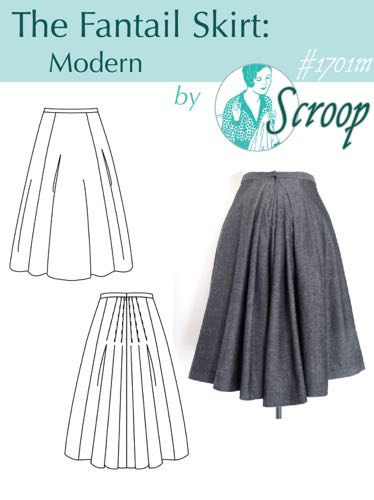
I really wanted to include pockets in the pattern. As I developed the pattern I tested multiple styles of pockets on the skirt: welt, in-seam, in-seam with standing welt, horizontal, back angled, front angled, patch. Unfortunately none of them fit my requirements for being sympathetic to the aesthetic of the skirt, flattering on most body types, successful in all the fabrics that the skirt could be made out of, large enough to make the aesthetic and difficulty compromises worthwhile, and within the difficulty range of the pattern. I didn’t want to include a pocket that compromised my vision for the pattern, just for the sake of having one. So, the pattern is pocket-less.
Of all the ways I tried to include pockets, by far the most successful was the back-angled drop pocket set into the side panel. They weren’t perfect: they do make the skirt a bit more casual, and you can’t put bulky things in them, so they didn’t quite make the level of pattern-inclusion, but they are nice and deep – you can even fit a passport in them!

Here’s how to add your own!
You’ll need:
- Your Scroop Modern Fantail Skirt pattern
- Measuring tools: a measuring tape, a ruler, and a French curve
- Marking tools
- Pattern tracing fabric, freezer paper, or some other paper/material to trace off extra pattern pieces.
- Two 1.5cm wide strip of interfacing, between 30cm – 55cm long each, depending on the size of your skirt, to stabilise the top of the pocket. I recommend a lightweight, woven interfacing, as this will provide more stability than a non-woven interfacing.

Part 1: Drafting the pocket pattern:
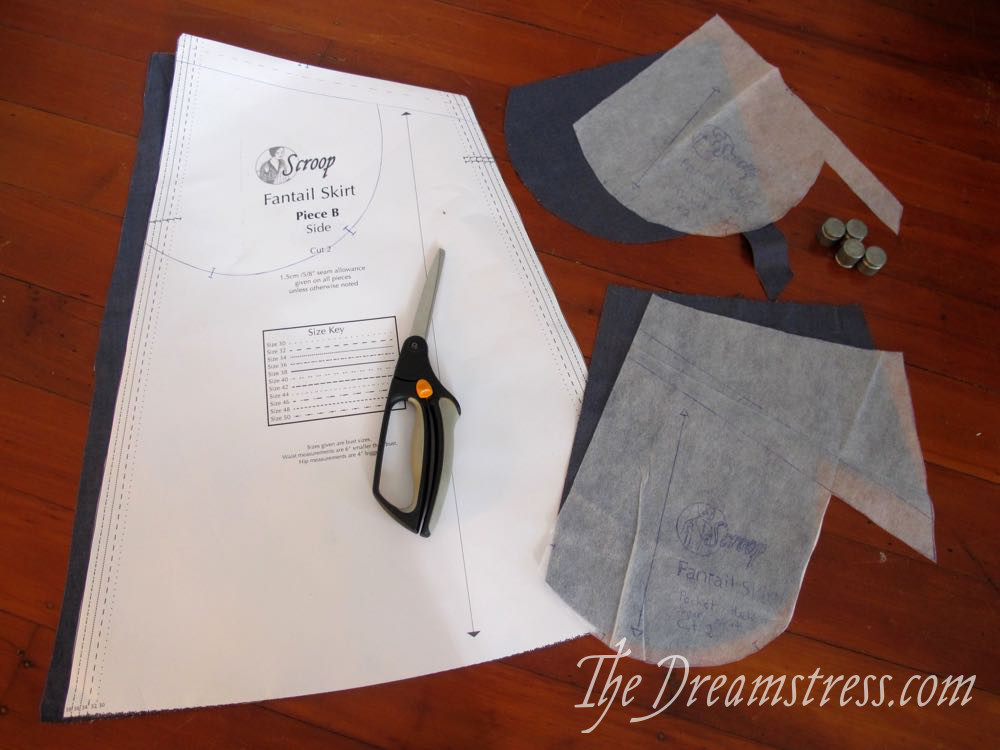
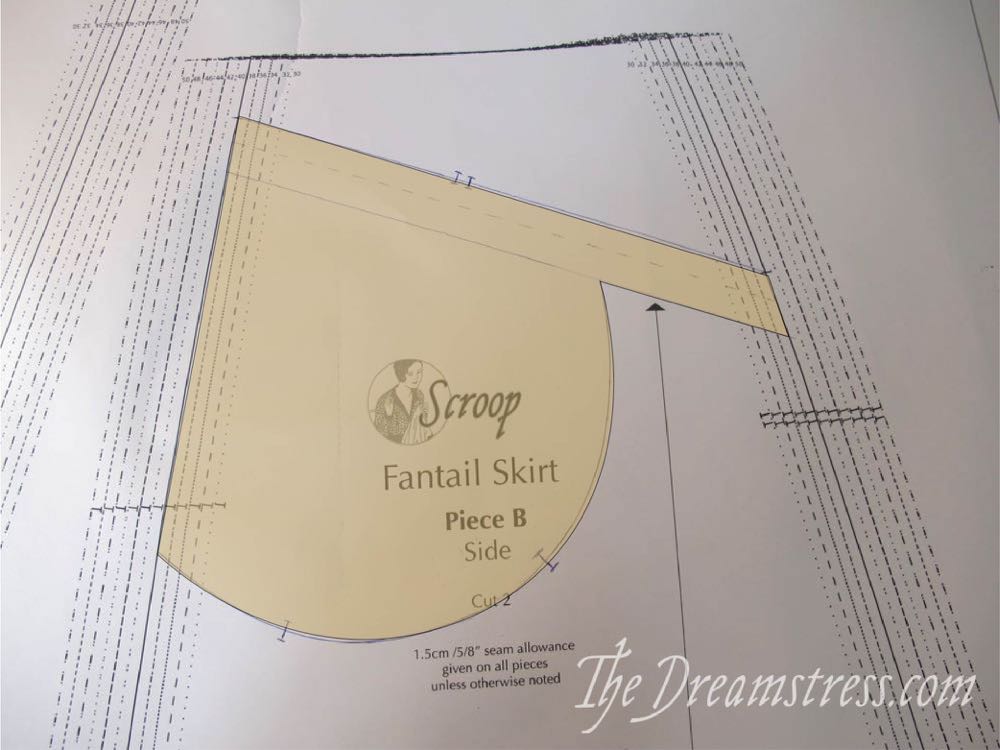
We’ll be working with Piece B of the Modern Fantail:
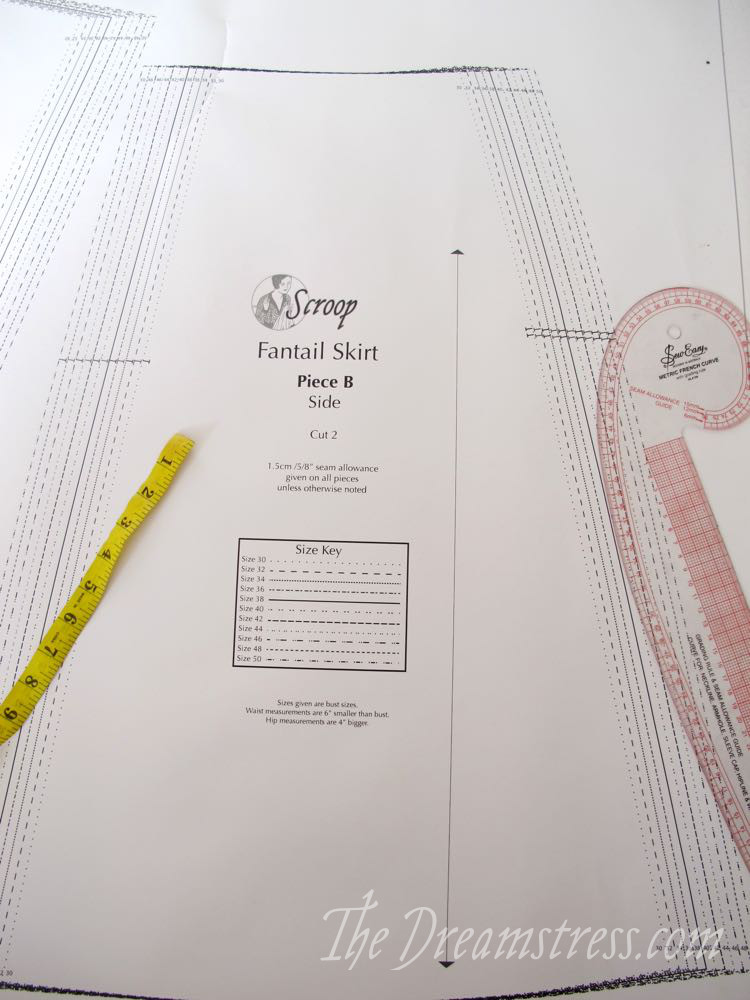
I’m demonstrating on the size 38 (plain line), but the instructions work for all sizes.
You’ll be making three pieces: a lower skirt piece, an upper skirt piece with attached pocket, and a pocket facing:
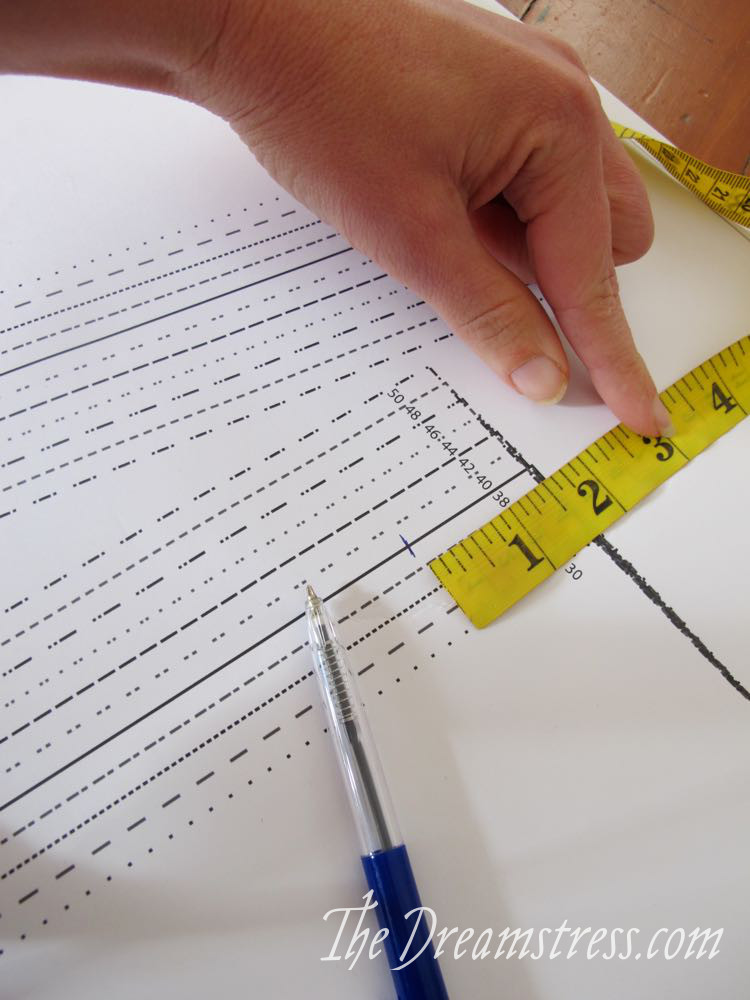
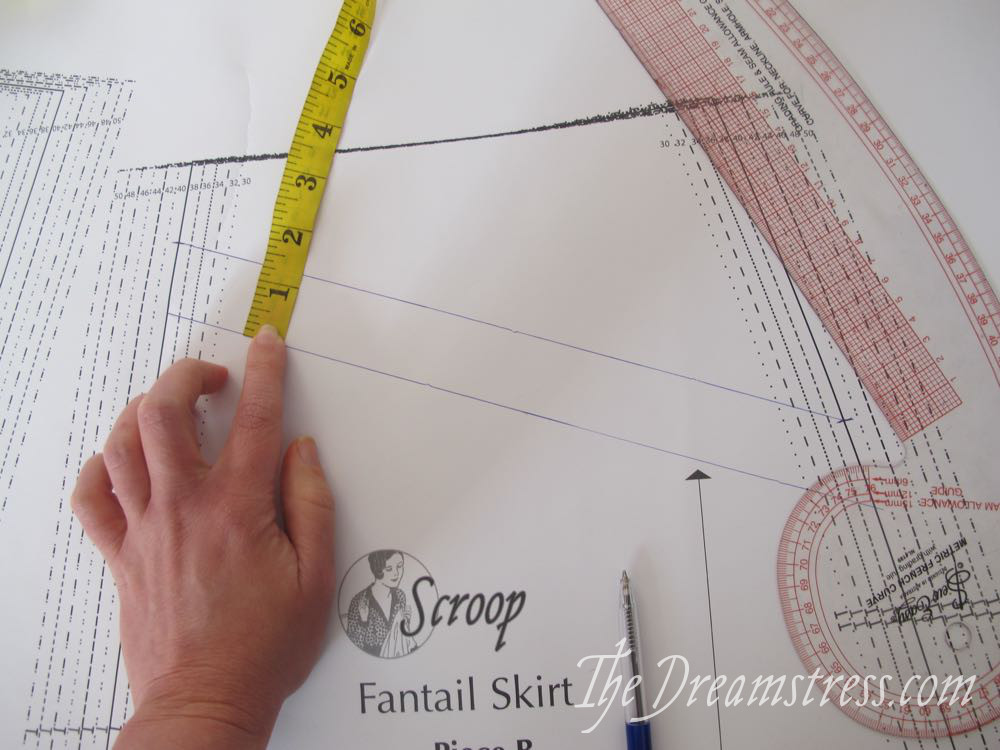
Measure down along your size line 1.5″/4cm the front edge of skirt Piece B (marked with 1 notch):
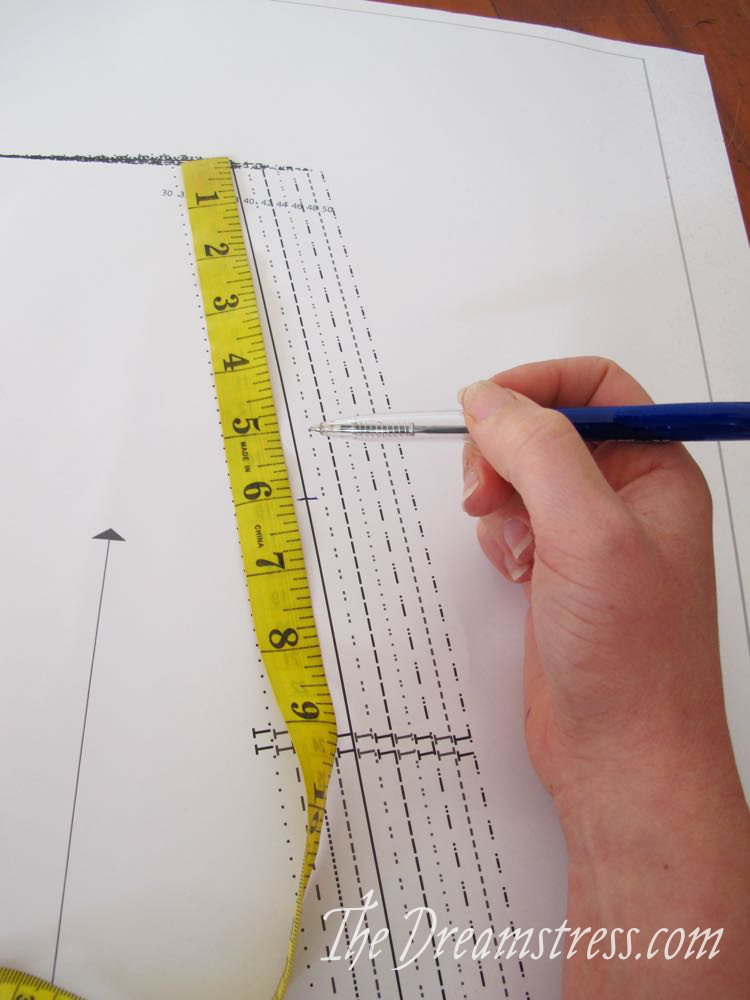
Measure down 6″/15.5cm the back edge of skirt Piece B (marked with 2 notches):
Draw a line connecting the two points:
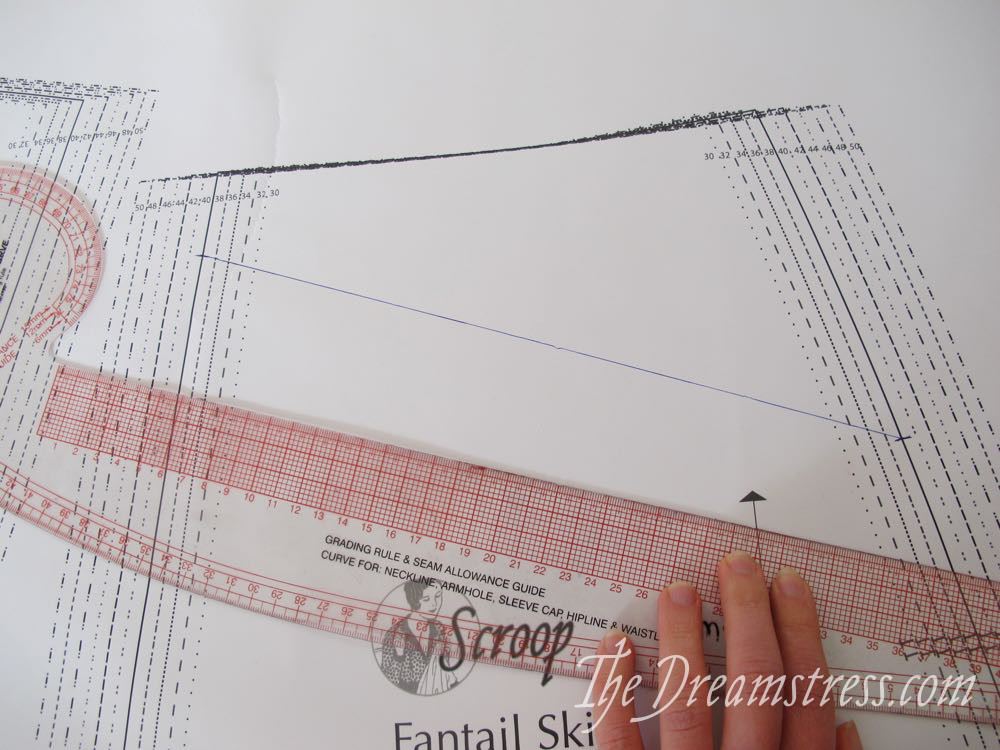
Draw another line, parallel to the first, 1 1/4″/3cm below it:
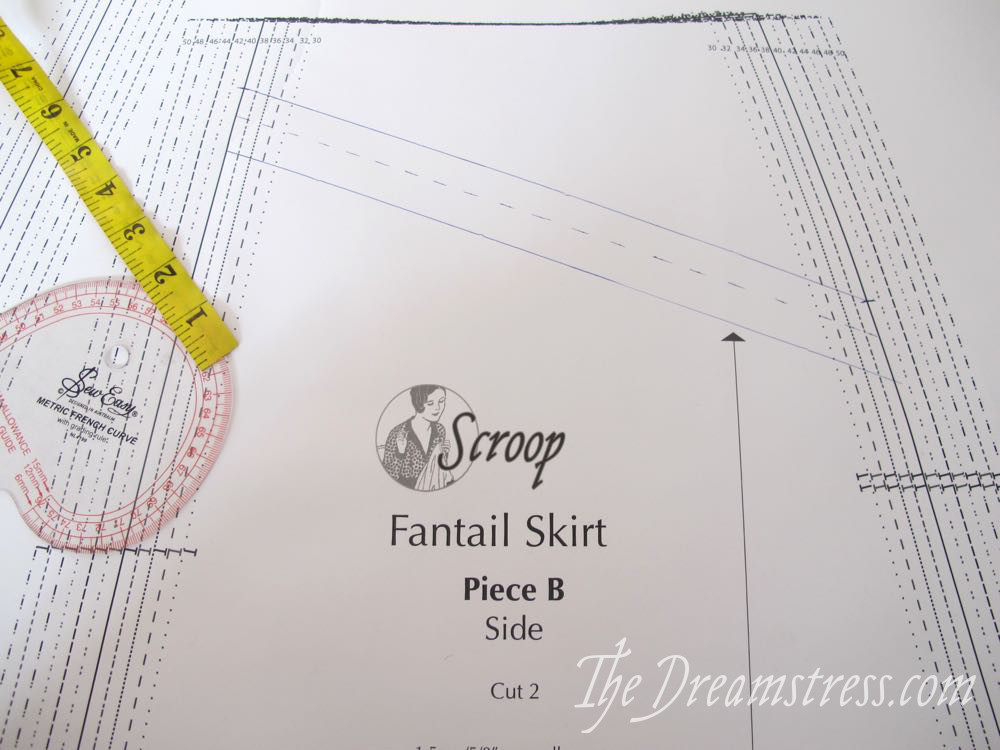
The top edge of your pocket will sit halfway between the two lines, as marked with the dashes below:
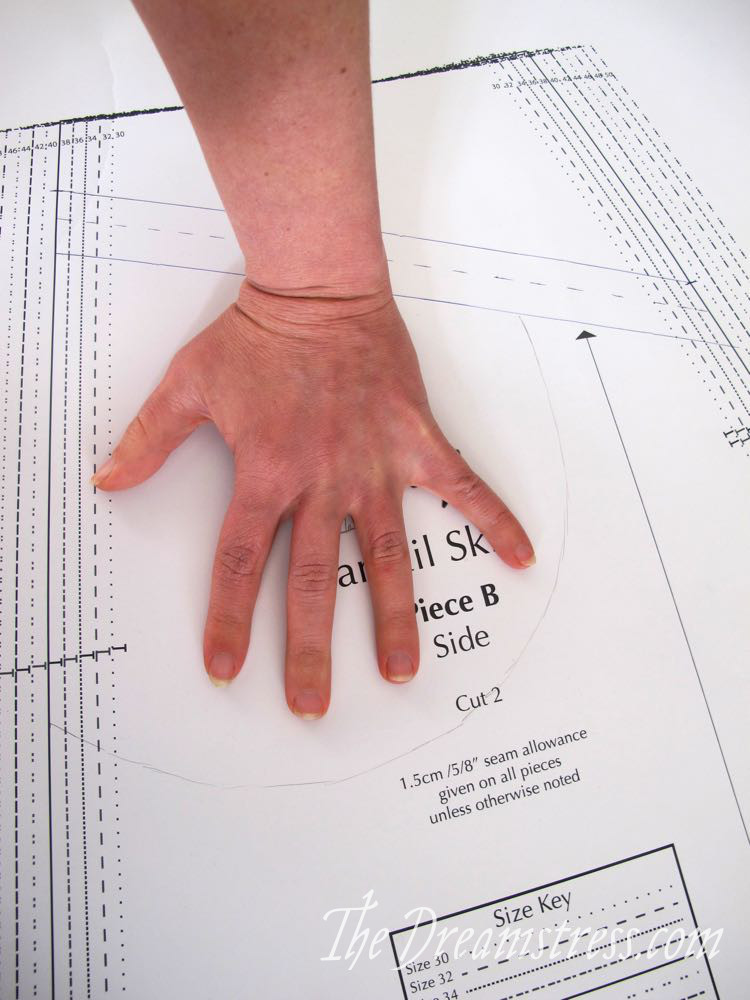
Now you’re going to mark your pocket itself. Place your hand along the front edge of piece B, below your lower line, and at least 3/4″/2cm in from the front edge. Spread your hand, and draw a semi-circular pocket shape around your hand, with a good 3/4″/2cm clearance at all points.
Use a French curve to smooth out your lines:
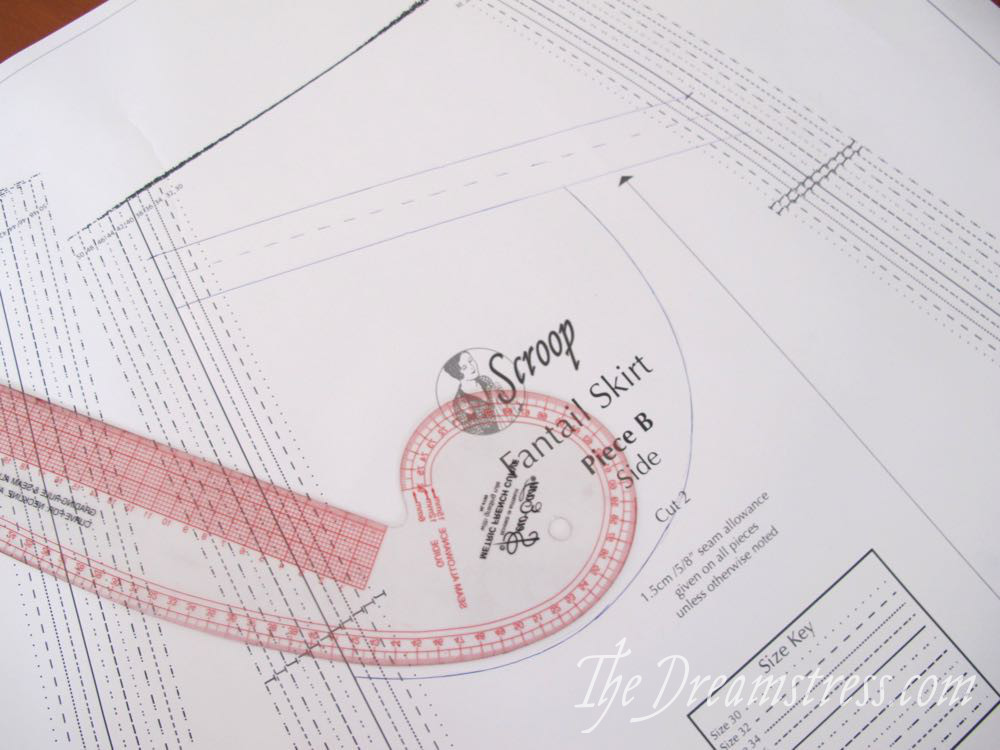
Add notch points along the top line of your pocket diagram, and on at least two places along the curve of the pocket.
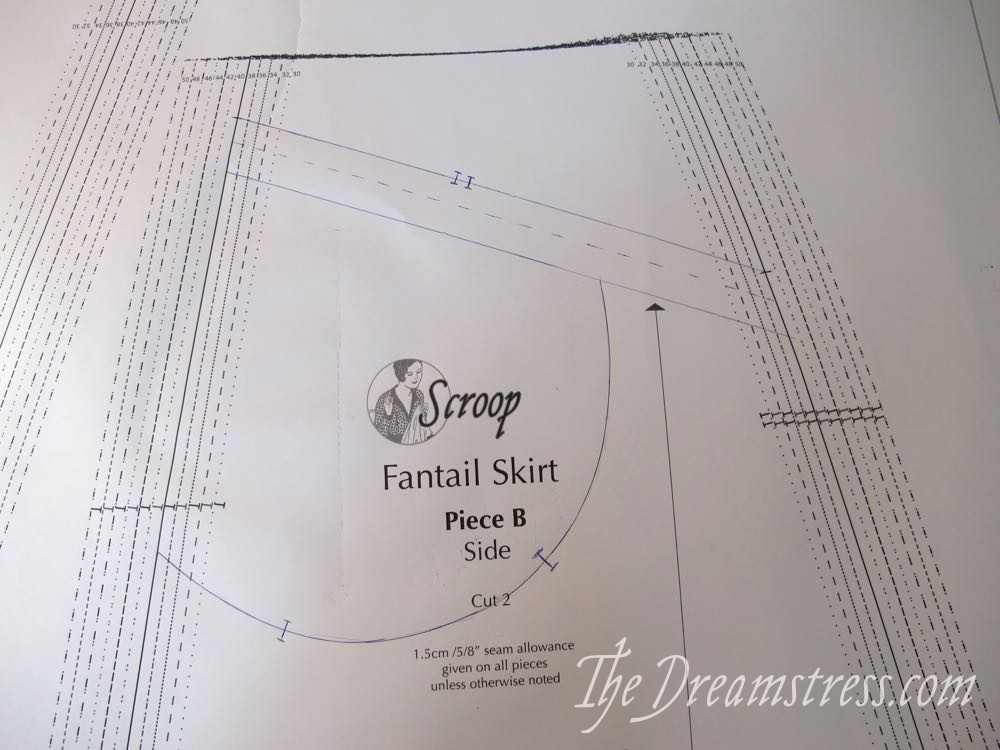
Now you’re going to trace off your three pattern pieces. I’m using pattern tracing fabric – it’s foldable, see-through, easy to work with, and iron-able on the absolute lowest heat setting, but use whatever works for you to trace off pattern pieces.
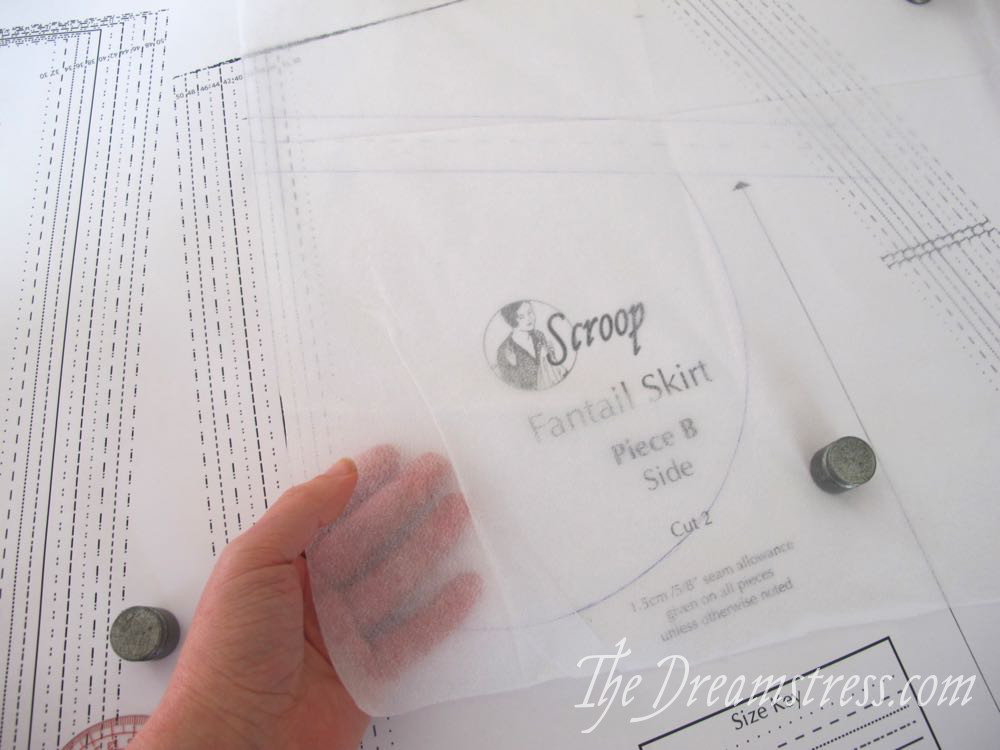
Everything below the top drawn line is your lower skirt piece. We’ll call it B1.
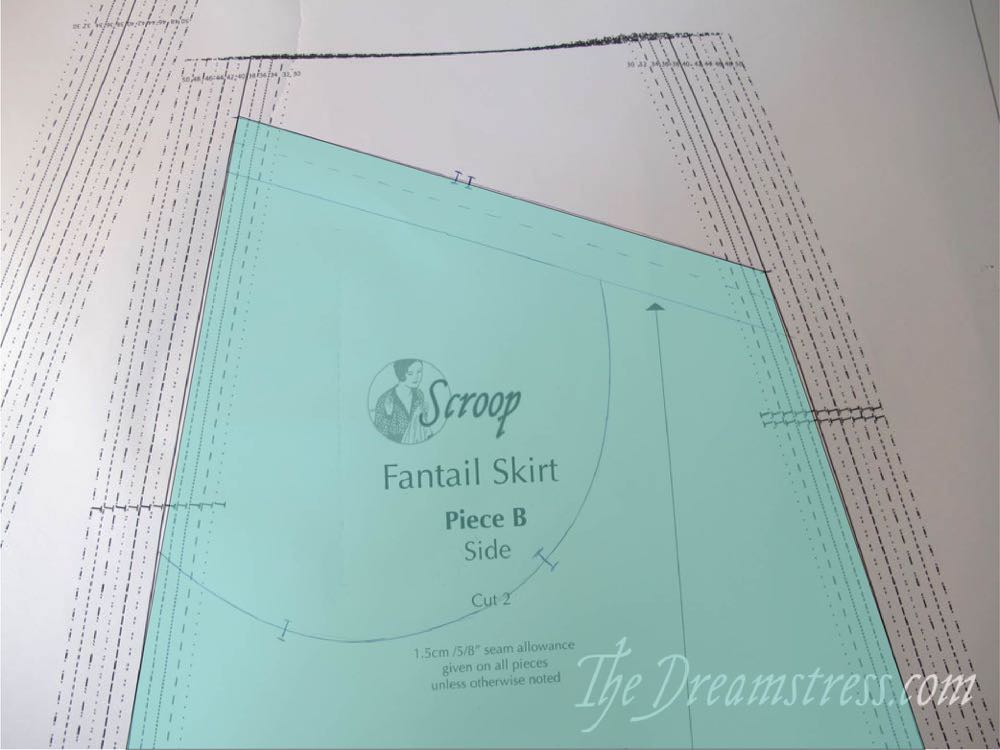
Everthing from the top of the skirt panel, to the bottom drawn line and bottom of the pocket curve, is your upper skirt piece with pocket. We’ll call it B2:
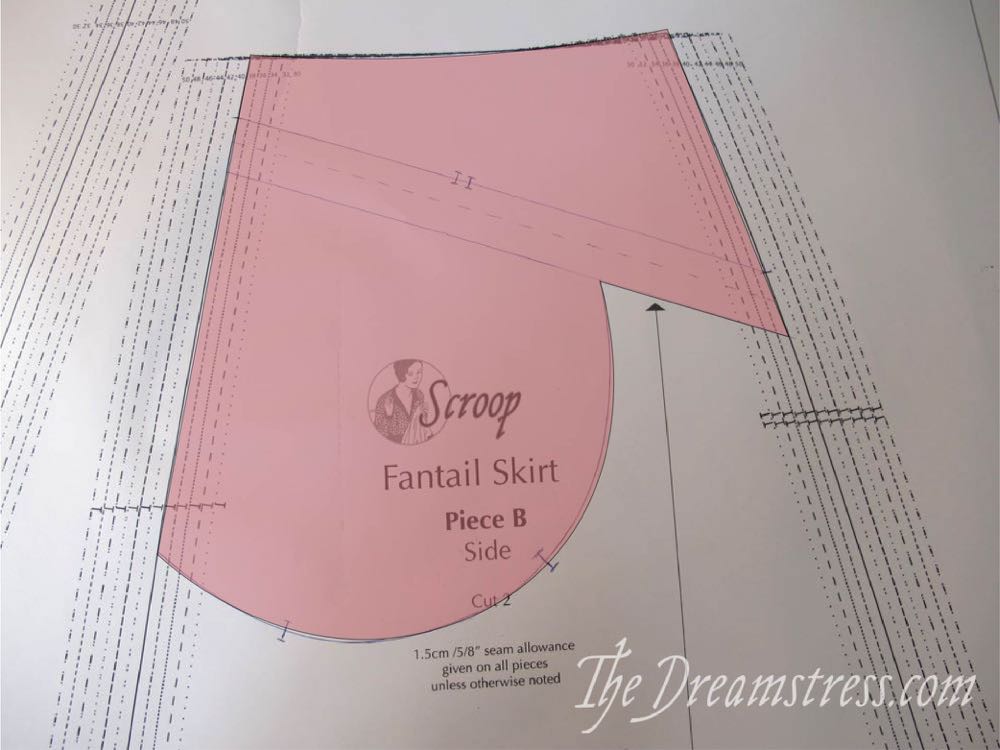
And everything from the top drawn line to the bottom of the pocket is your pocket facing piece. We’ll call it B3:
Be sure to include the notches, and grainlines, in your tracings:
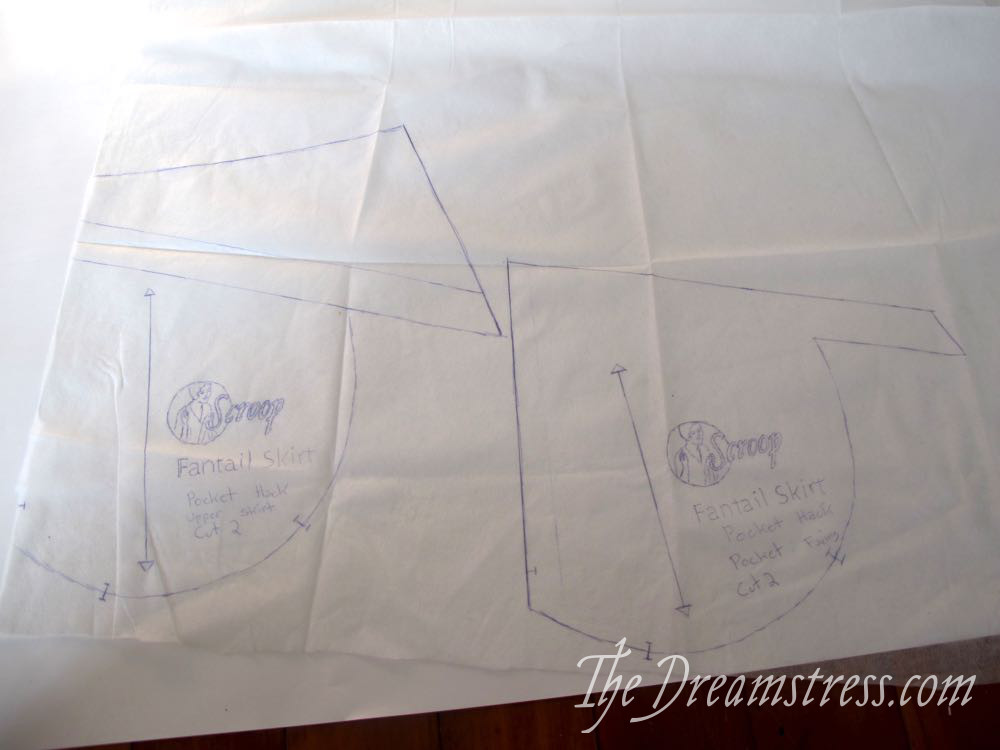
Once they are traced off, you can cut out your fabric (you’ll note I just folded down the top edge of my B pattern piece to form B1, instead of tracing it off):

Transfer all of your notches and pattern markings to your pattern pieces.
Part 2: Sewing your pocket:
Fuse the interfacing strips to the wrong side of the piece B3, 5/8″/1.5cm down from the top edge. This will stabilise the pocket, and keep it from stretching and sagging over time.
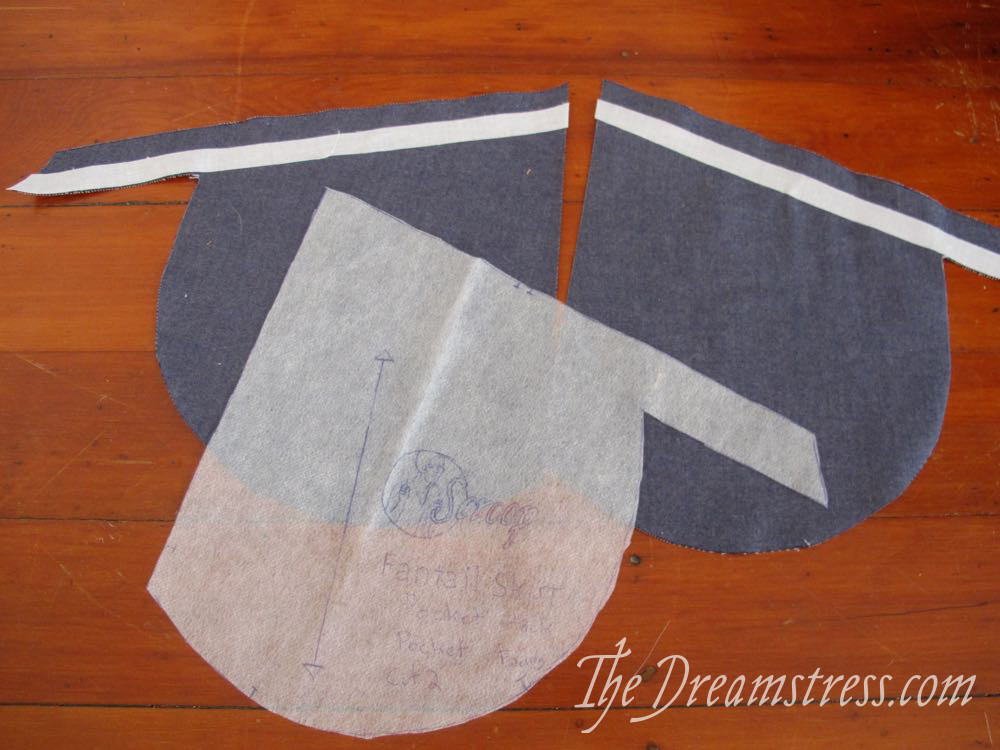
Place piece B3 on piece B1, right sides together, double-notches on the top straight edges matching.
Sew at 5/8″/1.5cm:
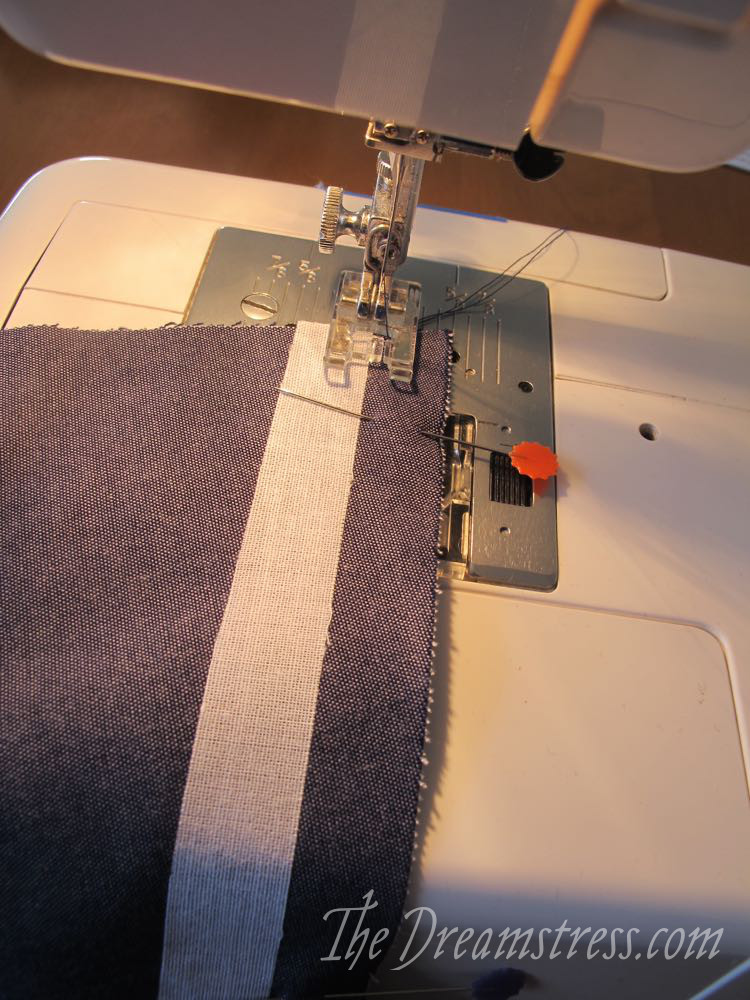
Your stitching will sit just along the line of the interfacing:
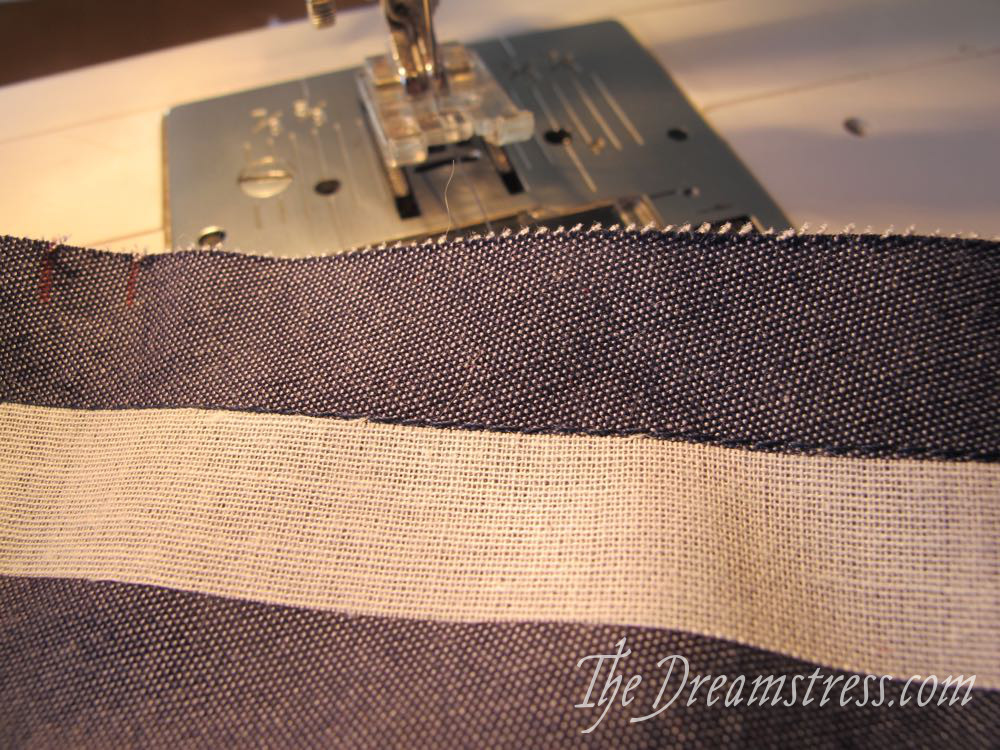
Open B3 pocket facing up and out, and understitch by stitching through the pocket facing and both seam allowances from the right side of the fabric, 1/8″/2-3mm out from the ditch of the seam.
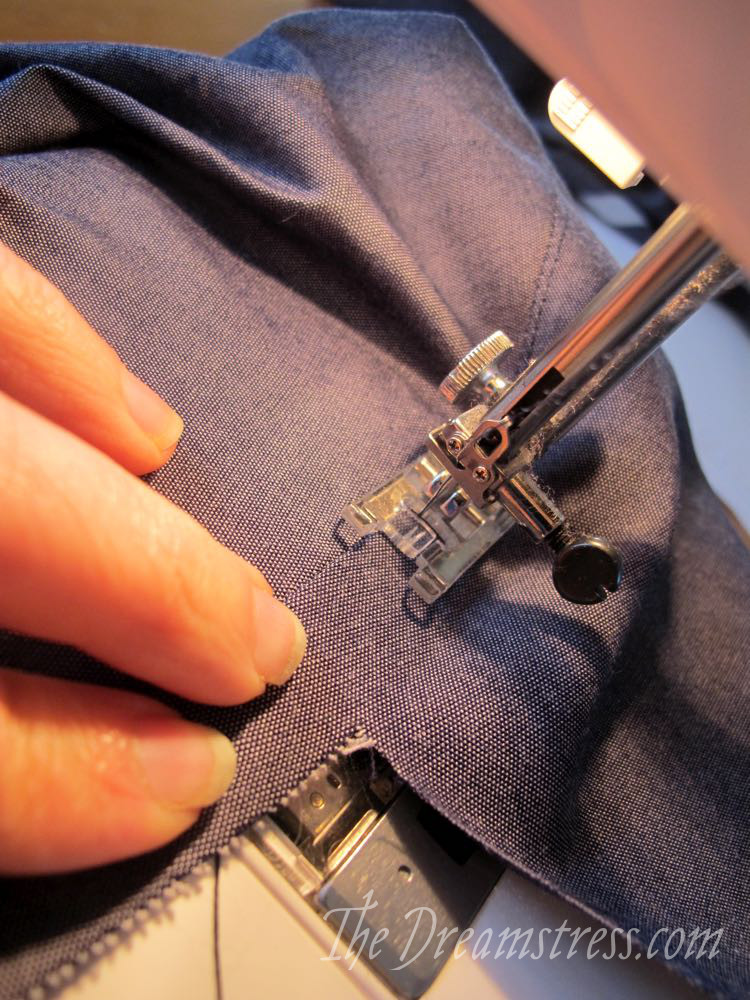
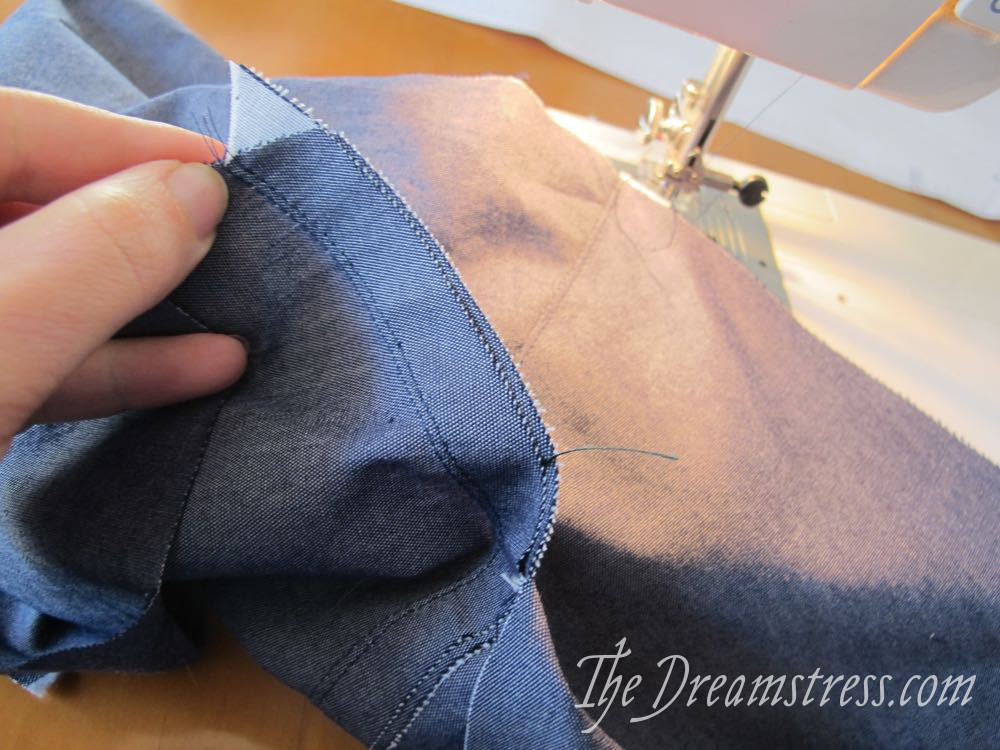
Tip: you don’t need to (and shouldn’t) press before understitching. Instead, just stretch the seam open as you understitch. This will do a better job of creating an open seam and a clean turning than pressing would.
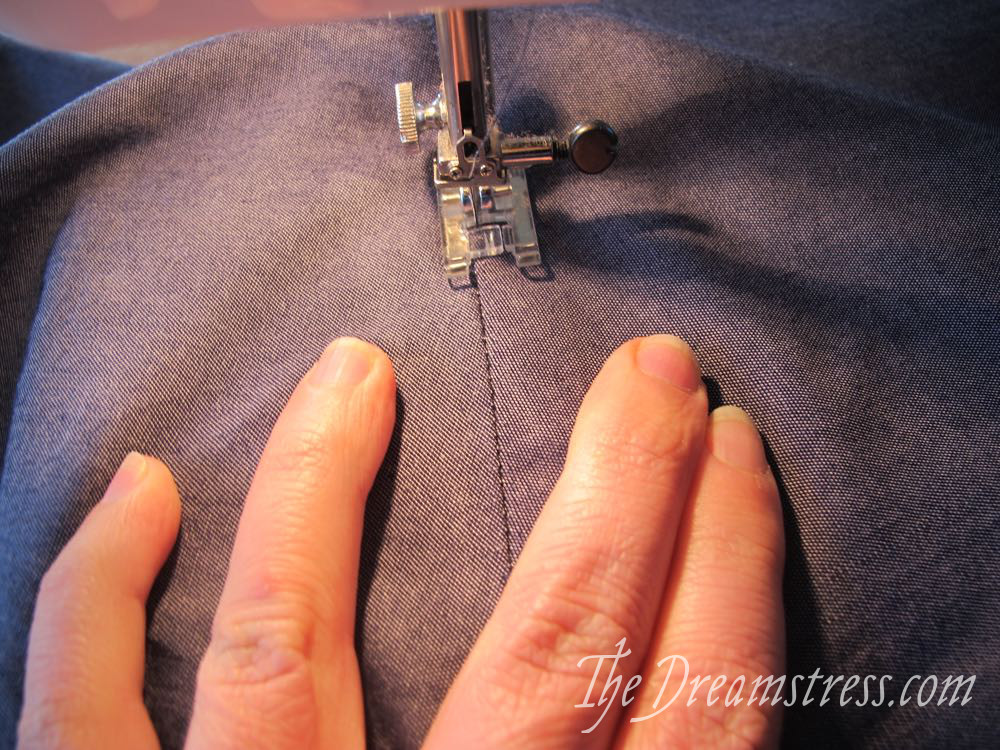
Finish the seam allowances as desired:
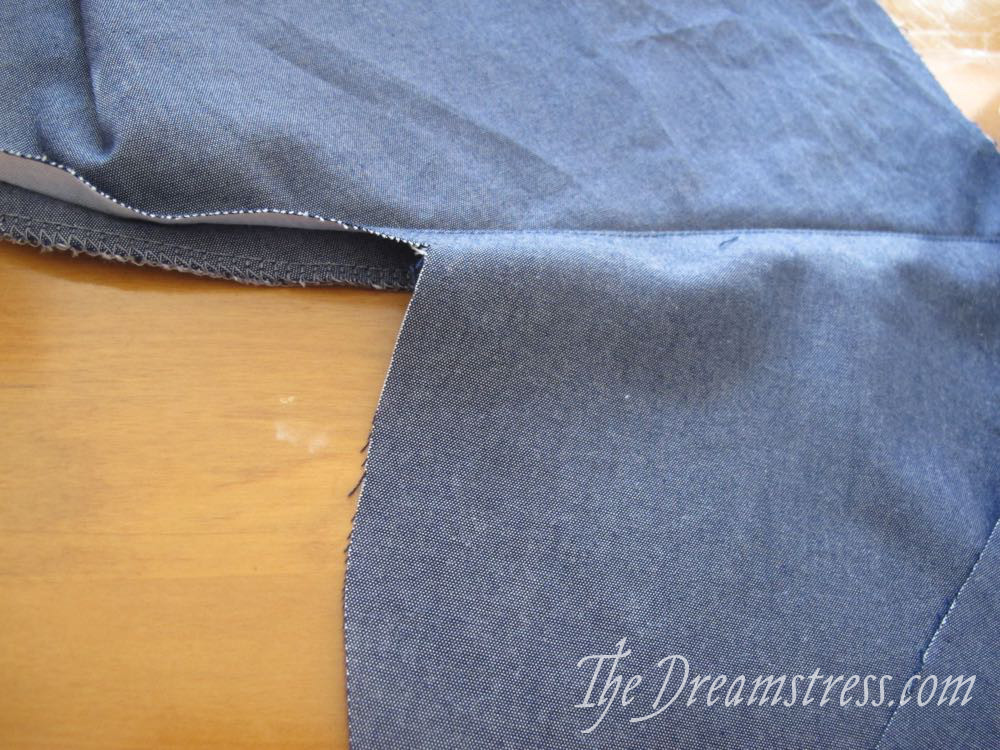
Press your pocket facing pieces B3 to the back of B1.
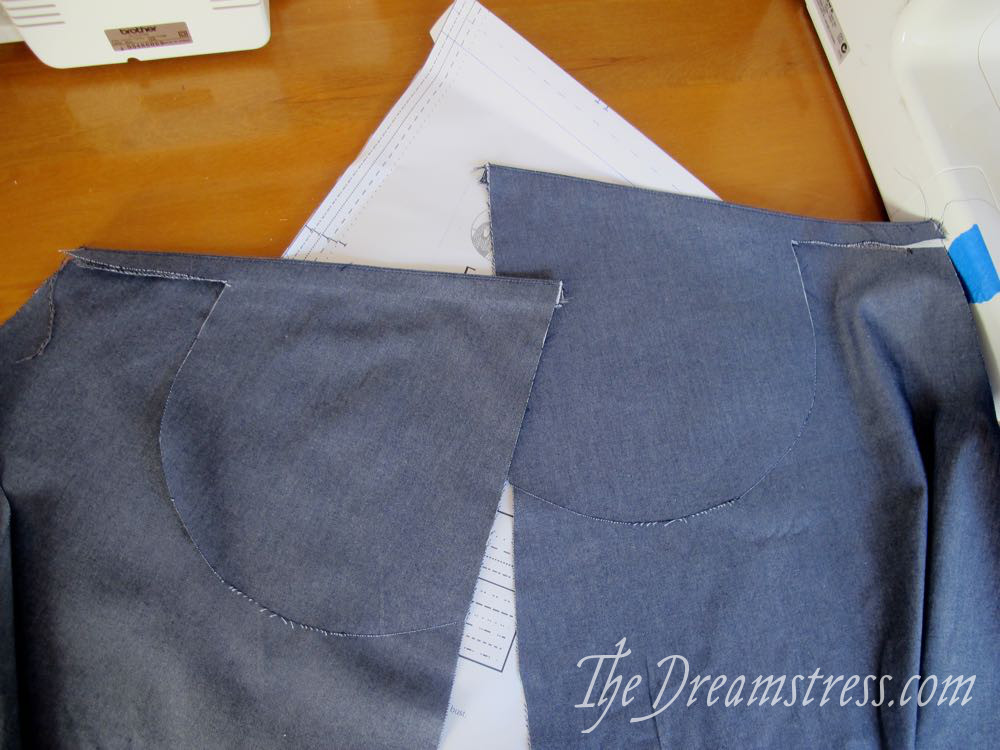
Place pieces B2 on pieces B3, right sides of pockets together, notches matching around the pockets, and at the side seam.
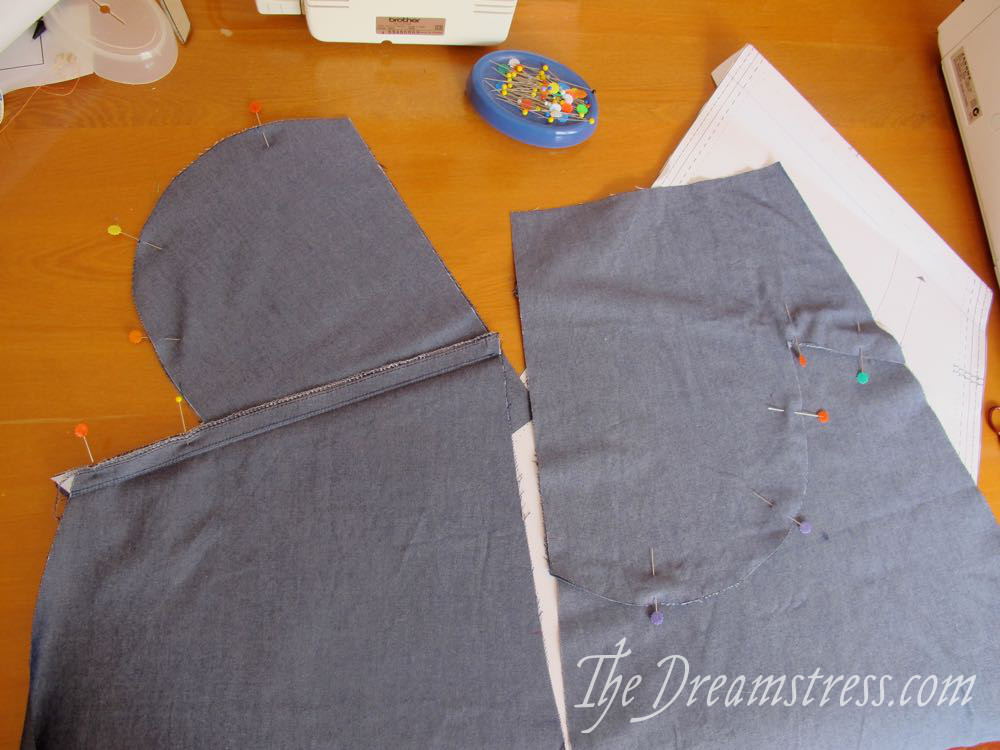
Stitch, sewing with the bottom skirt up, starting from the back side seam (marked with double notches), and sewing just to the left (skirt side) of the first line of stitching. This does mean you’ll have to sew one skirt with the fabric squished between the needle and the body of the machine.
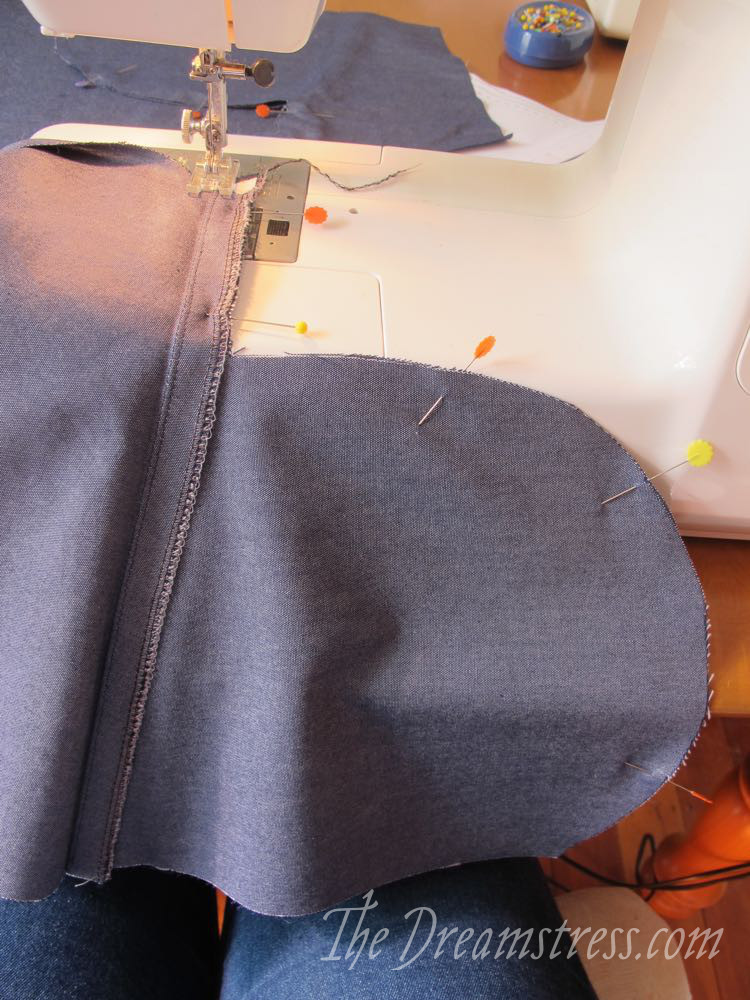

Sink your needle and turn at the corner of the pocket. I like to sew my pockets with small seam allowances, using the edge of my foot as a guide (and as you may notice, I also like using a satin stitch foot as a standard foot – a weird quirk of mine).

And here is what they will look like when you are done:
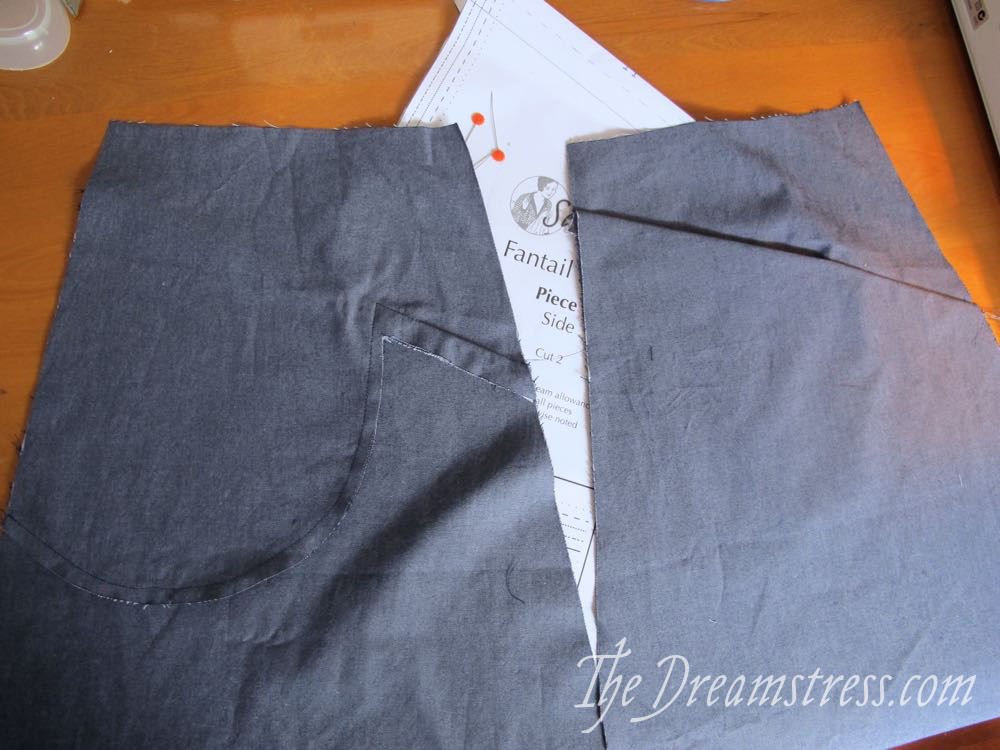
Finish the pocket seam allowances, and baste the loose edge of the pocket to the front side seam (marked with 1 notch).
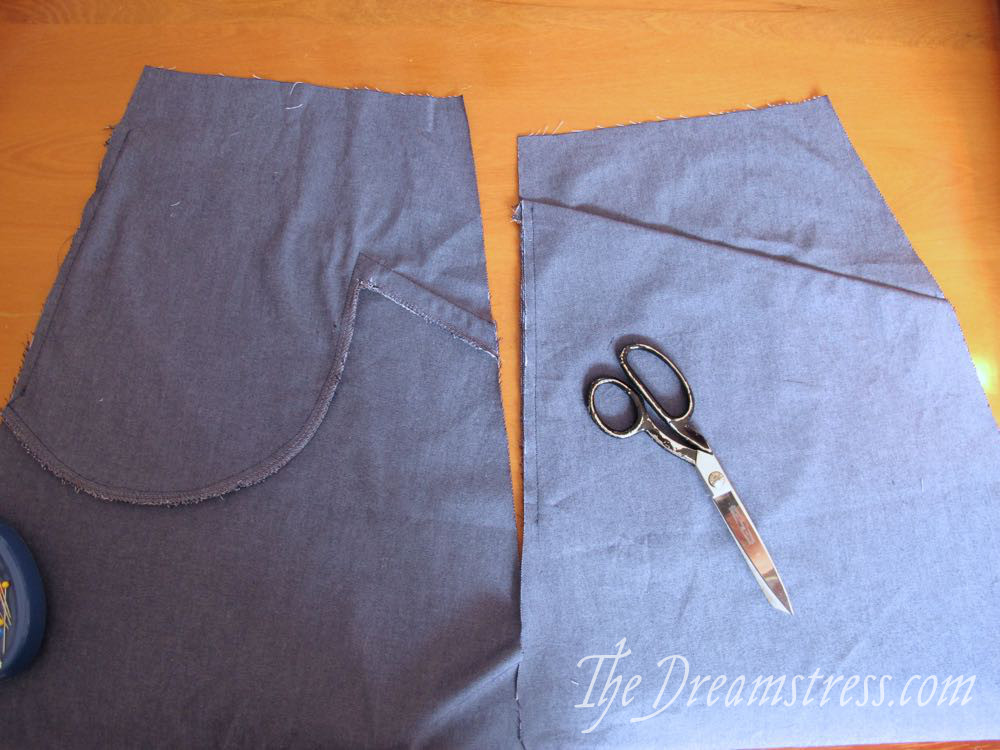
And here are your side pieces, pockets assembles, and pieces all ready to go:
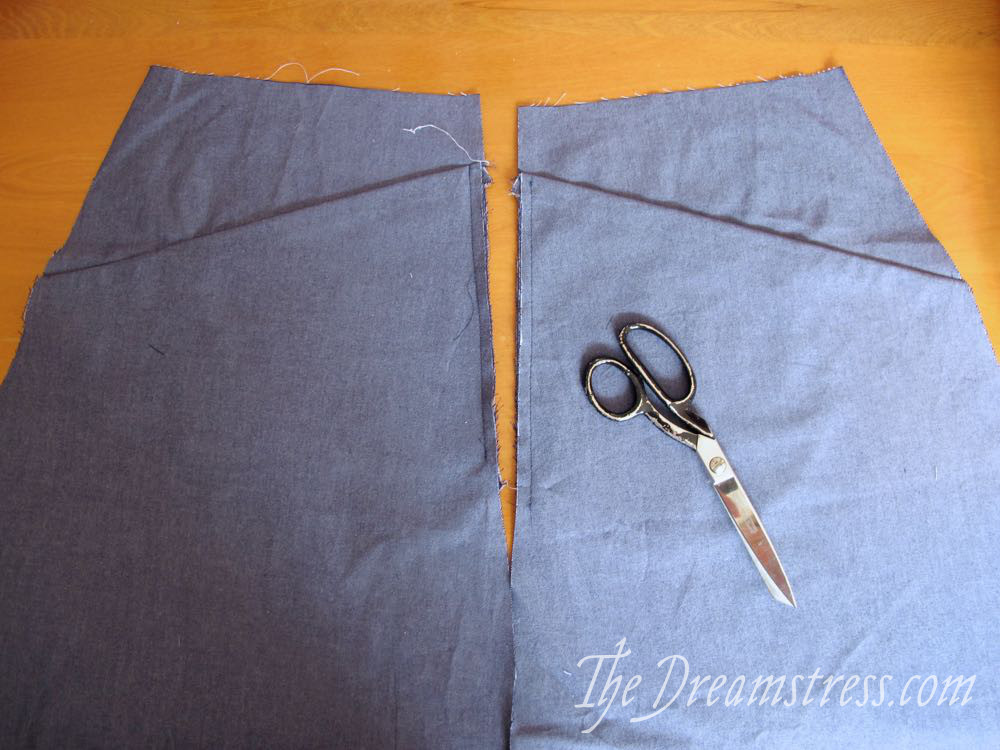
From here on out you can follow the standard Fantail skirt instructions, just as if these were a flat Piece B.
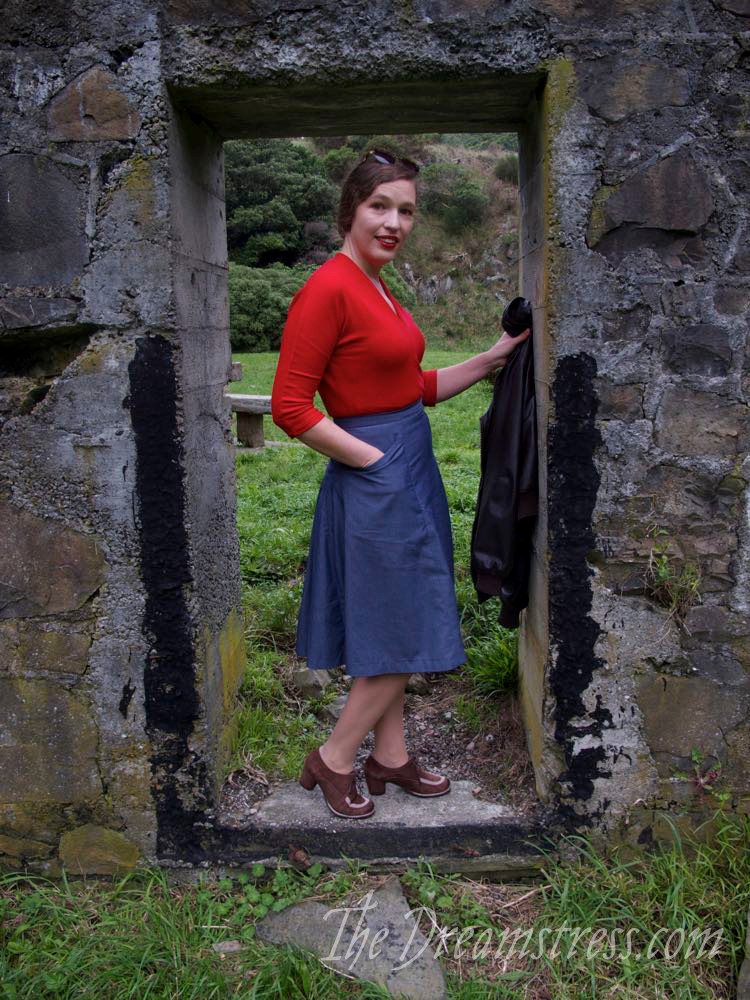
Enjoy!
