I definitely believe that you don’t need all the bells and whistles and fancy ‘toys’ to be an amazing sewer. Beautiful results can be had with the a very simple sewing kit: a (good quality) pair of scissors, some reasonable pins, a measuring tape, tailors chalk, an unpicker, hand sewing needles, and a basic sewing machine. And that last one is optional, even if you aren’t interested in historical sewing – when travelling, I’ve made modern frocks without the machine.
With that said, there is no denying that there are some extras that will make your sewing much easier and stress free, and if you have the space and money, investing in them is well worth it.
As a sewing teacher, I like to try all the fancy new gadgets, but I have also consciously decided NOT to get every spiffy whiz-banger sewing invention, because I don’t want my sewing process to be too drastically different from that of my students, or of those of you who are buying my patterns. It’s not helpful if I find a fabulous, easy way to do a sewing technique which requires a $100 piece of equipment most hobby sewist couldn’t justify.
With that said, there are some sewing tools that are just above the most basic kit, but that are so fabulous that I use them on an almost daily basis, and that are definitely worth having.
Today I’m sharing the four items that my students are most likely to immediately buy for themselves once they see me use them, because they make sewing sew much easier, quicker, and more effective.
Many of you will be very familiar with these, and may own them, but I frequently get very experienced seamstresses in my classes who have never encountered a seam gage, or worked with a french curve, so you may meet something new, or learn something new, in the list below:
#1 Magnetic pintrays
I LOVE magnetic pintrays. I love them so much that I have three of them – one for each different kind of pin I use (though when I’ve been really busy, my pins tend to get mixed up, as they are at the moment).
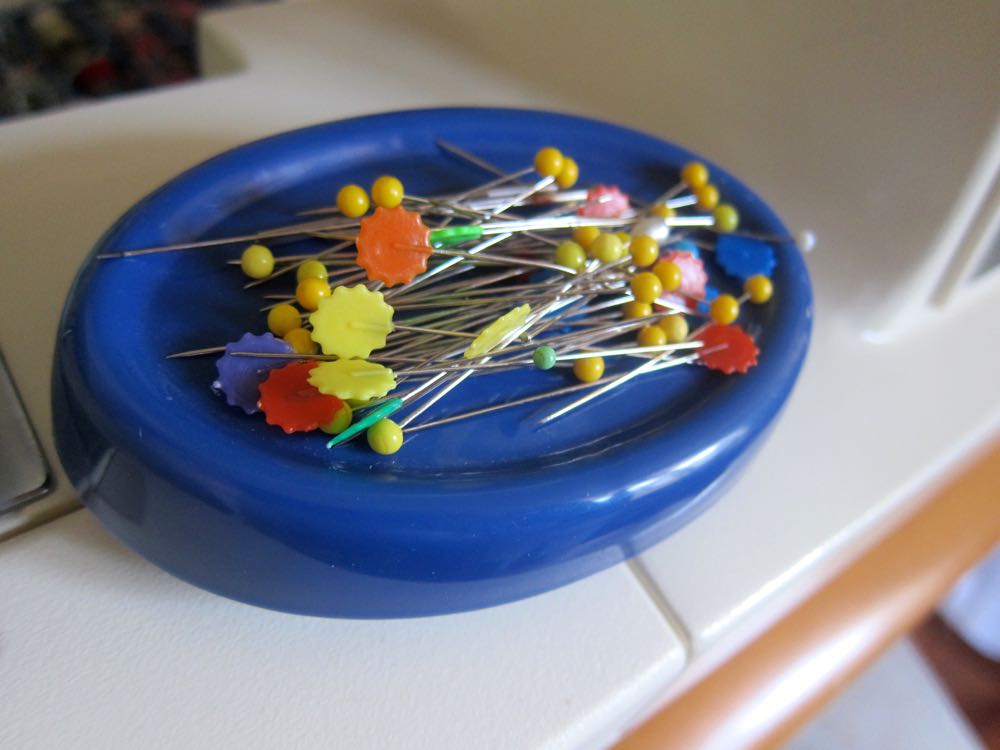
Magnetic pintrays are just what they sound like – pintrays with magnets in them, so you can toss your pins in the general direction of the pintray, and it will pull them in. Sewing a pinned seam? Just drop your pins off the back of the machine as you take them out (NEVER sew over pins!) and then schloop them up with the pintray at the end. Also great for waving over the floor and the sewing table at the end of a sewing marathon to collect any stray pins.

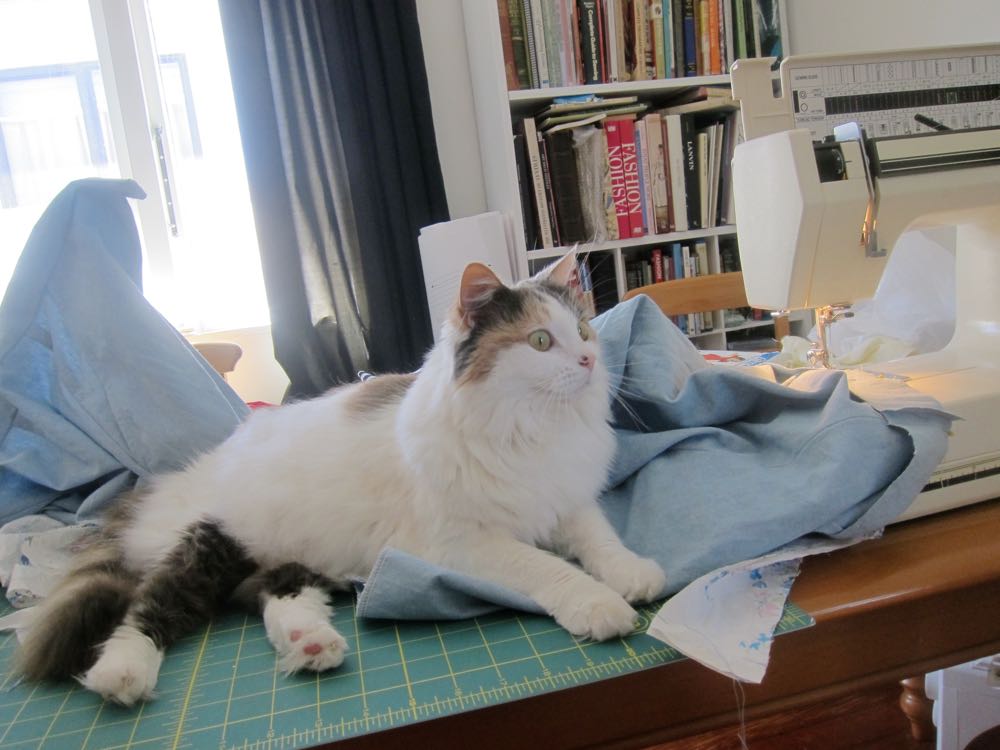
These are particularly wonderful for me, with a sewing cat in residence. They come with covers, so I just schloop up all my pins, slap the cover on, and know that they are safe from Miss Fiss, whereas traditional pincushions need to be put away, as she’ll try to pull the pins out with her teeth (and that is not an experience I want to repeat)
If you’re getting yourself one of these, make sure you get the kind where the pins are all pulled into parallel alignment on the pintray, not the kind where they splay out, forming a pin hedgehog (ow!).
There is a warning that goes around not to use magnets on or near a computerised machine, but the magnet in the pintray (and any other household magnet you are likely to have around) isn’t strong enough to be a problem.
#2 Seam Gage
This is a seam gage:
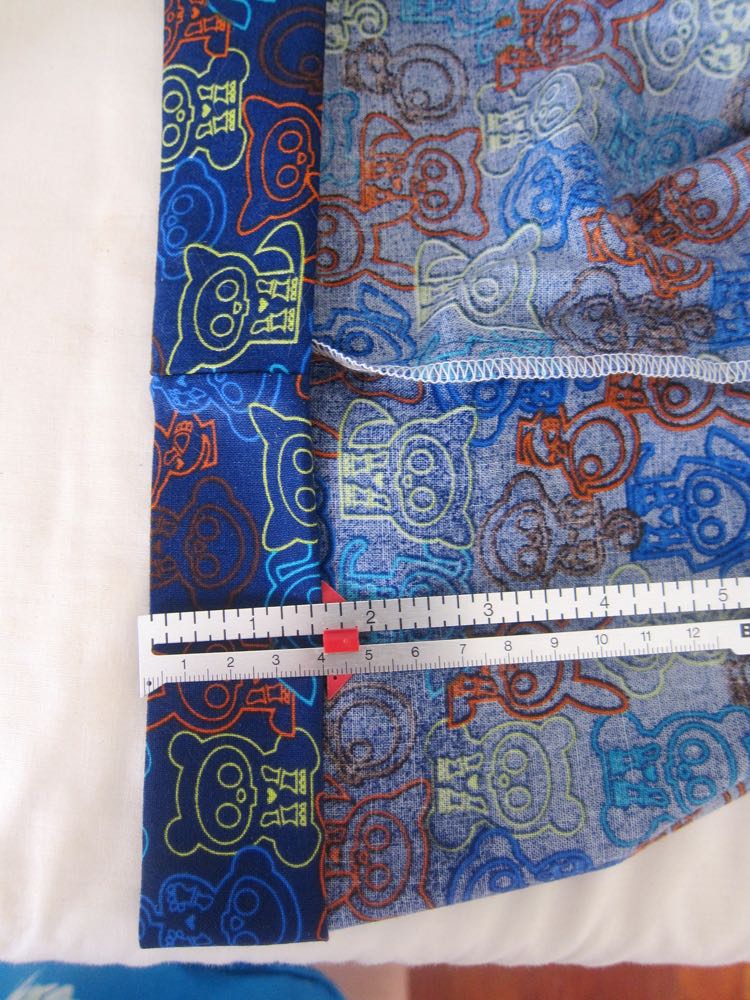
It’s a little (generally 6″ long) ruler, with a sliding guide, which you can set to whatever measure you are working with. In the picture above I’ve set my guide to 4cm, to help me to press a perfect 4cm hem.
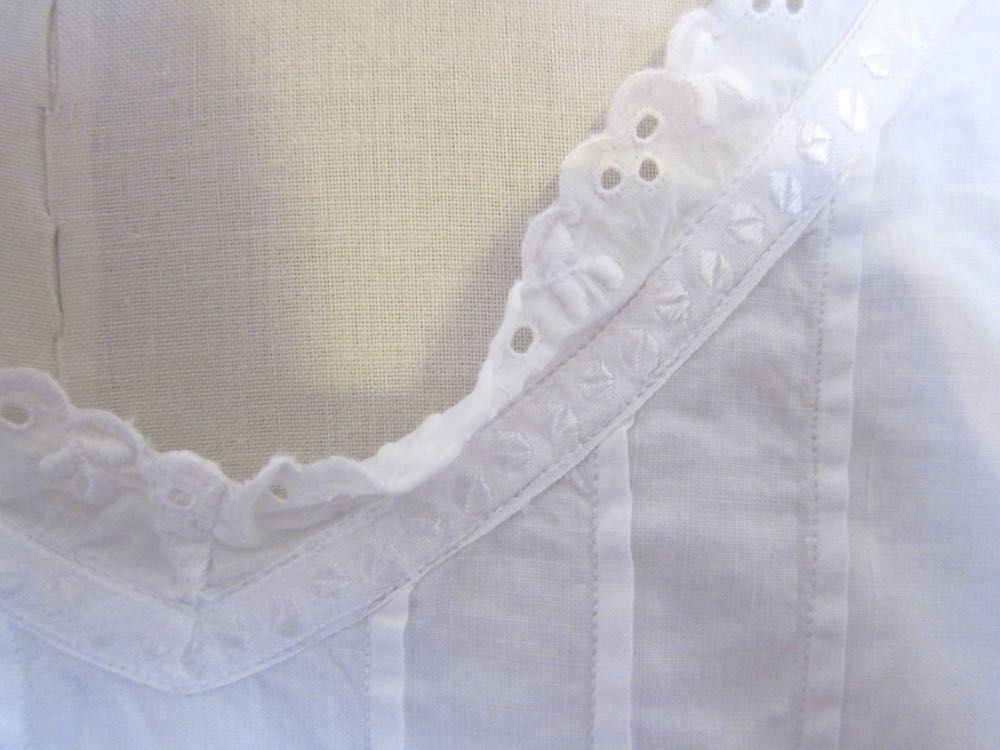
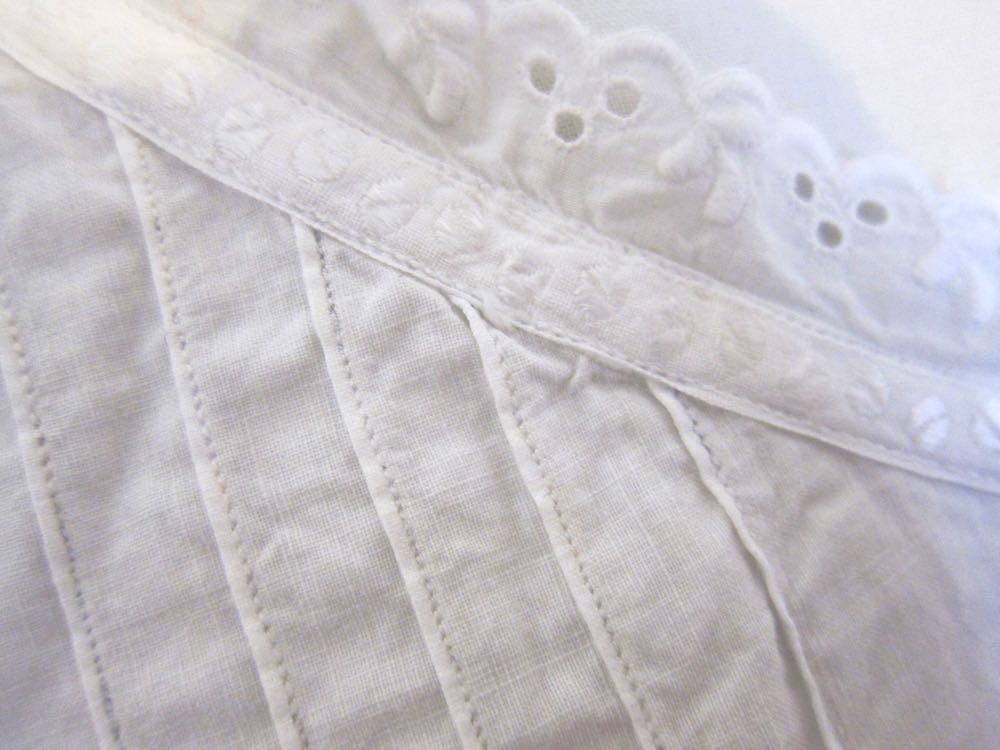
They are also fantastic for measuring buttons and buttonhole placements, and for marking out pleats. Here I’m using one to measure out the pleats for the Henrietta Maria Dress/Top – which really makes them go quickly.
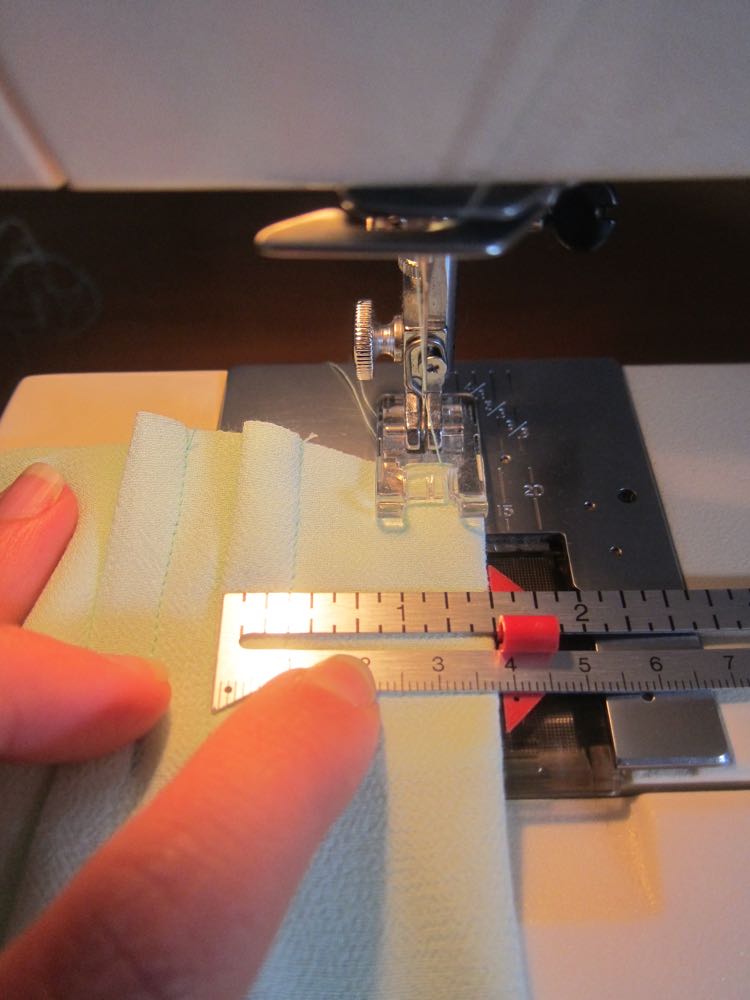
Plus, they have other cool abilities: most seam gages are 1.5cm/5/8″ wide, so you can use them for instantly adding a seam allowance around the edge of a pattern piece.
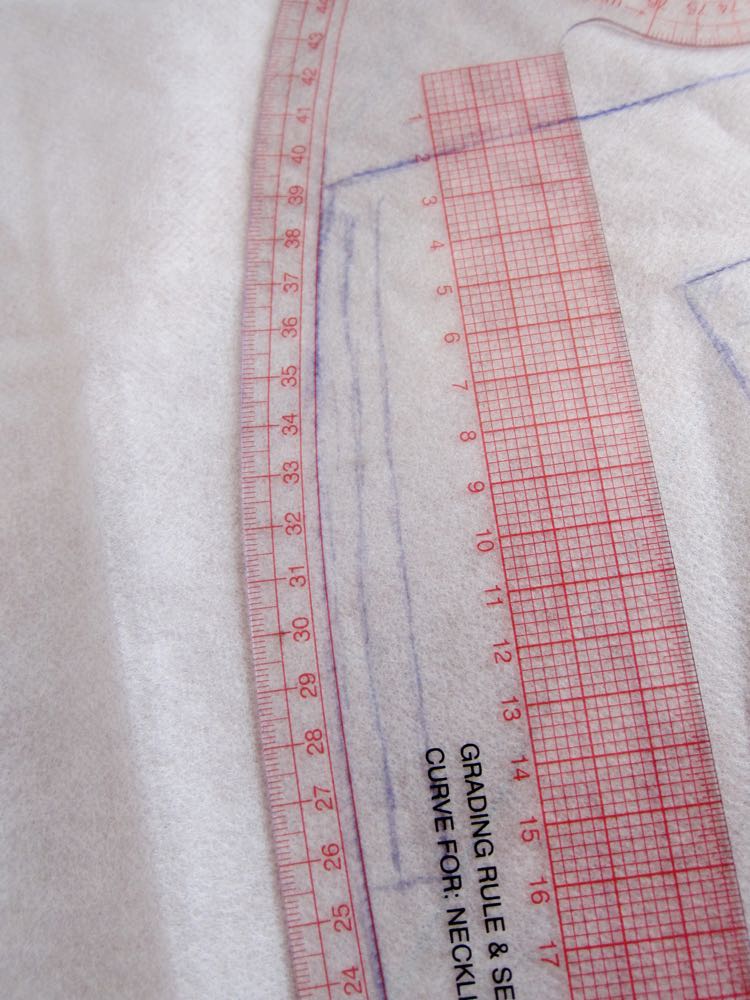
#3 French Curve
A French Curve is a funny looking curved ruler that you use to draw beautiful curves when drafting patterns, to measure curves in patterns, and to add seam allowances to patterns. They come in both imperial and metric versions (I have both).
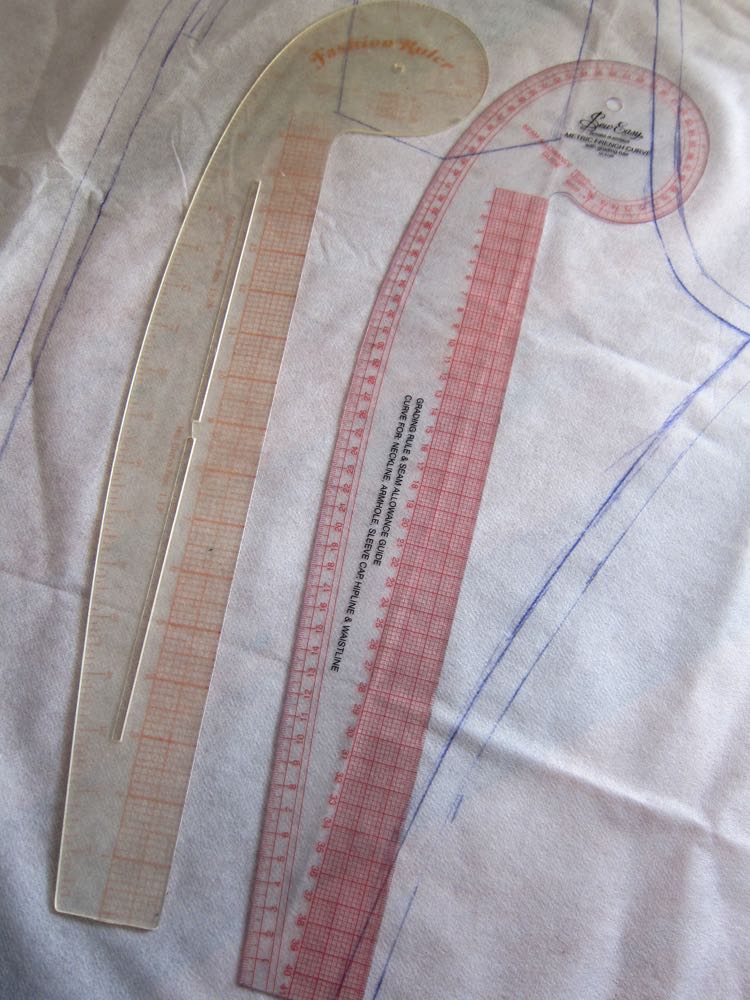
On one edge they will have a gentle and then steep curve, for drafting hem, neck, arm, waist, sleeve cap and hip curves, or for creating smooth curves if you alter a pattern, or grade between sizes.
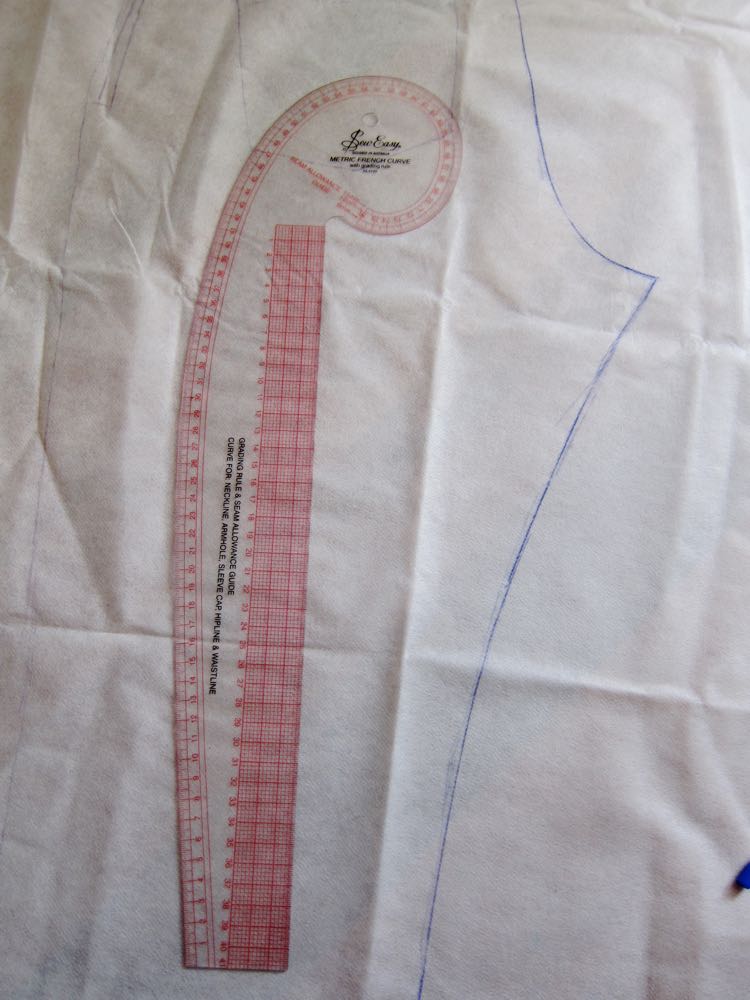
That side will also have seam allowances marked: my metric rule has both 1.2 and 1.5cm lines. I just set the desired seam allowance line along my pattern line, mark on the outside of the ruler, and have a seam allowance!
There is SO MUCH more that you can do with a french curve, and I’ll do a whole post about them in the future. They are also, for example, fantastic for using with:
#4 Dressmakers tracing/transfer paper and rollers
I use a lot of different marking tools in my sewing. I use tailors chalk, Chaco chalk liners, marking pencils, regular pencils, and tailors tacks, and I’ve blogged about Pilot Frixion pens.
Dressmakers tracing/transfer paper is a little different, because it doesn’t just create marks: it lets you duplicate them across multiple pattern pieces, and replicate the marks that are already on your pattern instantly.
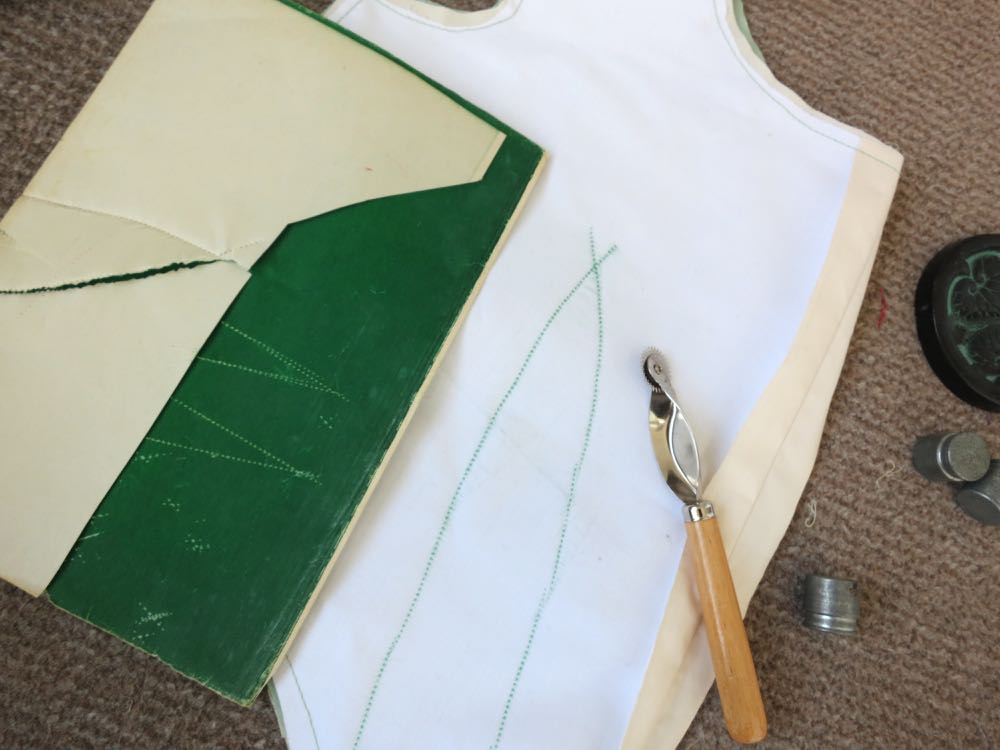
Dressmakers tracing paper is paper impregnated with chalk. You use a roller to add pressure, transferring the chalk to your pattern pieces exactly where you mark.
It’s perfect for using to transfer pattern marking (dart and pleat lines) to multiple layers of pattern pieces, or for transferring one size or view of a pattern to your fabric, without damaging the other sizes/views.

Tracing paper can vary hugely in quality: some of it doesn’t transfer very well at all, and older types have wax as well as chalk in the paper, and the transferred marks never really come out.
I use both new (wax-less) and vintage transfer paper: the first for lighter garments, when I really need the marks to disappear, and the second for markings on things like jeans, and when I am sewing things with flat linings, where interior marks will never show. For special and delicate items I always use tailors tacks, but transfer paper is a quick, easy & awesome solution for basic sewing.
#5 Felicity
Ooops, sorry! She’s a one off! Indispensable, to me, but I’m afraid you’ll have to do without 😉