Latest Posts

Rate the Dress: green on green on green in the 1860s

AN IMPORTANT NOTE: Please feel free to not like today’s selection, or any other garment that I present, but make sure that expressing your dislike doesn’t become an excuse to insult other people.  You can  tear it to shreds sartorially speaking, but please take care  that your comments do not  attack any of the other commenters, and do not cast aspersions on any group that may choose such garments.  It’s fine to not like something, but make sure that you respect other people’s choice to feel differently.

We’ve had some very amusing take-downs of garments over the years, and that’s not an issue  (and even better, hilarious – the “I’m pretty sure that Worth’s cat stepped in a puddle of ink and walked across  this sketch and then the seamstresses did their best to interpret those splodges as an actual design” is still my favourite), but lately there have been a lot of “Ugh, what sort of colour-blind cretin would like that?” comments (which you haven’t seen, because I’ve deleted them), and that is NOT OK.

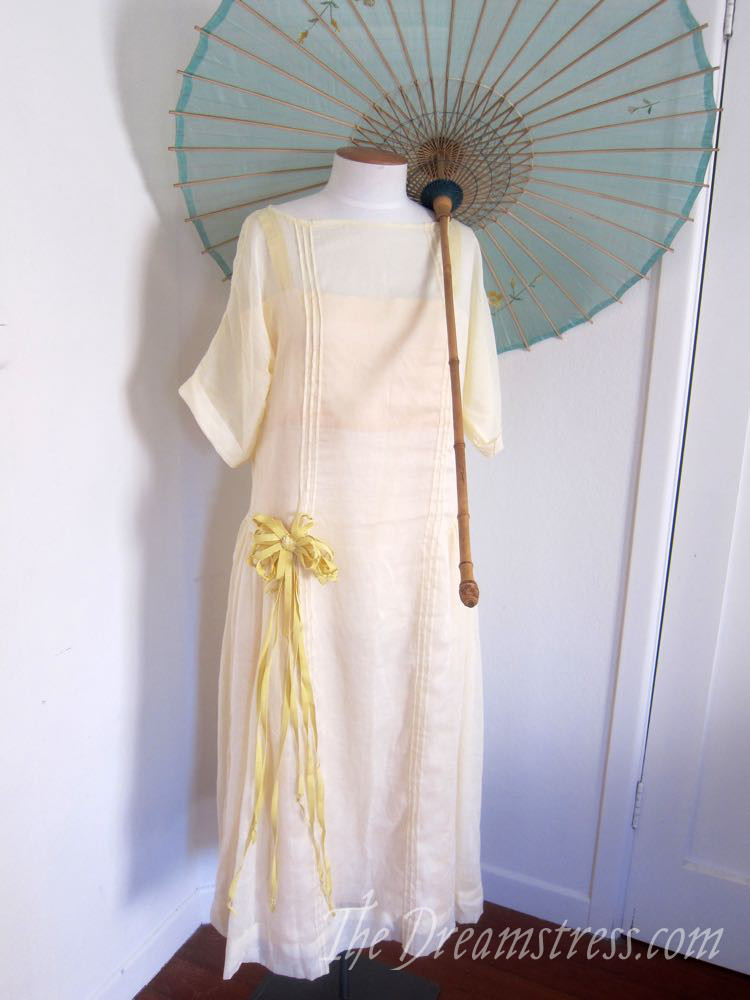
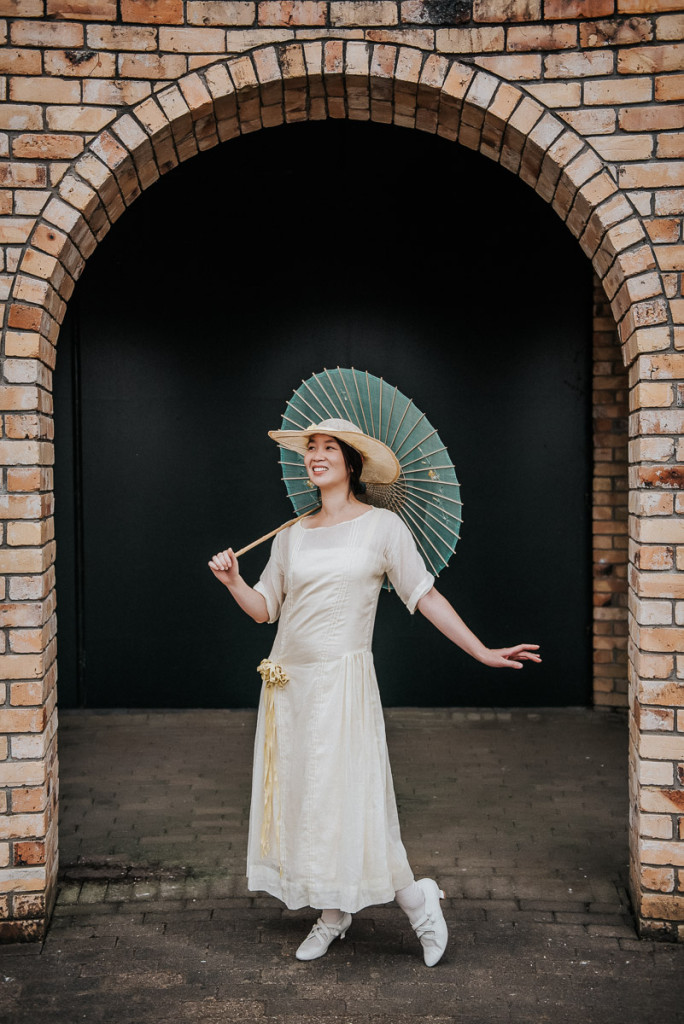
Right.  Last week.  Yellow Liberty of London Aesthetic  gown.  Divisive.  Some lovers: warm yellow, relaxed, cosy.  All very good!  Some not-so-sure-ers: too-plain T-shirt-y interior, weird collar.  Some total dislike-ers: the 1960s & 70s ruined these colours and silhouettes for us forever.  Funny how something that happened later can totally change how you perceive the original, isn’t it?

Despite the all-over-the-place scores, the outfit still managed a respectable 7.4 out of 10.  Not too bad!

For this week’s Rate the Dress we’re going from yellow to green, and from counter-culture to conventional.

This 1860s day dress from the Musees departementaux de la Haute-Saône has some age damage, and definitely hasn’t been displayed to its best advantage, but please look past those in your judgement, and consider the garment as it would have been on a woman 148 years ago.

This day dress features the typical silhouette and ornamentations of the late 1860s, worked in green silk with a tone-on-tone floral pattern, with trims of plain or moire silk in the same apple-green shade, as well as in a darker pine green, with darker green buttons to match, and lace collars and cuffs.

The dress is just beginning to foreshadow  the back-heavy silhouette  of the 1870s, but the trimmings of the dress are very much  moving away from the simpler lines of the 1860s to the elaborate decorations that would be paired with the 1870s  bustle.

In an earlier 1860s dress the dagged crenelated trim would probably have been flat surface trim on the expanse of skirt: here it is a separate ruffle, adding three dimensional interest to the design.  The side bow in the same plain or moire silk as the band holding on the ruffle is another element that moves away from the strict symmetry of mid-decade styles.

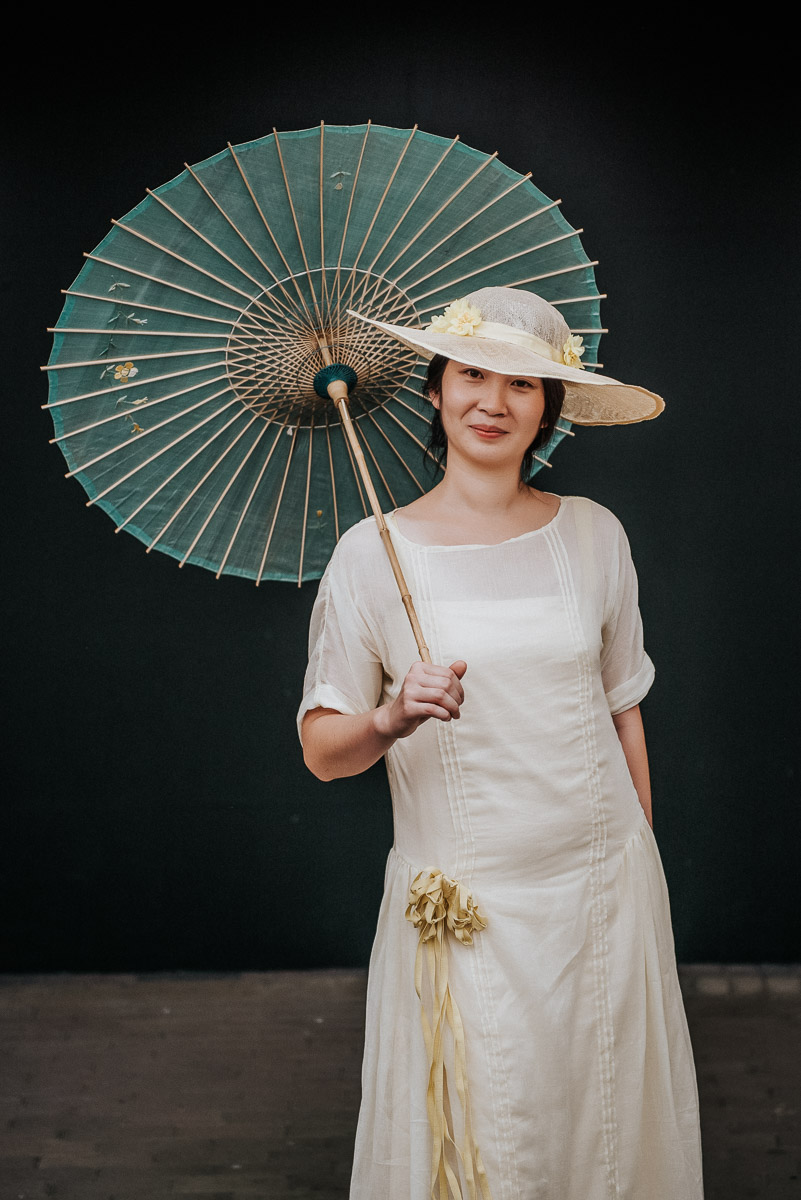
While the dress, with its wide crinoline, constricting bodice, and lavish use of fabric, is impractical from a modern standpoint, its lack of train indicates that it was actually meant to be a reasonably practical dress.  You can imagine it worn with a hat (perhaps one of the new tilted bonnets) and a parasol, out for a stroll along the promenade.

What do you think?  Will you like all-green better than all-yellow?

Rate the Dress on a Scale of 1 to 10

A slightly weird attempt at a 1920s slip

This weekend seems to be the time to write not-super-exciting catch-up posts that no-one is going to comment on, but that might be useful to someone later.

As you can see, not-super-exciting, and kinda weird:

1920s silk slip thedreamstress.com

This is a silk slip to go under the Summer of 1921 yellow dress.  It’s the product of desperation and curiosity.  Desperation, because my attempts to find a suitable yellow silk (or cotton, or viscose) for a proper ’20s slip  in Wellington had proved fruitless, and curiosity, because I wondered if I could make one out of kimono silk.

So this is made from lengths of 34cm wide vintage blonde silk habotai, originally intended for kimono linings, seamed together to be wide enough.

In my first attempt I used one length just long enough to wrap around my bust and give it a bit of compression support, and four lengths sewn together to form a wide tube:

1920s silk slip thedreamstress.com

I sewed big box pleats into the side seams, to shape the tube to my body, but give it enough volume to walk and move in comfortably.

1920s silk slip thedreamstress.com

The top length was sewn into a circle, folded over, and the raw edges of the four pieces were sandwiched between the two selvedges of the top length, to finish it inside and out.

1920s silk slip thedreamstress.com

This worked pretty well: it was easy to move in, and did provide the right bust shape, but had two serious problems.  First, it wasn’t quite opaque enough to hide any other undergarments, and two, the darker under-bust selvedge lines were visible through the outer dress:

A Summer of 1921 frock, thedreamstress.com

Two fix it, I cut two more lengths of the kimono silk, the length of the full slip, and stitched them down the front and back panels of the dress.  Success!

1920s silk slip thedreamstress.com

You can still see the underbust lines at the sides, but they aren’t noticeable when the dress is worn.

1920s silk slip thedreamstress.com

It is an undeniably weird garments, and certainly isn’t period accurate (unless a missionary or such-like in Japan found herself attempting to make a slip out of kimono-width fabric, unlikely, as Western-style fashions were widespread in Japan by the 1920s), but the overall shape is, so it’s not a terrible waste of time as a prototype.

And  it does look perfect under the Summer of 1921 dress!

Courtesy of Tony McKay Photography and Glory Days Magazine

Courtesy of Tony McKay Photography and Glory Days Magazine

Not a seam in sight, and sufficiently modest.

What the item is:  an early 1920s silk slip.

The Challenge:  #2 Tucks & Pleating

Fabric/Materials:  6m of vintage kimono-width blonde silk habotai

Pattern:  None, roughly based on vintage slips.

Year:  1921

Notions:  1m of rayon petersham (.60pm), cotton thread ($1).

How historically accurate is it?  Meh.  Ergh. The essential pattern is correct, but using kimono-widths of silk is not, nor are my construction techniques. It’s possible that a home dressmaker, working with scrape of leftover silk, might have come up with the same construction. Maybe. 50%

Hours to complete:  2 hours – at least it was quick.

First worn:  By a model at the Hamilton Gardens ‘Mansfield Garden Party’ on Waitangi weekend.

Total cost:  $5

Red Velvet Elizabethan thedreamstress.com

The Red Elizabethan – oops!

Back in November I did a bunch of work on my Red Velvet Elizabethan ensemble – and a bit of blogging about it.  I assumed I’d written all the relevant blog posts, because I’d thought about writing them so much, but I went looking for the final project status wrap-up for the year, and realised I never wrote it!

Oops!

When I last blogged about it, I had an inspiration image:

Death and the Maiden, British (English) School, c.1570, Oil on panel, 65 x 49 cm, Shakespeare Birthplace Trust

Death and the Maiden, British (English) School, c.1570, Oil on panel, 65 x 49 cm, Shakespeare Birthplace Trust

And the ensemble had a finished bodice, and an assembled skirt, which just needed to be put together.

Red Velvet Elizabethan thedreamstress.com

I have since done that:

Red Velvet Elizabethan thedreamstress.com

From the back, it looks spectacular:

Red Velvet Elizabethan thedreamstress.com

Look at those pretty pleats!  (very timely):

Red Velvet Elizabethan thedreamstress.com

From the front?  Not so much:

Red Velvet Elizabethan thedreamstress.com

Granted, it looks a lot better on a person than on that dressform, which is too big for it, so the bodice won’t laced closed.  But even on a person, the lacing doesn’t sit totally smooth, there is a bit of wrinkling in the bodice, and the front pleats aren’t deep enough to sit nicely.

Re-doing the skirt pleating is easy enough, but the bodice is a bit more of a concern.  I’m trying to decide if I need to completely re-do it with a more solid foundation and front hooks rather than lacing, as per Janet Arnold.  Alas, no help from  the Tudor Tailor – why does it do early Tudor & Jacobean but not a single classic Elizabethan gown?!?  Gah!

If the bodice front is frustrating…well…not shown are my attempts at sleeve rolls.  The diagonal striping on the sleeve rolls of my inspiration image did my head in compared to all the patterns in Arnold & the Tudor Tailor, and my sleeve rolls are…well…they might be something, but they aren’t sleeve rolls.

What I really need to do is have a good try on of the dress, but it’s gotten to hot for that.  So what I’ve done instead is to shove it away in a box for now.  I won’t need it again until next Nov, I’ve got other projects to focus on, and sometimes you just need to put something that doesn’t work aside until you can think about it again.  I’ll pull it out in time to figure it out, get it right, and submit it for the Historical Sew Monthly Red challenge (how timely! 😉 )

And, of course, if any of you reading have extensive experience in Elizabethan and wish to give advice, it would be much appreciated!