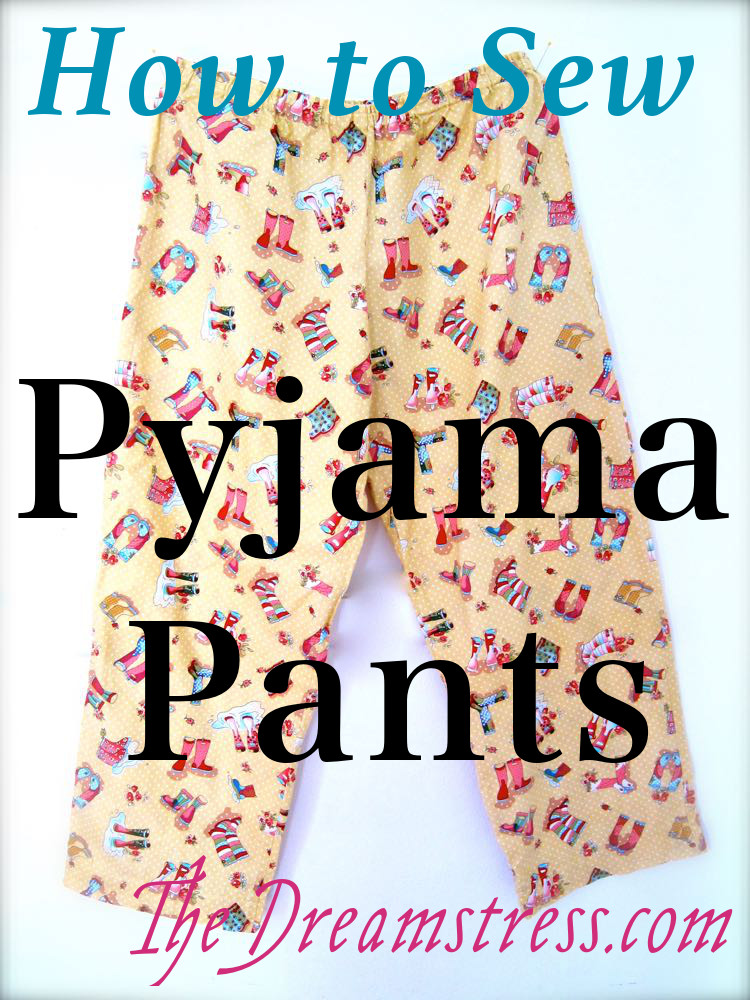
We’re making pyjama pants! Because pyjama pants are easy to make. And awesome! And mine are yellow with polka dots and pink gumboots. So basically, awesome!
This is part II of how to make pyjama pants: Part I is here.
In Part I I showed the first half of the process of making pyjama pants: checking the pattern for alterations, laying out the fabric and pattern, cutting, and doing the basic assembly.
In this post I’ll cover all the rest of the steps: adjusting your waist, making the waistband and inserting your elastic, and hemming.
Adjusting the waist level
So, we started with a fully assembled, but unfinished, pair of pyjama pants. Now it’s time to put them on. Check the inside of the pants for the Fs & Bs that you marked after cutting out, to make sure you put them on the right way ’round.
Pull them up until they are at a comfortable level between your legs, and turn down the top of the pants until the fold is where you would like the top of your waistband to sit:
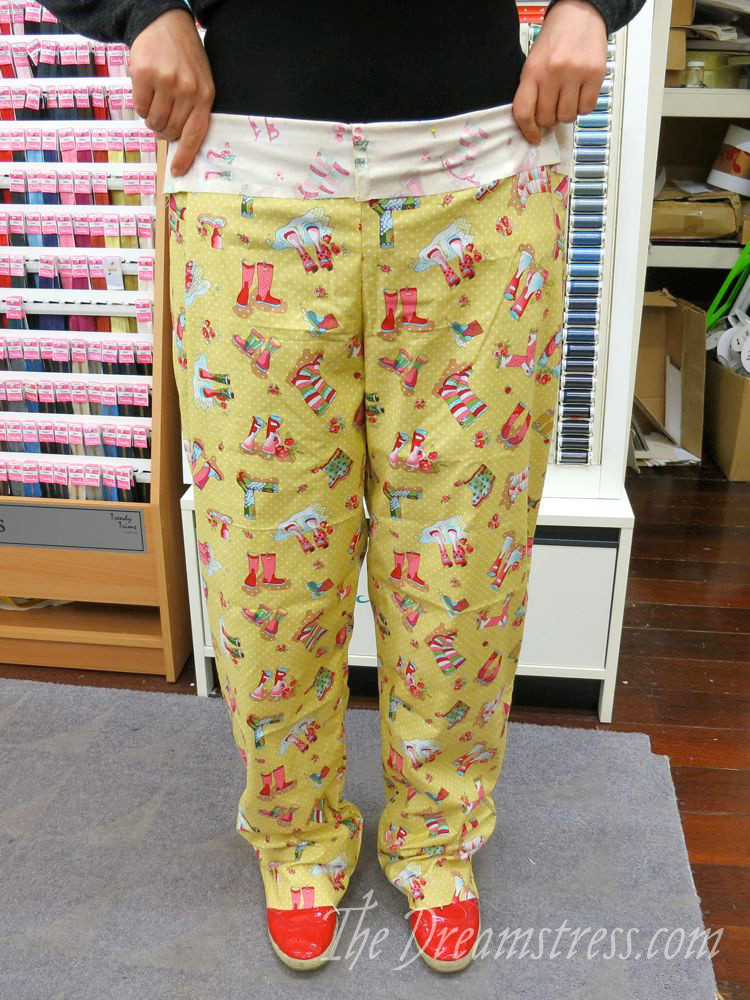
Fitting the waistband and crotch seam levels
Pin the front fold:

Pinning the waist front levels
And the back:
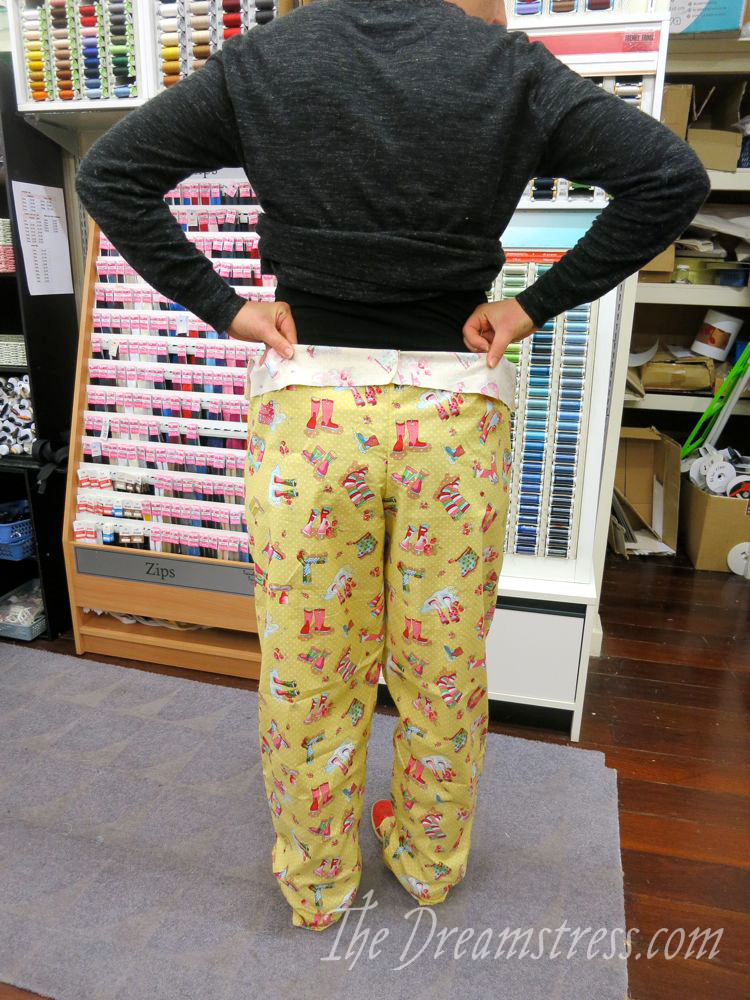
Pinning the waist back level
Don’t worry if your back fold is smaller than your front fold (as mine is). This happens when you have a fuller bottom than the imaginary body the pattern has been drafted for.
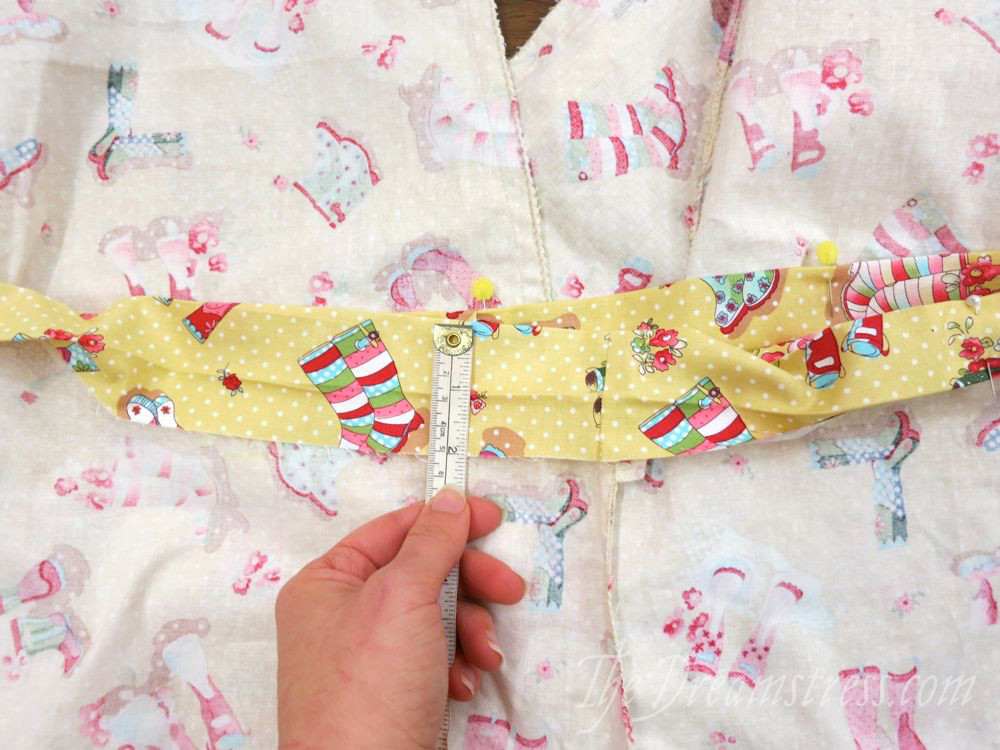
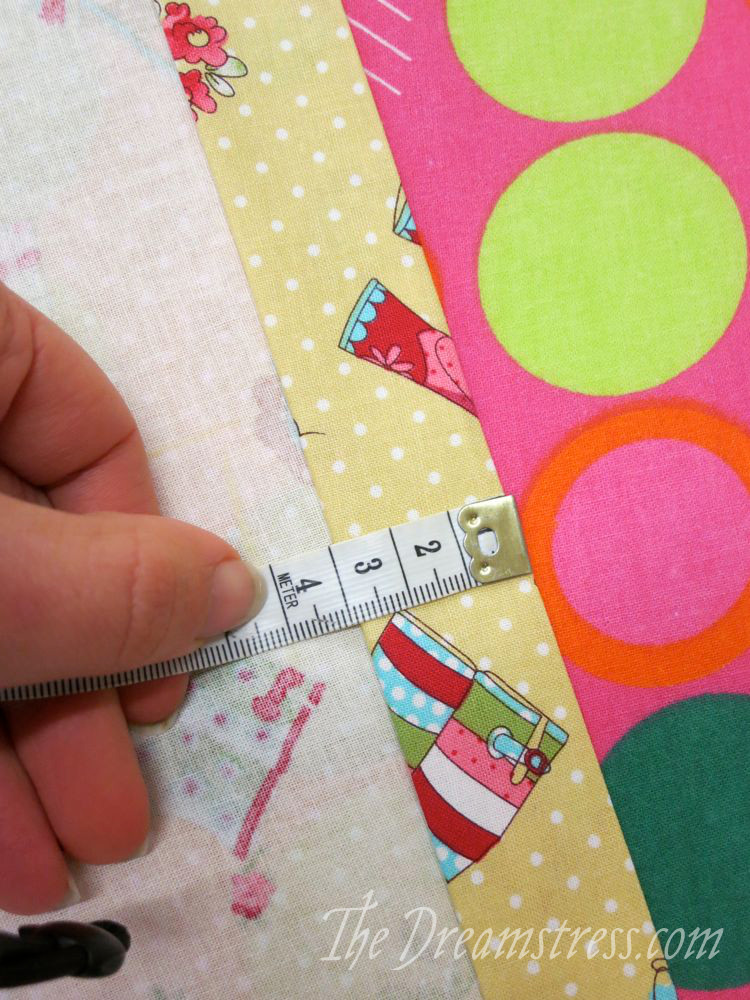
Take your pyjama pants off, and measure the front fold:

Measuring the front fold
And the back:

Measuring the back fold
Ideally your fold will be between 4cm and 8cm. If your fold is longer, you can trim it down to 8cm. If it is shorter, you’ll need to use the 4cm measure, and next time you make pyjama pants, add more length at the top waist.
My front fold is 6.5cm, and my back fold is 5cm: a 1.5cm difference.
Some of you will have the same measure front and back, and you can skip this step.
If your front and back are different measures, you need to trim the longer measurement to equalise them (for almost all people the longer measure will be the front).
Measure down the CF seam the length of the difference between front and back (in this case, 1.5). Use a ruler to taper this measure out to the side seam (as you need the full length at the sides and all around the back to get over your hips and bottom). Cut off at the marked line:

Trimming the extra length off the front
Sewing the channel for the waist elastic:
You’ll now have an even amount to turn down all around the waist to form the channel to run your waist elastic through.
Fold your the top of your waist down to the inside (wrong side) of your pants the amount you have measured – in my case, 5cm. Press all the way around.
Folding the top of the pants to the inside to form the waist channel
Now tuck the bottom (raw) edge up underneath 1-4cm to form a channel that is 3-4cm wide (3cm if you have a 4-5cm fold, 4cm if you have a 6-8cm fold). All the raw edges will now be hidden in the fold.
Measure around the entire waist, pressing as you do so, and make sure that your channel is exactly 3cm (or 4cm, whichever it is – as long as you are consistent all the way around). The more precise and even your fold is, and the more crisply pressed, the easier it will be to sew it.
Folding and pressing the 3cm waist channel
When your channel is folded and well pressed, pin it: Pin with the heads of your pin hanging off the end of the pants, making sure that you have caught the full fold of fabric in your pinning.
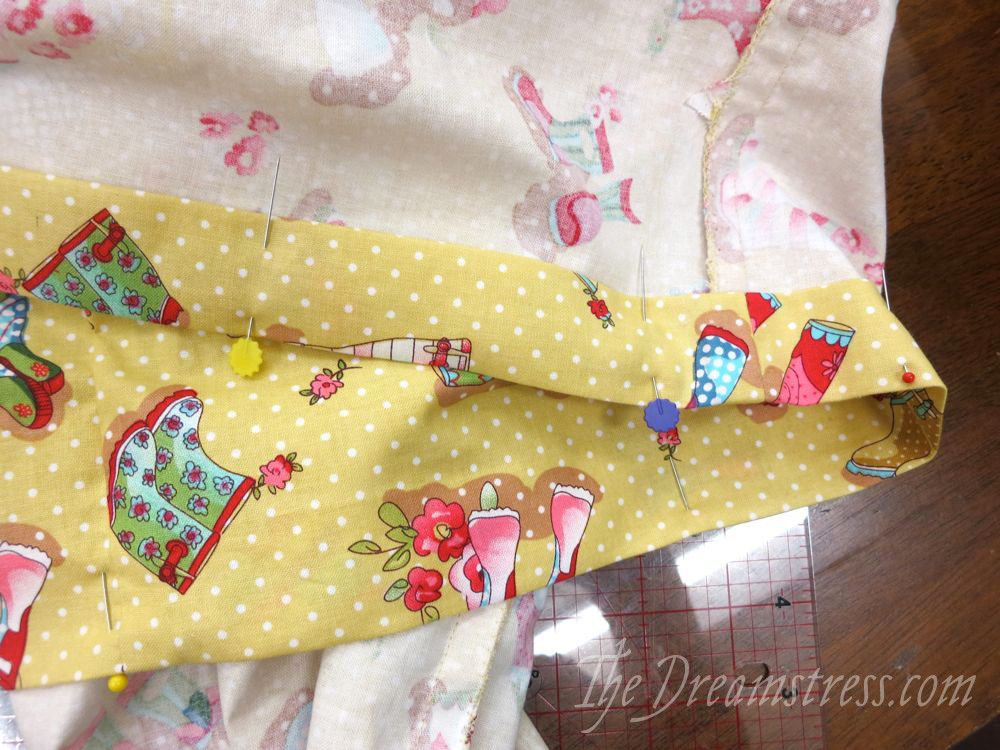
Pinning the waist channel
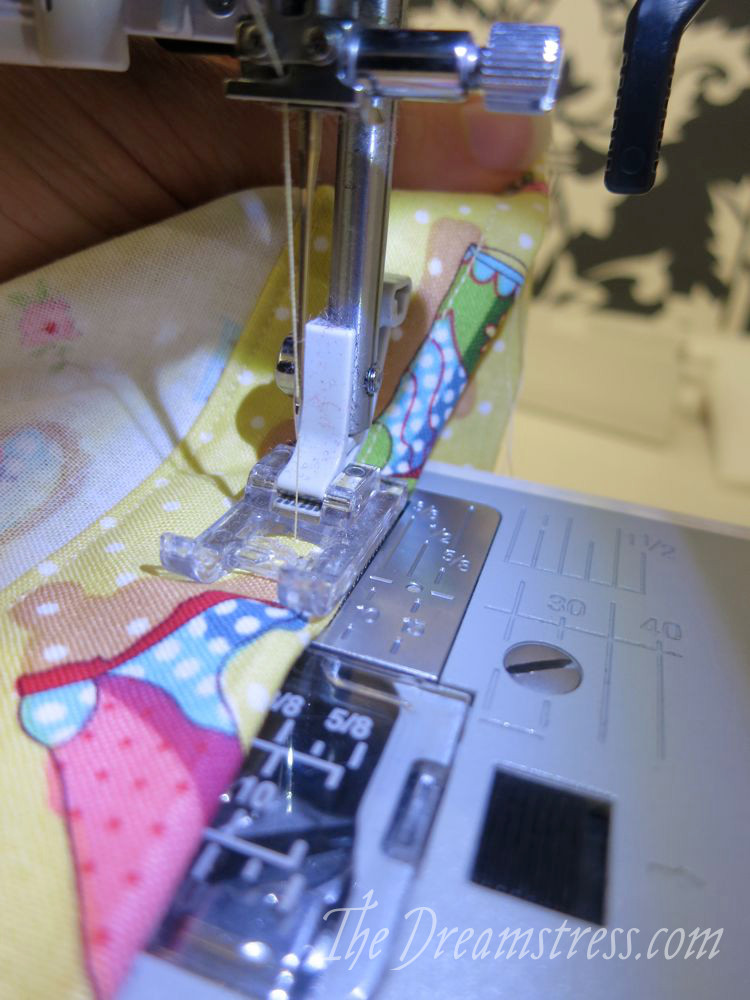
Take your sewing machine box/table off, and slip the pinned waist channel of your pyjama pants over the free arm.
Starting 3cm ahead of your centre back seam, stitch around the full circle of the folded waist channel, sewing close to the bottom of the fold, and stopping at the centre back seam, to leave a 3cm gap (which we’ll use to insert our elastic).
Because I have a 3cm fold, I’ve used the 2.5cm mark on the sewing machine as my guide, and moved the needle position slightly to the left, to get closer to the edge of the fold. With a 4cm fold, you’ll use the 3.5cm mark.

Sewing around the waist channel, leaving a 3cm gap at the centre back.
Now, sew around the top edge of the waist channel, near to the top fold. This line of stitching both looks good, and protects the top fold of your fabric from the wear of the elastic rubbing around in the waist channel of the pyjama pants.
Sewing around the top edge of the waist channel
You may wish to measure your elastic before you do this, to make sure you leave enough space for it to slide around the channel. I’ll be using a fairly narrow 1.2cm wide elastic, so I’m sewing a full 8mm from the very top edge, because I don’t need a wide channel for my elastic. If you have a wider elastic, sew 3mm from the top edge, to leave yourself a wide enough space for your elastic.

The resulting waist channel for your elastic, with a gap to insert your elastic.
Inserting the elastic
Now, measure and cut your waist elastic (just in case you haven’t already, make sure it’s narrow enough to comfortably slide through the channel).
Wrap the elastic around your NATURAL WAIST (yep, that really narrow point right under your ribcage, not that bit halfway down your hips where your jeans waistband sits), snugly but without stretching it, overlap it 2cm, and cut. If the elastic is unstretched at your waist, it will be a pretty good fit once you push it down your hips a bit to where your pyjama pants actually sit.
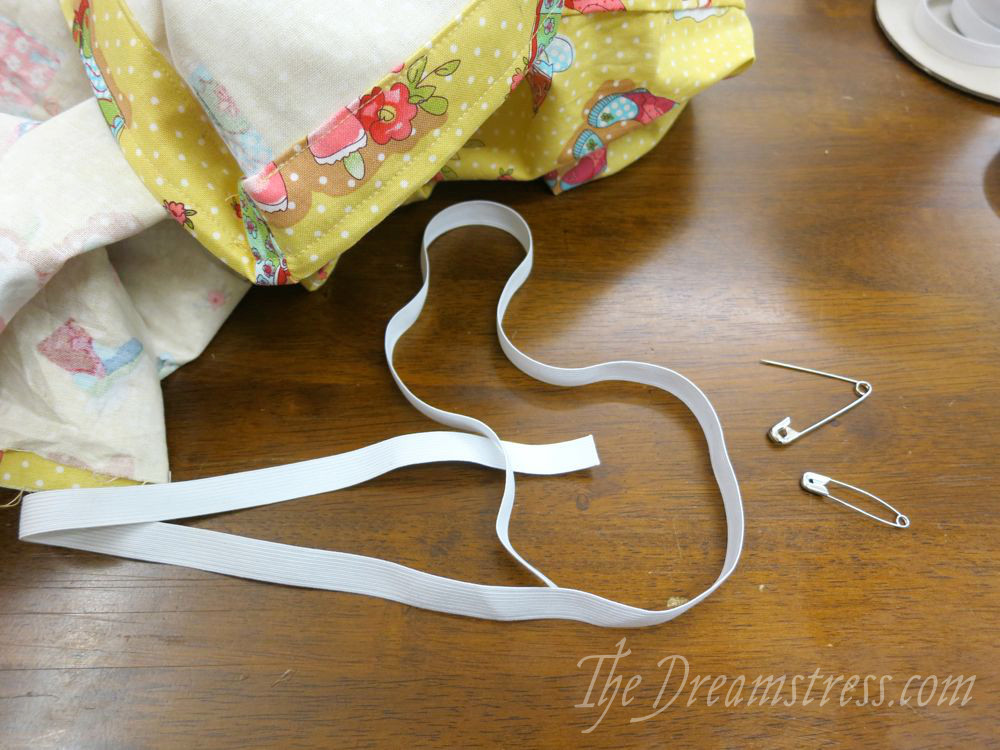
Your waist elastic and two safety pins
Fold one end of the elastic, and put a safety pin through it.
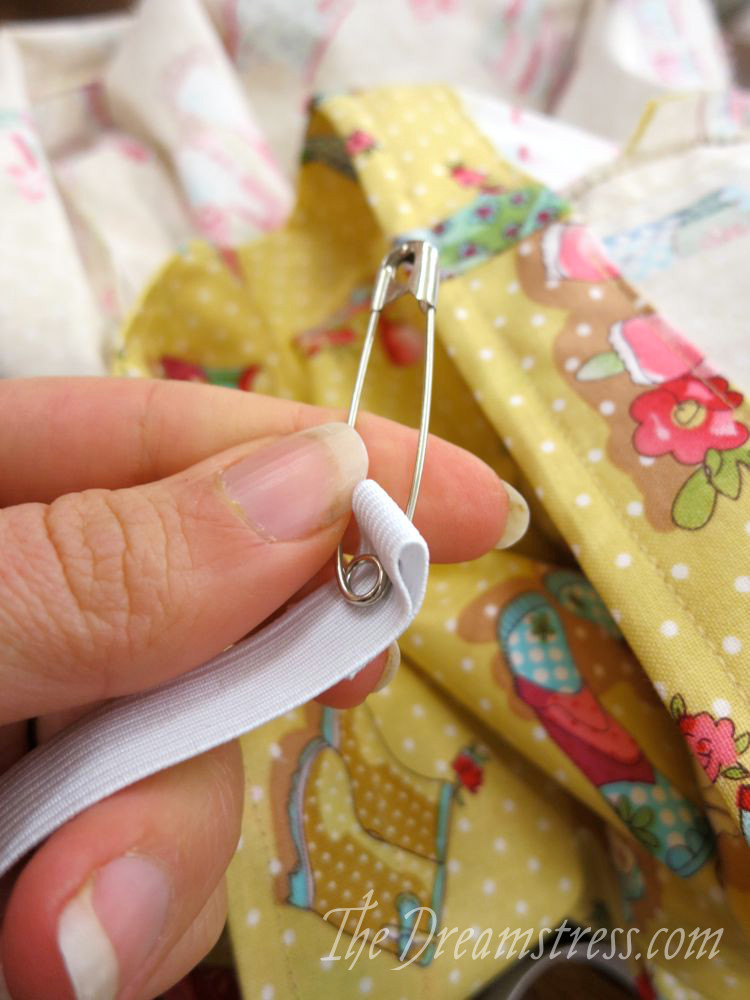
The fold helps keep the safety pin from coming undone
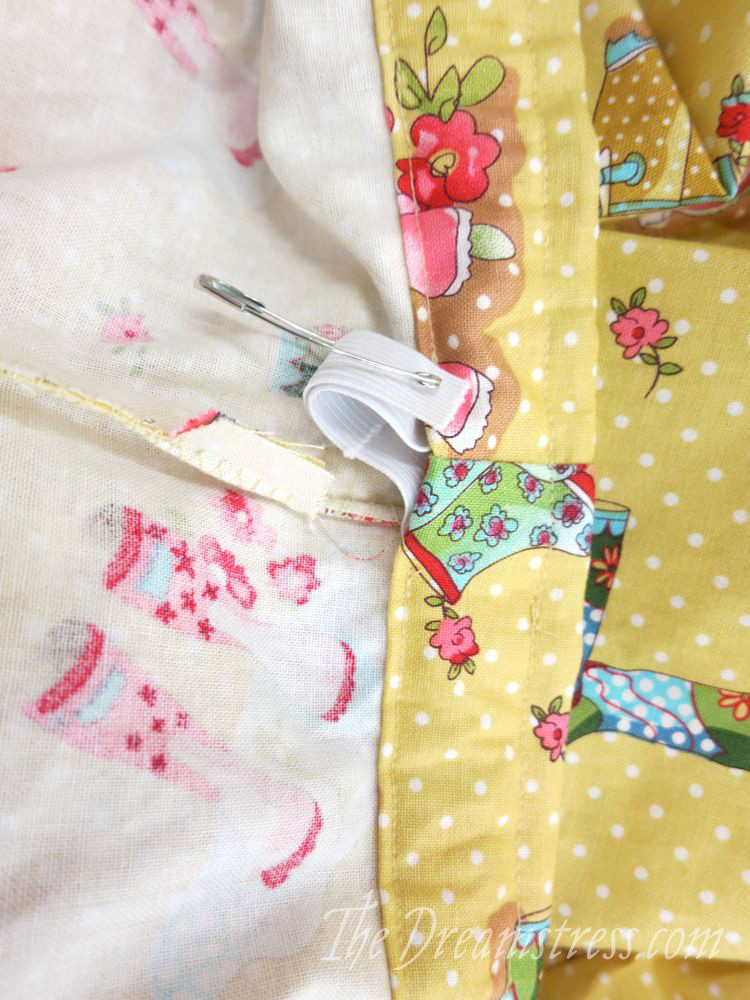
Safety pin the other end to your centre back seam, so that there is no chance of you loosing that end of the elastic as you thread it through the channel.

Pinning the other end to the CB seam
Use the safety pin on the folded end to thread the elastic all the way through the channel, and back out the other end. Be careful not to twist the elastic as you do so. Pin the two ends together.
Threading the elastic through the channel
Try on the pyjama pants, and check the fit of the elastic. You may need to shorten it slightly. Just tug it until it is comfortably snug, re-pin, and cut off any extra length.
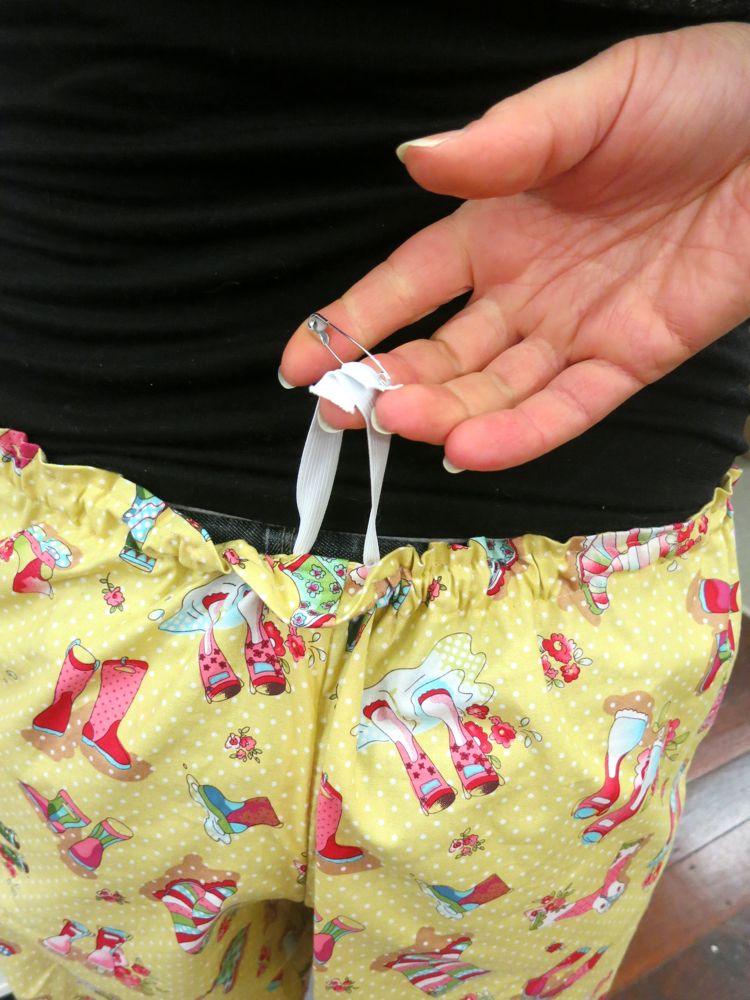
Checking the fit of the elastic.
Minor deviation for hemming:
While you are wearing the pyjama pants, you can mark the hem length. Stand in stocking feet, and turn the hem of the pyjamas up in back until they are 1cm above the ground – just high enough that they will never trail on the floor and get grubby (gross!).
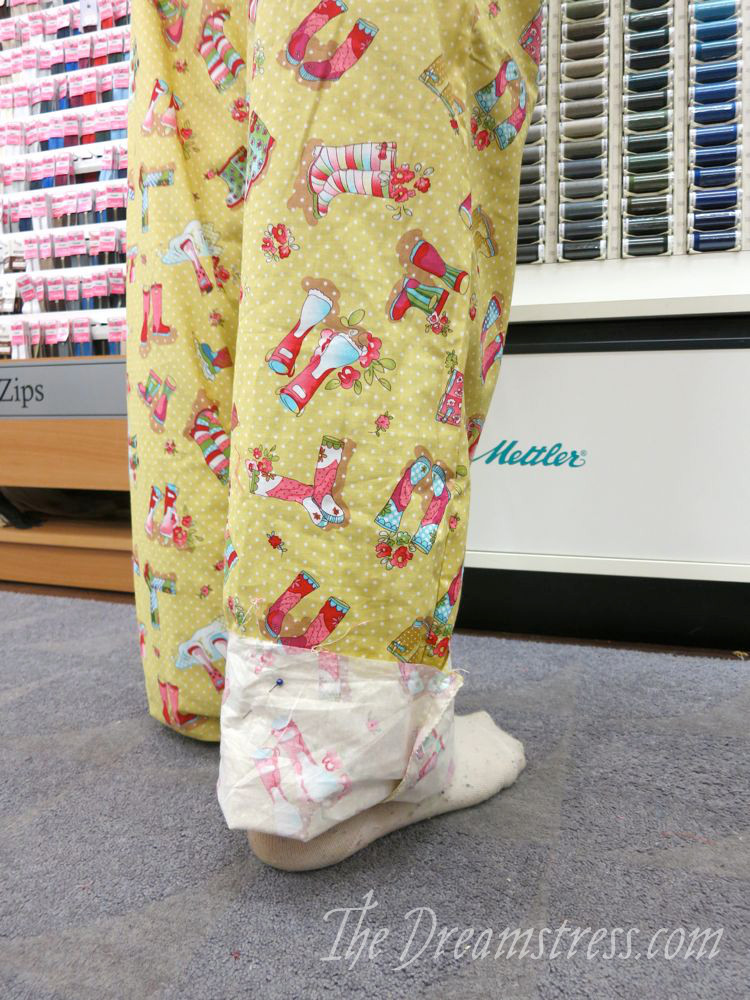
Marking the hem of the pyjama pants.
You only need to pin one side, because pyjama pant hems don’t need to be as precise and perfect as proper trouser hems, so you can use the length of one to hem the other.
Back to finishing the elastic:
To secure your elastic, make ABSOLUTELY certain there are no twists in your elastic as it goes around the waist. Pin the two ends of it together, and zig-zag stitch down and back and down and back over the overlap.

Pinning the elastic to secure it
Pull the elastic back into the waist channel, and sew the gap closed, and the waist is done.
The sewn-closed gap

The finished waistband
Now, on to the last step:
Hemming
Measure the hem fold-up that you have pinned:
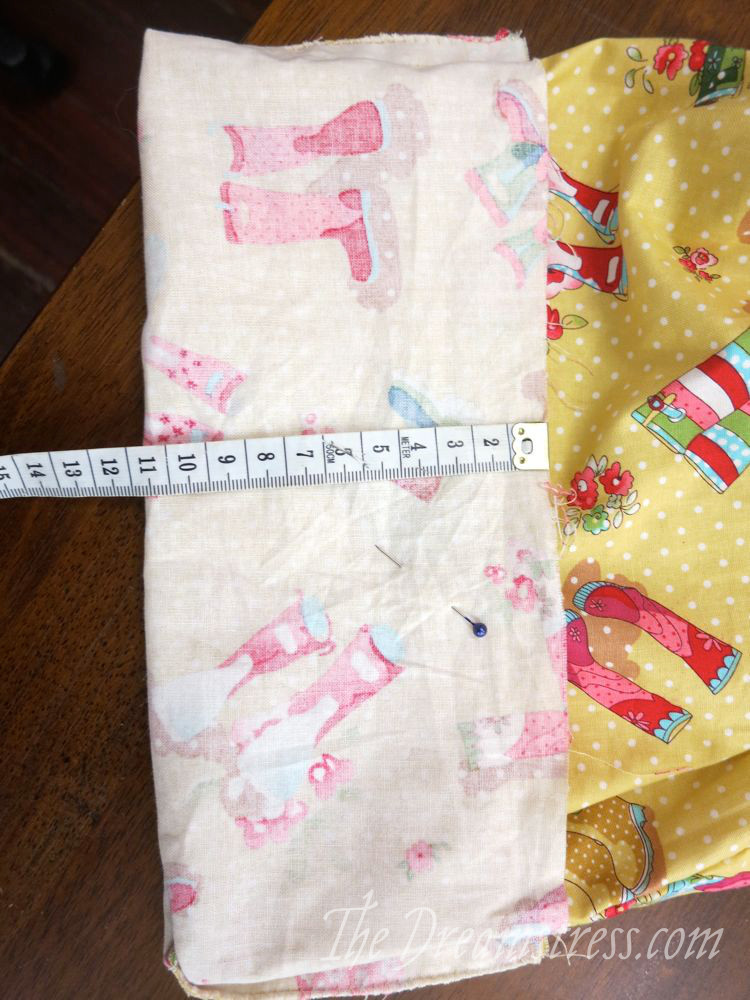
Measuring the fold-up of the hem
If it’s more than 8cm, you’re going to need to shorten it, because pyjama pants taper at the hem, so trying to hem more than 8cm results in too big of a difference between the top and bottom of the hem.
If your hem is more than 8cm, like mine, which is 11cm (purposefully, so I could show this step), simply cut off any excess length longer than 8cm:
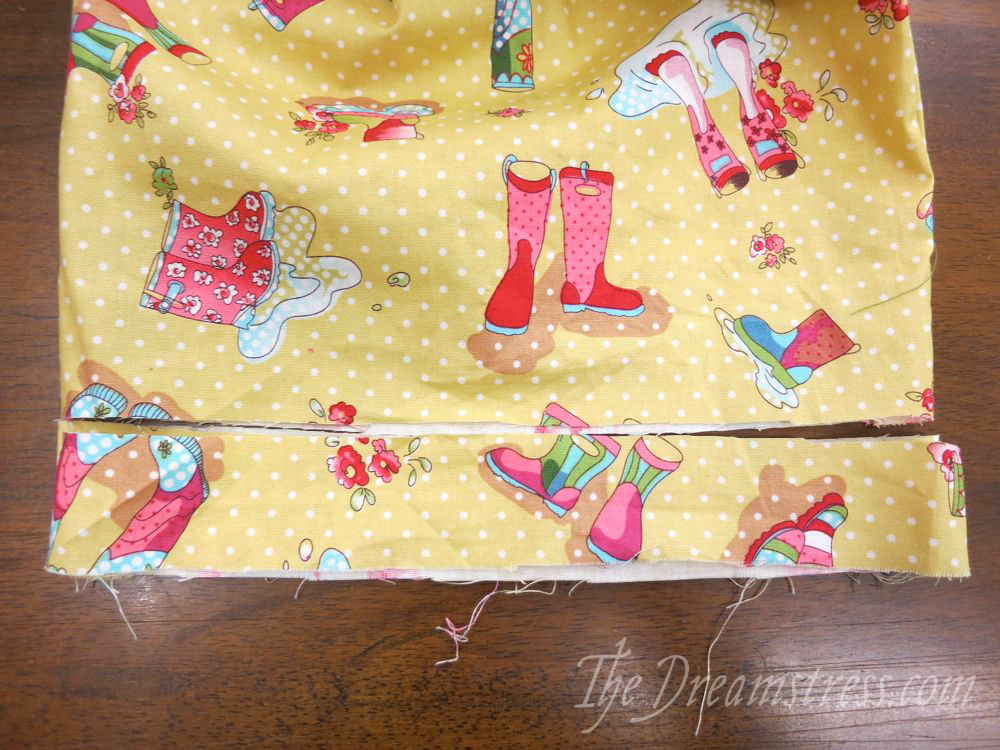
Cutting off 4cm of length
Now, turn and press the 8cm-or-less of length to the inside of the pyjama pants, just like you did with the waist channel:

Measuring and pressing the 8cm hem
Tuck the raw hem edge into the 8cm fold, forming a 4.5cm hem. Press, making sure the hem stays precisely 4cm all the way ’round.

Measuring and pressing the 4cm hem fold
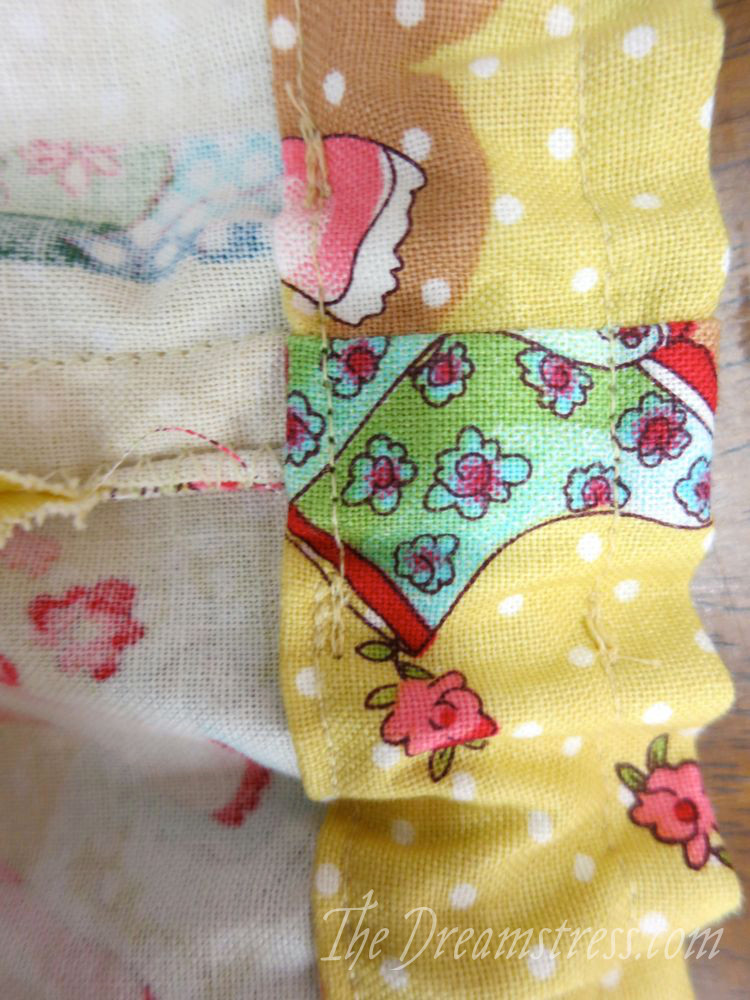
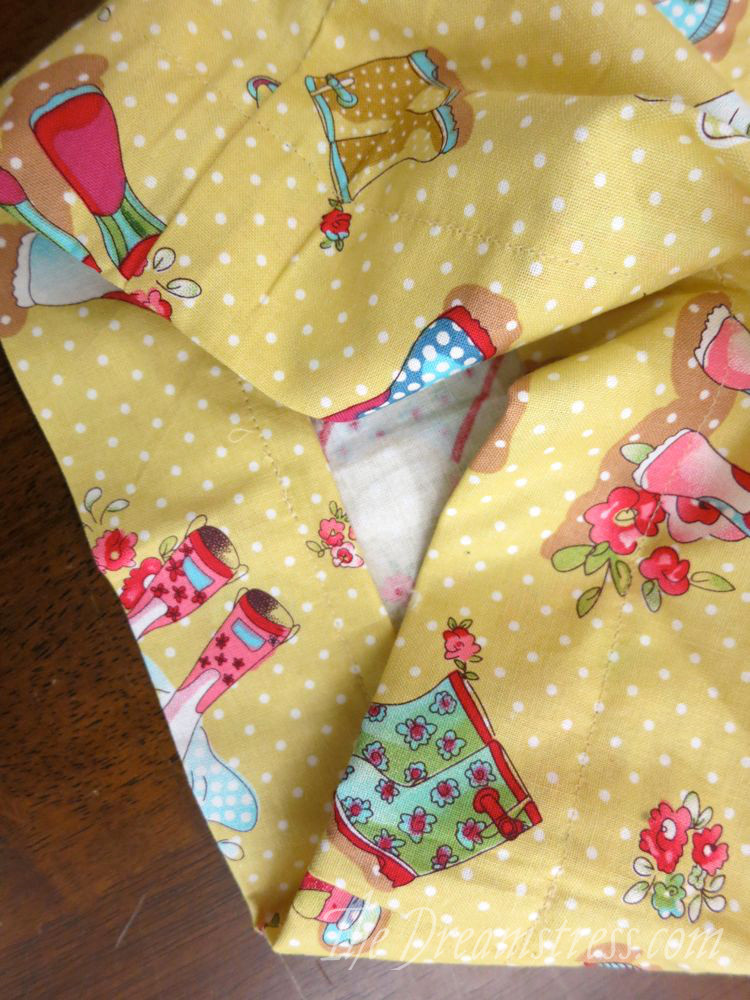
Take care not to let the seam allowances twist in the hem, as they will make it bulky and hard to press.
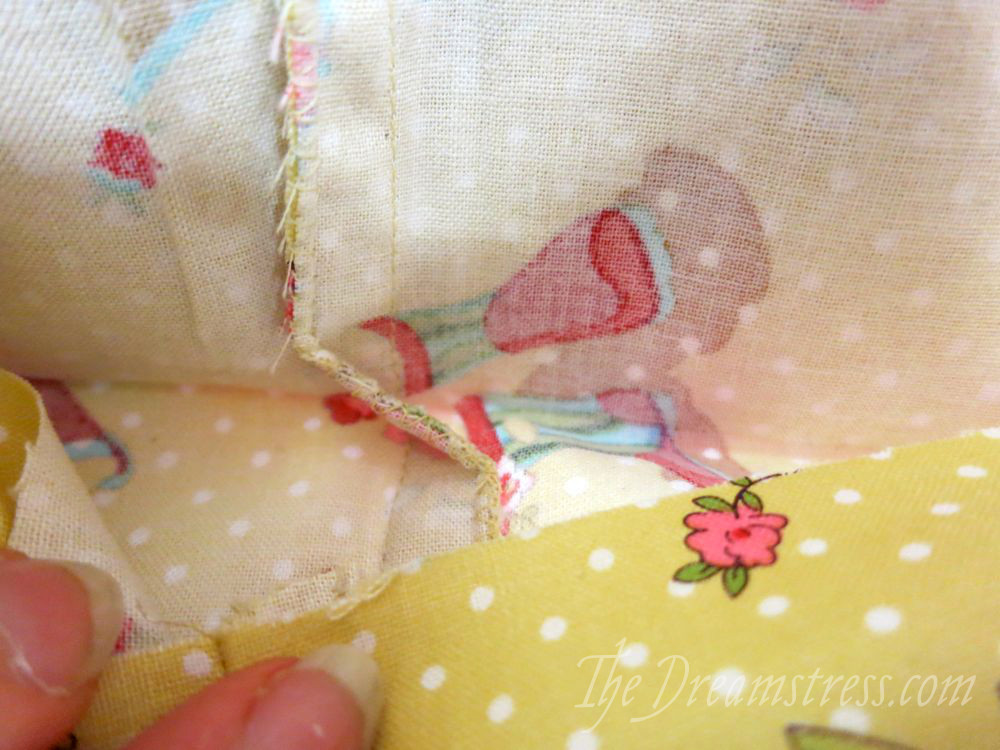
A twisted hem allowance

The seam allowance un-twisted and straightened out within the hem
You should be able to control and sew the hem without pinning it, but if you are worried about it, pin just as you did for the waist channel.
Slip your one hem around the free arm of your sewing machine, and sew close to the edge, just as you did with the waist channel.
Because I have a 4.5cm hem, I am using the 4cm mark as my guide:
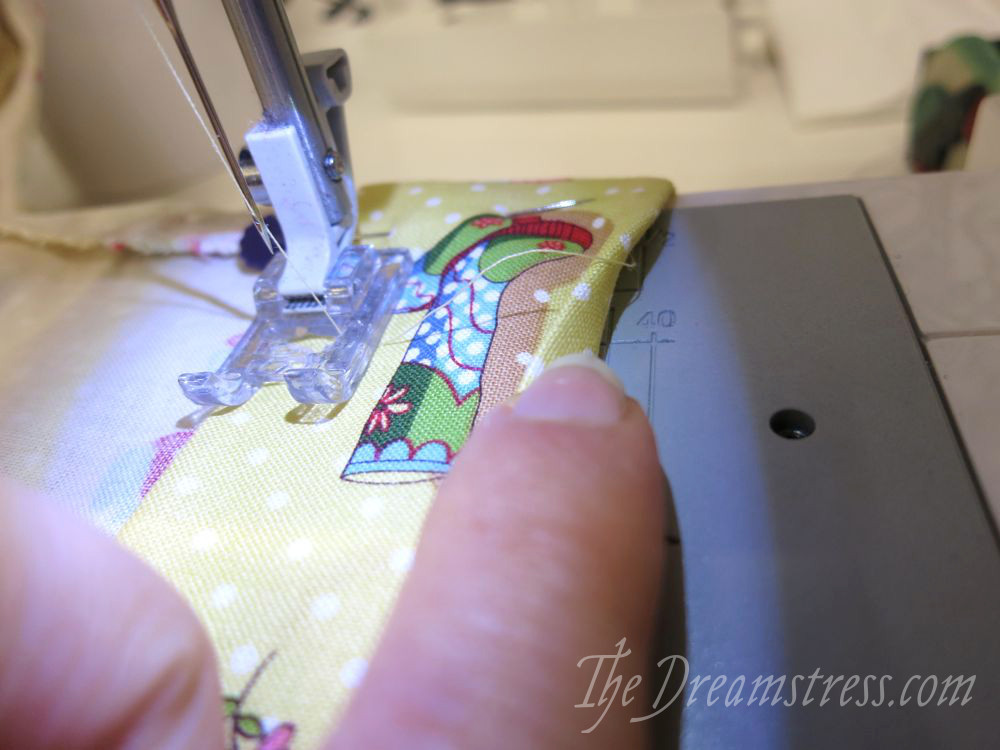
Sewing the hem
You don’t need to sew an additional line of stitching near the edge, as you did with the waist channel, as there is nothing running through the hem, rubbing against it.
Sew the other hem in the same way, and your pyjama pants are done!
The finished hem
Enjoy!