Ever since late February I’ve been dropping hints about The Project – a massive, top secret endeavor that has been taking up huge amounts of my life.
I thought I would be able to show you The Project at the end of March, but it still wasn’t quite where I wanted it to be.
Then I wanted to debut The Project at the end of April, but I was still waiting on one major part I wanted to be in place.
In May I scheduled two different dates in which to take photos of the The Project, but things came up on both days.
By June, winter had come, and it was harder to get good photos.
Now that July is almost at an end, a reveal is so overdue almost feels silly and anticlimactic – it’s been 5 and a half months!
Obviously, it’s high time I told you what was going on!
Not today though. Today, I’m just going to be mean and drop a few hints about The Project.
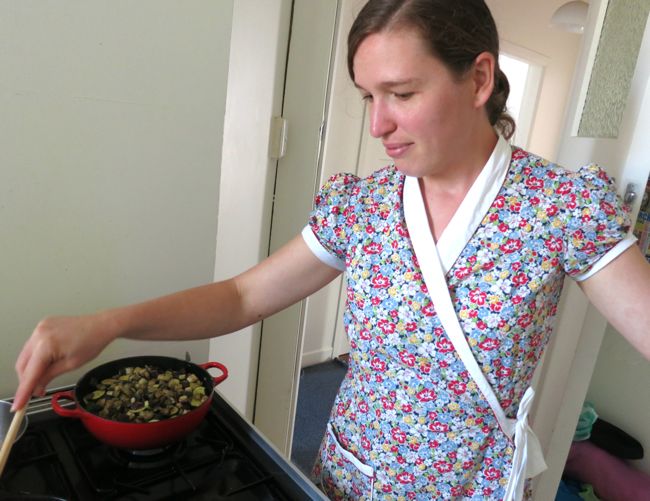
The Project is sooo exciting. More exciting than all the pogey bait I’ve collected over the last year put together:
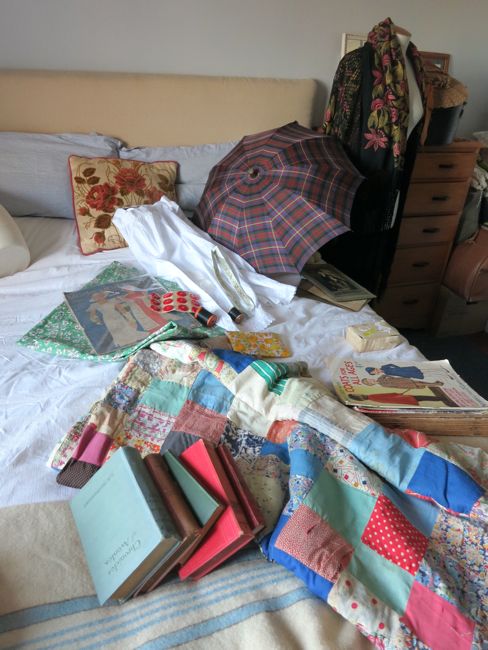
The project is big. Really, really, really big. Much bigger than my elliptical hoopskirt:

It’s not as old as the hoopskirt though. It’s actually fairly recent: 20th century even.
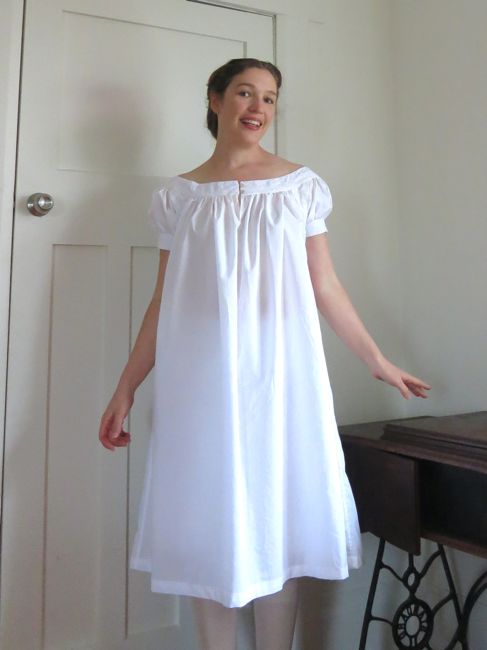
Not as young as my 1930s Ettie May hooverette dress though:
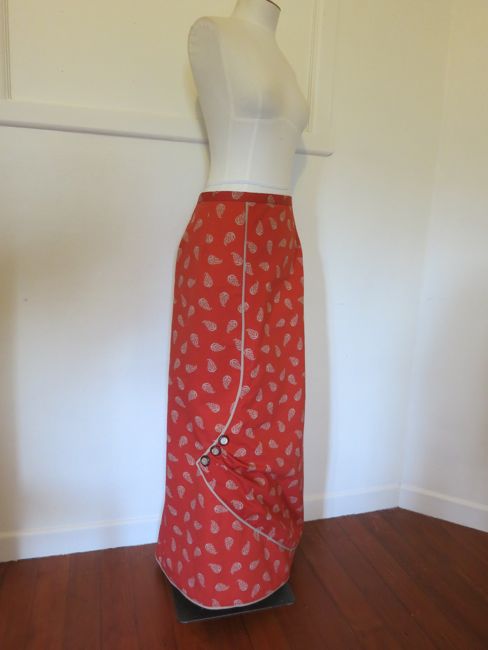
It’s not as old as my most recent project: a 1913 skirt though (photoshoot of that soon as well!):
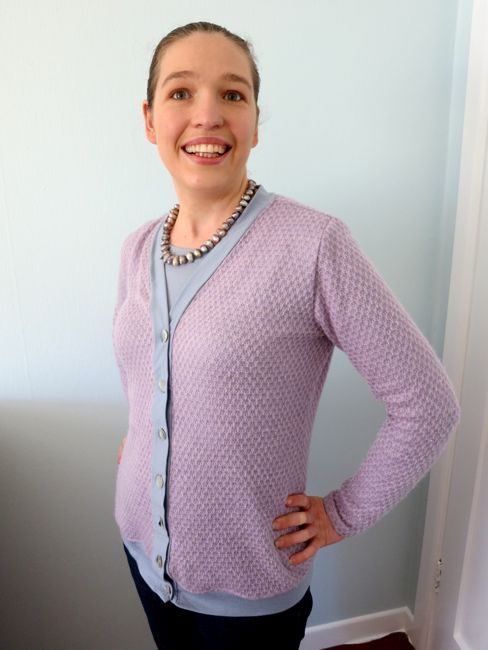
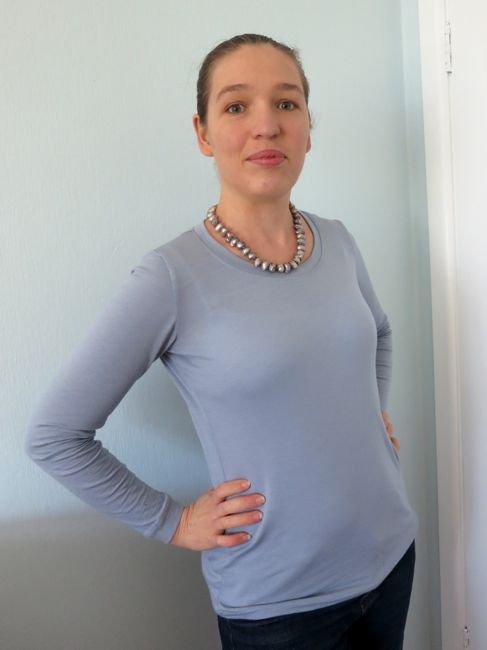
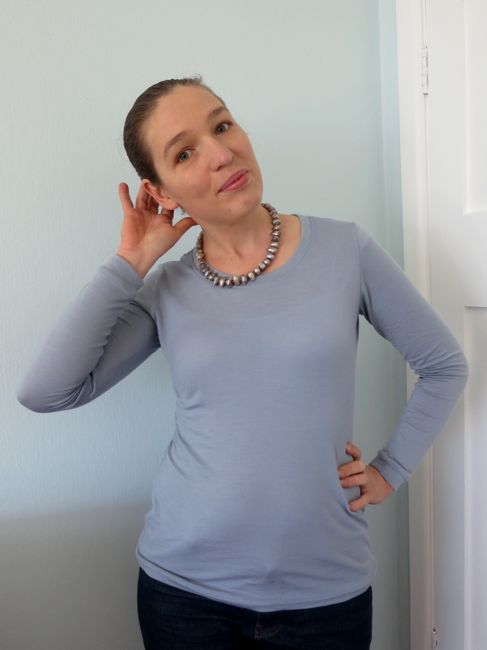
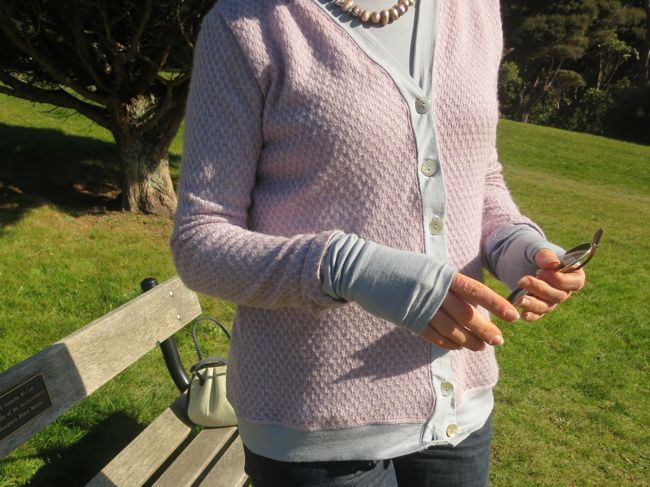
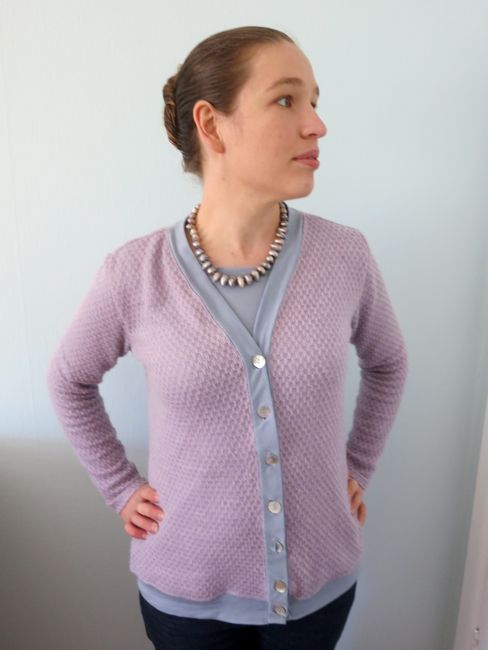
Because it’s so big, it involves lots of materials, with lots of colours, but I will tell you that blue and purple feature rather predominantly in it, as they do in my Mackenzie Cardigan:
It also involves a lot of white, and you know how much I love white:
Of course it is gorgeous, but not nearly as gorgeous as Felicity, because what is?
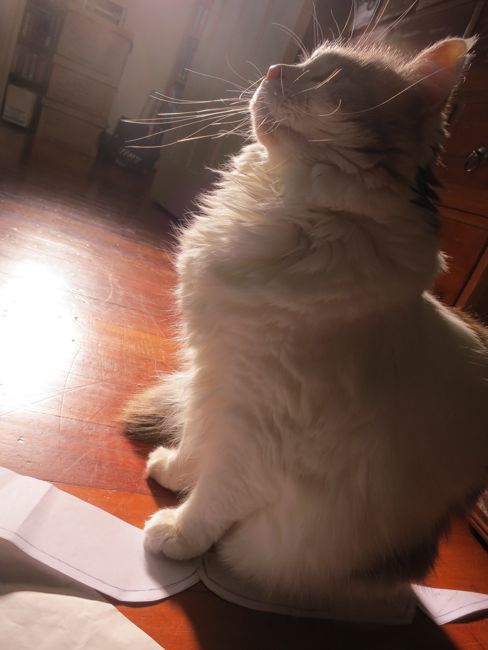
And, as with all my projects, Felicity is very involved in it. Felicity loves to be involved!
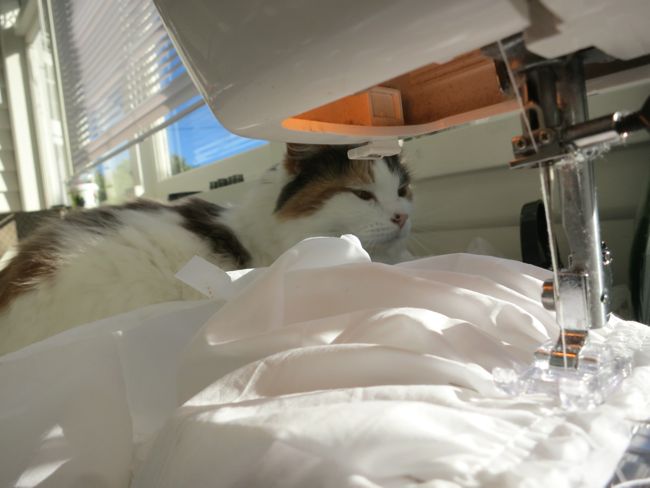
Oh, and one final hint:
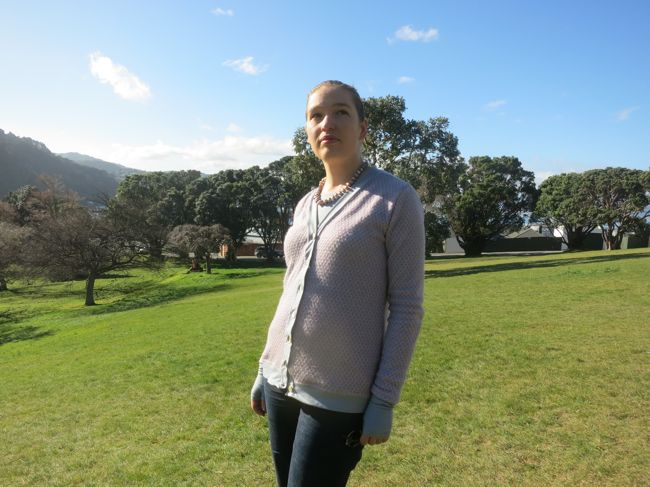
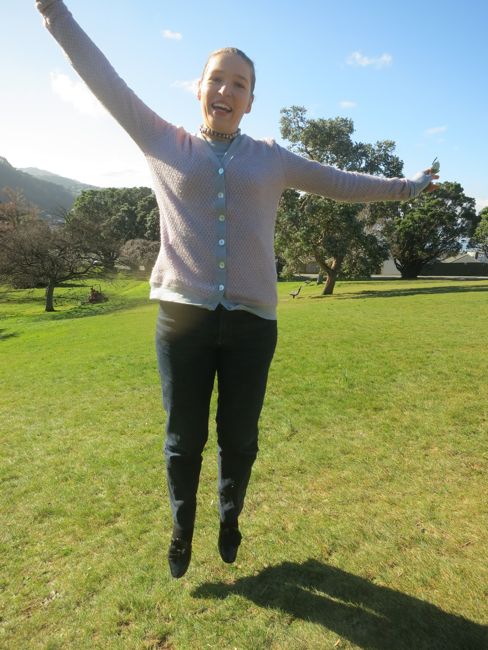
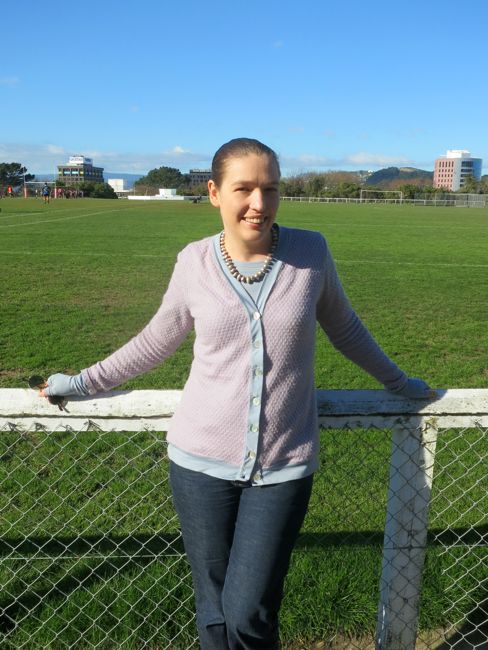
It’s in every single one of the photos in this blog post.
Have you guessed what it is?