Another Historical Sew Fortnighly Challenge down.
This time I made an 1860s bonnet to wear with my Greek key afternoon dress.

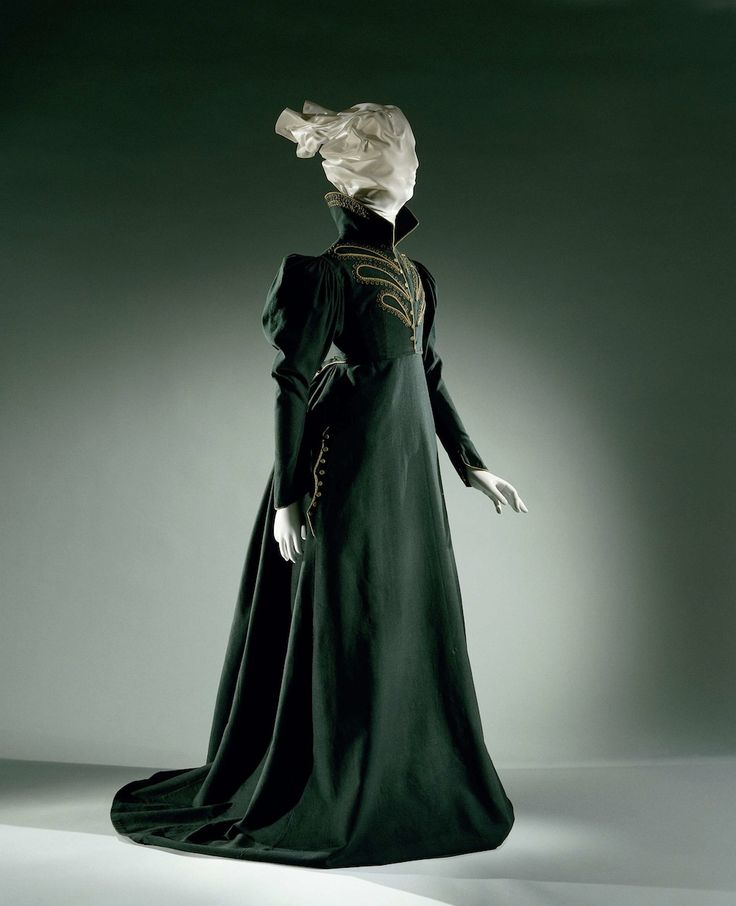
I was roughly inspired by this bonnet from the Metropolitan Museum of Art.
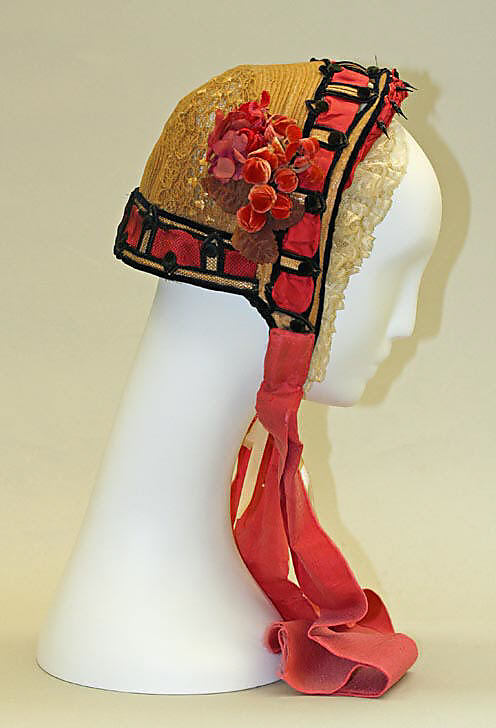
Bonnet, 1862, American, straw, Metropolitan Museum of Art, 17.15.9
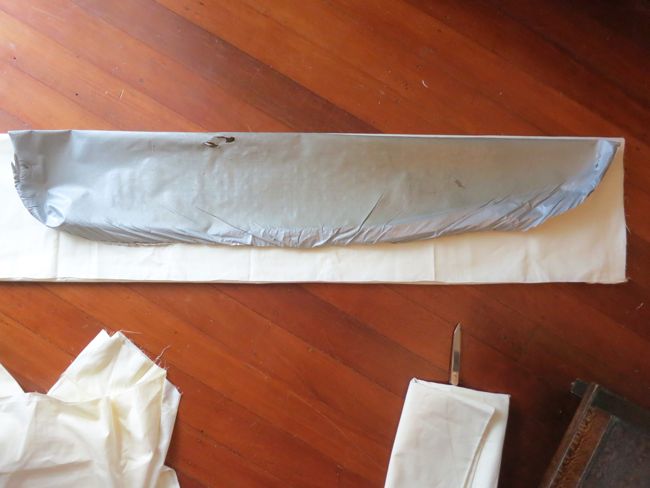
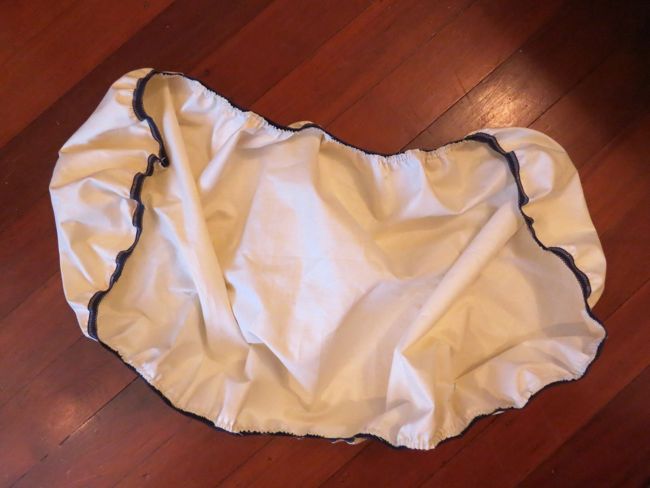
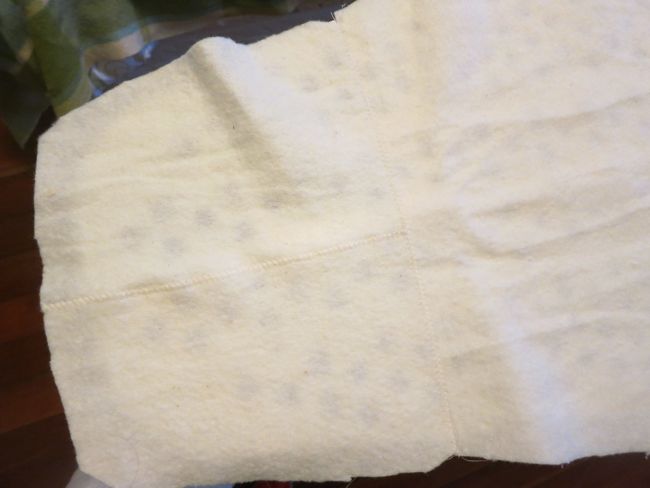
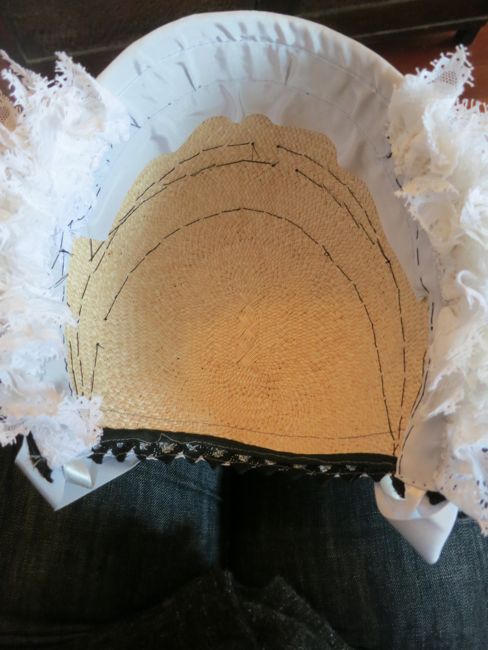
I started out with a simple hat that I’d unsuccessfully reshaped a 1920s cloche. It was just too big for my head to work.
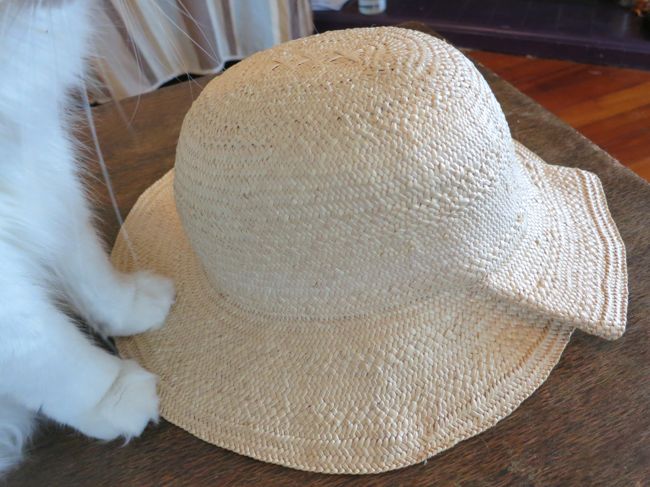
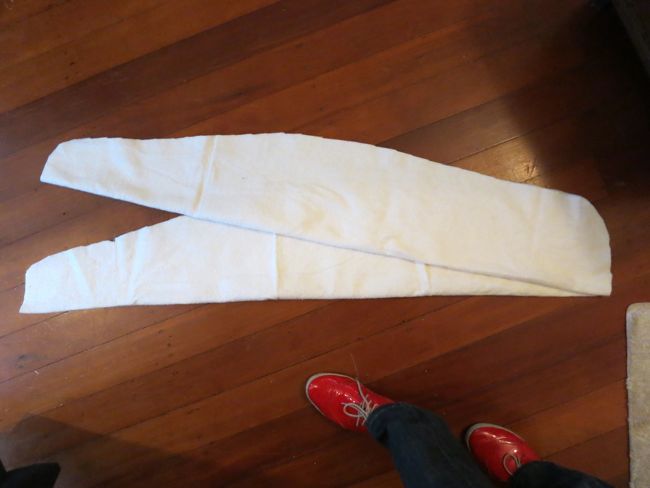
So I cut off the back and trimmed down the sides.

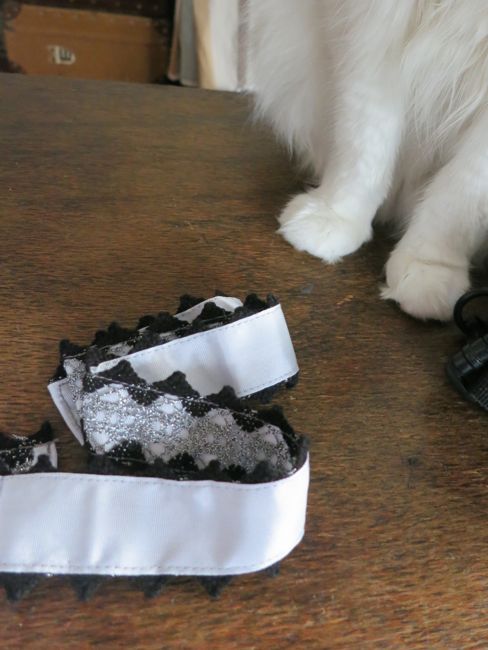
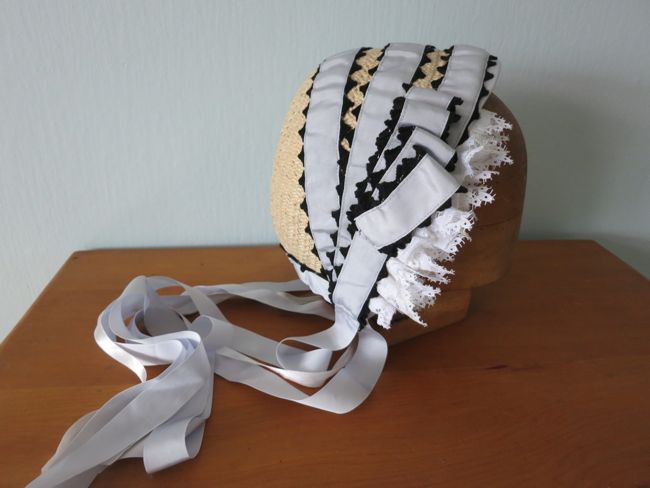
The original idea was that I would use pale pink ribbons, but they simply didn’t look right. And it turns out I didn’t have any black lace in my stash that worked (how is that possible?). So I ended up going with palest grey rayon ribbon and a silver and black lace.

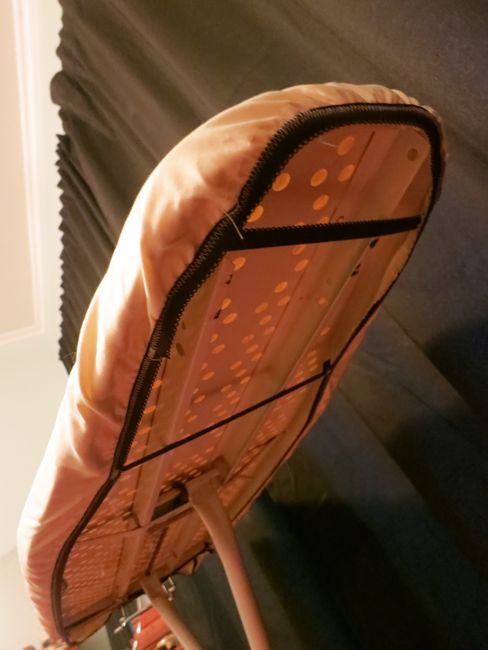
Obviously the silver didn’t look right, so I had some fun on the sewing machine:
I pinned all the ribbons on the hat until it looked good:
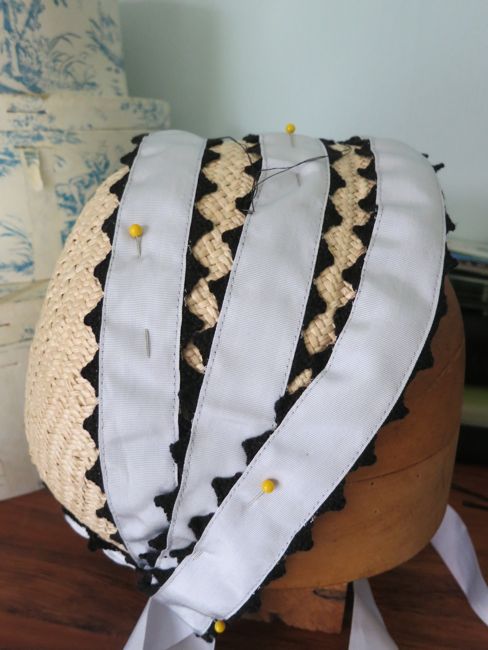
And then there was lots, and lots and lots of handsewing.
I’m really pleased about the lace – I picked it up over the weekend at Fabric-a-Brac, and the pointed edges ech the edges of the black lace beautifully (I’m having a brain blank and can’t remember the technical name – one of those days).
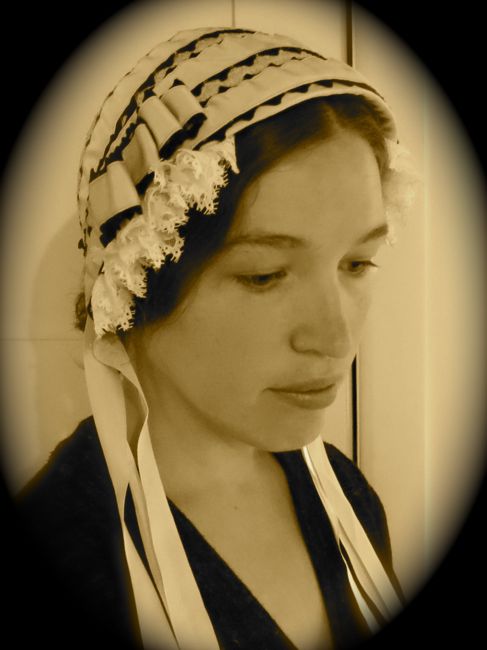
And here is the end result:
All the muted black and grey makes it look quite subdued. It could possibly be a half mourning bonnet, but I haven’t researched whether un-dyed straw was acceptable for half-mourning in the 1860s. I’ll look into that, and if it doesn’t work for half-mourning, I’ll add some cerise flowers. That’s how I’ll wear it with the Greek Key dress in any case.
The Challenge: #7 — Tops & Toes
Pattern: None, just fiddling with shapes until they matched period silhouettes.
Year: 1860-4
Notions: One straw hat, 10 metres of pearl gray rayon ribbon ($1pm), 3 metres of silver and black lace ($1pm), 4 metres of vintage lace (50 cents the lot), lots and lots of thread.
How historically accurate is it? My construction techniques are half period perfect and half completely mad. The materials are pretty iffy, but I do think the overall look would pass pretty well in 1862. 60%?
Hours to complete: 6. It was supposed to be a simple, quick project, but grew. A lot.
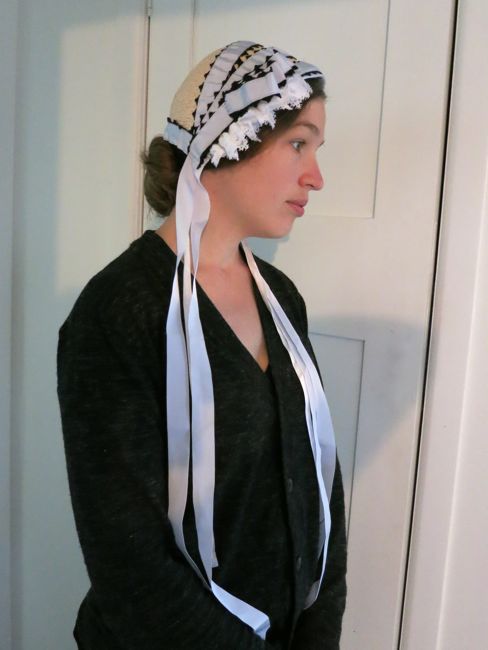
First worn: To wash dishes. I was trying to take pictures, and got distracted. It’s not a good bonnet for washing dishes as it happens. The ribbons rather get in the way. I’m sure it will be much better outside on a fine day!
Total cost: $13.50