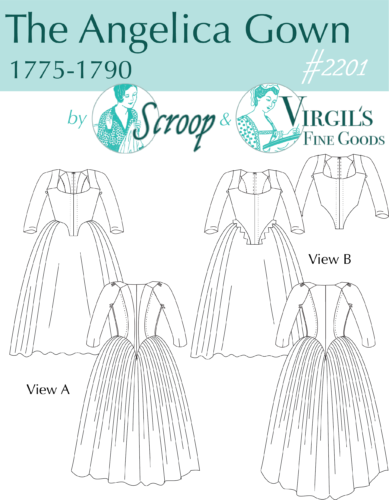
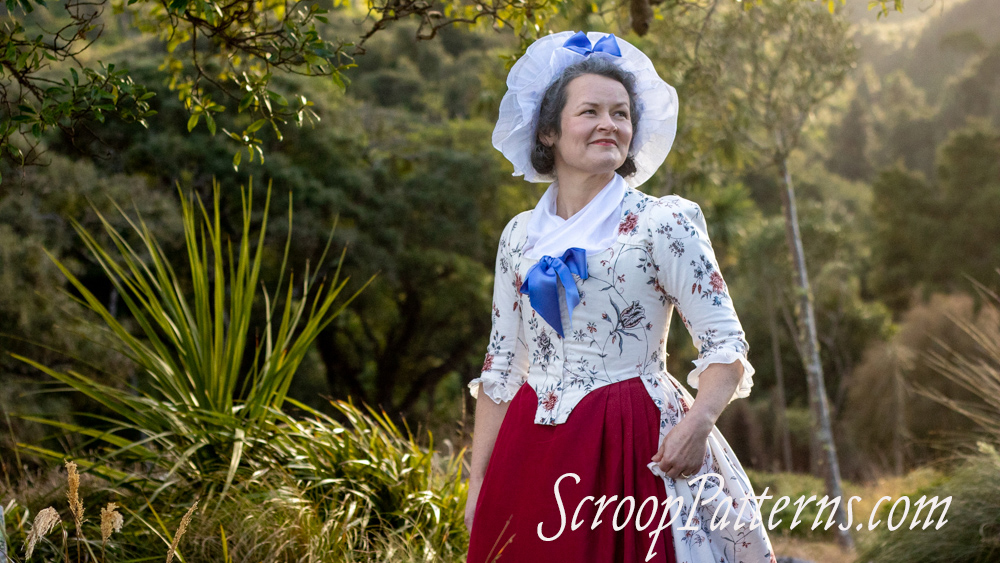
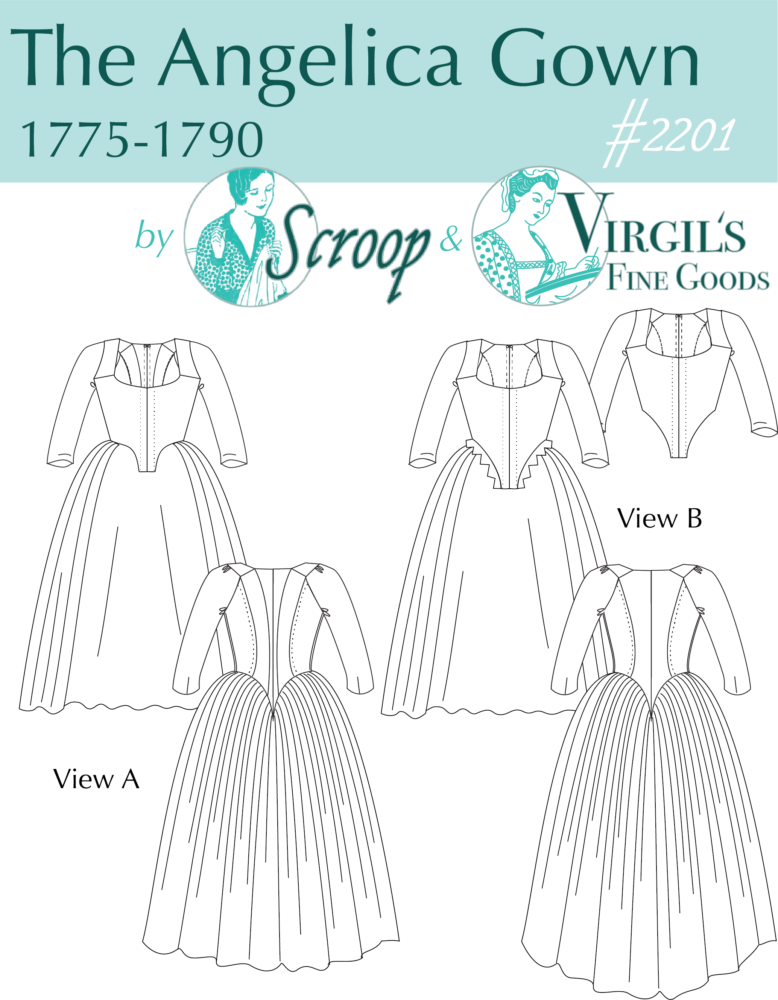
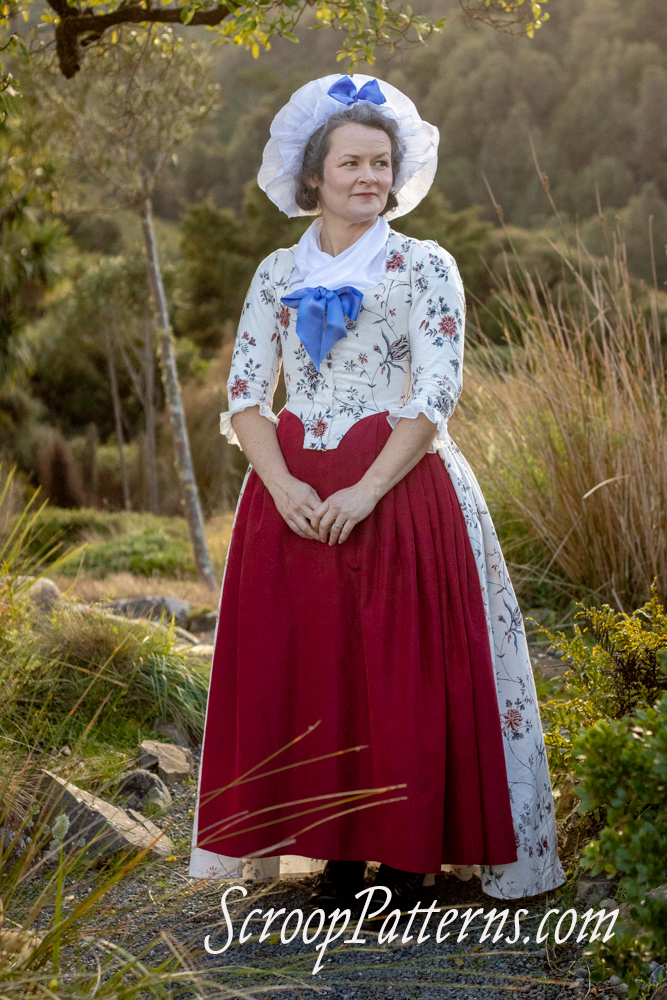
It’s time for everyone’s favourite part of a pattern launch! Tester makes!
Testers are fabulous! They allow you to see what the pattern looks like in a whole range of fabrics, styled on in a whole bunch of different ways, on a whole range of bodies.
They also help us make sure we deliver you the best possible pattern. They point out any bits that are rough or confusing. They provide feedback on things we can’t decide between: we could include X or Y, but not both. Which is better from their perspective?
So we are so immensely grateful to the people who are willing to pattern test. Thank you so much!
There were so many AMAZING testers for the Angelica Gown pattern, and they took so many gorgeous photos, and some of them even made multiple versions of the gown (which has to be a very good sign about how good the pattern is!) that we can’t cover them all in one post, so here’s just a small sampling. 💛
View A:
Natalie of @time_traveling_native
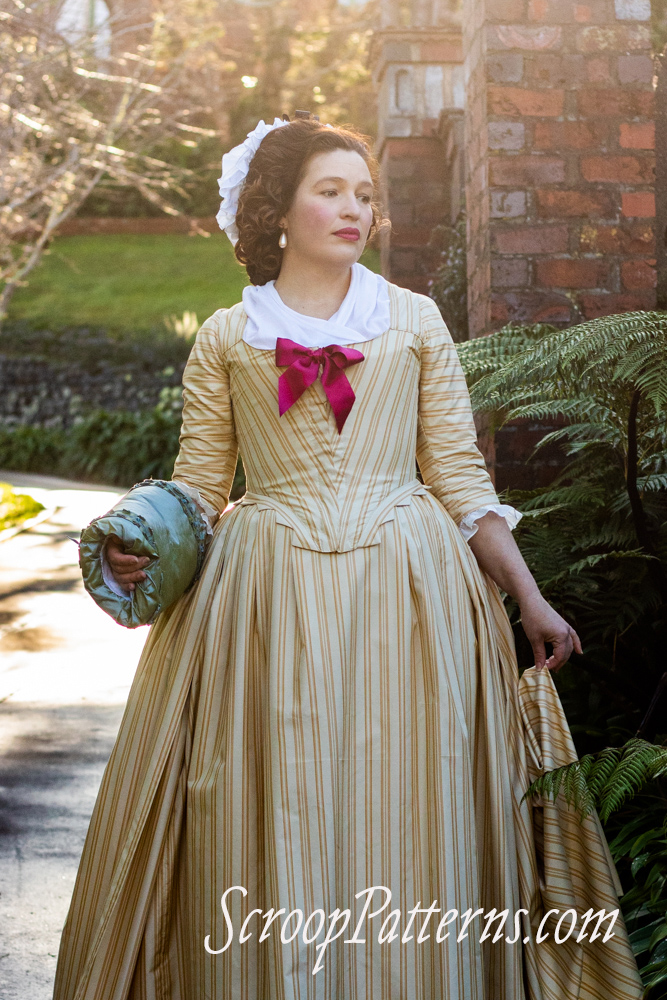
We knew from the minute we thought about testers that we wanted Natalie as a pattern tester for the Angelica Gown. Natalie’s fairly new to historical costuming, but she’s thoughtful, and meticulous, and checks and asks about things that are confusing. So she’s the perfect example of the adventurous early intermediate historical costumer who could successfully tackle this pattern.

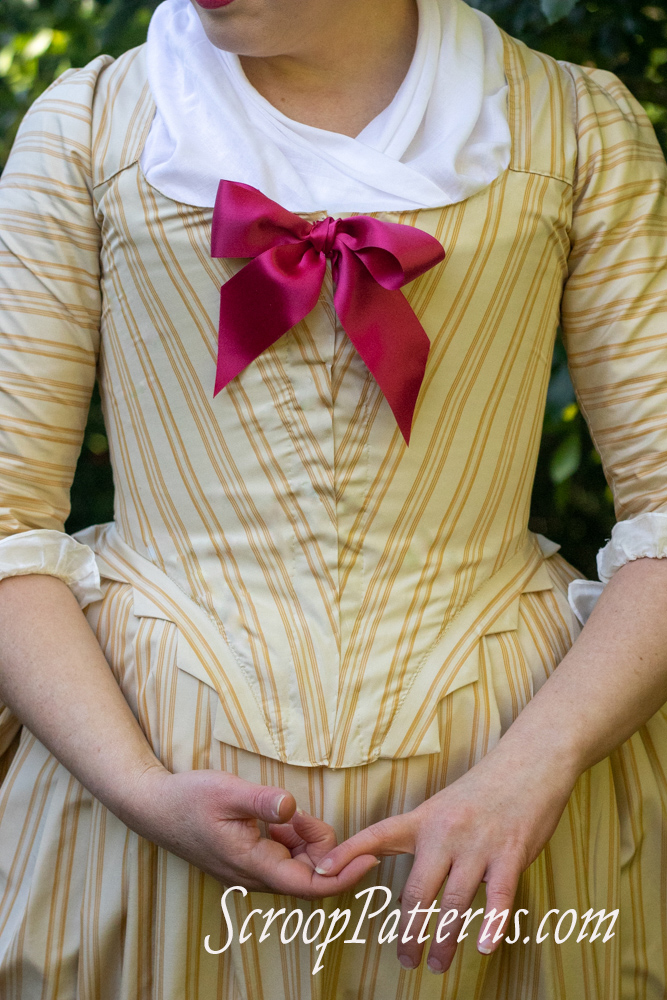
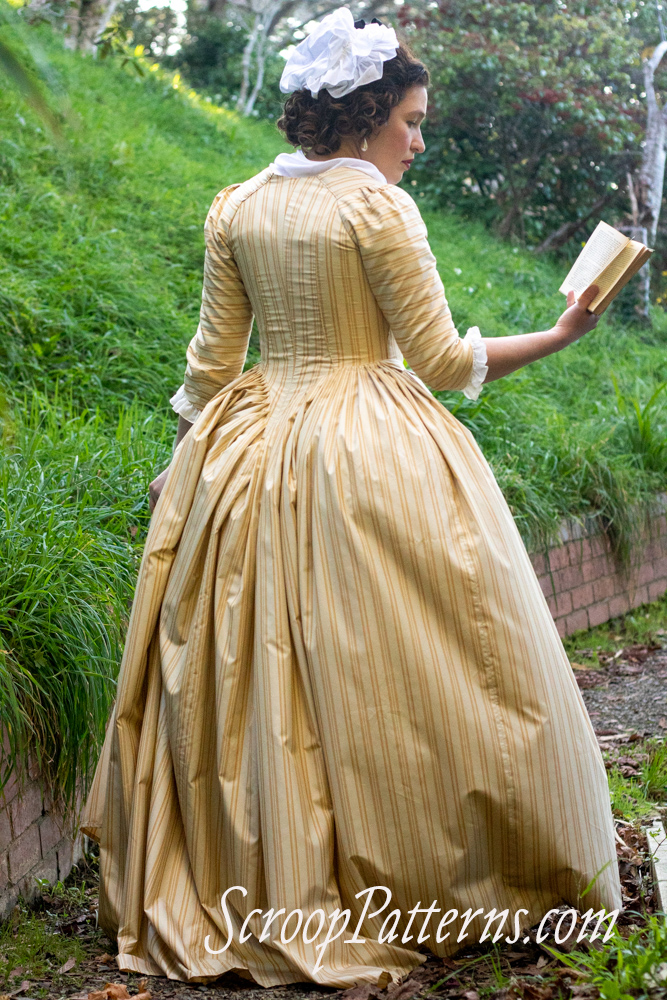
Based on her make, we can say that she was very successful indeed in making it! Look at those pleats… And that bodice fit!
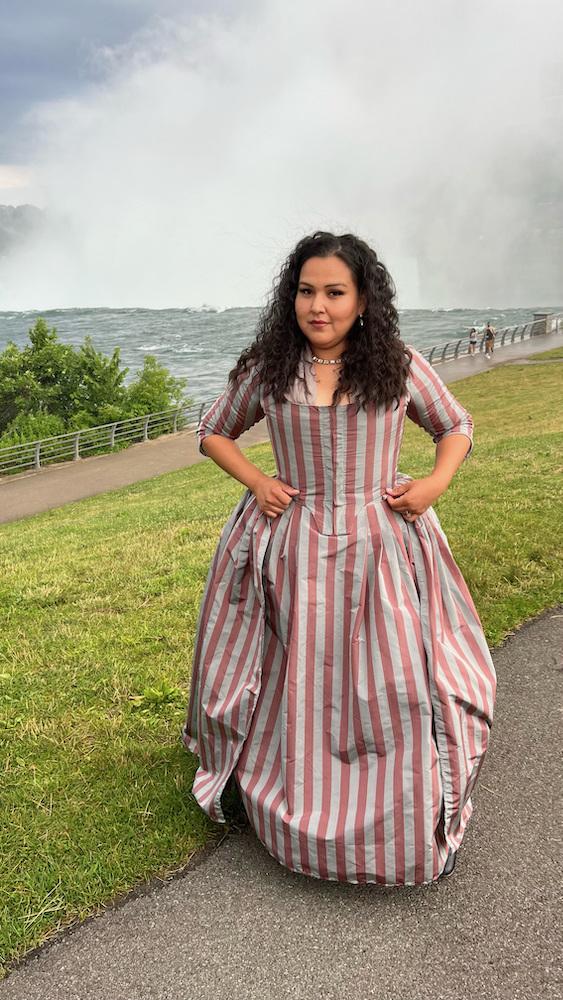
Her fabric is a striped silk taffeta from Burnley and Trowbridge. And she took her photos at Niagara Falls! How special!

Natalie made a Size 44.
More tester versions of View A coming soon…
View B
Dr Christine of @sewstine
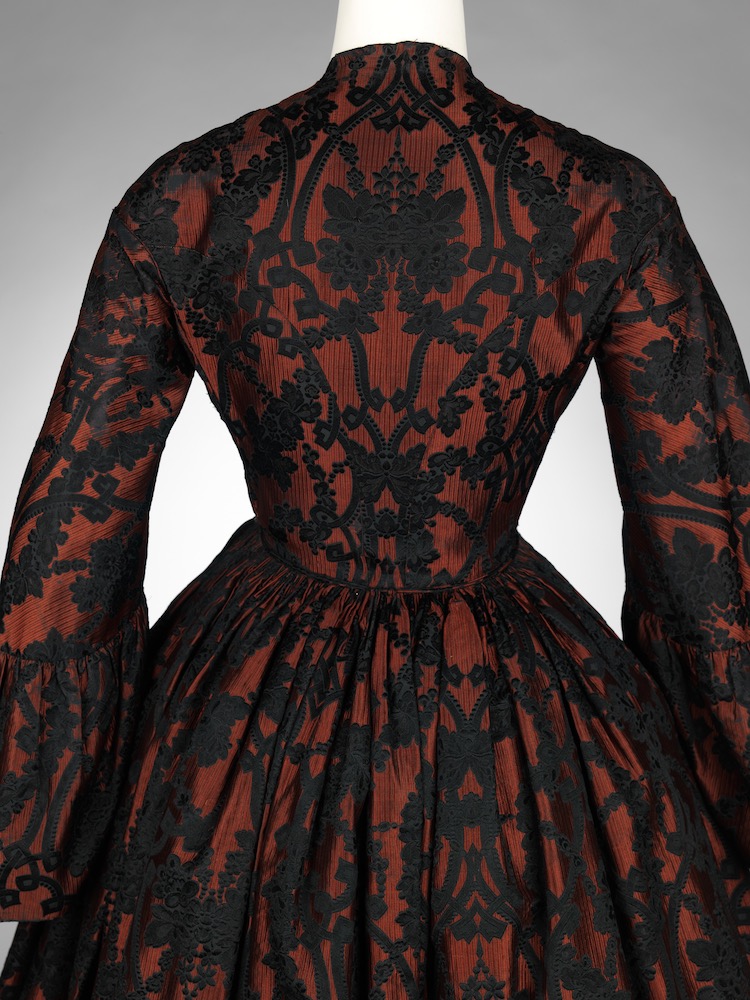
I am waiting on tenterhooks for photos of Christine in her Angelica Gown, because it’s AMAZING!. She’s reproducing one of my favourite dresses in the Metropolitan Museum of Art! Isn’t the reproduction silk gorgeous?
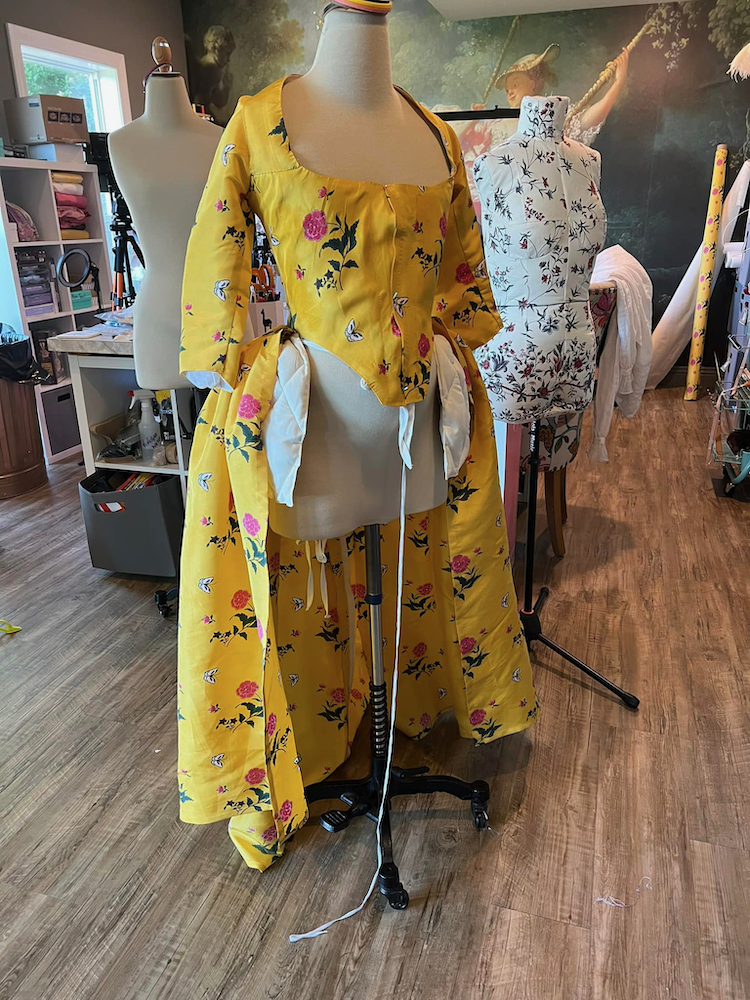
Christine will be sharing photos and a YouTube video shortly, but for now we have to content ourselves with how glorious her make is on a dressform.
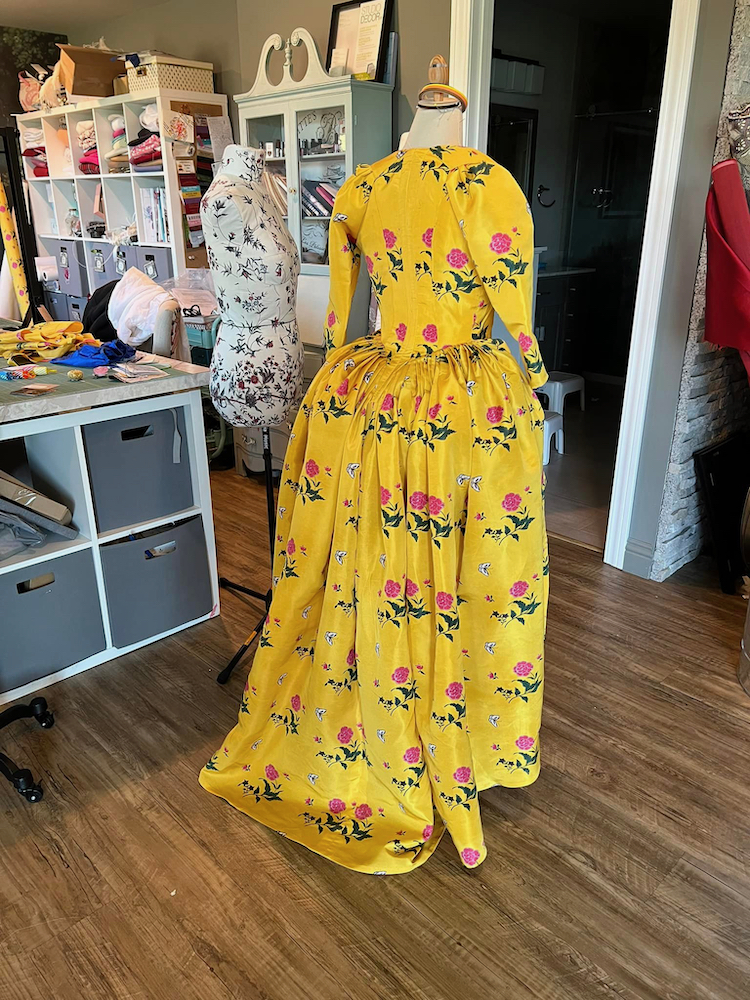
Christine made a Size 34. The fabric is from @summersunstories
Jessi of @mezzo.jessi
Jessi also chose the most amazing fabric for her Angelica Gown, and I’m dying of how fabulous it is! It’s equally as brilliant as Christine’s while being totally different!
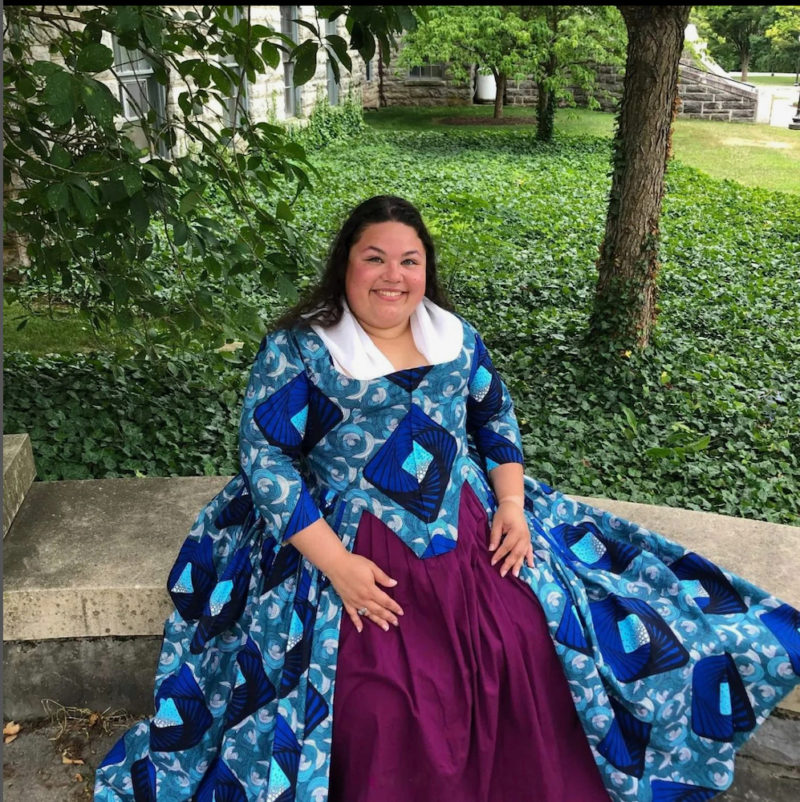
The ankara is SO AMAZING made up – it was birthday fabric and we’re beyond honoured she chose to use it to make up our pattern!

Plus, let us take a moment to appreciate her fabulous pocket commentary on the last few years…
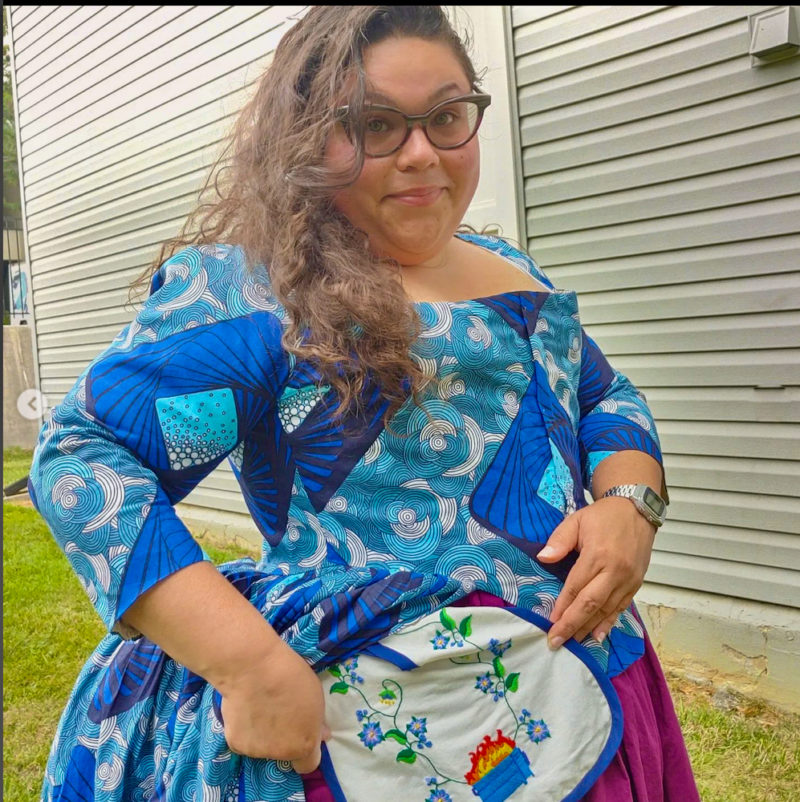
Jessi made her View B in a Size 48. There are more images, including beautiful detail shots of the making, on her instagram.
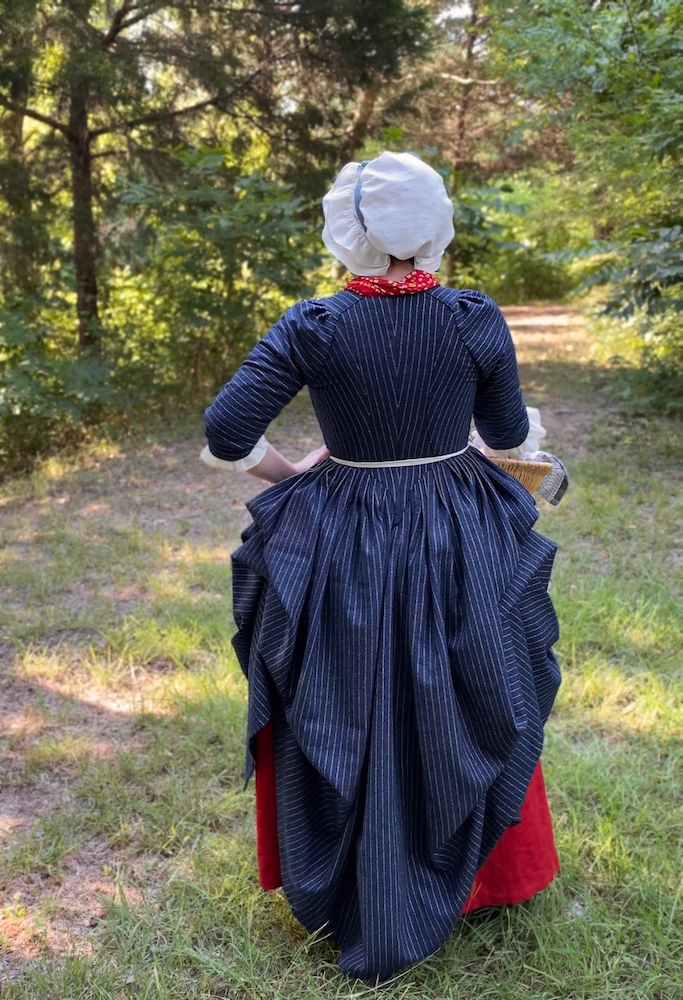
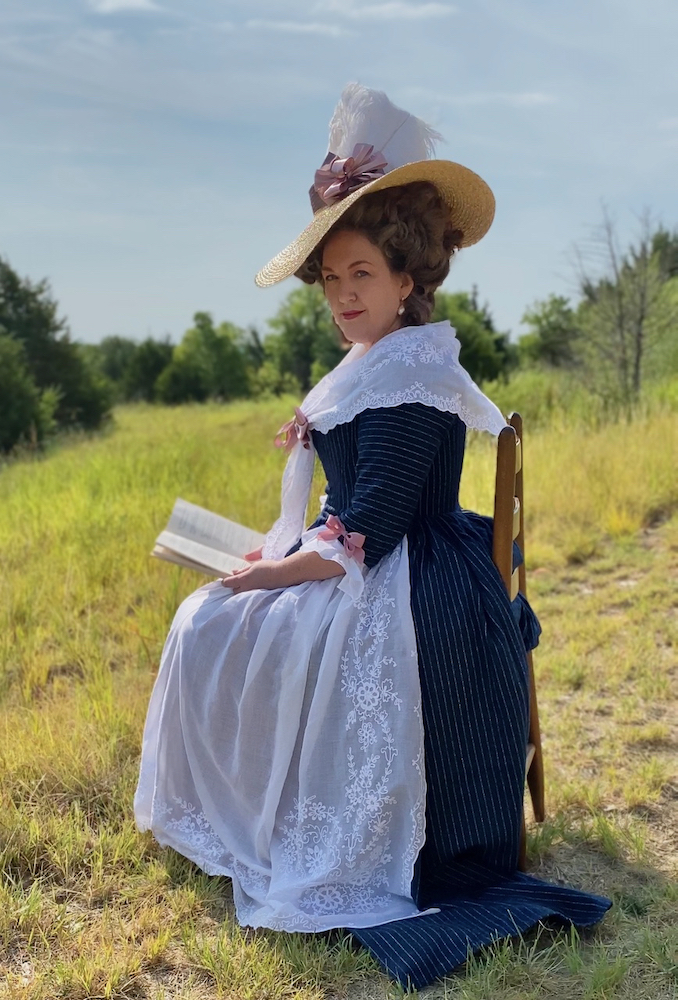
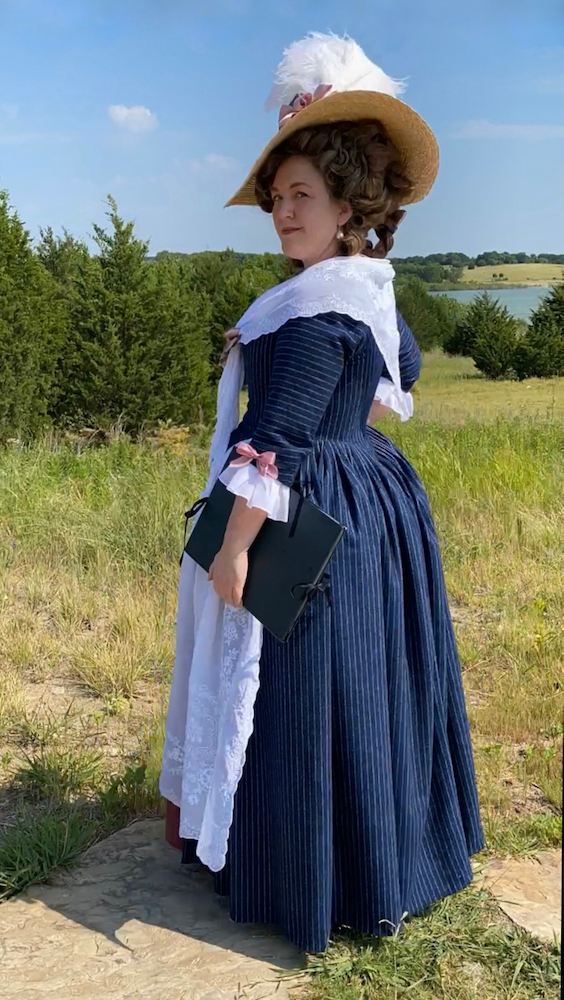
Jen of @festiveattyre
Jen was one of my inspirations when I first started historical costuming, so I was utterly delighted when she applied to be a tester. I was not disappointed – her Angelica make is SO inspiring!
She styled it as pretty 1780s working wear:
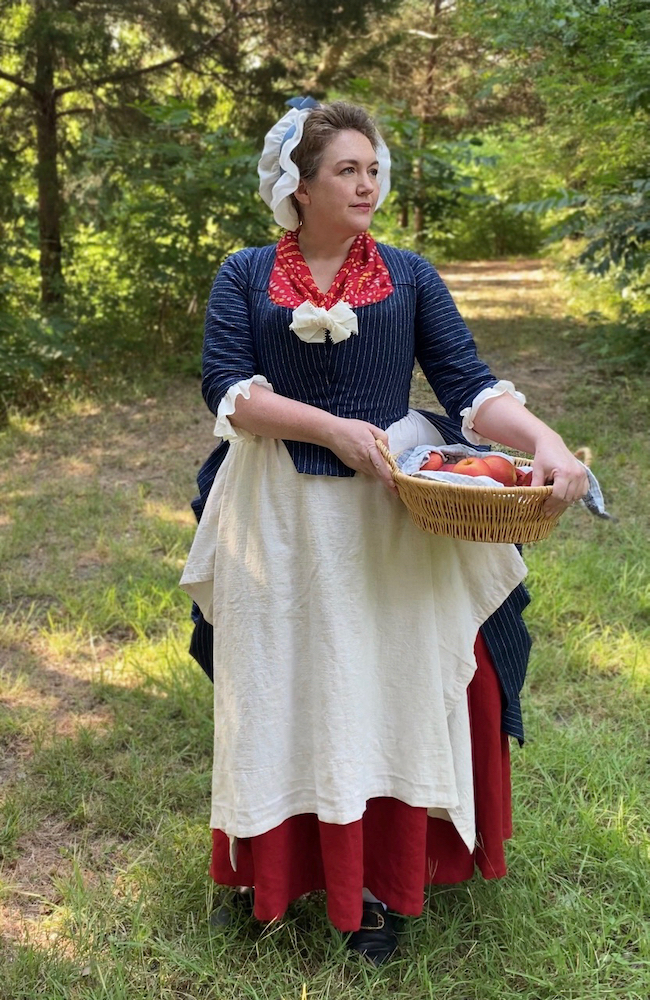
She styled it as 1780s aristocratic elegance:
She styled it as romantic pastoralism:
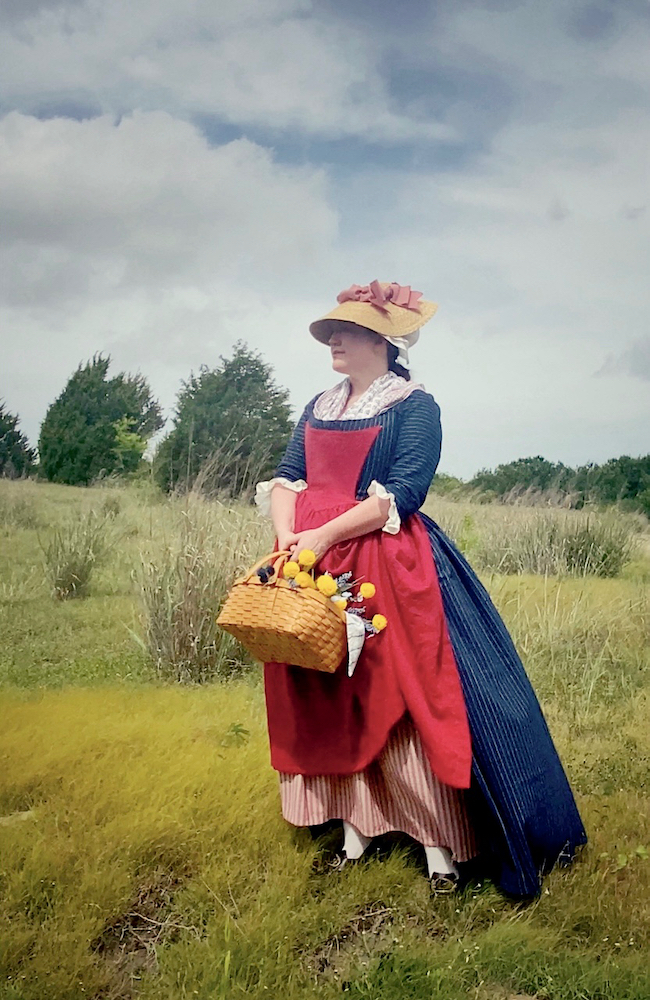
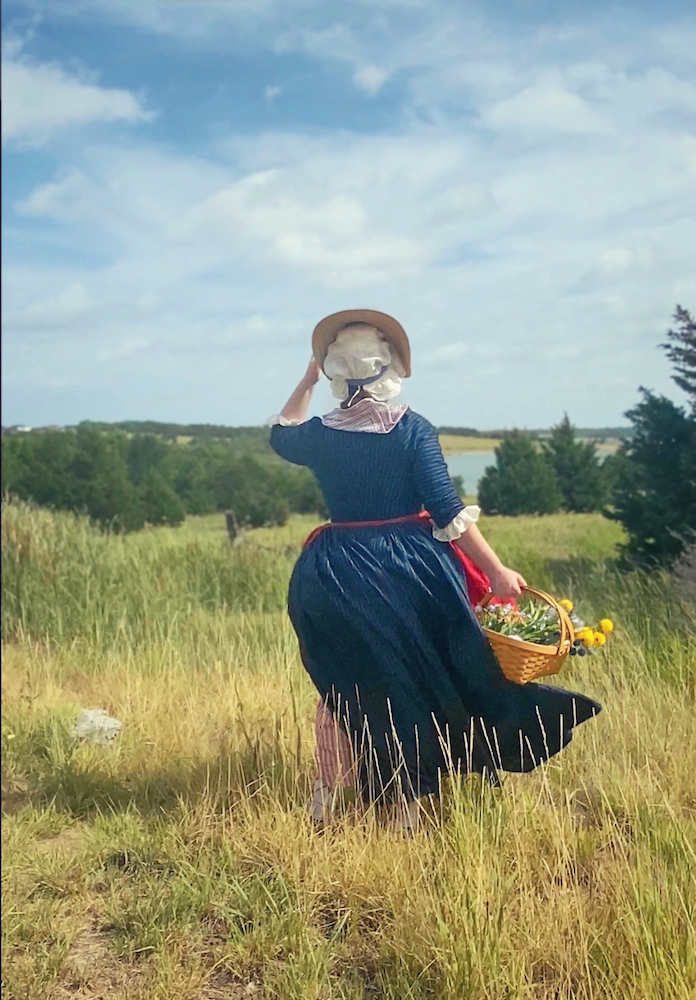
Her gown is made of blue striped wool (thrifted! As are most of the materials for her accessories!), and is a wonderful example of how versatile this pattern is with different stylings.
Jen made View B in Size 42. See more of her gorgeous images on my instagram.
A huge thank you to these testers for all their work and feedback. 💛
More tester images coming soon!

