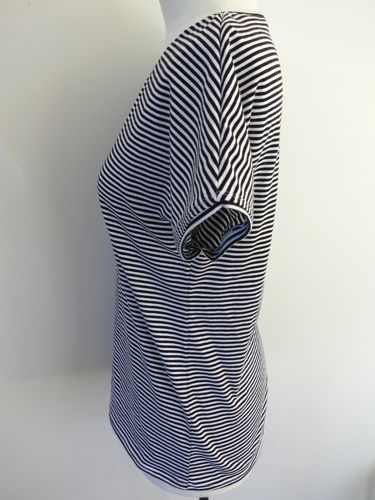
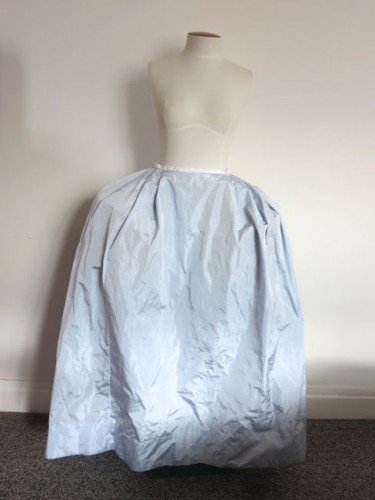
It’s done!
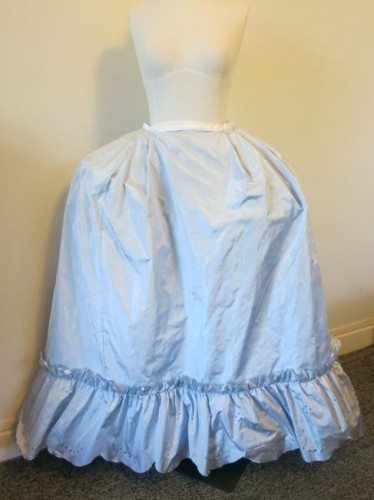
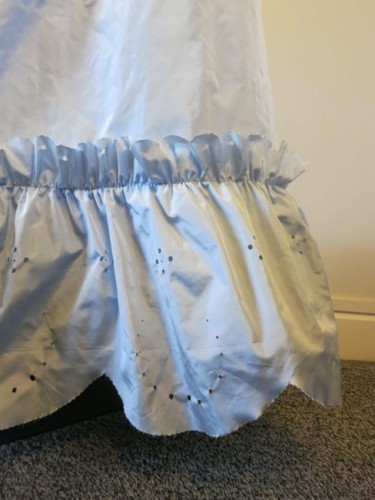
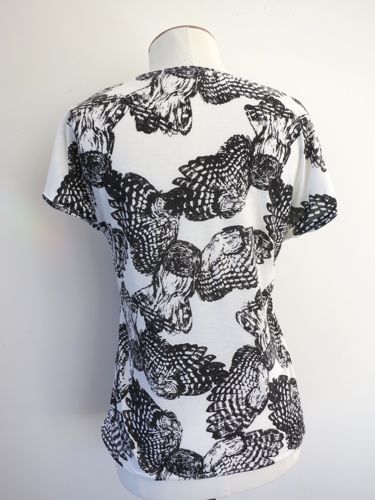
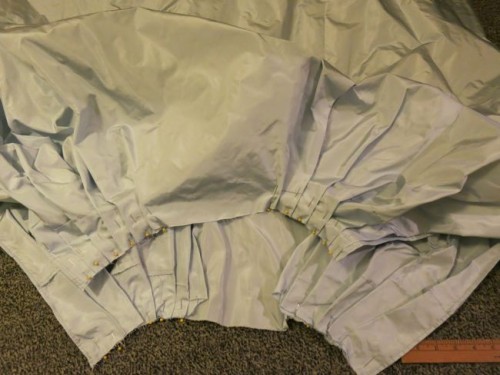
Some 22+ metres of hand sewing later (3x 110cm side seams, sewn twice; 350cm hem, sewn twice; 280cm ruffle, sewn, gathered to 170cm, sewn again; 250cm of piecing additions; 100cm of pleating whipped to waist; 100cm of pocket slits; 30cm of ruffle join), I have finished my Queen Charlotte inspired 1760s petticoat.
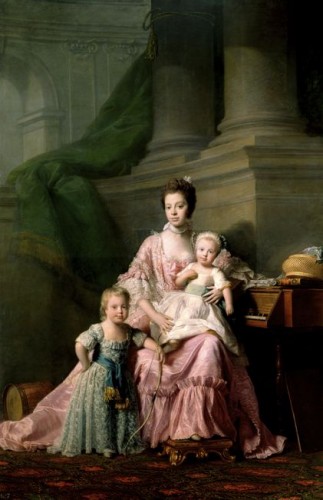
Charlotte of Mecklenburg-Strelitz, Ramsay, 1765
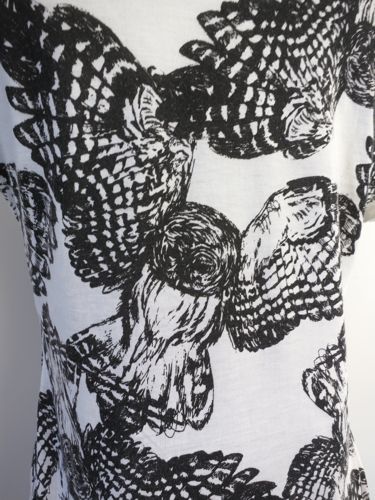
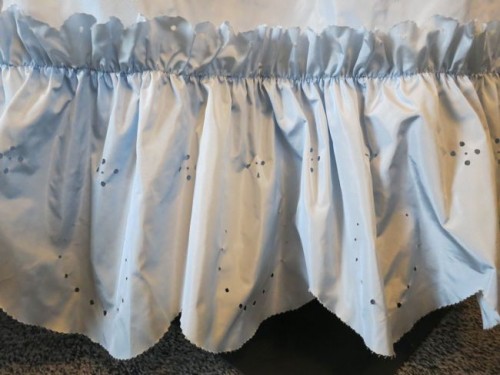
I am extremely pleased! Especially with the ruffle:
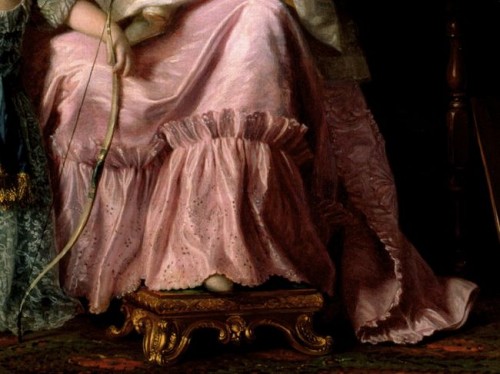
Charlotte of Mecklenburg-Strelitz by Ramsay, 1765 (detail)
It’s not exact, but the effect is close.
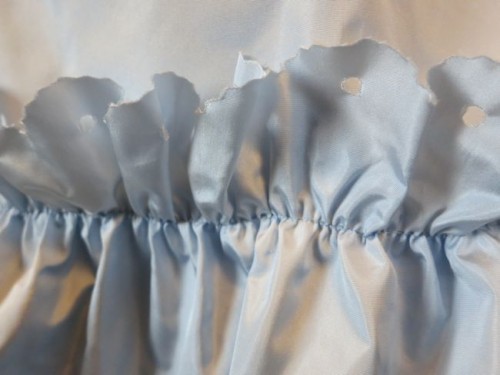
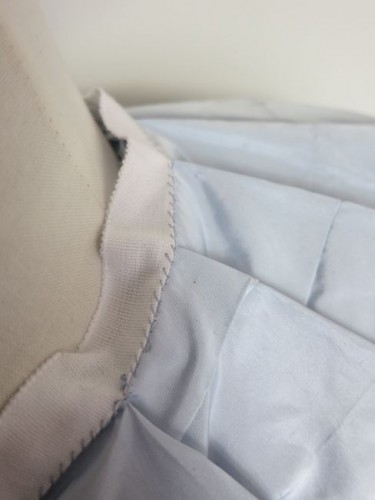
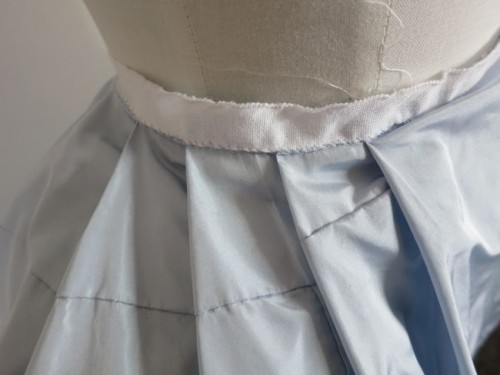
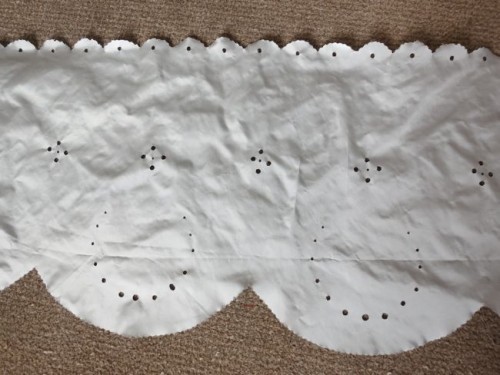
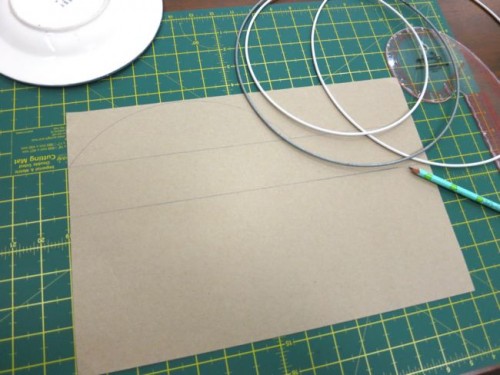
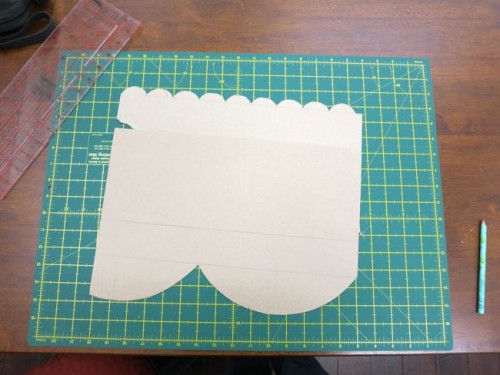
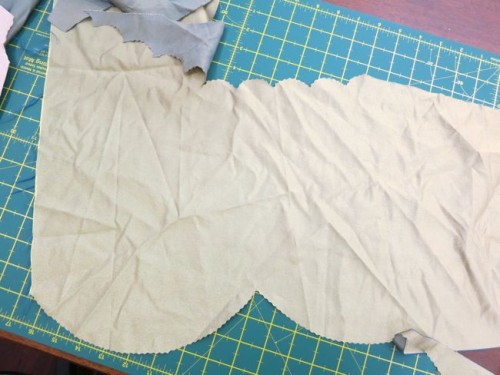
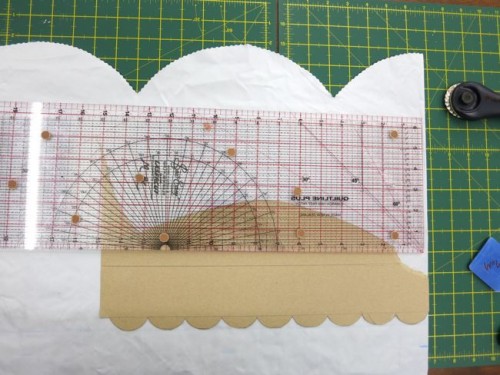
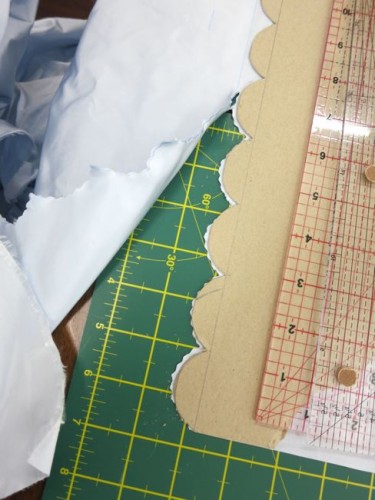
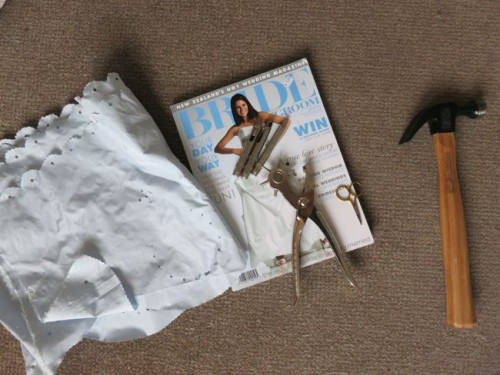
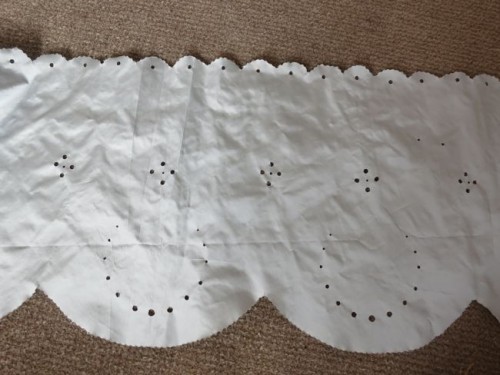
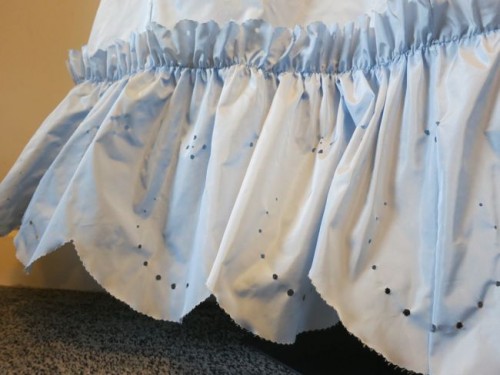
To finish the petticoat, after creating my punched lace pattern, I sewed a single line of even gathering stitches 2″ down from the uppermost point of my small upper scallops. It’s clear in Ramsay’s portrait that Charlotte’s ruffle is held on with a single line of stitching.
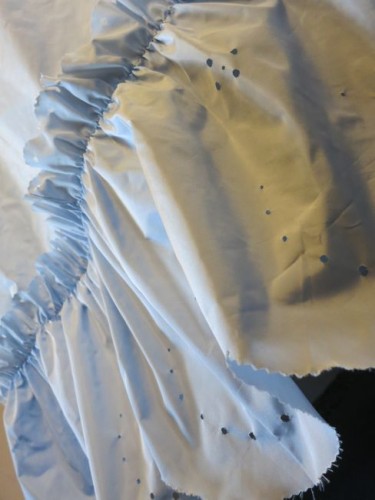
I gathered down my single line of stitching to half the width of the petticoat, and then stitched it on to the skirt using a running-backstitch. I’m extremely pleased with how close it is to the effect shown on Charlotte’s petticoat – down to the upper portion wanting to stand away from the skirt, and looking fuller and more ruffled than the lower portion.
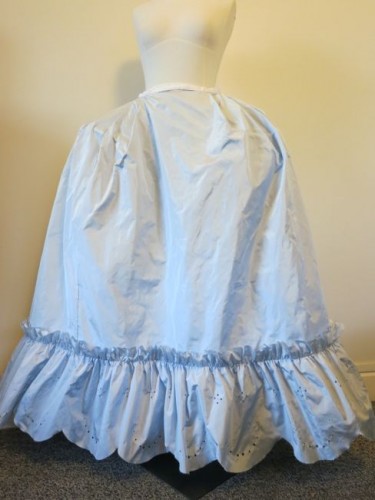
The ruffle took a long time to do, but it was worth it. So worth it, that if I have enough fabric left when I finish the over robe, I’ll suck it up and finish the ruffle so that it goes all they way around the skirt, and can be worn with a short jacket. It already goes a little further toward the sides than it needs to for historical accuracy with a front-trimmed petticoat.
The Challenge: Pretty, Pretty Princesses
Fabric: 4 metres of pale blue silk taffeta, 1m of white linen.
Pattern: None, based on examples in Janet Arnold’s Patterns of Fashion 1660-1840, and Colonial Williamsburgh’s Costume Close-Up
Year: ca. 1760. Ramsay’s portrait of Queen Charlotte was begun in 1764 or 1765, but took almost five years to complete. The dress presumably dates from before 1764, and matches the slightly more restrained (compared to the French) English styles of the late 1750s and 60s.
Notions: Silk thread, cotton waist tape.
How historically accurate is it? The fabric is reasonably accurate in weave, hand and colour for ca. 1760. It’s slightly lighter in weight than an 18th century taffeta, but not terribly so. All the stitches used are period accurate, but the use of French seams is not.
Hours to complete: 22. One hour per metre of sewing 😉 (Not really – many went faster than that but punching the ruffle holes took a lot of time).
First worn: Not yet – I need to finish the robe first.
Total cost: NZ$25 per metre of silk, + $6 for the linen = NZ$106. (purchased over 3 years ago, and in-stash since then).