I wanted to present something nice and cozy for those of you in cold climates for this week’s Rate the Dress. Turns out the dress I chose is cotton, not wool, so it’s not quite as warm as I’d planned, though it certainly covers everything. Instead, it’s rather seasonal for us here in New Zealand, and you’ll see why shortly!
A very nice, if not completely ecstatic, reaction to last weeks dress. Many of you felt the wrapped thread buttons weren’t quite the right shade – but excused that on the likelihood the dress fabric had faded, and once matched them better. You weren’t quite so ready to excuse the sleeve trim, which you found oddly unfinished in comparison to the crisp pleating of the dress.
The Total: 8.4 out of 10
A rating to please everyone, but not to make people cry from the sheer beauty of the dress as it came down the aisle!
This week: an 1880s dress with embroidered cherries.
This early 1880s dress, in ivory cotton with embroidered cherries, is quite interesting.
It’s unusually severe in its shape and trim, with no ornamentation but the deep pleated hem, and the bands of wool embroidery.
The colour, simplicity of the dress, overall aesthetic and single patch pocket on the right hip suggest that this was a day dress for wearing around the home.
It might have been worn with a collar, but the curators state that there is no evidence that it ever had any other trim.
The extremely fitted shape of the dress is achieved through a centre front seam and double princess darts up the front, and double princess seams up the back. The dress opens up the back with 13 large mother-of-pearl buttons, preserving the unbroken lines of the front.
The dress is made from the most interesting fabric: a heavy moss crepe weave which the John Bright collection identifies as cotton. It’s appears to be very similar to what we would now call barkcloth.
The embroidery is done in wool, in shades of red, orange, green and rust. We’ve looked at other ca 1880 dresses decorated with vining embroidery motifs, like this one, on navy satin, and this one by Vignon. It was clearly a popular decorative idea at the time.
While the overall theme of the trim is the same, this week’s dress is striking in a number of ways. The use of white fabric. The simplicity of the embroidery, with large, rustic stitches. The severity of the cut.
What do you think? Do you like this quirky take on natural-form era fashion?
Rate the Dress on a Scale of 1 to 10
A reminder about rating — feel free to be critical if you don’t like a thing, but make sure that your comments aren’t actually insulting to those who do like a garment. Phrase criticism as your opinion, rather than a flat fact. Our different tastes are what make Rate the Dress so interesting. It’s no fun when a comment implies that anyone who doesn’t agree with it, or who would wear a garment, is totally lacking in taste.
As usual, nothing more complicated than a .5. I also hugely appreciate it if you only do one rating, and set it on a line at the very end of your comment.
I’m sure we can all agree that it’s been a crazy 12 months. We’ve done really well in New Zealand, but it’s still been very stressful. One of my healthier coping mechanisms for stress is making. Keeping my hands busy helps keep my mind calm (er).
So I’ve actually made a lot of things in 2020, and completed every Historical Sew Monthly 2020 challenge, some of them several times over. So, what did I make?
January: Timetravelling Garments:
Create an item that works for more than one historical era, or that can be used for both historical costuming, and modern wear. It could be an apron that could do 1770s or 1860s in a pinch, a shift that can work under many decades of fashion, or a historical cape you also wear everyday, etc.
I really took advantage of the 2020 change to the Historical Sew Monthly rules that allowed you to complete the challenges at any time with this one. The first challenge of the year was the last thing I made: a ruffly apron that is (strictly speaking) 1780s, but could easily be used throughout the 18th century, and in much of the 19th as well.
I just need to find an excuse to photograph it!
February: Re-Use:
Use thrifted materials or old garments or bedlinen to make a new garment. Mend, re-shape or re-trim an existing garment to prolong its life.
This straw hat had a whole life before it came to me, and bore the scars of its use. It then went through many iterations before it finally became a 1910s-20s hat I’m proud of.
March: Green:
Make something in a shade or shades of green. If you can also make it ‘green’ in the figurative sense, even better!
I’m a little gutted about this one. Green is one of my favourite colours, and I had grand plans for this challenge. I wanted to make something green in both senses. And instead I just used some fabric from my stash, and didn’t even like what I made in the end. I literally call it ‘the Sad Sack‘. But I did have a lovely time wearing it, so that’s something!
April: Local:
Support your local industry and your local history by making something that (as much as possible) uses materials made locally, or purchased from local suppliers, or that features a garment specific to your part of the world.
In a complete reversal from March’s entry, I love everything about the 1890s shirtwaist I made for the Kate Sheppard Museum. This blouse tells an important New Zealand story, and is made entirely from materials found at local shops and fabric fairs.
May: Basic:
Make a garment that can be used for many occasions (like a shift, or the classic ‘Regency white dress’), or a simple accessory that will help you stretch the use of an already existing garment.
How about… 18th century sleeve ruffles and a tucker? Super important for making an outfit look finished, and something that can move from garment to garment. These were a great little project to carry around in a small bag as my hand-sewing.
I also did everything but the hemming on an 18th century under-petticoat that I made for my friend Jenni. She finished the hemming, so it’s a joint effort.
June: It’s Only Natural:
Make something inspired by nature, or use natural fibres and materials in a way that stretches your usual practice (e.g. natural dyeing, using cane instead of plastic whalebone for corsets/stays etc.). Or challenge yourself and do both!
I made 1780s hair cushions for my hair, and stuffed them with…my hair. I’ve got a ton of hair. It’s long, and thick, and I loose a lot of it every day. So I keep what I loose, and wash it. Using lost hair as hair padding was done in the 19th century, and I strongly suspect it was done in the 18th – and it certainly works well. It’s definitely very natural, although possibly squicky for some people.
July: No-Buy:
Make something without buying anything. Whether it’s finishing off a UFO, using up scraps of fabric from earlier challenges in the year, sewing entirely from stash, or finding the perfect project for those small balls of yarn, this is your opportunity to get creative without acquiring more stuff.
A 1780s split rump, made from donated fabric and an old pillow. The perfect lockdown project!
August: Celebration:
Make something for a specific historical celebration, make something generally celebration worthy, make something that celebrates a historical hero, or just make something that celebrates some new skills you’ve learned.
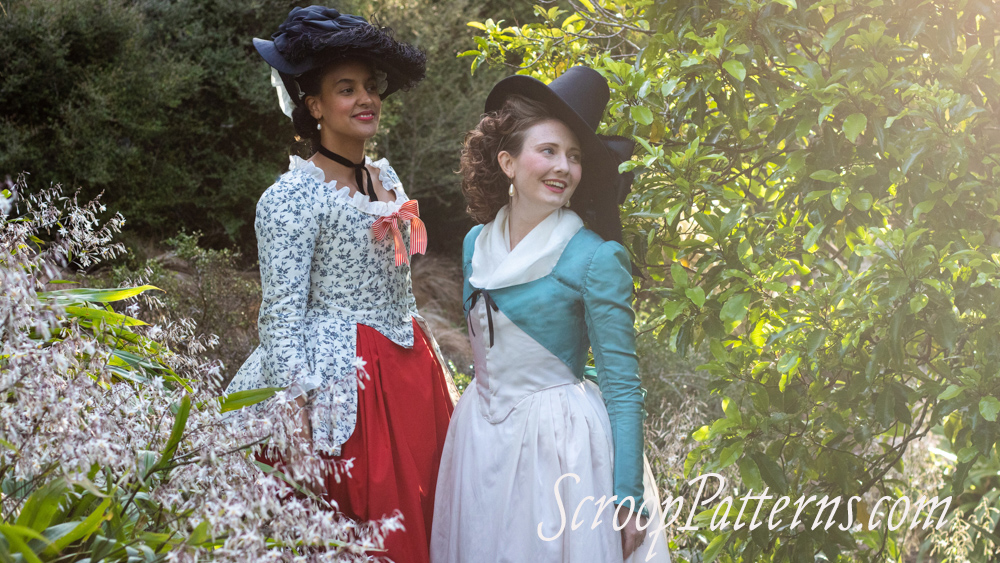
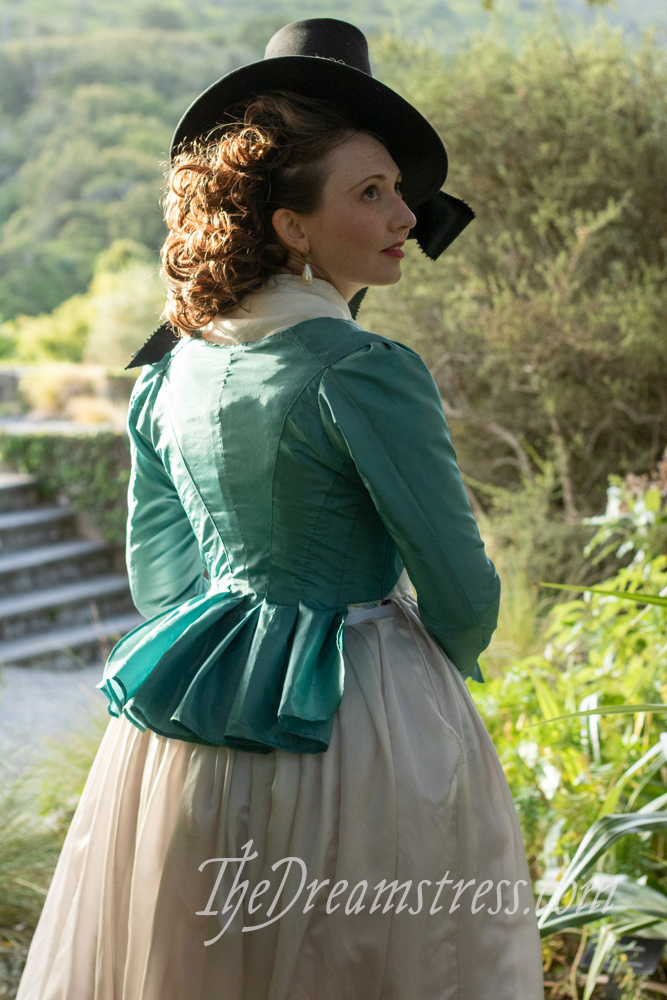
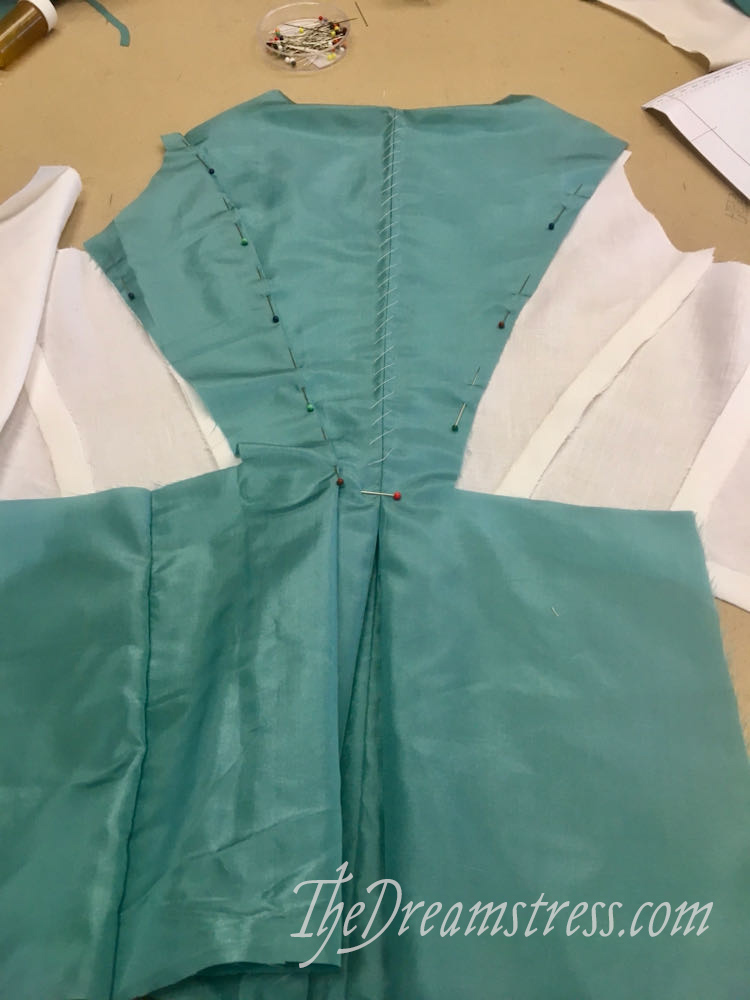
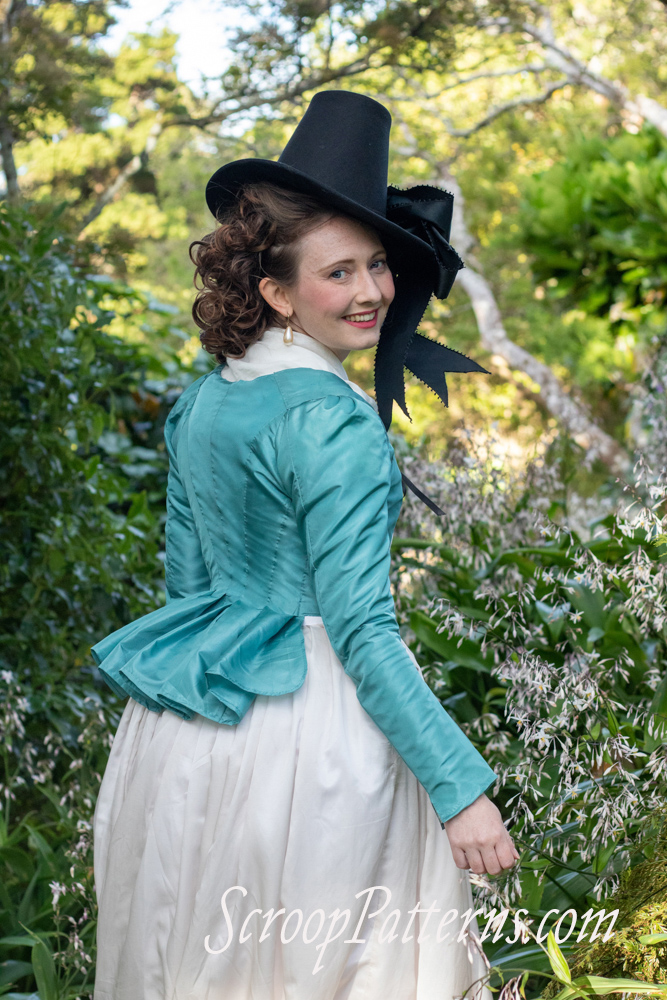
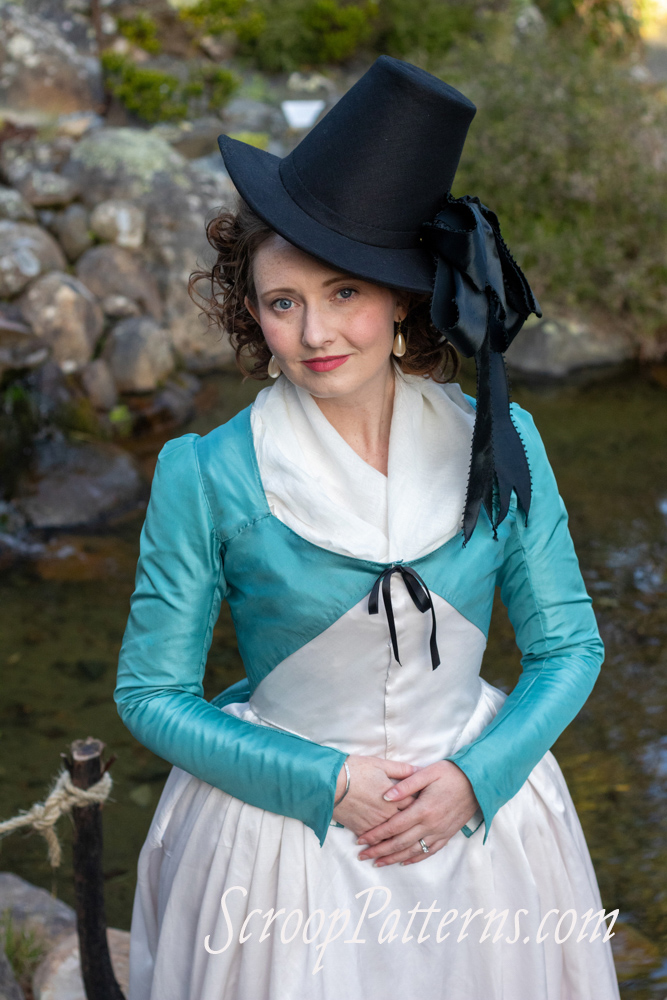
My biggest professional accomplishment of 2020 was the Amalia Jacket pattern, so my personal Amalia jacket (modelled by Elisabeth in the pattern photos) is the perfect match to the Celebration theme. Yay!
September: Sewing Secrets:
Hide something in your sewing, whether it is an almost invisible mend, a make-do or unexpected material, a secret pocket, a false fastening or front, or a concealed message (such as a political or moral allegiance).
I’m stretching this one a little by using the prototypes for the Frances Rump as my entry. I feel like there’s something inherently secretive about rumps. What are you smuggling under there? And I had to keep them secret for three months while I finished the Amalia!
October: Get Crafty:
Make use of your own skills or learn a new one to make something from scratch rather than buy material. The possibilities for learning and applying new skills and techniques are endless. Lace, pleated self-fabric trim, knotted fly trim, embroidery, dyeing, knitting your own corset laces, hand painting your own fabric…
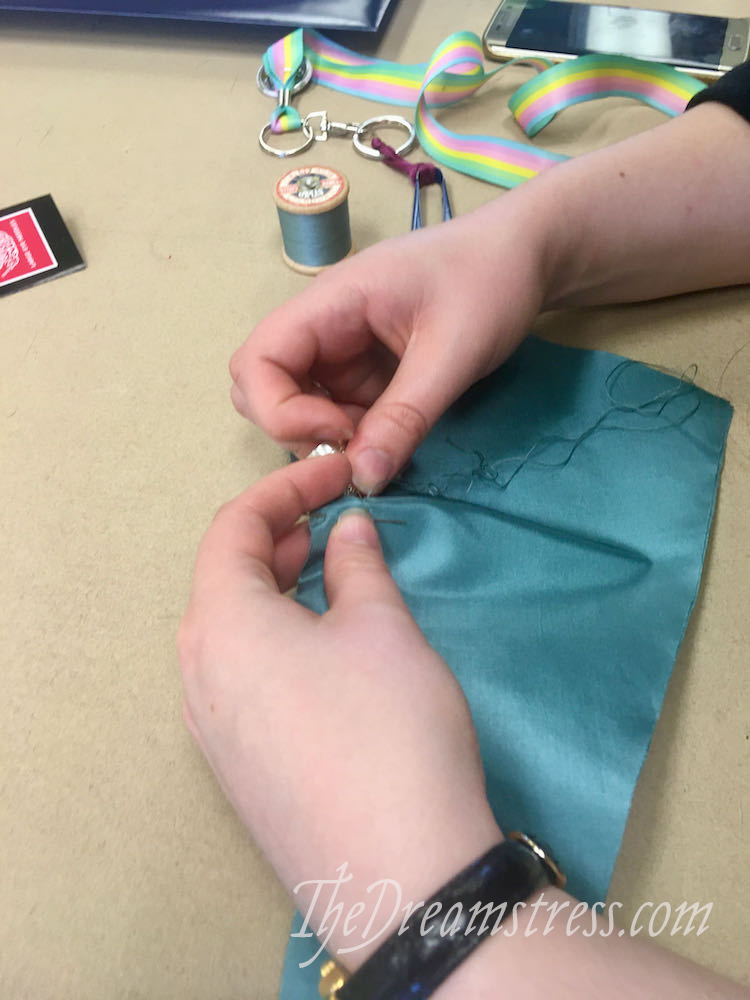
The interlacing down the centre of the St Brigitta’s cap was definitely a new skill for me, and a rather addictive one! (I also can’t believe it was a 2020 make – it feels like I made it two years ago…)
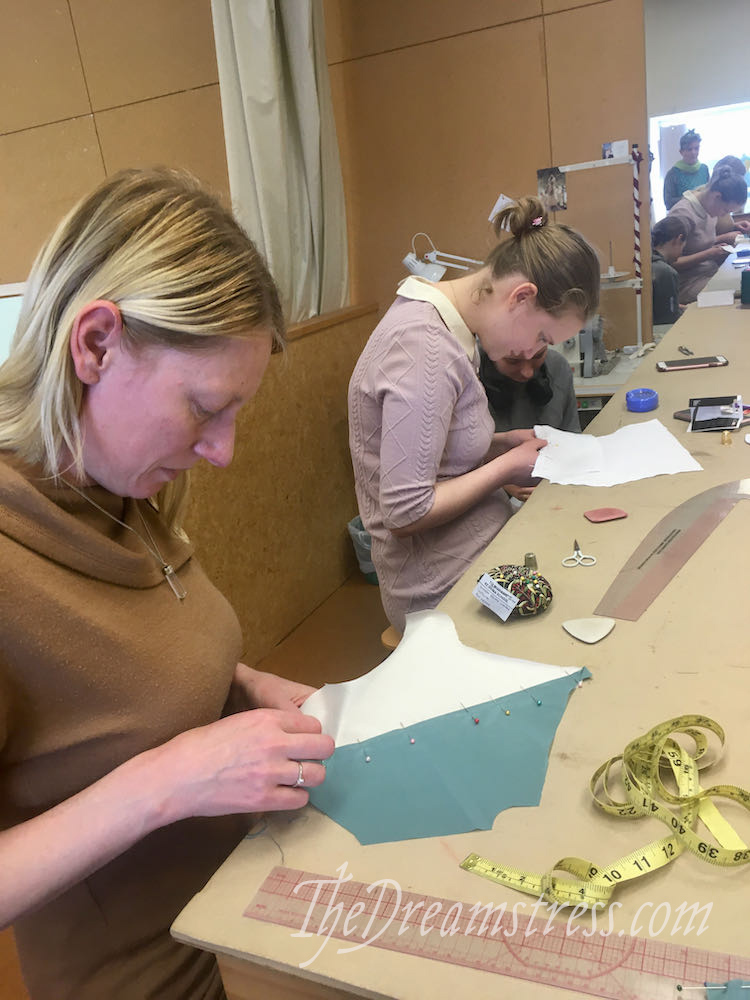
I was so crafty this year that I’ve got two entries for this month! I also got the opportunity to get more experience in another craft: millinery. I got to make a 1780s hat along with my students at Toi Whakaari.
November: Go Green Glow-Up:
Be environmentally friendly and celebrate how your making skills have ‘glowed-up’ as you’ve used and practiced them by taking apart an early make of yours that no-longer represents your making skills, and re-making it so you’d be proud to use it. It can be as elaborate as a total re-make, or as simple as getting the ribbons or buttons you didn’t have time to source at first. You could even take something from a challenge made earlier in the year, and fix the tiny things you weren’t totally happy with.
I’ve got two entries for this! A BIG one, and a little one.
For the big one, after years of work, my Frou Frou Francaise is finally done. Although this is sort-of a new make, it went through numerous re-makes as I was working on it, and as my skills and knowledge grew.
For the little one, a very old make, my chemise a la reine, got a quick re-fashion to bring it to life again. It’s 10 years old, but new ribbons and some mending made me feel beautiful in it.
December: Community:
It is the season of giving. Create an item that honours or supports the communities around you, whether in Real Life or online.
We were remarkably prescient in our choices for HSM challenges for 2020. A big emphasis on re-using, on buying local, and on supporting your community. Little did we know how apt those would be for 2020: especially finishing with Community.
I (well, partly I!) made two things for this challenge: one about the online community, one about the local community.
The second is the View B sample of the Amalia Jacket, and the petticoat that goes with it.
They are an homage to community in a couple of ways – with thanks and favours going both ways between makers, teachers, models, and friends. And I’ll tell you all about them in their own post!
And that’s it! And I’m incredibly pleased with it all. A HUGE personal project finished (francaise), a huge professional project (the Amalia jacket) finished – with two full Amalia outfits finished – including a fabulous hat.
A couple of other rather nice hats, and a really really special piece that’s part of New Zealand’s history.
It’s only been three weeks since we launched the Amalia Jacket pattern…but…there’s a new Scroop Pattern!
And it’s free!
I thought it would be nice to start 2021 by putting out something fun and silly, and giving something back to the costuming community.
And what’s more fun than a big huge puffy bum cushion? Meet the Frances Rump – a free pattern which will give you the perfect fashionable silhouette for 1775-1795.
I researched and made bum rumps to go with the Amalia Jacket. I took my prototypes to the Historical Sew & Eat Retreat, where they were a big hit with the other costumers. (“Can I borrow your bum?” is a normal sentence in my world 🤣)
The Frances Rump is based on extant rumps and images of rumps in the late 18th century.
It features detailed historically accurate instructions, including information on choosing fabrics and fillings, the stitches to use, and how to adjust the filling to get just the right silhouette.
View A is a larger rump that creates the full-bottomed, round-hipped shape fashionable between 1775-1787.
View B is a smaller rump that creates the back-focused silhouette, with fullness concentrated only over the rear, fashionable from 1785-1795.
Elisabeth (red petticoat) is wearing the View A rump with her Amalia Jacket. Jenni (white petticoat) is wearing the View B rump with her Amalia Jacket.
Enjoy! Can’t wait to see your Frances Rump makes on social media! (another sentence you’d only get in the costuming world!)