This week we’re going from spring green to blossom pink, with an 1890s dress that’s all rosettes, puffed sleeves and swishing silk. Is the star of the show, or something for a supporting character?
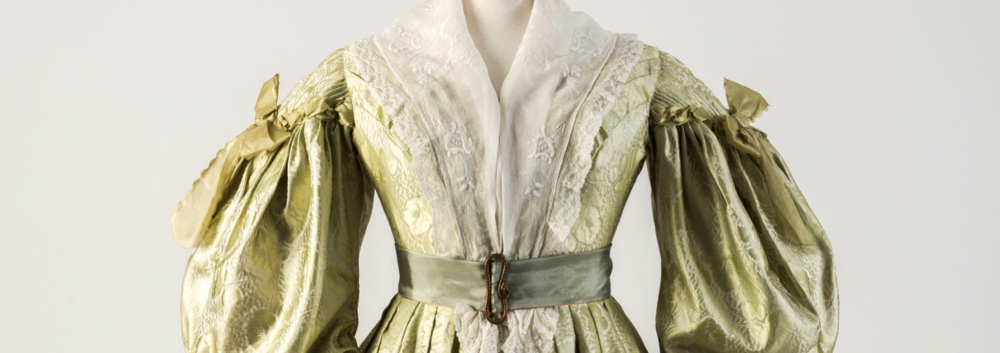
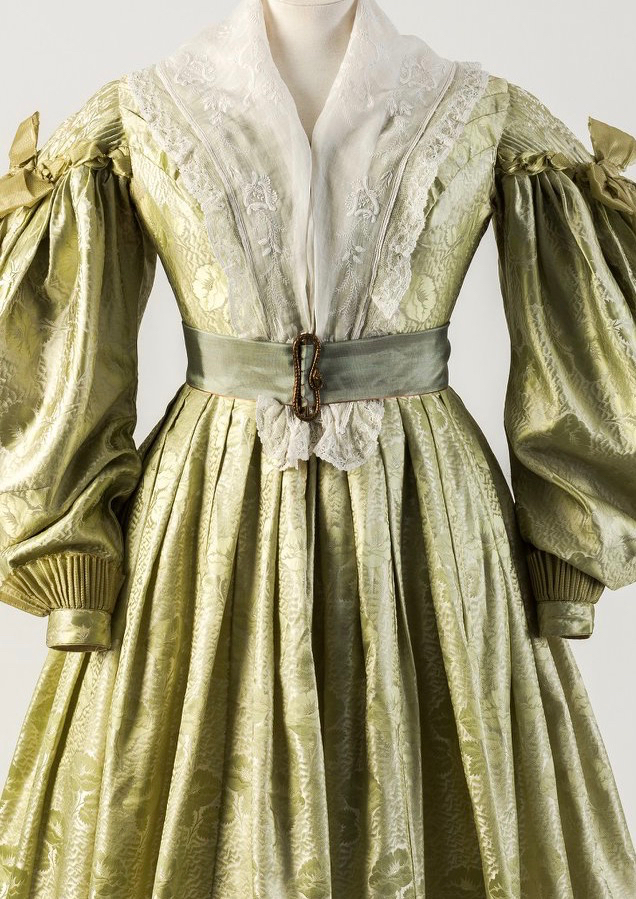
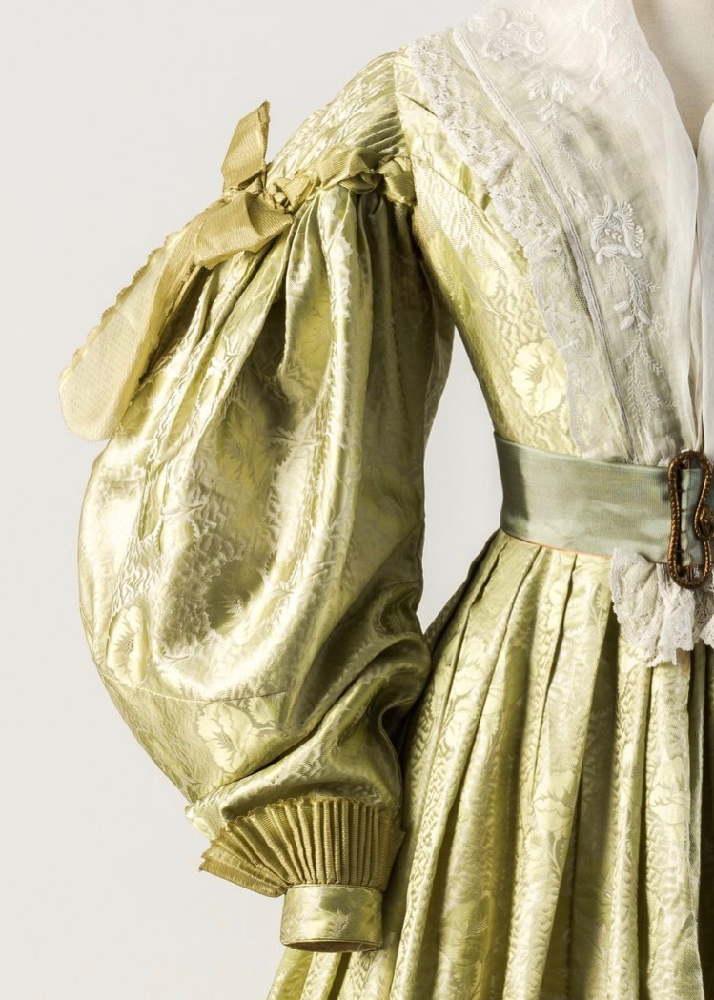
Last Week: an 1830s dress in morning glory patterned silk
Once again last week’s dress was quite popular, even winning over some people who are generally avowed non-fans of the 1830s. It couldn’t quite convince everyone, especially when it came to the sleeves. What points it lost were for poof or cupcake cuffs.
The Total: 9.2 out of 10
Still breaking the 9 barrier despite a few very low scores for sleeves, but alas, not quite up to a 9.5+
This week: an 1890s reception dress
I was very tempted to go extremely bright and bold after last weeks soft, pastel frock. But it’s just turning spring here, and the magnolias are blooming, and I’m dreaming of photoshoots with cherry blossoms, so I’ve picked a pink frock the colour of fruit trees in bloom.

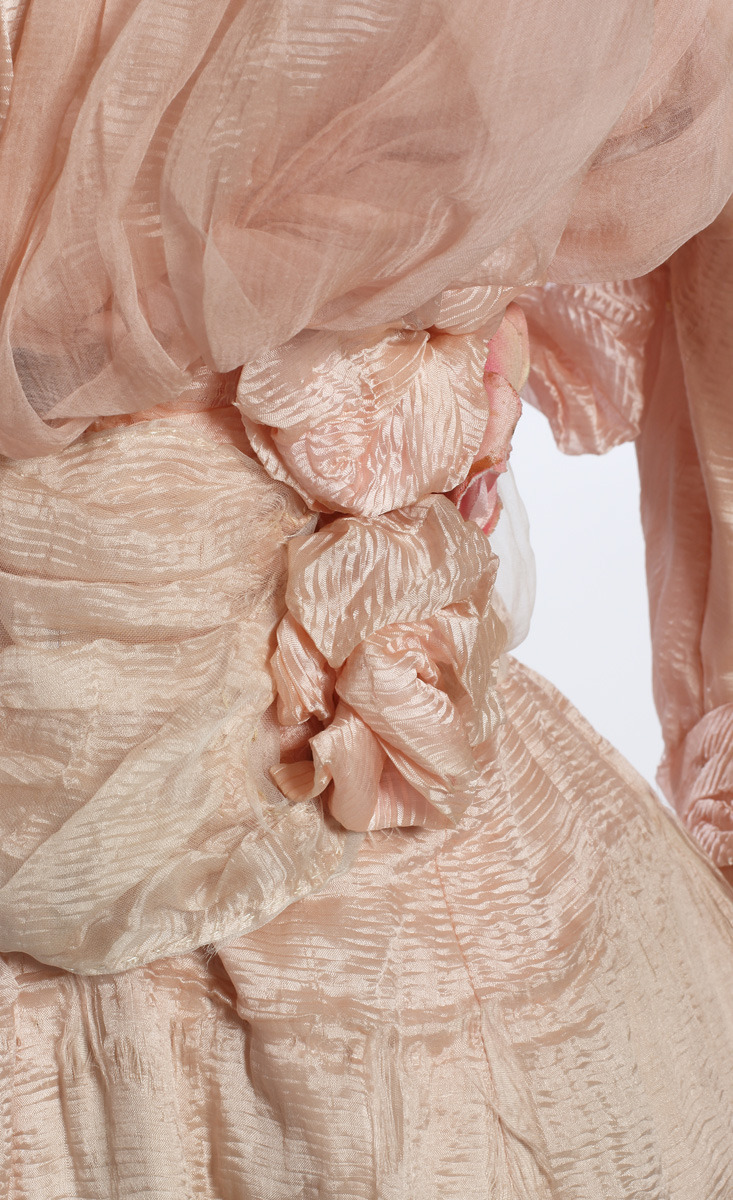
Dress ca. 1895, Sörmland Museum
This 1890s dress was clearly well loved by its owner/s. The hem is badly worn, and the delicate self-striped silk has seen better days. So you’ll have to do a bit of imagining to restore it to its original appearance. Put it on a person a couple of inches shorter than the mannequin. Add a few petticoats to give the skirt the necessary fullness. Re-weave those threads in the hem. Smooth out the wrinkles, give the chiffon on the bodice a steam, and refresh the wilted flowers in your mind.

Dress ca. 1895, Sörmland Museum
When all of that’s done, you have the dress as it was: the kind of frock a young lady might have worn to celebrate her graduation, or to an afternoon concert, or perhaps an engagement part.

Dress ca. 1895, Sörmland Museum
You can certainly imagine an L.M. Montgomery charater in it (although Anne, much as she would have wanted the pink version, would have had to have it in green).

Dress ca. 1895, Sörmland Museum
What do you think? Is it heroine worthy? Or something for a supporting character?
Rate the Dress on a Scale of 1 to 10
A reminder about rating — feel free to be critical if you don’t like a thing, but make sure that your comments aren’t actually insulting to those who do like a garment. Phrase criticism as your opinion, rather than a flat fact. Our different tastes are what make Rate the Dress so interesting. It’s no fun when a comment implies that anyone who doesn’t agree with it, or who would wear a garment, is totally lacking in taste.
As usual, nothing more complicated than a .5. I also hugely appreciate it if you only do one rating, and set it on a line at the very end of your comment.