Construction on Shell’s dress began with draping a very basic princess-seamed bodice, and with working out some very complicated sketches for a skirt design that gets fuller as it goes back and is made out of a chiffon fabric that isn’t bias-grain seam friendly.
I know. Most unexciting drafting photos ever.
The front of the skirt was a bit of a problem, because the fabric was quite narrow, and so drapey that seamlines cut on the bias tended to warp. I needed to find a way to make the skirt very full at the hem, without minimal seamlines across the bias of the grain, and within the narrow fabric width.
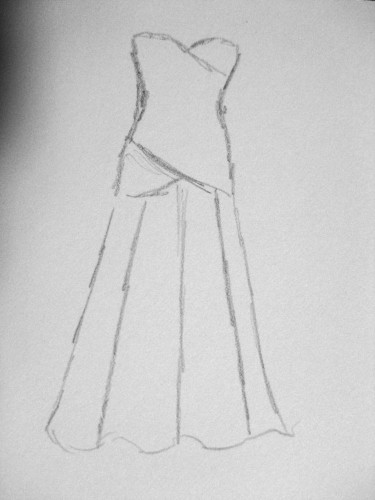
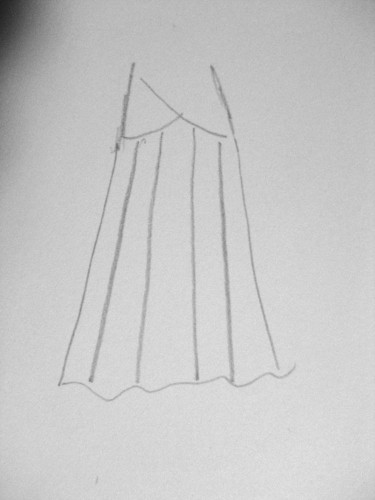
I drew up a few skirt front ideas:
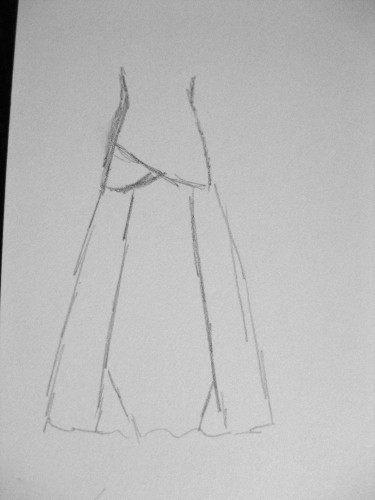
Option 1: 3 very wide panels, the centre front panel with joins at the bottom to make it wide enough.
I ended up going with an option not show: cutting a narrow-ish centre front panel, and then two wide side panels, which did leave me with two very tricky almost-bias side front seams.
The practical me said I should have gone with a 4th option: a half circle for the front. It wouldn’t have given quite as nice of a transition of fullness from front to back, but it would have given the minimum of seams, with no bias seams at all, which is a beautiful effect in its own right.
Since I did decide to go with evil, tricky, almost bias seams in a drapey, super lightweight crepe (almost chiffon) fabric I had to pull out every trick in the book to get them to lie nicely. I’ll post some of those tips and tricks on Wednesday.

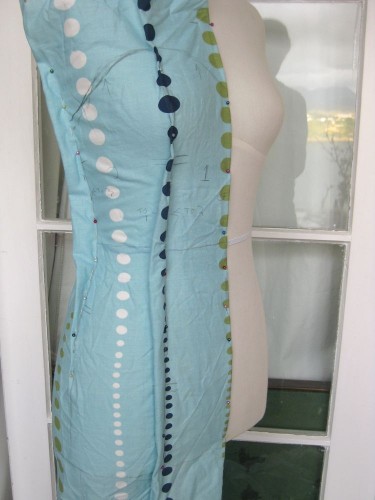
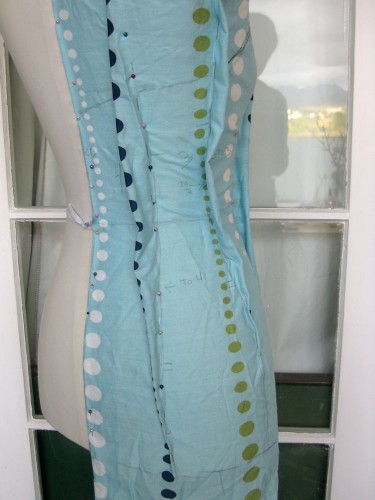
Newbie delurking to ask: what is that interesting fabric you’re using for the mock-up? Is it designed for this, or did you just happen to have polka-dot fabric on hand? Because I can see how useful those dots could be for judging alterations…
Thank you very much for this site, it is wonderful!
Welcome! I love ‘meeting’ the people who read my blog! And I’ve very glad you enjoy my site:-)
The mock-up fabric is just a cheap, low-thread count, cotton, probably intended for kids curtains and duvet covers. I found it in a $1 a metre sale in the upholstery section of a craft store, and bought the whole bolt. Unfortunately the dots don’t align with the grain of the fabric, so that doesn’t help with mock-ups. If I ever find one where they did, that would be very helpful indeed!
Good luck with those nasty seams!
Just how much of that blue and green polka dot fabric do you have!? It’s been around since I’ve been following your blog, at least, what has it been now, 3 years?
I bought a whole 30m bolt of the polka dotted fabric at $1 a metre. I loved it in the store, but stopped loving it the minute I got out of the store, so it became mock-up fabric. I’m down to the last metre and scraps now, so you will stop seeing it soon!
I remember reading that post!
Ditto to what Lauren said. I was about to ask the same question!
I also wondered about the polka-dot fabric.
I’m glad you didn’t go with sketch one. I did that once for a skirt and it was quite noticeable when finished.
I have become a fan of basting glue for bias seams but it is most useful on items that can be laundered.
I don’t know much about basting glue and things like that. My sewing knowledge stops at materials that were invented in 1950! The seams did go quite well with just a few slightly more old-fashioned tricks.
Can’t wait to see the tips and tricks.
Also have to say that polka-dot mock up fabric is a lot more stylish than knackered bedsheets, which is what I tend to use when I’m not being sly and doing the mock up in cheap cotton so that the mock up will form the lining of the finished garment.