When I posted the Rodeo & Wrangle & Ramble in Style outfit last week, I promised to post instructions on my ‘hack’ of Steph’s Blank Canvas Tee pattern.
This is Part I – drafting the pattern. Part II will be how I sewed it.
Please note that knits are not my forte (I’m a historical seamstress after all), so the sewing in particular is not necessarily the correct or best way to do this – it’s just what I did, and it worked.
This tutorial will be improving slightly in the future – tutorials need to be written, then photographed, then re-written, then re-photographed to make sure it all syncs up, and I still need to re-photograph.
I used a size 35″ bust Blank Canvas tee for myself, so all of these steps are based on that.
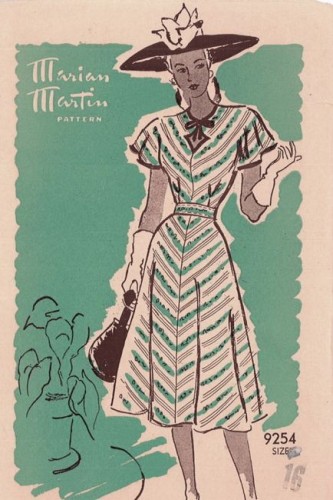
My inspiration for the hack was Marian Martin 9254. I wanted to create the look of a 1940s blouse with the ease of knitwear. I particularly liked the flutter sleeves and diamond cutout neckline.
Step 1: Raising the neck back.
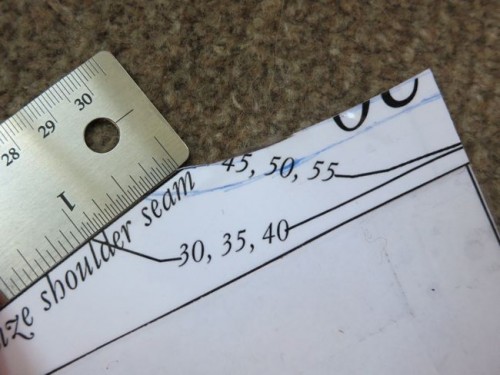
The look I was going for called for a higher, tighter neck, to echo the high, tight vintage neck on Marian Martin 9254. First I raised the neck back by measuring 1″ up from the shoulder seam, and 3/4″ up from the CB neck, and drawing a curved neckline to connect those points.
Step 2: Raising the neck front
Now you need to raise the neck front to match the neck back. Draw up 1″ from the top of the front shoulder seam. Now mark a point 1″ up from the CF neckline point given in the Blank Canvas pattern, and connect these two points with a curved line that is parallel to the original neckline, but 1″ higher, all the way along.
Step 3: Creating your keyhole
This is the tricky bit that I did mainly by just drawing what looked right (you can see all my trial sketching lines on the pattern).
First, hold a tape measure to your chest, with the top point centred at the top of the hollow of your neck. Look at yourself in a mirror, and figure out where you want the bottom of your keyhole to lie. On me, this was 4 3/4″ down.
Mark the length you have measured on the CF of the pattern, with the top point being the top of the neckline (so I measured 4 3/4″ down from the neckline).
The widest point of your keyhole will be just over halfway down the length from the top of the neckline to the bottom of the keyhole. I marked it at 2 1/2″ from the top of the neckline.
My keyhole is 1 3/4″ wide. If you are using a smaller size, you may want a very slightly smaller keyhole, for a bigger size a very slightly bigger keyhole.
For the bottom of your keyhole, draw a straight line from the point you marked at the bottom of your keyhole to the point you marked for the widest part of your keyhole. This like MUST be straight – not curved like the line in my inspiration top. If it is curved it will curl and warp in a knit.
Now here is the tricky part. Draw a curve from the widest point of your keyhole to the centre front of the neck. I just did this entirely by eye. You’ll be cutting off a tiny bit of the centre top of the neck. The important thing is that the widest point of your curve touches right on to the CF line – if it doesn’t you’ll loose too much in the sewing, and your neck points will be too far apart.
Step 4 – the facing
You’ll need to create a facing to finish off the keyhole cut-out. This is really easy. Draw a line straight down from the shoulder seam, 2″ from the neckline point, and parallel to the CF line, extending as far as the widest point of the keyhole. Then, mark a point 1.5″ from the bottom of your keyhole, and draw a gentle curve up from this point, meeting the line you drew down from the shoulder. This will be the shape of your facing.
Now, place a piece of paper over your Front pattern piece, and trace the neckline and cutout of your keyhole through the paper to create a pattern for your facing.
Step 5 – the sleeves
This part of my re-drafting is based almost entirely on Steph’s Flutterby tutorial, so you may prefer to use her version.
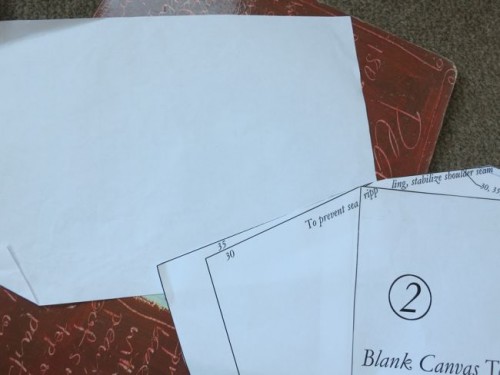
First, tape a piece of paper above the top of the pattern to give you
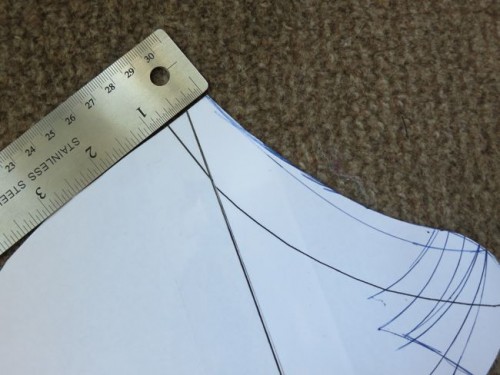
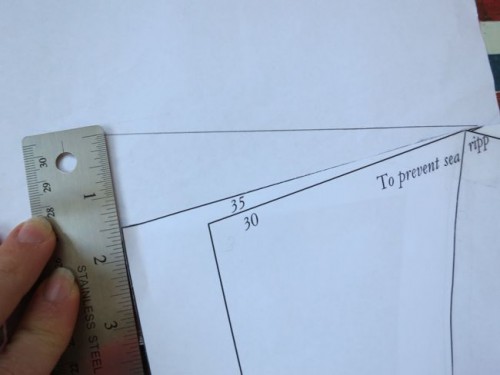
Then lay a straight edge along the shoulder line, and draw this line out from the shoulder point, past the end of the sleeve.
Now, measure from the line of the sleeve up to the line you just drew. For me, this is 1.5″, but it will differ slightly for different sizes.
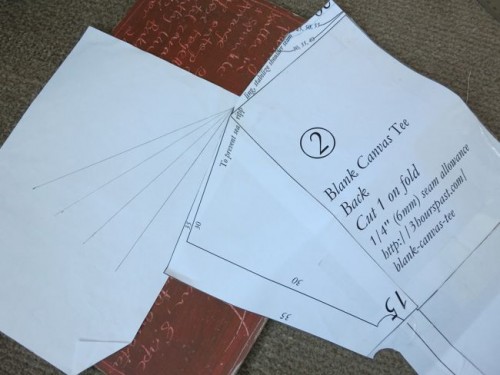
Use this measurement to mark a series of 3 further points up from the shoulder seam, each the same as the first measure.
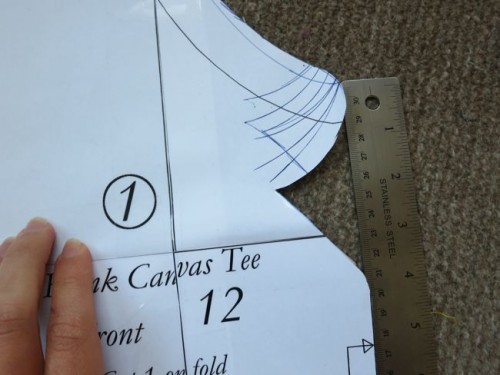
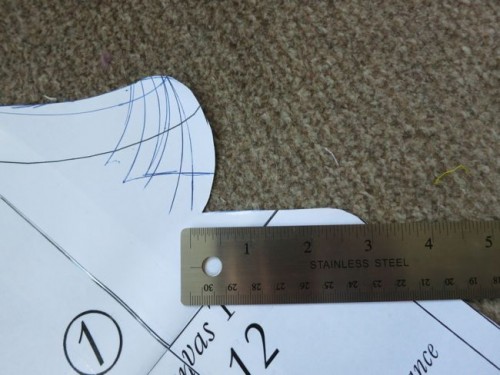
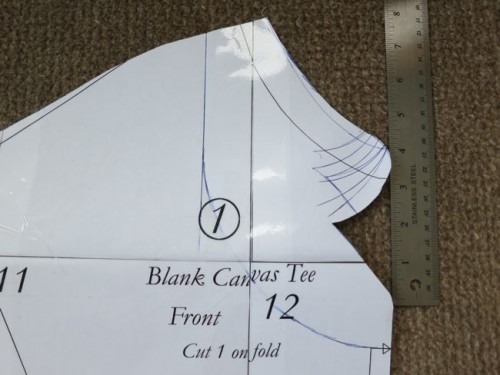
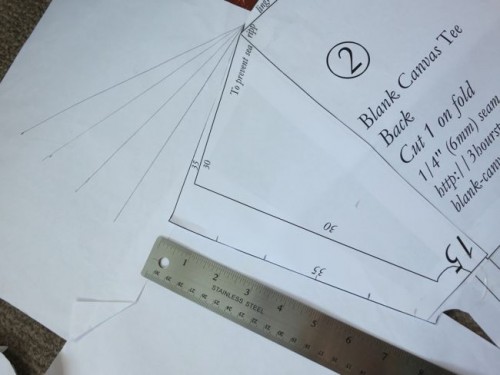
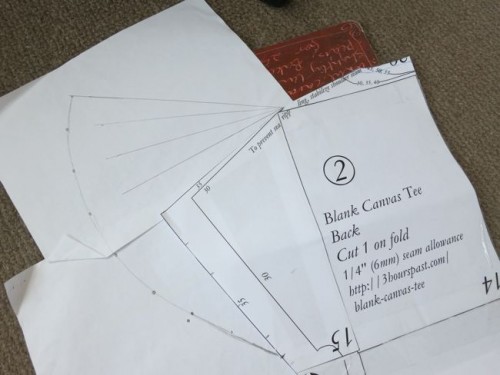
Draw lines from the shoulder point up to each of these points, creating a series of angled lines – a sunburst extending from the shoulder. The more points and lines you have, the fuller your sleeve will be. My sleeve is 4 points.
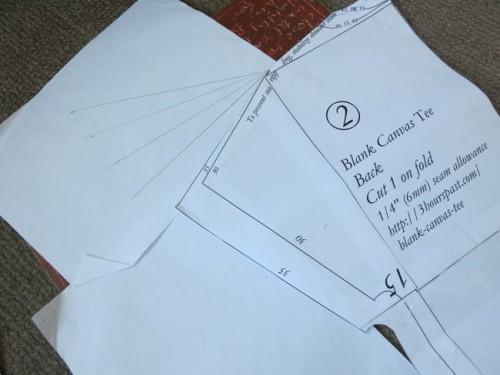
With your sunburst created, tape another piece of paper out from the side of the sleeve.
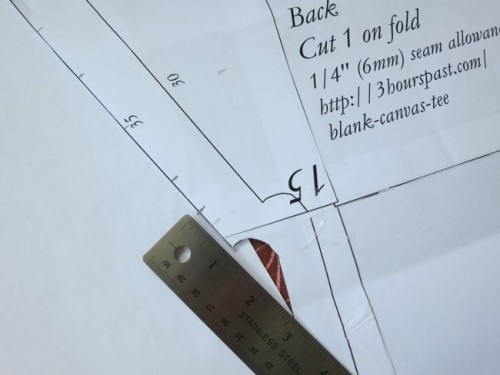
Mark another series of points down the sleeve, each the same measure as the measurement between your rays.
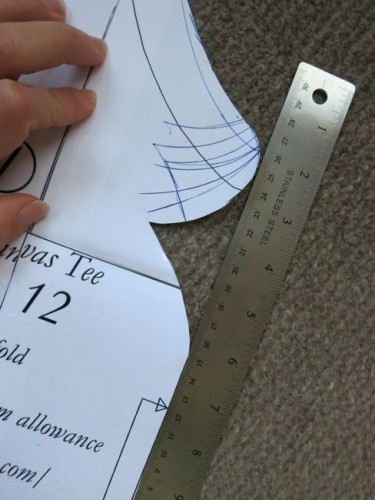
Now, mark a point 1″ up from the very bottom of the sleeve. This will be where you start the curve of the flutter sleeve. You don’t want to start it lower, because that would create a bulky underarm.
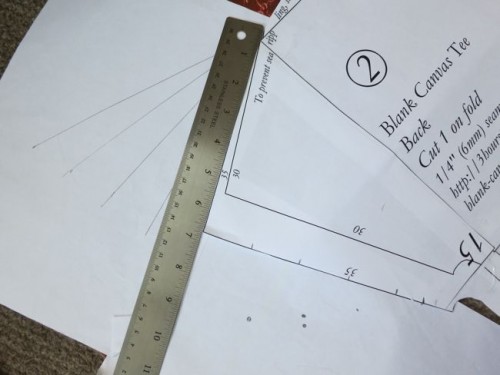
Now, measure from the shoulder point to the point you just marked 1″ from the bottom of the sleeve. For me, this was 9.5″
Now, using your shoulder point as the starter point, measure along each line/point of your rays and mark a dot the same length as the line from the shoulder point to the 1″ from the bottom point (9.5 for me).
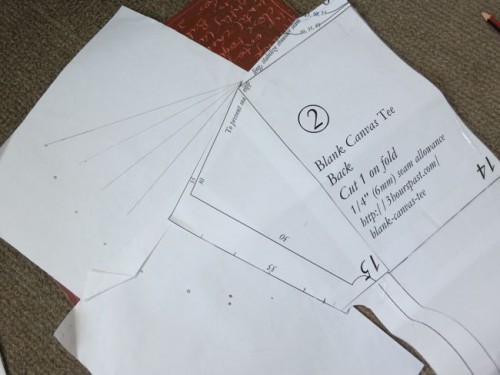
When all the points are marked, they will form an arc. Join the dots together, and this will be the curve of your sleeve hem.
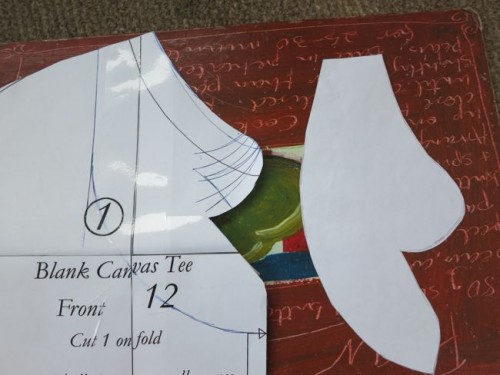
Now you can cut it out, and you have your sleeve pattern! Do the exact same thing for the front pattern piece, and you’ll have all the bits you need to cut out for your very own 1940s inspired Blank Canvas hack.
Tomorrow I’ll tell you how I sewed up my shirt.









Oh, I love the sleeves! And the neckline is just darling. Thanks for the link to the Blank Canvas Tee – I’d love to make some more summer tops once I get hold of a sewing machine again, and these tutorials look do-able for someone at my level. 🙂
Excellent tutorial! Wish I had known more about how to do this sort of thing when I was younger – trial and error is a hard mistress.