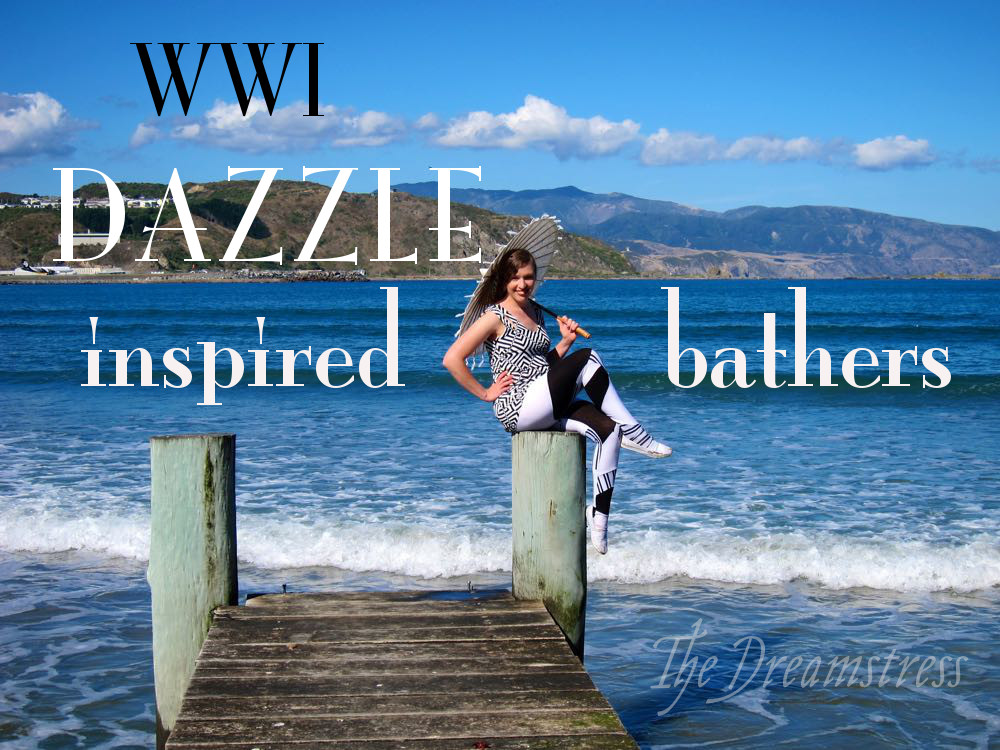
In my last post, I showed you my super-quick and easy and slightly ersatz ‘Dazzle’ inspired bathers (click here to learn about Dazzle and see period examples of Dazzle swimwear). Here is how I made them, in case you want your own Dazzle swimwear or patchwork leggings.
It’s not quite historically accurate, but it is fun and easy.
As my base, I used the Cake Espresso leggings pattern – I know it works, and I’ve got the fit personalised to be just right.
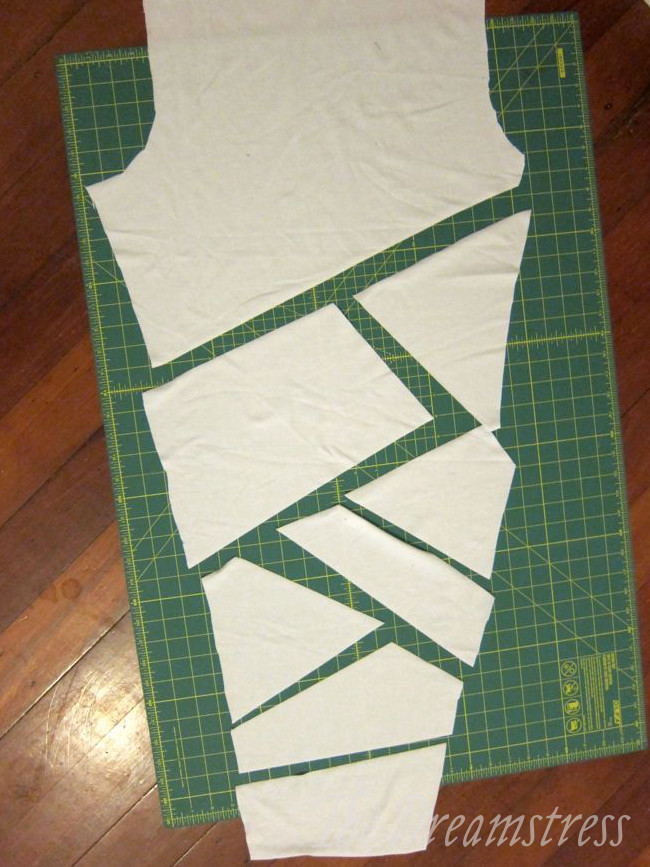
I cut out the legs in my white fabric, because it would be the least likely to show under the playsuit.
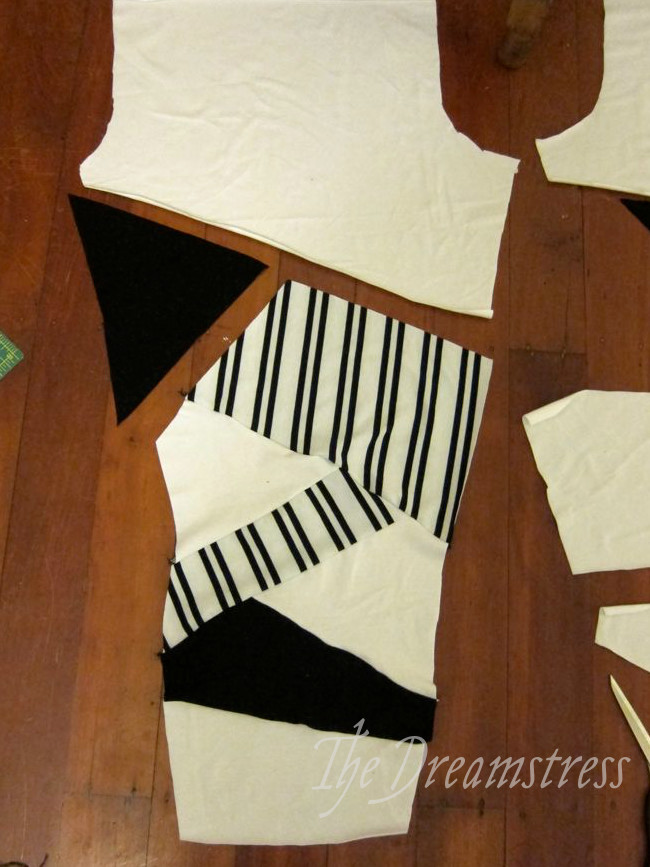
Then I used a rotary cutter and a ruler to cut each leg into a different pattern of random shapes:
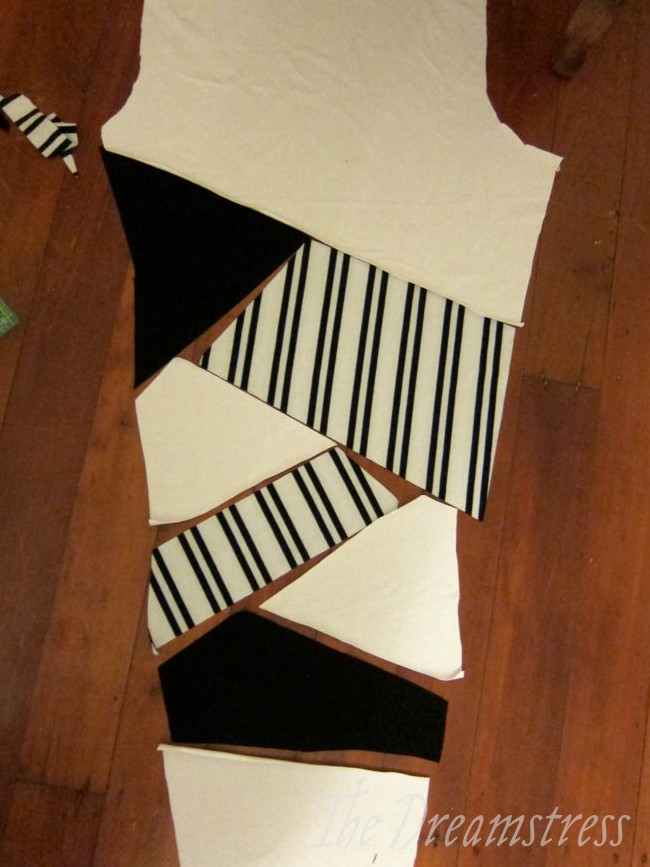
Then I went through, and decided which shapes I would have in each colour, and used the original (white) pieces as patterns to re-cut them in black or striped fabric:
Since this is a trial pair, I didn’t think too much about how the placement would fit on my body in terms of flattery – next time I’ll fuss over that a bit more.
Then I began to assemble. The important thing about how I cut is that everything is broken into sections that can be sewn together so that I ONLY sew straight lines – no needing to turn corners.
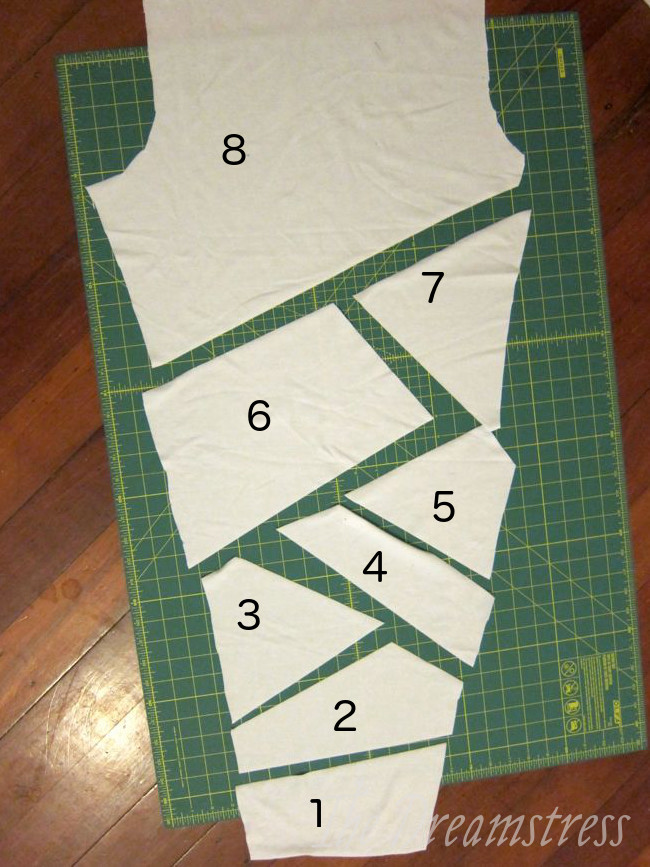
To show this, I’ve gone back to the all white fabric and numbered my pieces.
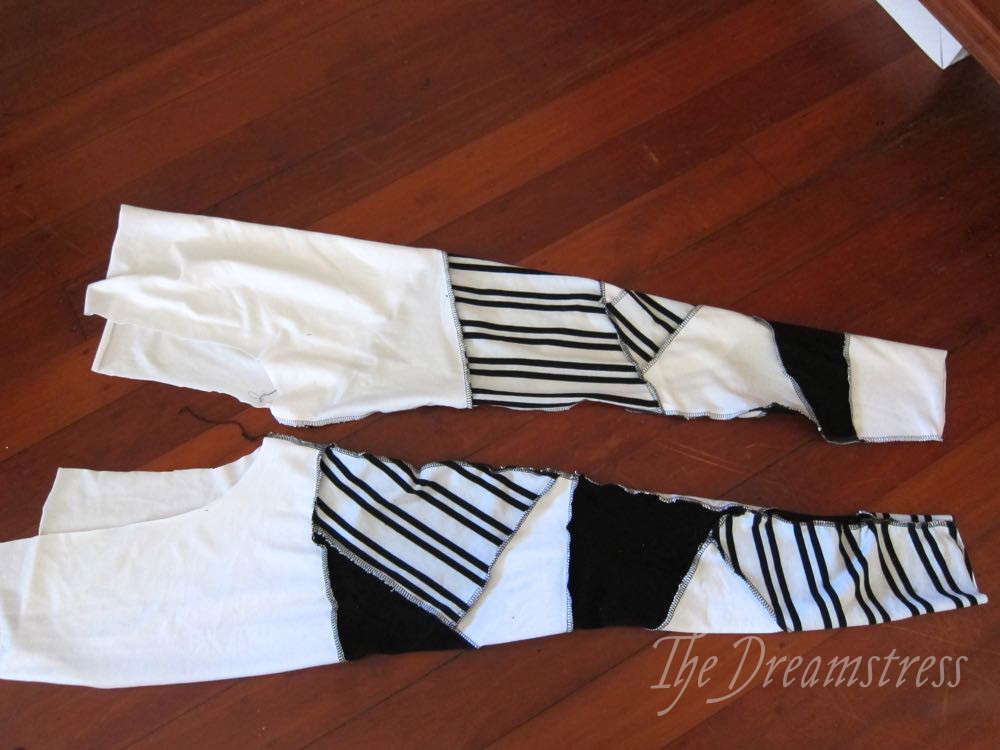
See how I can join blocks 1 & 2, and then 2 & 3. Then 2 & 3 are joined to 4, and 4 joins 5. The sewn-together 3, 4 & 5 join 6. 5 & 6 are joined to 7, and finally, 6 & 7 join 8. All straight sewing – no tricky corners.
Here are pieces 1-6 joined, with 7 about to be joined, and then you can see how they will all fit to 8:
I used an overlocker for all my sewing, just because it’s so fast and easy. Overlockers have been around since the 1880s, and they were certainly used for commercial swimsuits in the ’20s, so there is an element of historical accuracy amongst all the non-accuracy and trialling I’m doing.
With both legs assembled, I sewed up the side seams to form my leg-tubes:
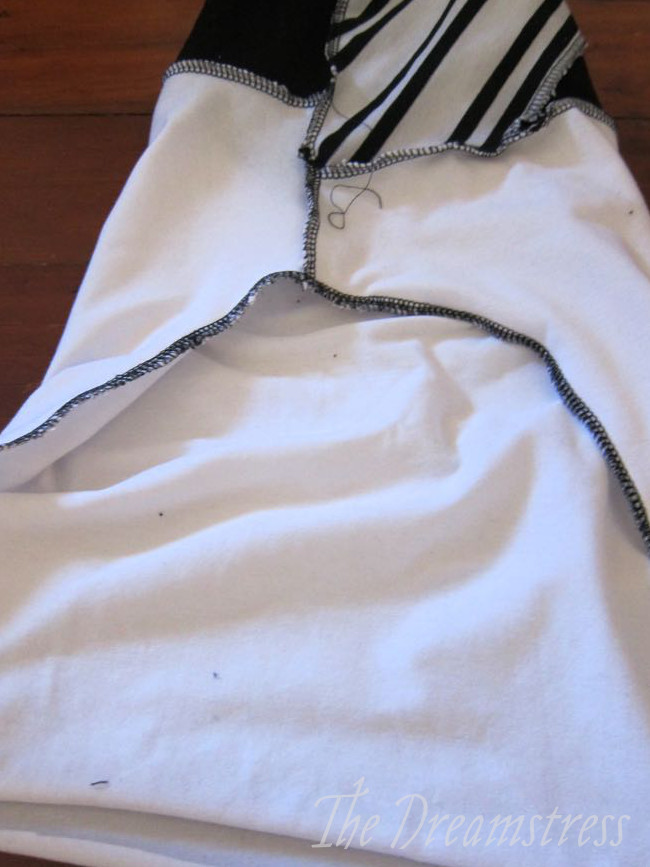
And then I joined the crotch seam:
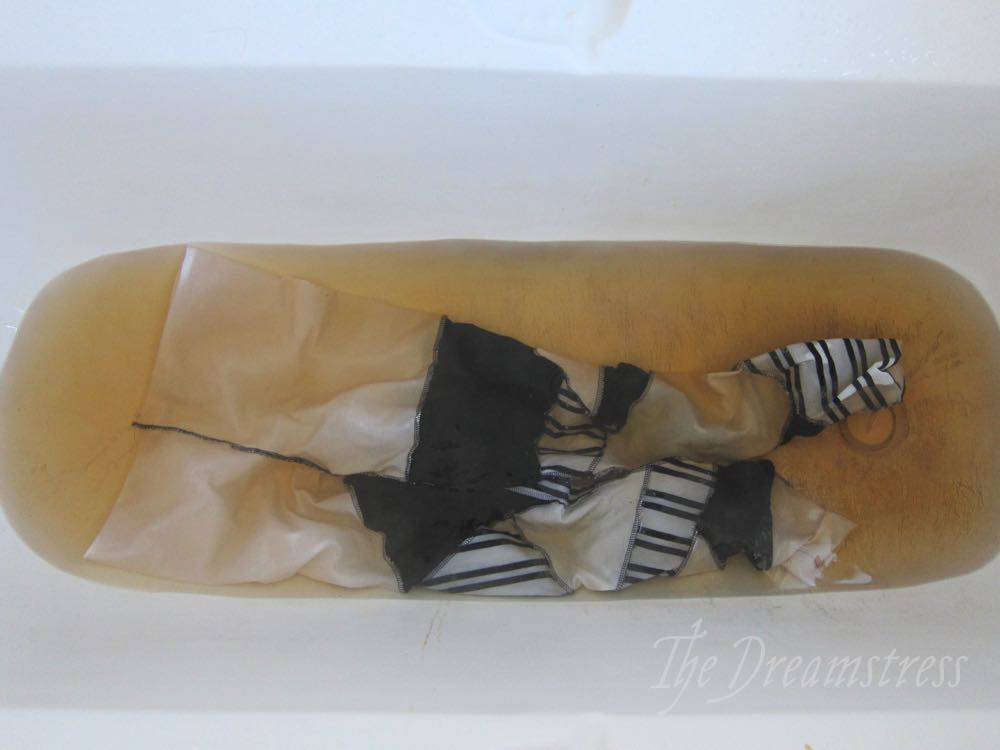
I felt at this point that they were a little too white, so I gave them a quick tea-dye to tone down the white just a smidge:
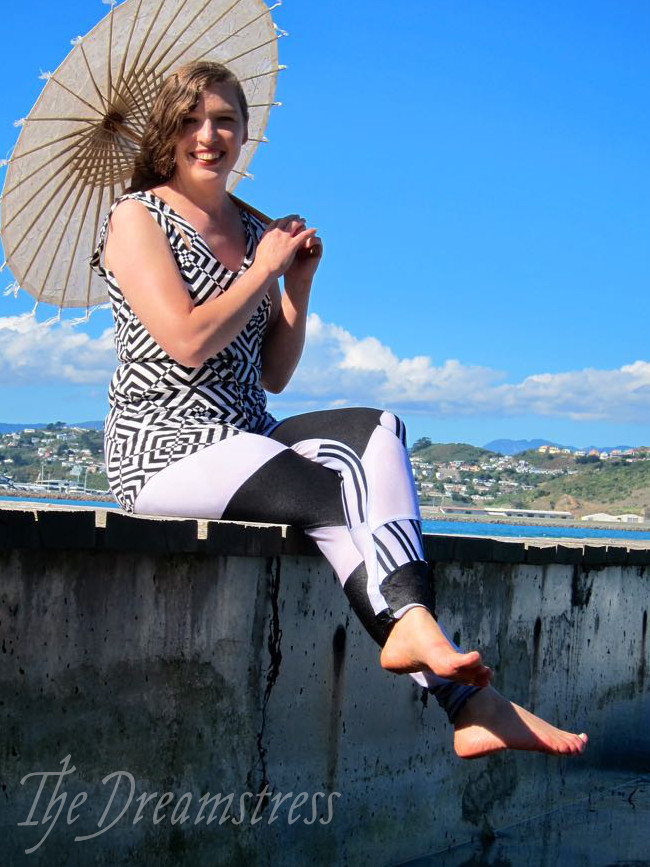
Once they dried, the leggings just needed their waistband and hemming. Then they were ready to go for a swim:



These are great! Just one question. Did you add any seam allowance for the black and white pieces?
Thanks!
Good question! Because it’s stretch fabric, and an overlocker uses such a little seam allowance, I didn’t add extra seam allowance. I did cut the leggings a tiny bit roomier in the leg than I usually do though.
Thank you for the tutorial. I´ve just made myself a maternity dazzle dress! Starting to feel as big as a war ship, this was definitely THE occasion to try it. It was great fun and I think the camouflage definitely works, at least from the front: would you guess there is a 7-month bow hidden in the stripes? 🙂 http://aconita.sweb.cz/jine/dazzle.jpg (+ side view as proof)
I love it! That’s brilliant! It looks so good! What a clever idea! Thank you so much for sharing!
I´m pleased that you like it, thank you for the inspiration!
Just in case anyone is interested, I used a slightly different method: I put the two fabric sheets on top of each other, cut the same dazzle shapes in both and then just switched pieces. The fabrics that I had stretch differently in different directions so it was important to keep them all oriented the same way also in the dazzled fabric to prevent bulging and puckering. Only after assembling both sheets together again I cut the shape of the dress, the front side from one sheet and the back side from the other. The shape of the sheets changed quite wildly in the dazzling process so this was definitely a safer approach 🙂