
Happy holidays everyone!
As a little gift, here is a tutorial for making one of my favourite homemade gifts: a cushion cover decorated with an appliqued motif. This tutorial uses iron-on bonding to apply the applique motif, which makes it MUCH easier to work with (and is also a great technique for anything you want to applique).
To make an 18″ cushion cover you will need:
- One 35cm/14” to 40cm/16″ zip
- 1/2 metre of mid/heavy weight non-stretch fabric cut into 3 pieces: one square that is 49cm x 49cm (19.25″ x 19 1/4″”) (for your cushion front), and two rectangles (for your cushion back) that are each 49cm x 26cm ( 19 1/4″ x 10 1/4″”)
- a 30cm x 30cm piece of midweight cotton fabric for your applique
- a 30cm x 30cm piece of Vliesofix (aka Bondaweb) or Steam-a-Seam for your applique
- One 18″ square cushion inner
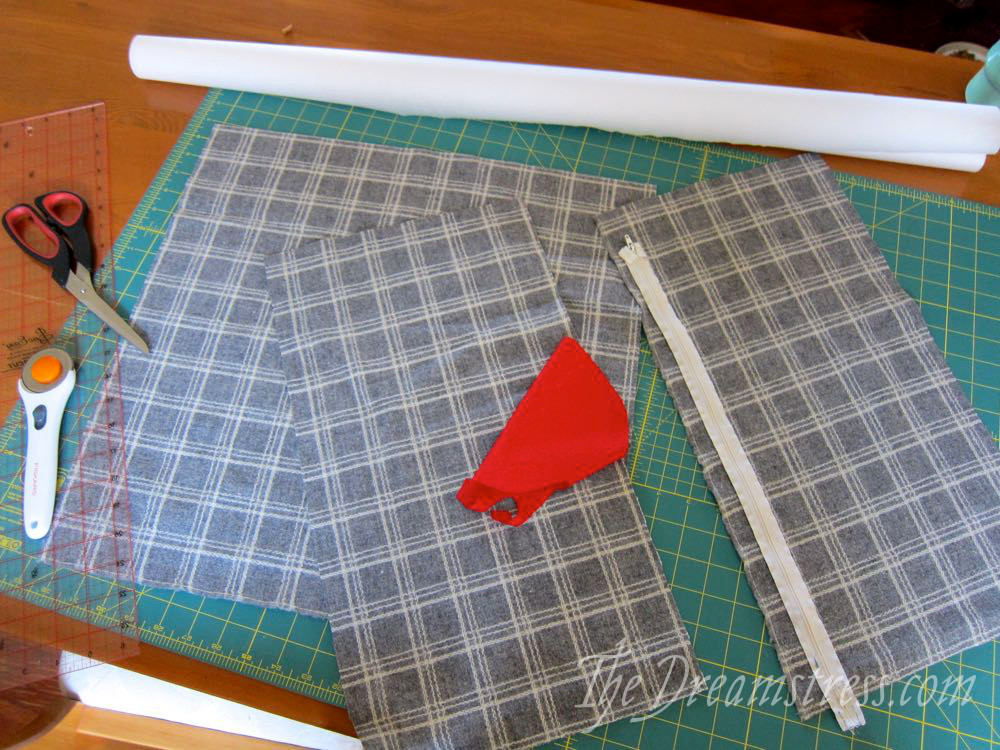
Plus basic sewing equipment like a sewing machine, thread, scissors, marking chalk, and iron etc.
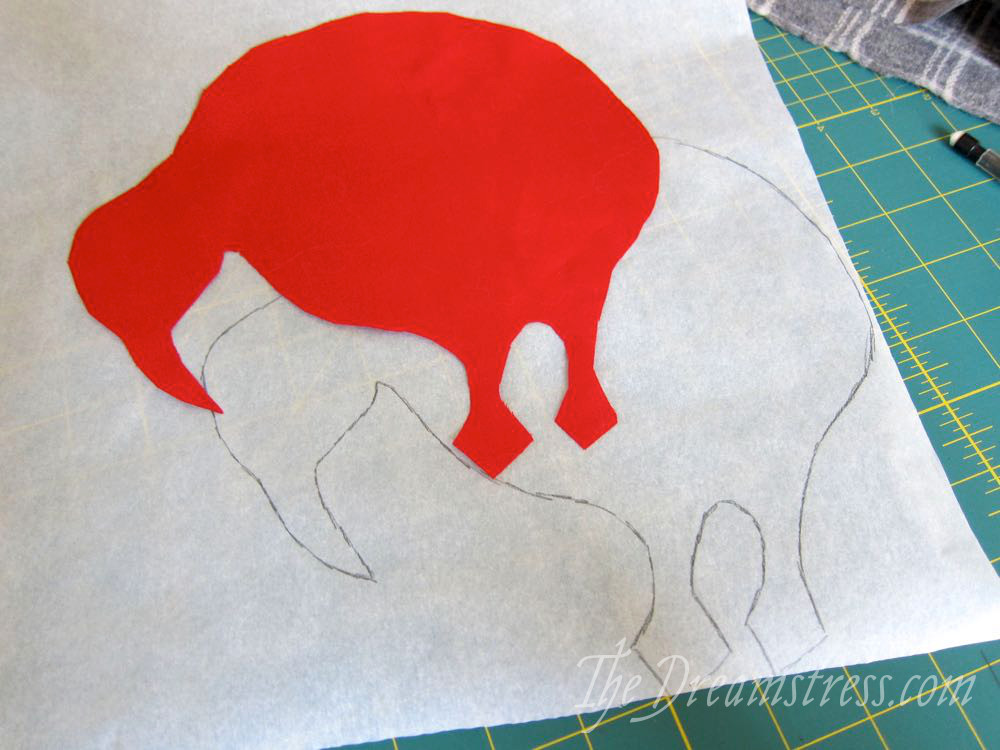
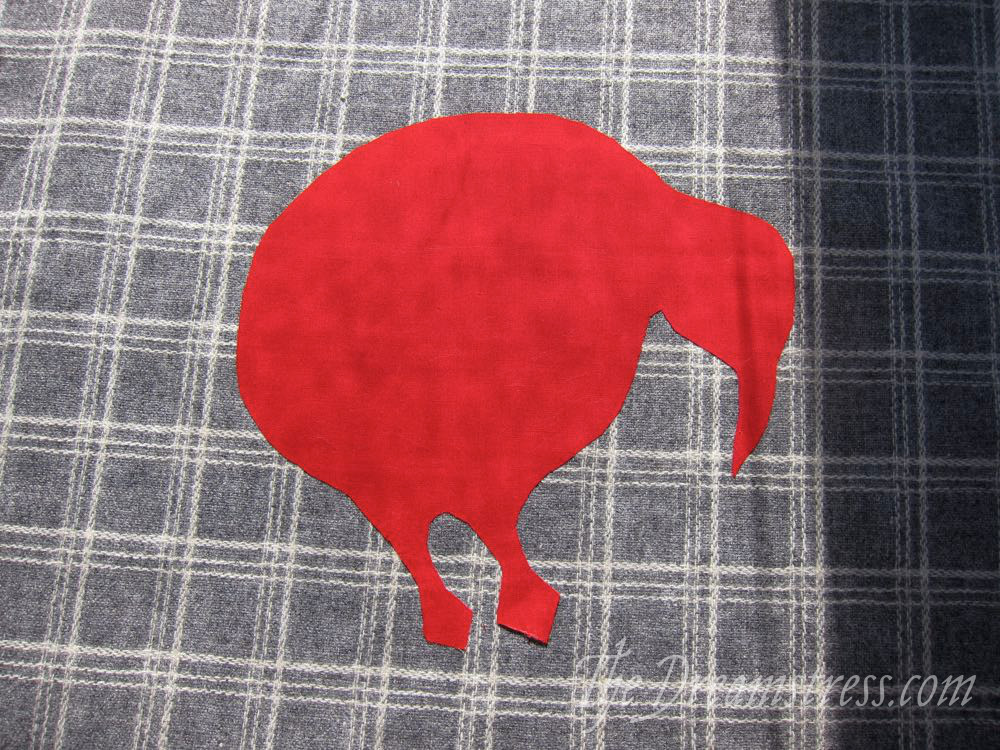
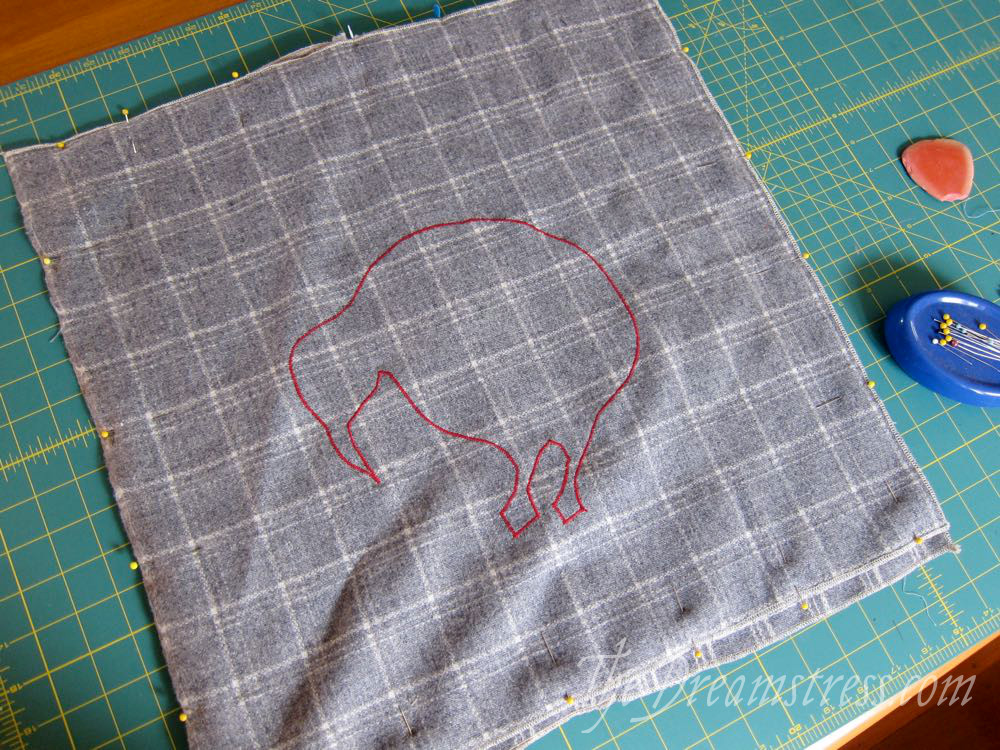
First you’ll need to choose a motif for your applique. For my demonstration piece I’ve gone for the most classically kiwi motif (literally), but you can applique almost anything with a bold, identifiably silhouette. Some of the most popular motifs amongst my students have been hearts, cats, dogs (scotties are particularly cute), birds such as owls and swallows, the North or South island of NZ, apples, cars, ballerinas and the Jantzen diving girl. Once you’ve mastered basic silhouettes you can use different fabrics to make multi-part layered appliques.
Cut your motif out of your contrast cotton and your Vliesofix or Steam-a-Seam. Both Vliesofix and Steam-a-Seam are iron-on bonding: basically layers of heat-activated glue, which will fuse your contrast fabric to your cushion fabric when your iron them. There are actually multiple kinds of Steam-a-Seam, so it’s best to read this post to determine which kind you have, and how you should use it.
Steam-a-Seam is stickier than Vliesofix, so can be repositioned as you work with it, which is helpful, but does make it harder to handle, as it will stick to itself. It can also make the edges of your fabric fray more because of the stickyness as you work with it, so I prefer to only use it on very tightly-woven, non-fraying fabrics. Otherwise they work basically the same.
If you are using a non-symmetrical motif which needs to be placed a particular way to look right (like letters) be sure to work with the fabric right side up, and the Steam-a-Seam right (sticky) side down.
Vliesofix comes with a layer of paper on one side of the bonding layer, and the stickier types of Steam-a-Seam come with the bonding layer sandwiched between sheets of paper.
With some types of Steam-a-Seam there is a stickier side. To figure out if there is one side of your Steam-a-Seam that is stickier flick one edge of your cut out motif to open up the layers, and carefully peel off a bit of the paper and feel for stickiness. This side will go down, towards your cushion fabric. You can do fancy things where you iron on the other side to the applique before you remove the backing paper on the other side, but read the instructions in the post I have linked to find out if your Steam-a-Seam is one that can be ironed before all the paper is removed or not.
To simplify things, I’m just going to give a set of instructions that works for all the kinds of Steam-a-Seam, and Vliesofix.
Remove one layer of backing paper (if there are two) and loose one edge of the other layer. Position the bonding layer on the wrong side of your cut out applique motif fabric.
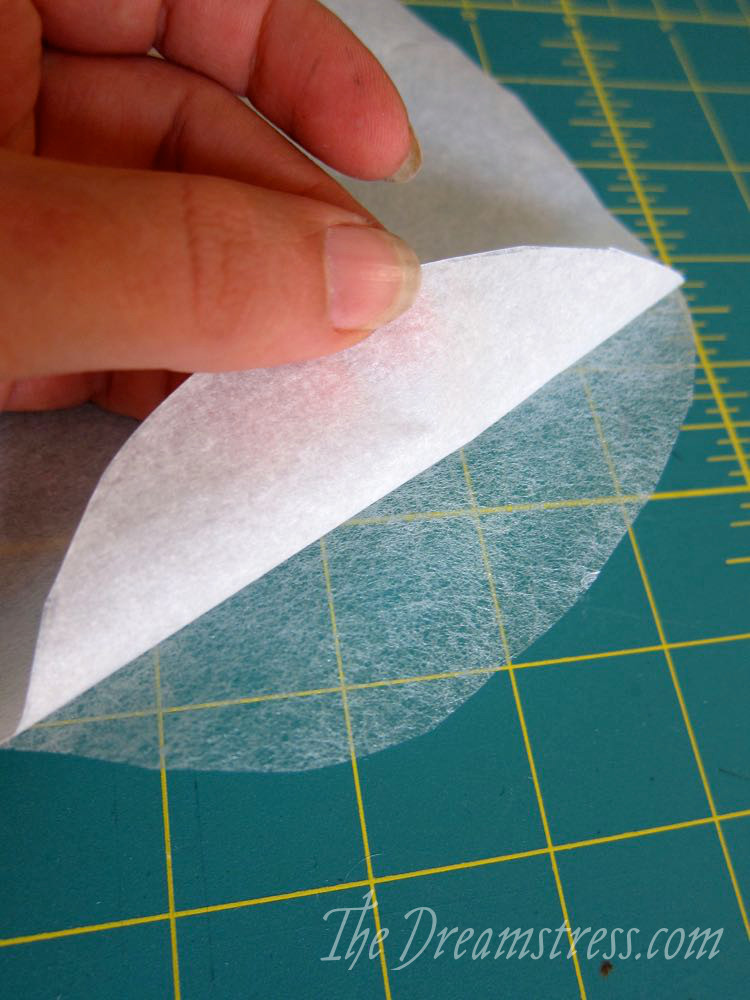
Smooth it down with your hand, and then carefully remove the remaining backing layer:

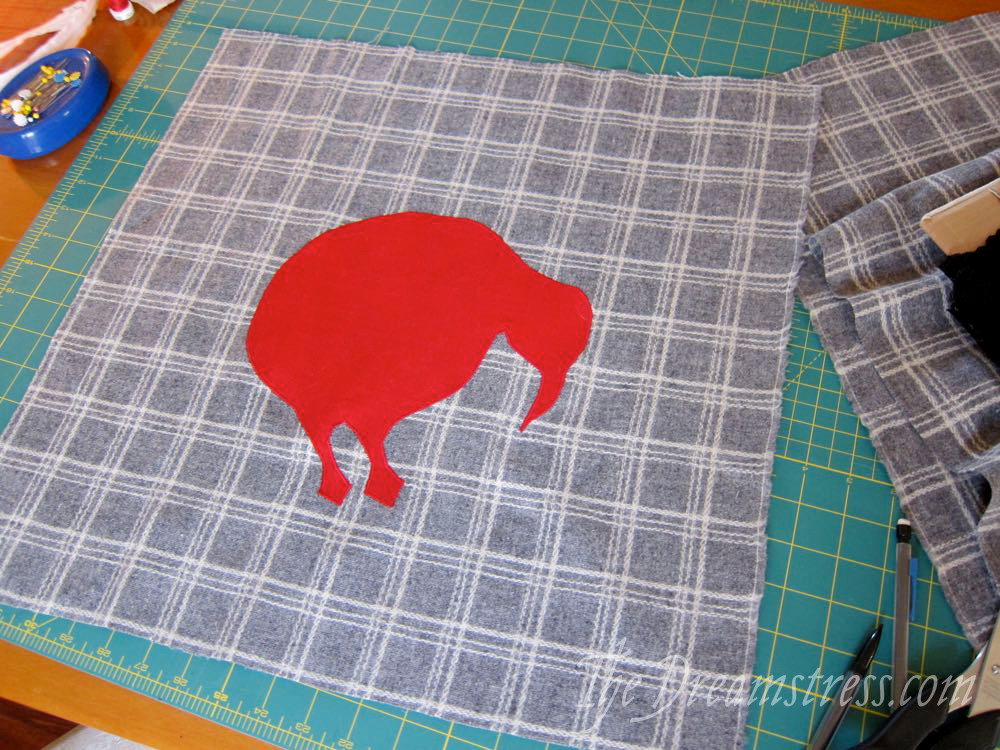
Position your motif on your square cushion cover. If you are using Steam-a-Seam the stickiness will hold it on, if you are using Vliesofix use a pin to hold the motif in place while you work with it.

Working from one side of the motif to the other (and removing the pin before you iron over it), iron on your motif. I’ve photographed this without one to show the process, but I recommend using a pressing cloth, so that any bits of bonding that peek out over the edges are picked up on the pressing cloth.
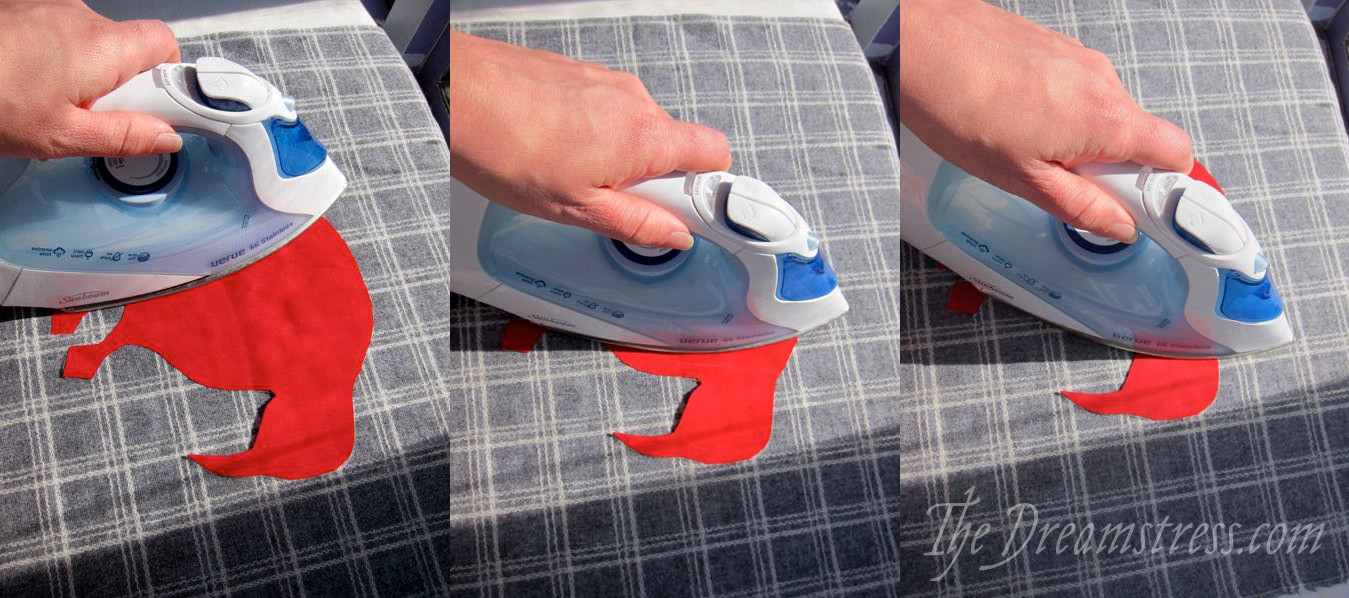
Make sure that your applique is well adhered to the backing fabric all around the edges. You can see that one of my kiwi’s feet isn’t quite attached, so I’ll press that again.
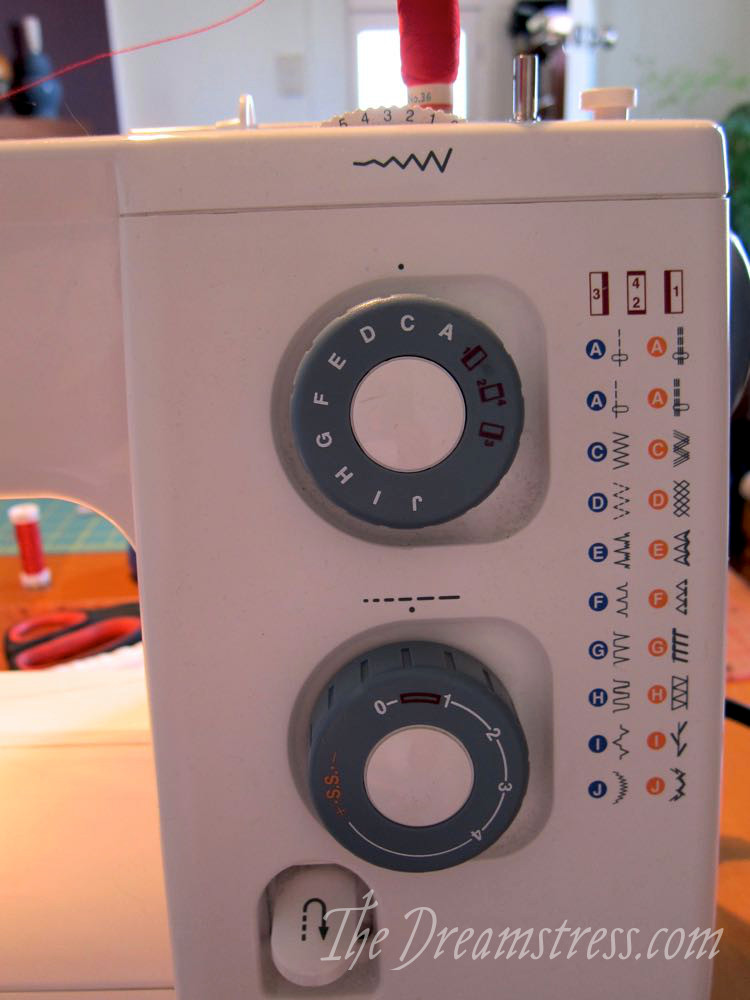
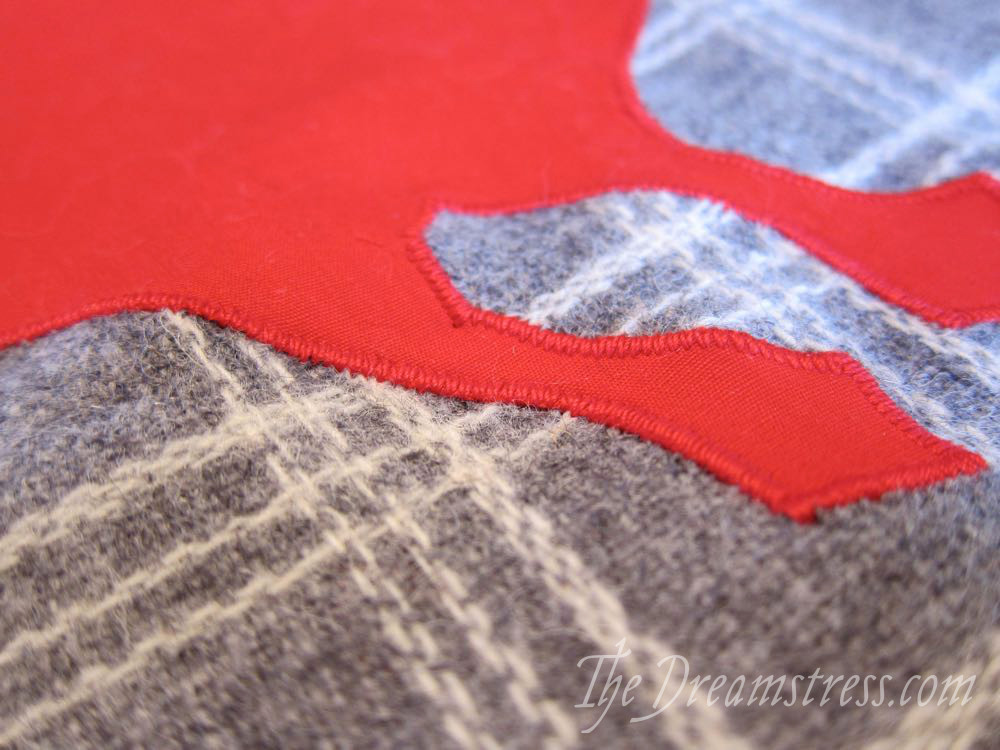
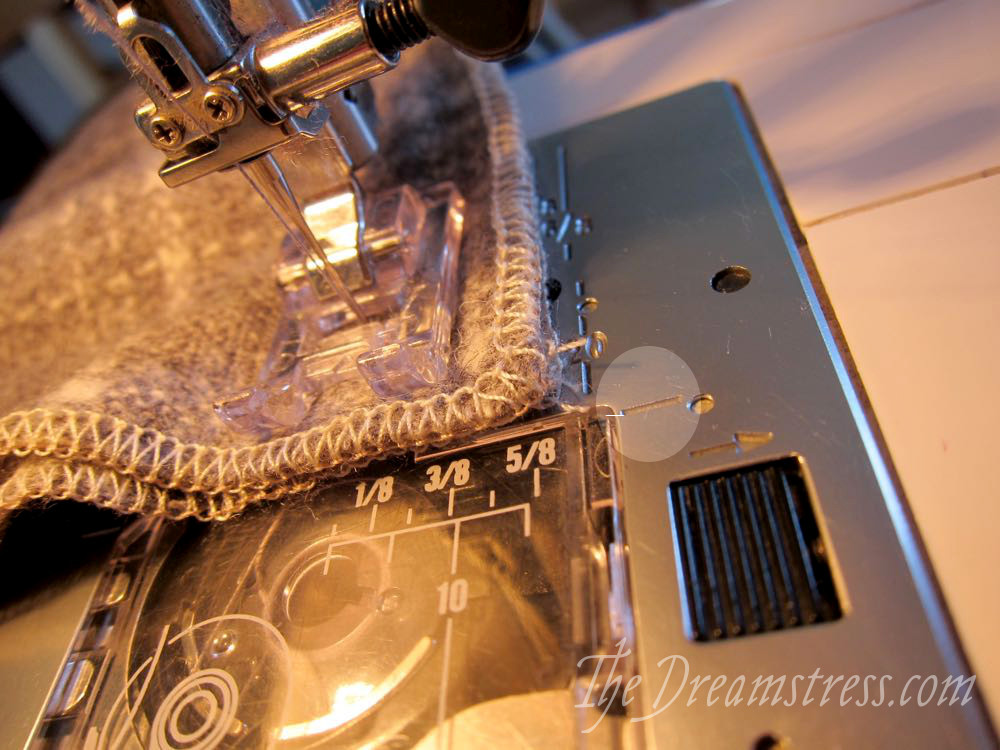
Next, set your sewing machine up to an applique stitch: a very tight, relatively narrow zig-zag stitch. On this Janome Sewist I’ve set the stitch length to .5 (Buttonhole stitch length) and the width to 2.5.
Check your stitch to make sure you are getting a nice tight stitch. You can use a slightly more open zig-zag for a more rustic look, or an even tighter one for a very smooth, polished satin stitch.
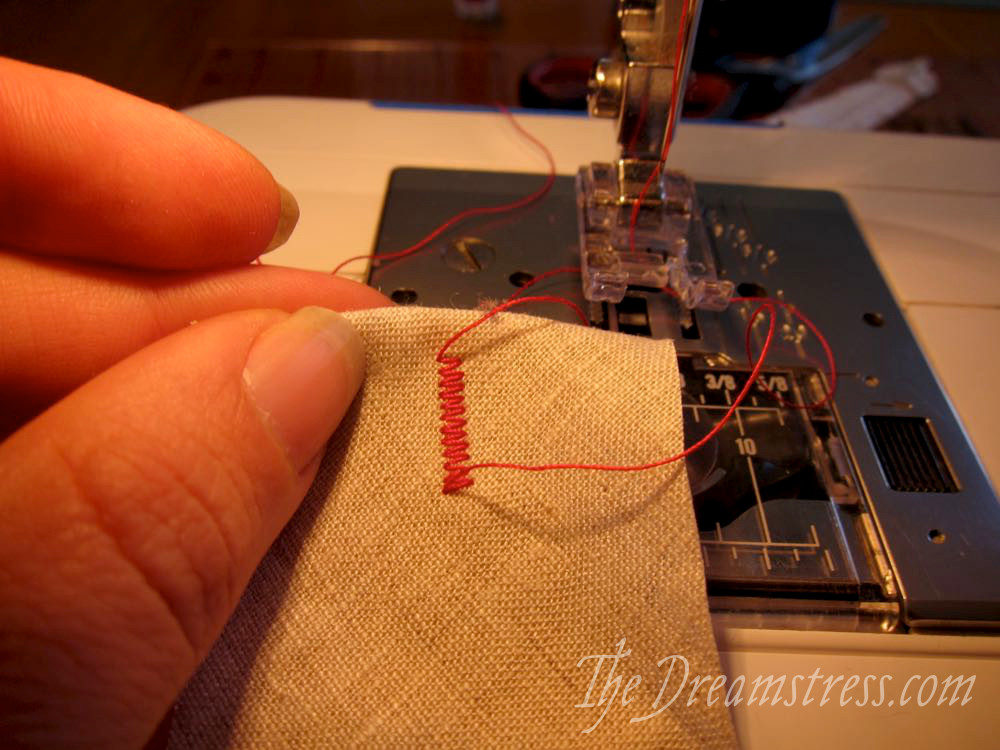
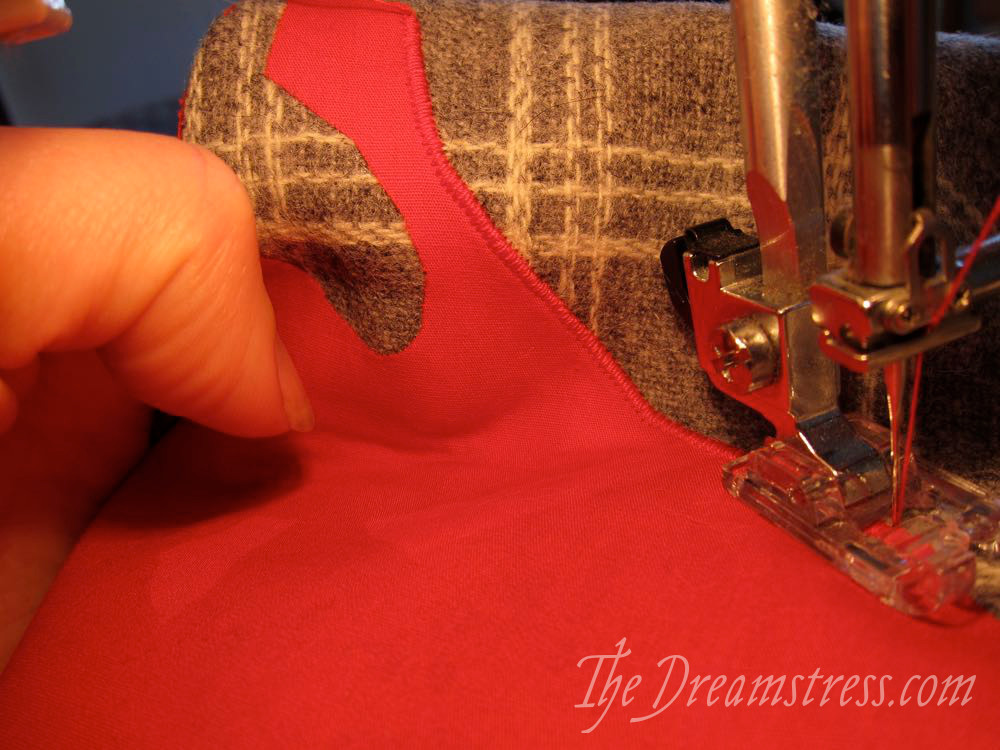
Position your applique under the needle so that inner edge of the zig-zag stitch (inner toward the inside of your sewing machine) just covers the outer edge of the motif.

Without backstitching, begin zig-zagging along the edges of your motif, keeping the stitch just wrapped around the outside of the motif.
When you come to a sharp turn in your motif, sink your needle and lift and turn.
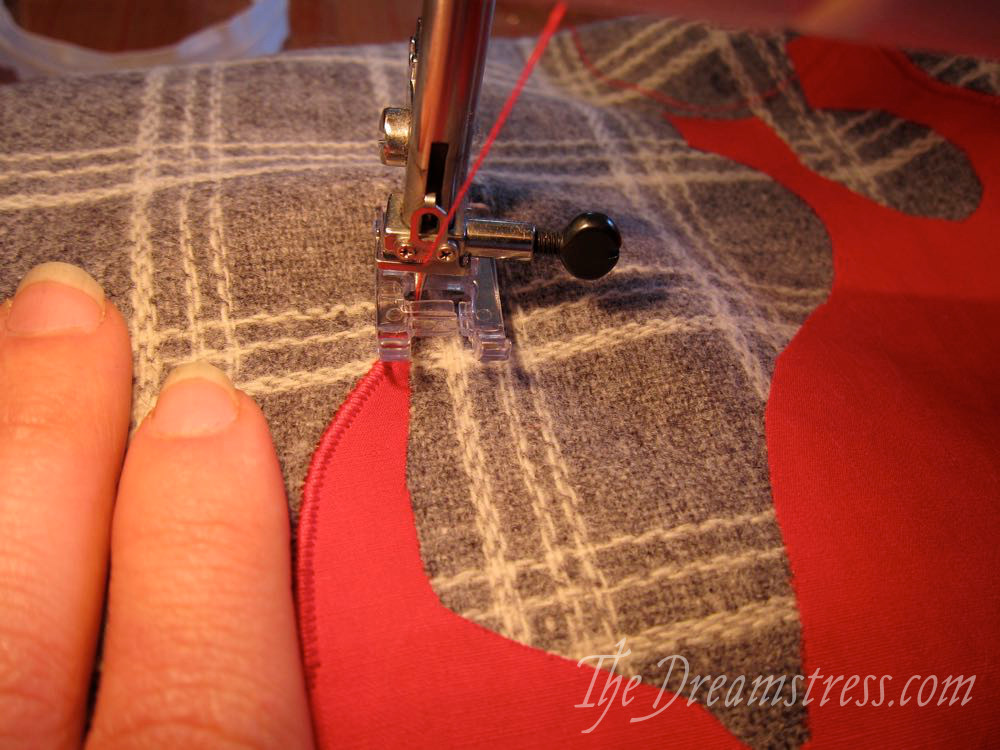
When you come all the way around your motif and meet your starting stitching, don’t backstitch. Instead, leave long tails of thread:
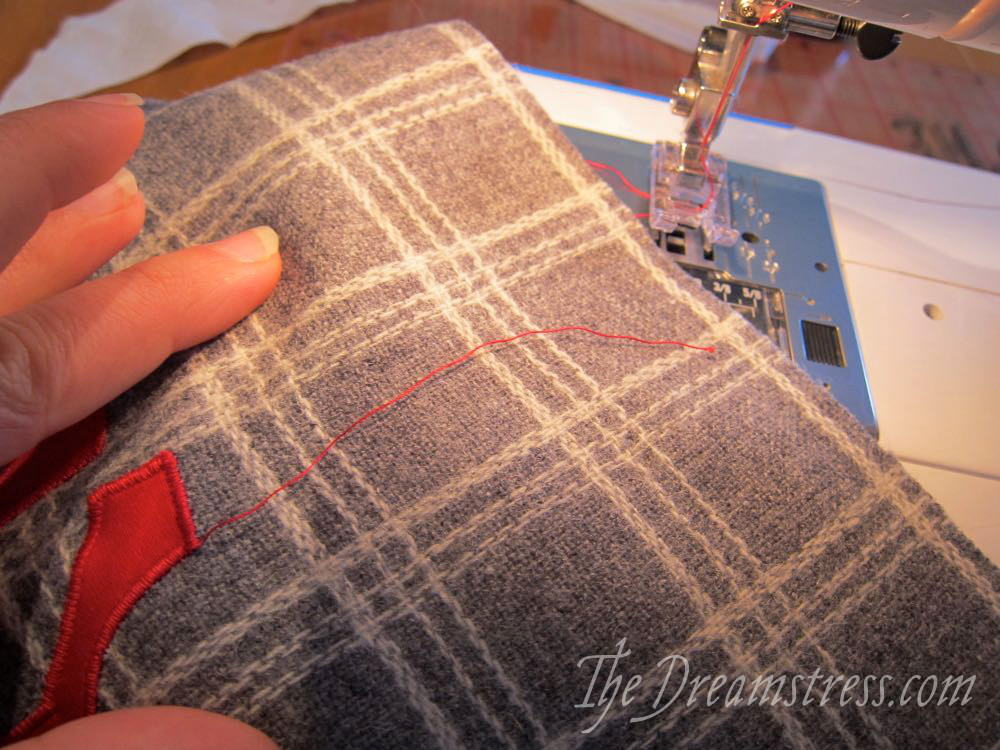
Pull all your threads to the back of the fabric:
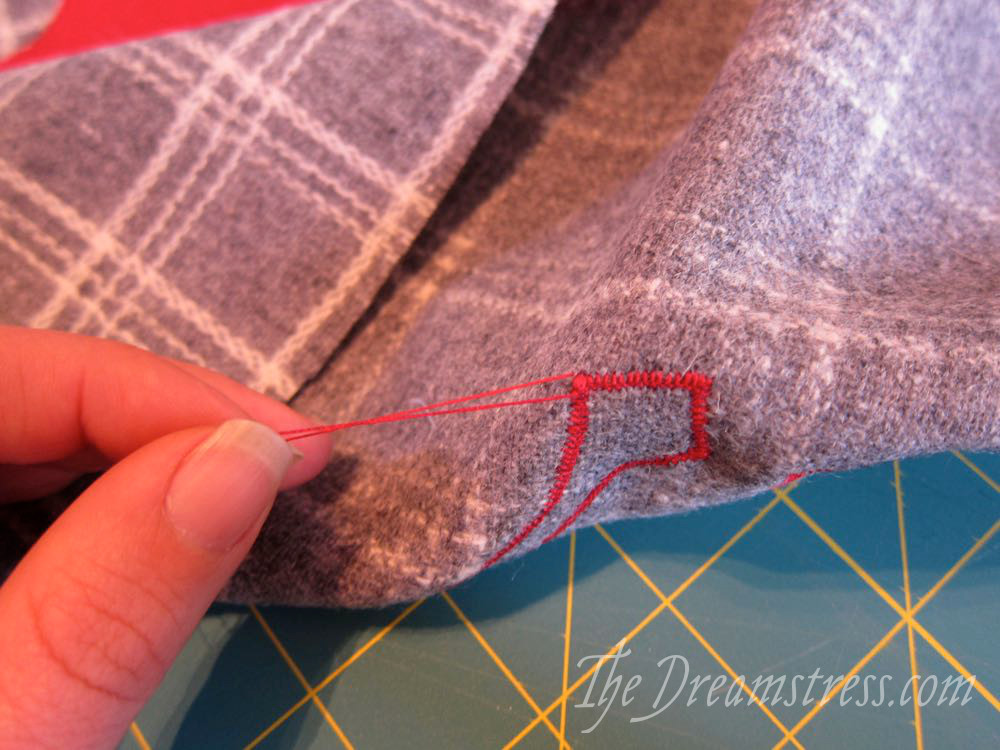
And tie them off in a knot:

Knotting your threads instead of backstitching means that you don’t get an untidy bulk of threads where you have backstitched.
And there you go! An appliqued motif!
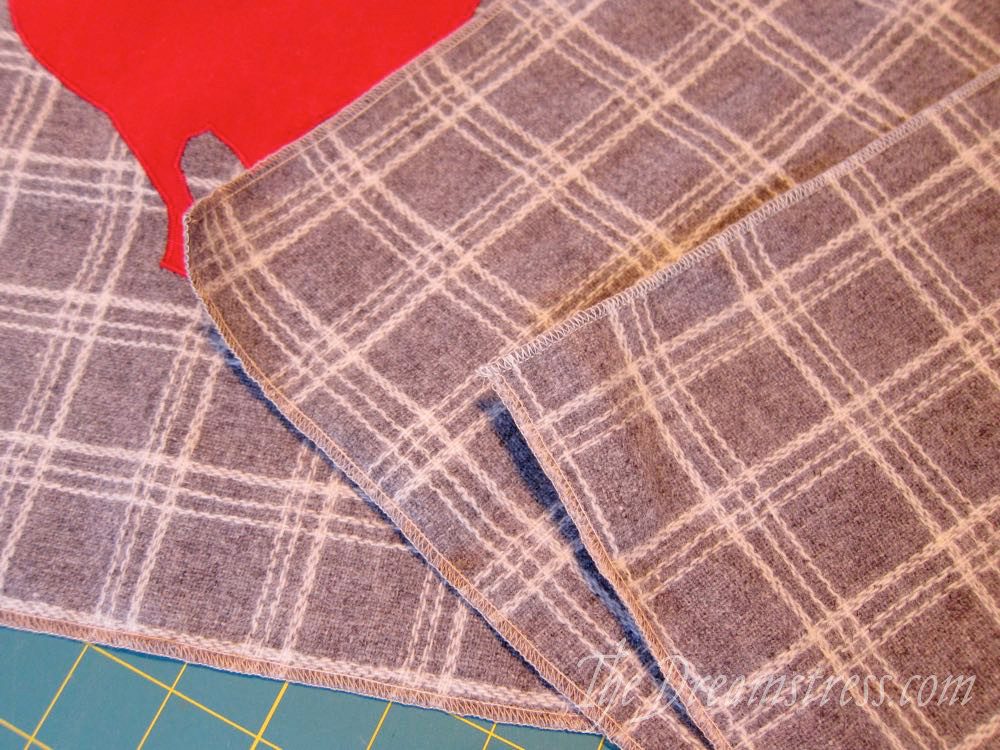
Now, finish all the edges of your cushion cover pieces:
Insert your zipper following this tutorial)
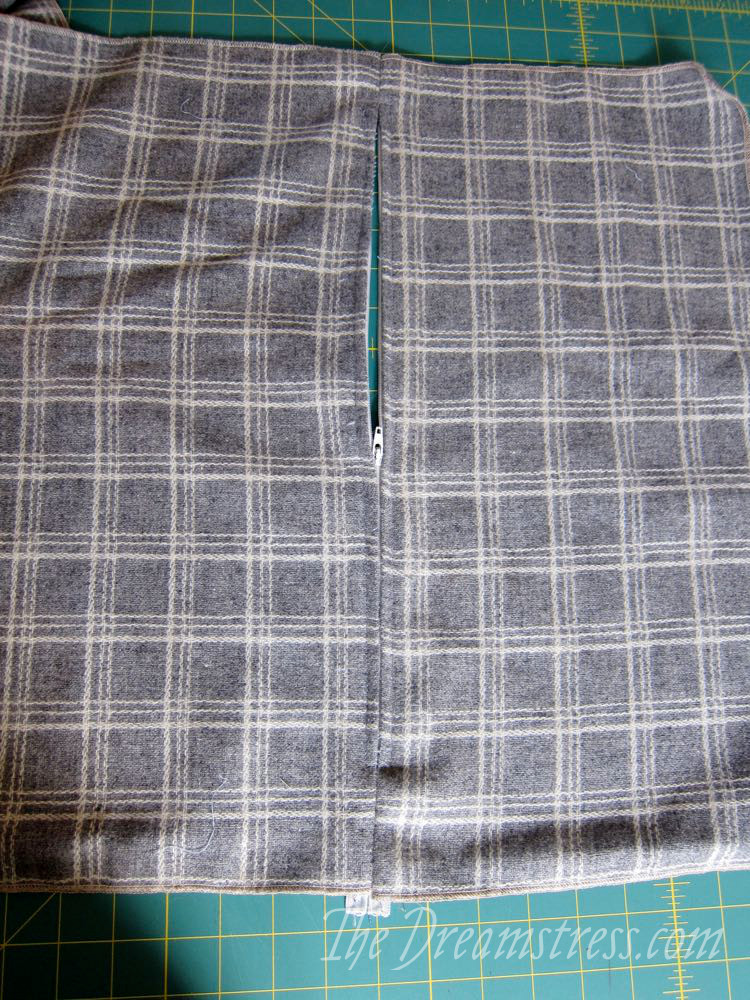
Making sure your zip is at least halfway open (so that you can turn it right side out later), lay the front of your cushion cover over the back, right sides together. Pin and sew around the edges with a 1.5cm / 5/8″ seam allowance.
To make turning the corners easier, most sewing machines have a really cool trick you may not be aware of. In addition to the seam allowance lines to the right (and possibly left) of your needle, there is a line 1.5cm / 5/8″ in front of the needle on many machines, so that when the edge of your corner reaches this line, you know you are 1.5cm away from it, and should sink your needle and turn the corner. On my machine the line is the little horizontal dash line I’ve highlighted in a circle.
When you have sewn around the whole cushion, trim off the corners if you are working with a stiff fabric (soft fabrics can be shoved into the corners to keep them nice and perky), turn the cushion right-side out, and insert a cushion.
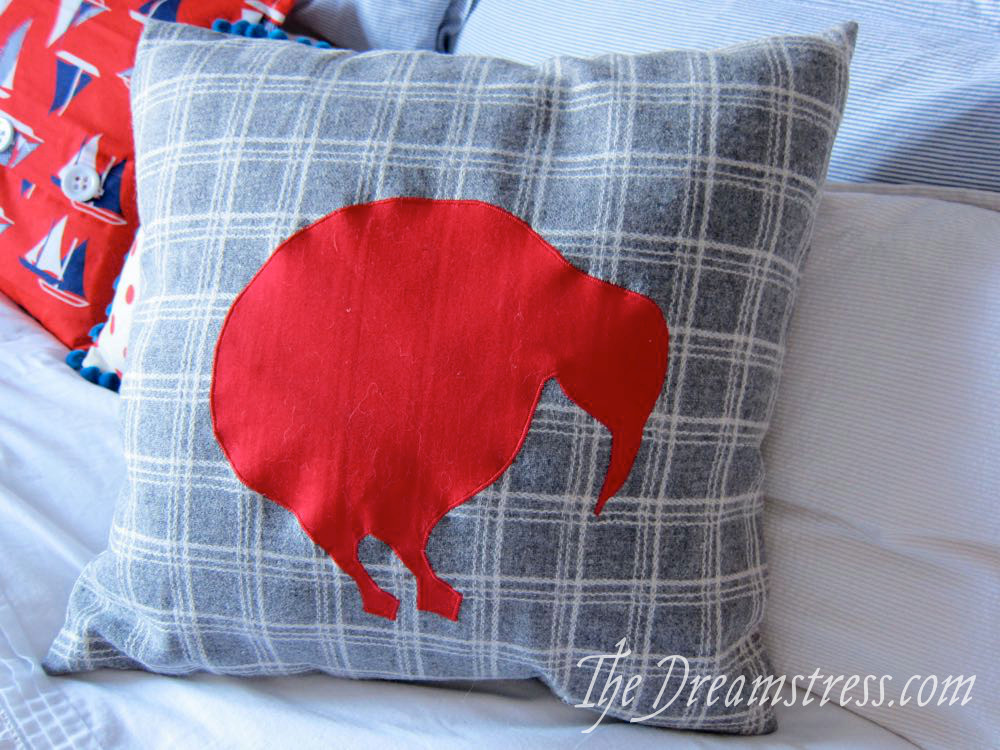
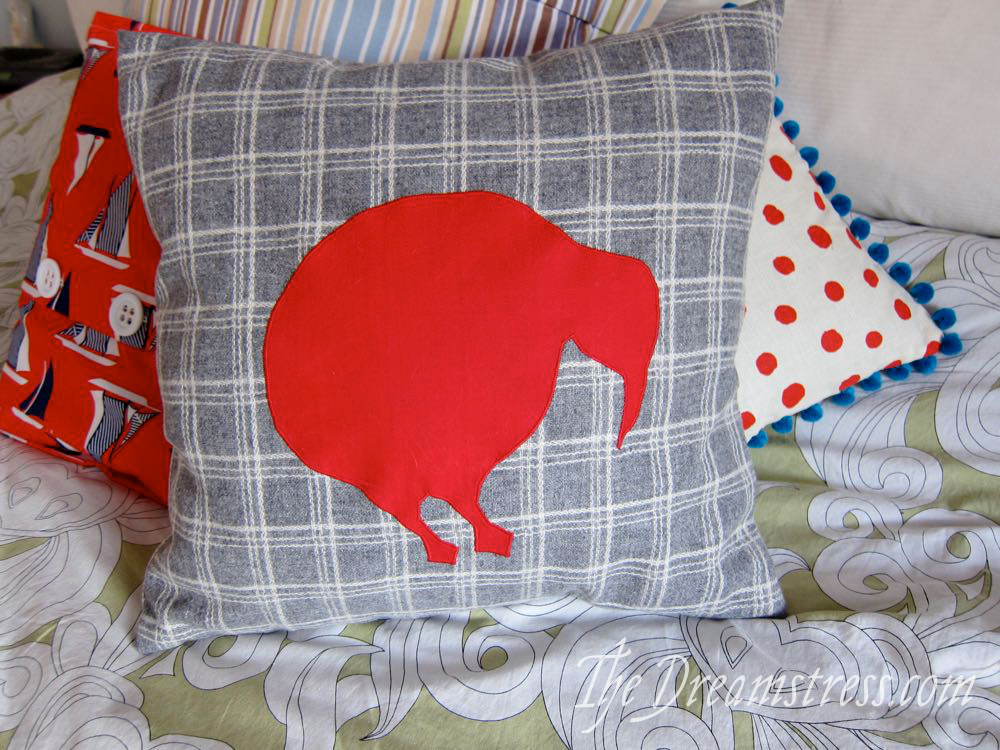
And there you have it! An adorable, gift appropriate cushion cover! Enjoy! Happy sewing!
wow!! you do such beautiful work. .beautiful!!