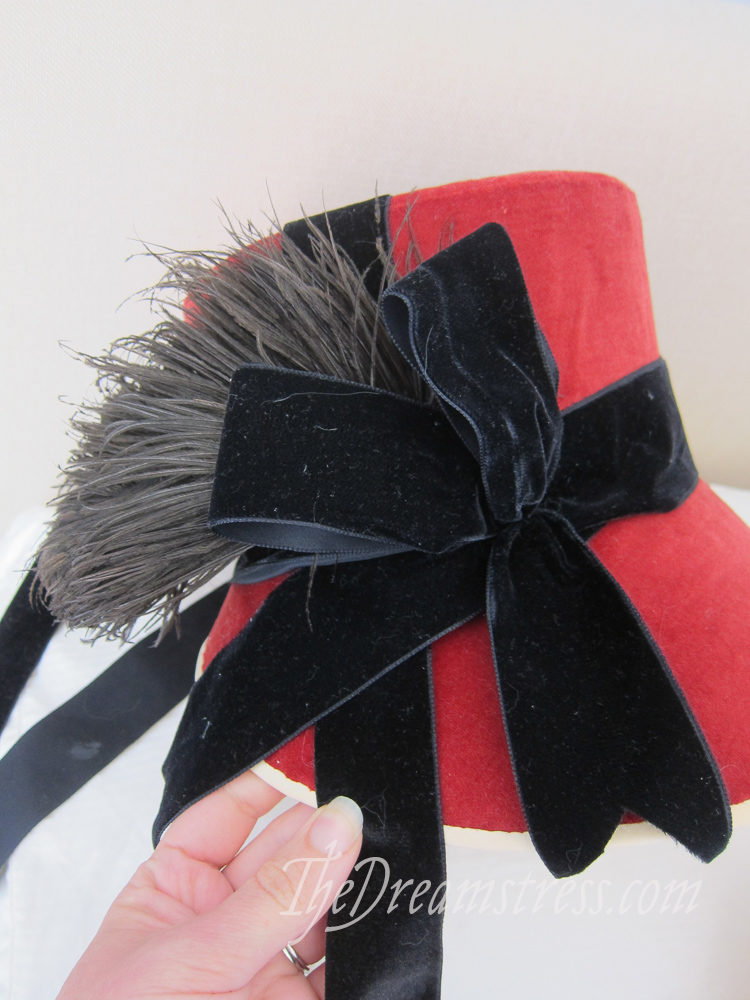
Just in time for the heat of the New Zealand summer, I’ve made a velvet winter bonnet.
The Wellington historical sewists and I had been working on 1790s-1810s garments all 2018, with the goal of each of us creating at least one full outfit.
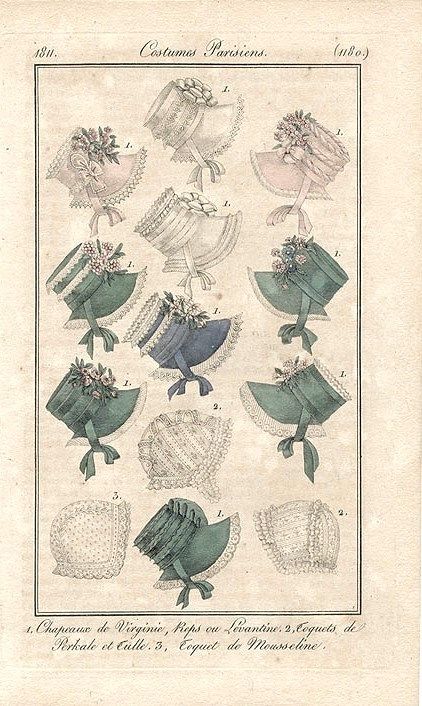
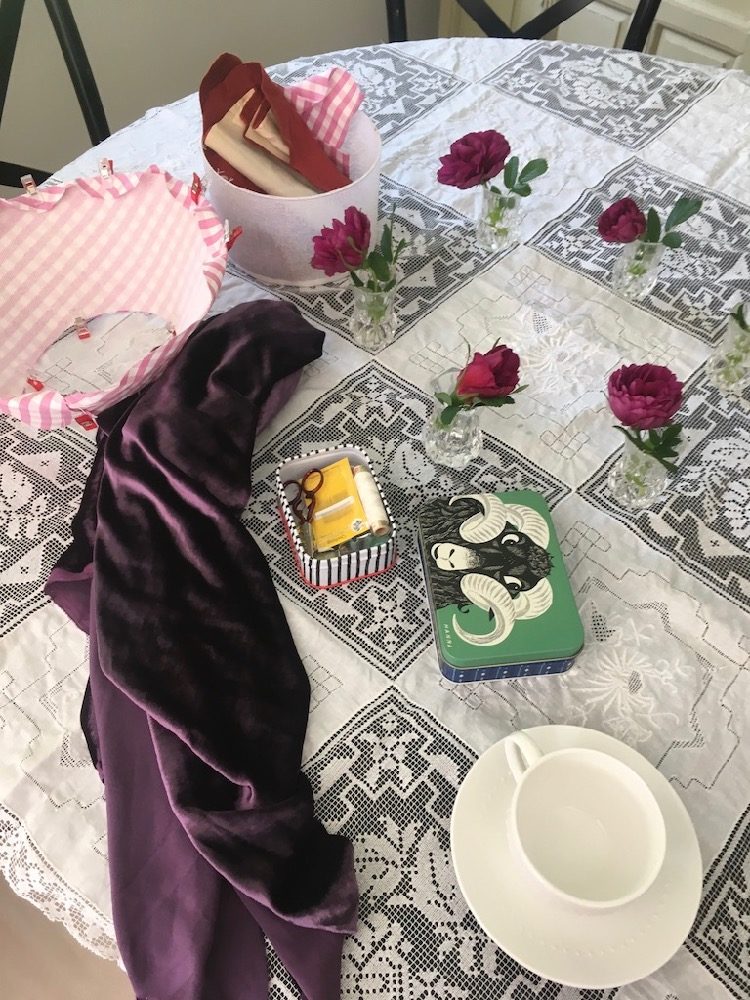
For our Sew & Eat Historical Retreat we wanted to do a group sewing project. We decided on bonnets based on Lynne McMasters 1810s Regency bonnet pattern.
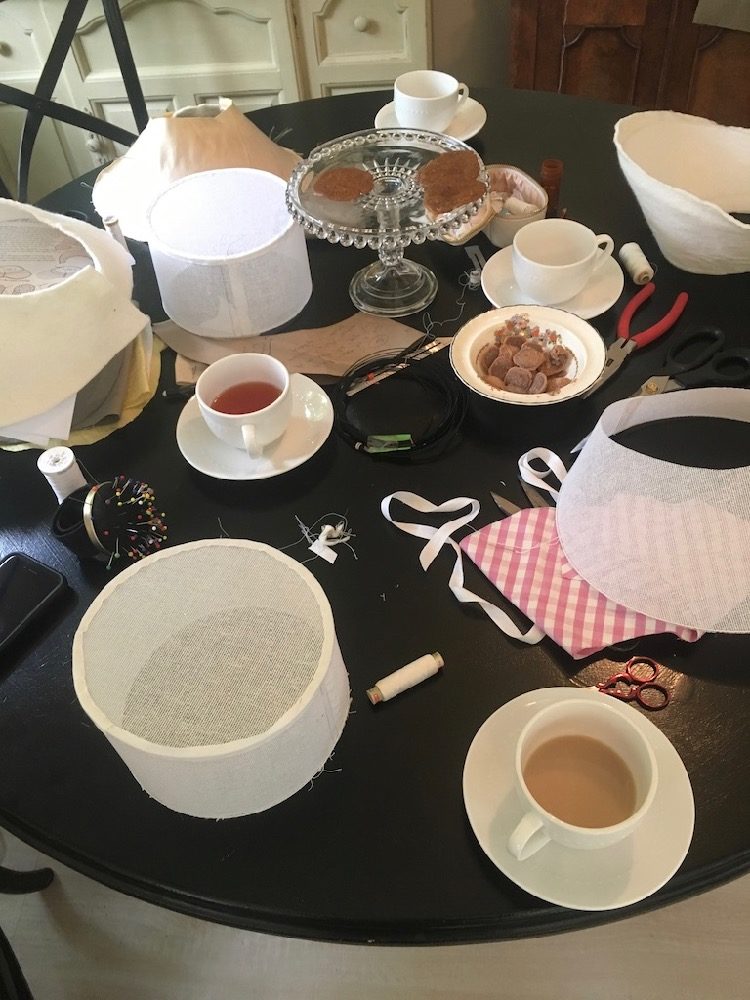
We all went searching for fabric and inspiration. I decided I wanted a bonnet to wear with my 1813 Kashmiri dress, now that I have enough more of the fabric to make day sleeves and a spencer to wear over it.
And I could wear the bonnet when I wear the spencer (which doesn’t yet exist), over a plain white dress (which also doesn’t exist. I’m doing so well here…)

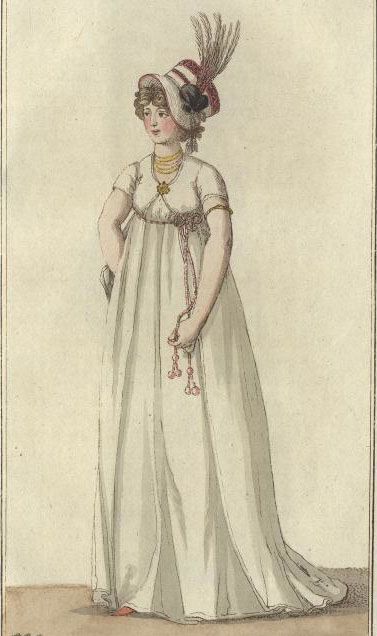
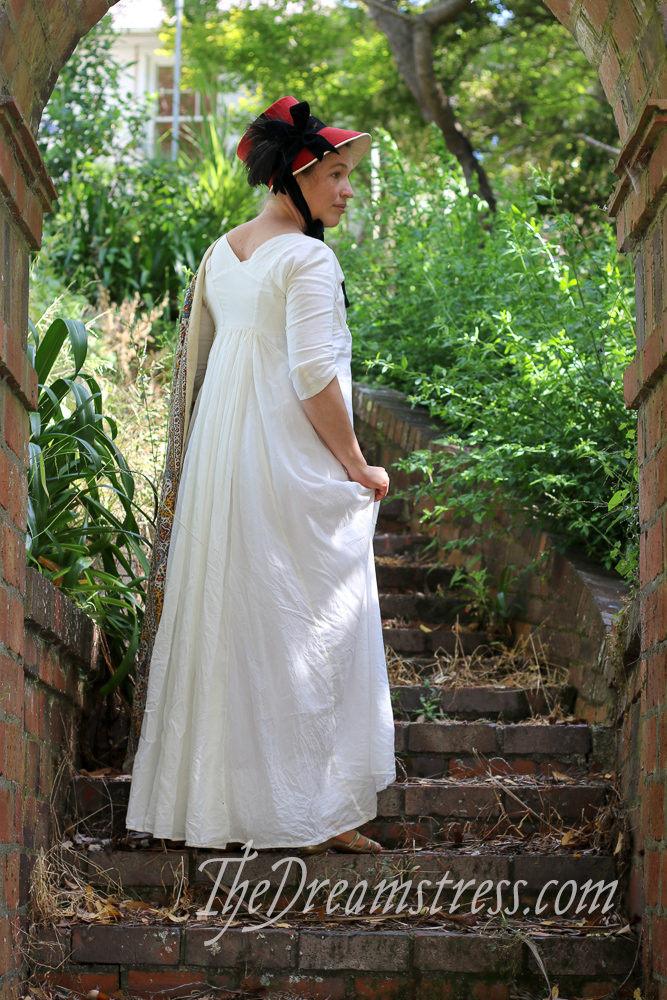
I realised that if I made a bonnet with a shorter crown than that given in McMasters pattern, and a slight adjustment to the brim angle, I could wear the bonnet for 1790s as well, if I wasn’t being too specific about total accuracy. Most 1790s hat brims seem to angle off and end at the sides, rather than going all the way around the back of the brims, but there are a few plates, like this one, which appear to show a brim that extends around the back:
I settled on a dark brick red velvet to cover my bonnet, and black trimmings with a grey feather.
The Pattern:
The ‘Regency Bonnet Pattern’ was one of Lynn McMasters earlier patterns, dating back to 2013.
It’s obvious from the pattern how much McMasters knows her craft as a milliner, but the pattern itself is a little disorganised, and lacks clarity in places.
Some of the instructions are extraordinarily detailed. Other places are extremely brief – attaching the brim to the crown is covered by “sew the brim to the crown” (what stitch? Both pieces are fully finished, how do you do it without leaving marks on the outside? What happens to the tabs – how do you affix them to the interior?). Other spots are so wordy and convoluted that the four of us making hats (all with extensive sewing experience) each came to a different conclusion as to what we were meant to do.
Many steps in the pattern give you multiple options of what to do: it’s nice to know there are many ways to achieve a reasonable end, but does make the pattern quite difficult to read.
But…despite a few rough spots, we all made successful hats (albeit by slightly different routes, depending on how we read the instructions)
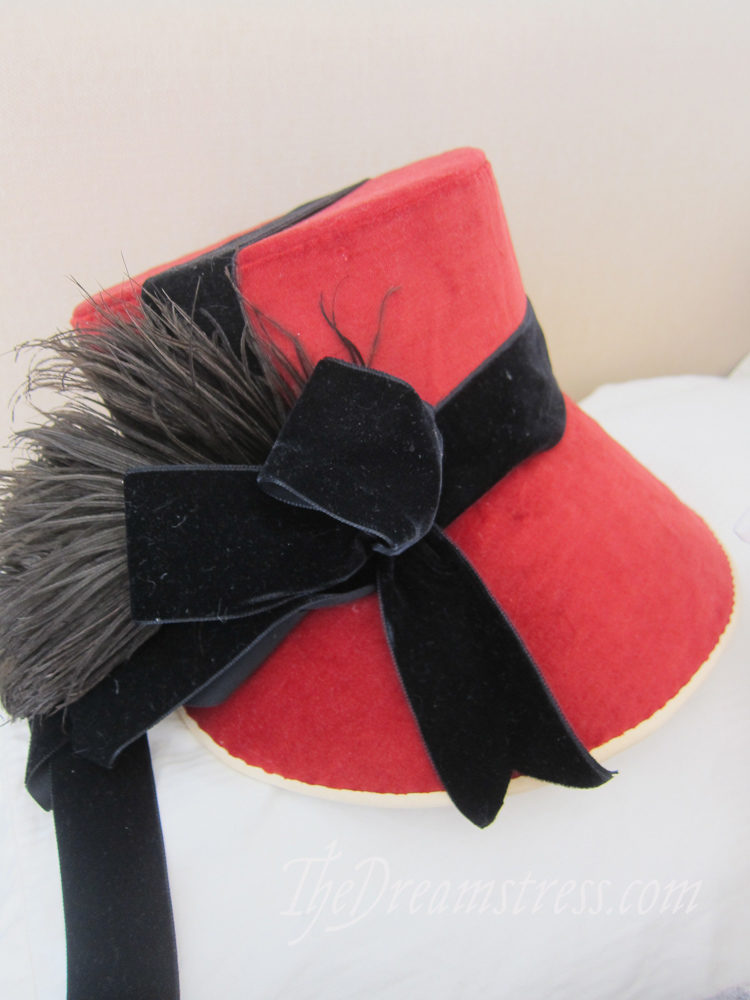
I went off pattern in a number of spots, most notably cutting all my fabric on the straight grain rather than the bias because I didn’t have enough fabric, and that didn’t cause any problems.
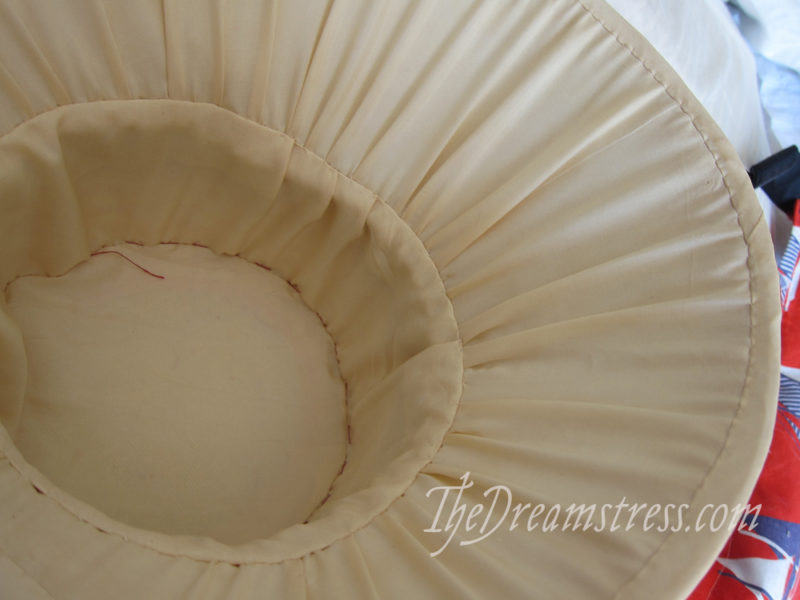
There are a few spots that are a bit wibbly, especially on the inside, but hey, no one looks like the inside.
To celebrate our finished bonnets, we had a picnic and wore our regency dresses and the bonnets. It was too hot for spencers (I always seem to schedule picnics on wildly windy or unseasonably hot days), and none of us has made a chemisette yet, so we aren’t exactly properly attired – but we had cherries and strawberries and salmon rouleaux and marmalade cakes and fun.
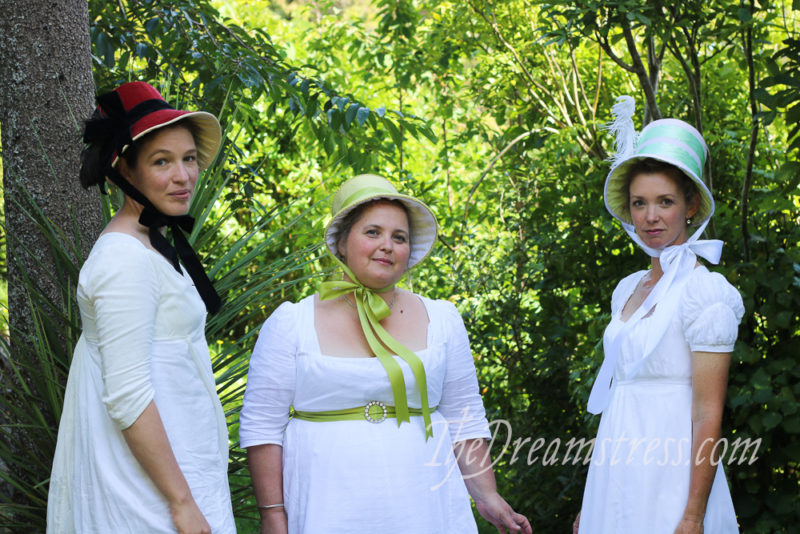
I went for a sort of 1790s look, because it matches better with no chemisttes and spencers.
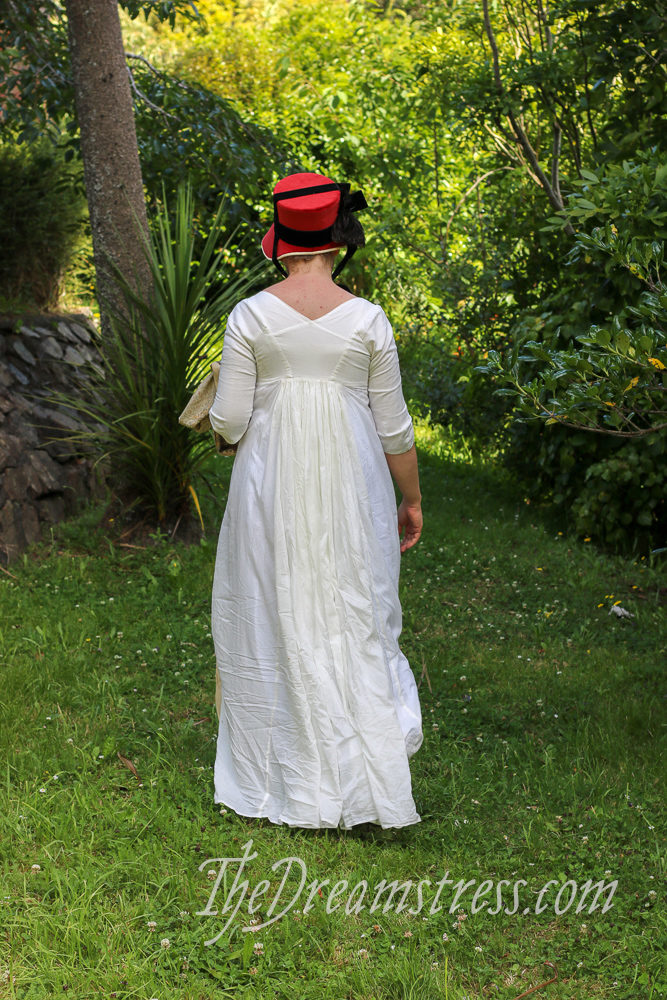
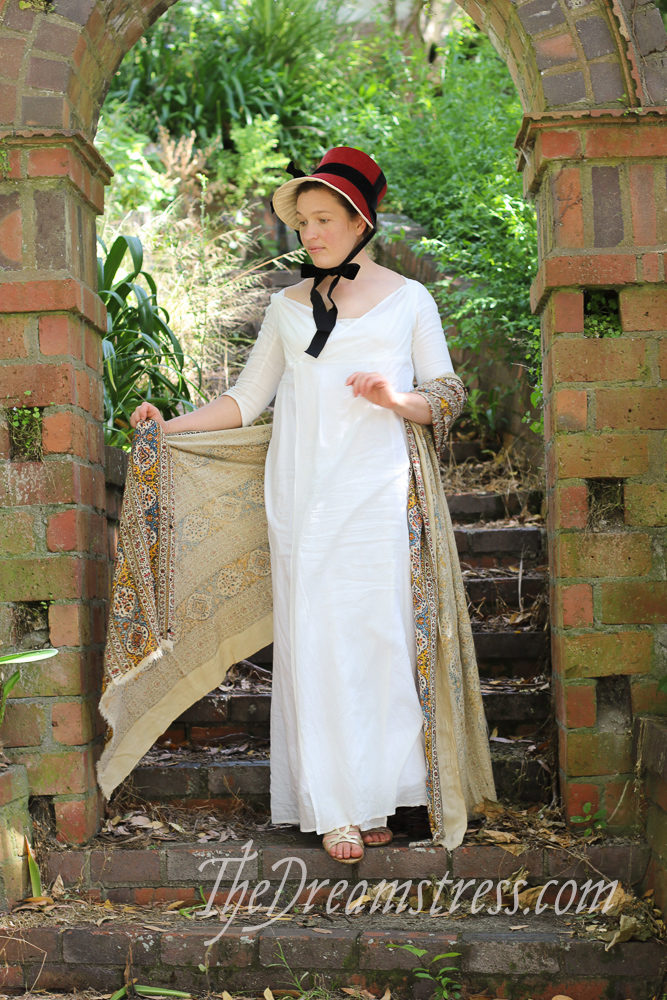
And, although it was finished a teeny-tiny bit into 2019, this completes my 12 challenges for the Historical Sew Monthly 2018:
The Challenge: #12 Neglected Challenge – re-doing #10 ‘Fabric Manipulation’, which I had a pretty lame entry for (a Regency petticoat with tucks round the hem, which I haven’t even blogged about yet…). There is a lot of amazing fabric manipulation involved in millinery: shaping the buckram, shaping the fabric around the buckram, pleating or gathering the brim lining…
Fabric: .4m of velvet ($3, thrifted), .3m of silk habotai ($2, thrifted)
Pattern: Lynn McMasters 1810s Regency Bonnet Pattern
Year: ca. 1810
Notions: 1/2m buckram ($15), 3m millinery wire ($6) thread ($1), velvet ribbon ($10), a vintage feather ($3 – part of a bulk lot).
How historically accurate is it?: I don’t know a huge amount about Regency millinery techniques, but I did use the machine for one step, and some modern glue (glues may have been used historically, but they would have been much harder to work with). Plus synthetic ribbon, and a questionable hem binding technique…. Maybe 40%
Hours to complete: 18ish. Hat’s take a long time!
First worn: To a picnic, 5 January
Total cost: NZ$40 or thereabouts. Whew. Hatmaking isn’t cheap!
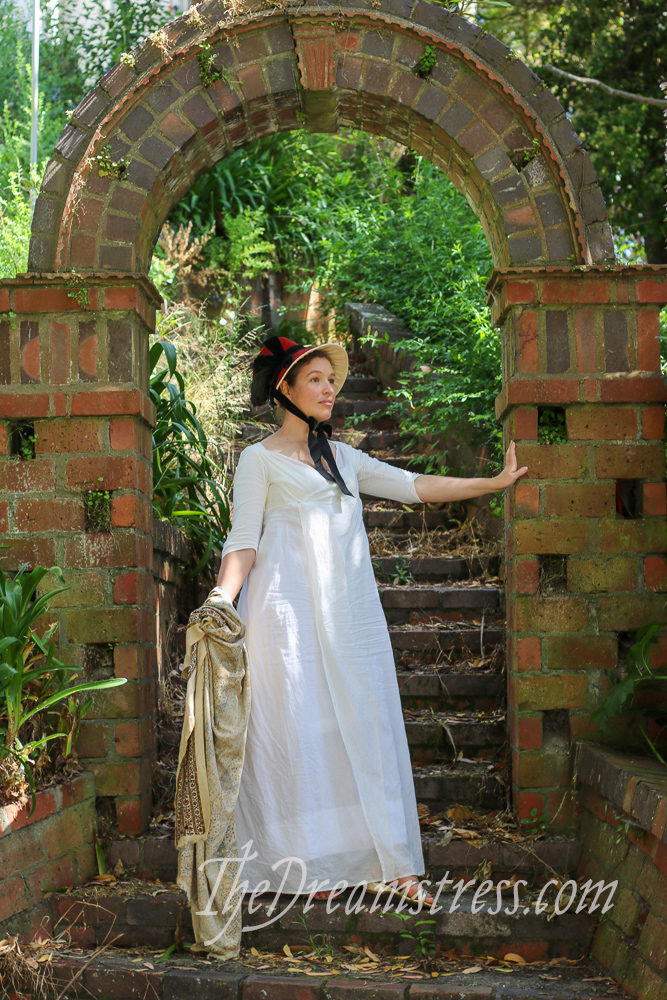

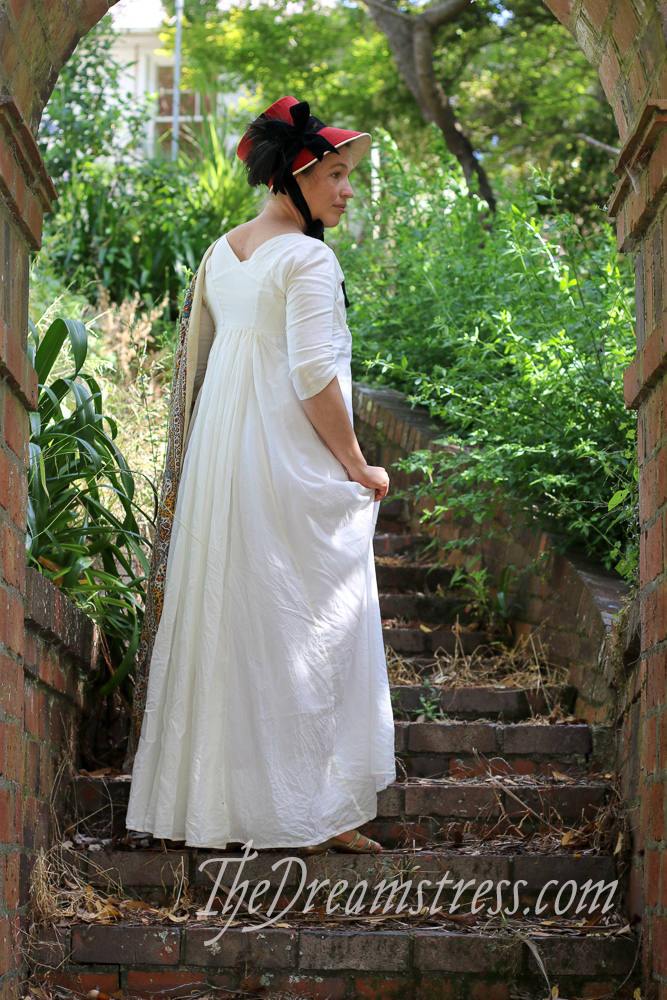
Making bonnets is so much fun! Velvet and ribbon and feathers…what’s not to love?
Oh reading this makes me want to make a velvet bonnet! So glad I’m not the only one who hasn’t made a chemisette yet – I have plans and fabric for one, but it hasn’t progressed any farther than that in the past 3 years.
Your bonnet looks great!
This is such a fun idea! (And yes, fun more than makes up for lack of total authenticity. In fact, fun makes most everything even better than it would ever be without it) Thanks for letting us peek into the creative process and the group results.
I love your bonnet, but it needs a stronger foil than a white dress. I expect it will go well with your Kashmiri gown.
I had the same thought, too be honest: The hat is too heavy for a white gown. What I loved, though, was the hat by itself, and it was really fun to see the creativity behind it.
Now that’s a delicious bonnet, rich like ultra-heavy cream, though it’s red. Such nice proportions, too: it fits well.
Might you tell us about the garden you visited? I think we’ve seen it before, but the arch and the wildish, Romantic-era-reminiscent stairway beyond are so beckoning.
Very best,
Natalie in KY
I tried making a 1890’ish bonnet for a production of a Christmas Carol and have to admit that I gave up. I was trying to work from pictures and didn’t have a pattern. Yep, I know that I set myself up, but was in a hurry and thought that I could do. I am so impressed with the results of your endeavours. Millinery is not easy!
Charming bonnet! Millinery seems as if it would be so much fun (I’ve only done a bit of re-trimming).
I must ask – have you re-done The Gown, and do you find it more pleasing now?