In making my Frou Frou Francaise, I knew I wanted extremely lush, frilly, lace engageantes. It matches the overall aesthetic of the dress, and is by far the most common type of engageantes represented in artworks featuring francaise in the 1750s & 60s.
Engageantes in Art
There are exquisite lace examples like this:
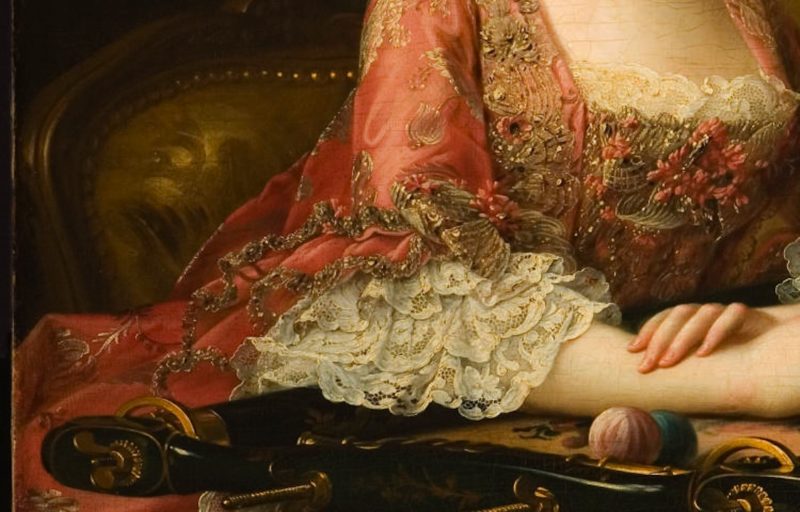
And embroidered net examples like this:

And generally just lots of lush froth like this:
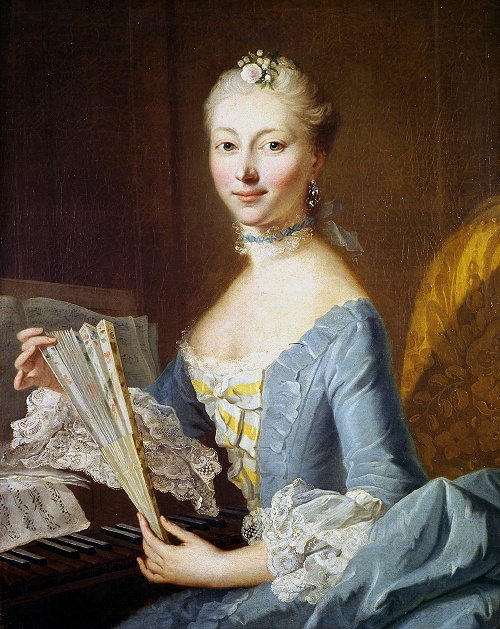
And this:

And this:

And this:

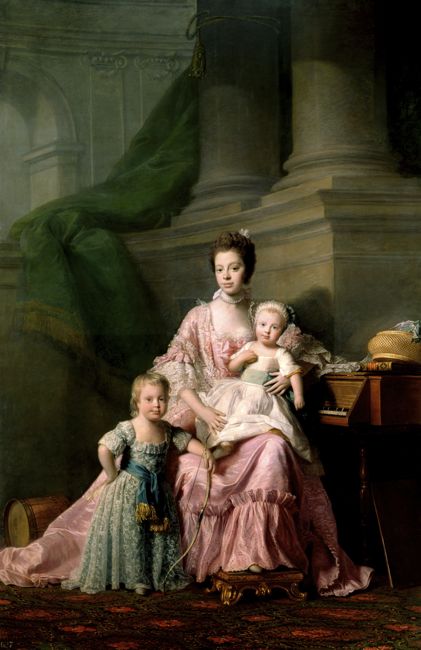
And, of course, most of all, the glorious example of lace engageantes shown in the portrait of Queen Charlotte that was one of my original inspiration images for my francaise:

Finding suitable lace:
The first thing I was going to need to make really gorgeous, lush engageantes was gorgeous, lush lace.
Perfectly in time for my search for the ideal lace, silkworld.com.au began selling fabric retail, not just wholesale, and they offered me some lace to make something out of to help advertise their new retail line.
I was phenomenally excited by the offer and delighted to help, because SilkWorld is the only place in the Antipodes that sells silk tulle (aka, the holy grail of historical costuming) and its equally covetable cousin, cotton tulle, on a regular basis.
(I’m just popular enough to get a fair amount of offers of free products in exchange for blog and instagram posts, but I turn most of them down, because I’m not going to tell you about something unless I’m pretty excited about it.)
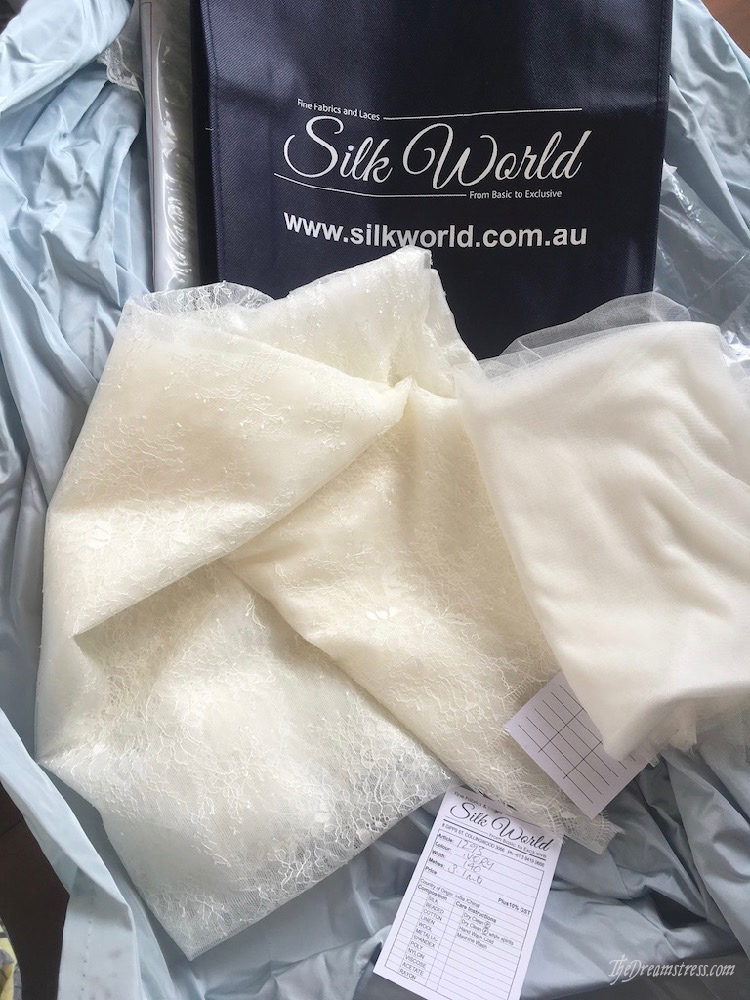
Knowing I was making engageantes, I chose this gorgeous lace in ivory.
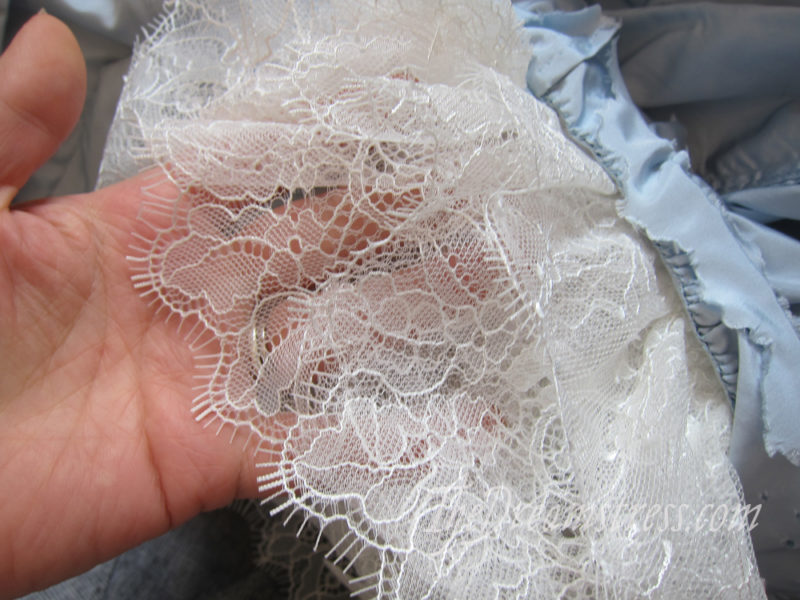
It is nylon, but not at all scratchy and stiff, and the motifs and overall amount of motif and open space was the best match to my inspiration images.
The lace arrived, and it did not disappoint (neither did the silk tulle I also got, which is like unicorn dreams and angel kisses and was clearly woven by fairies – I can’t wait to use it)
So, now that I had wonderful lace to work with, how was I going to get a lace fabric with a straight scalloped edge to work as engageantes, which usually have curved edges?
Figuring out the Pattern
Some of the examples of frilly engagenates that I showed above are clearly embroidered net with edgings of straight lace attached, and it’s possible that other examples are cotton lawn with extremely lush whitework, like this example from the Met:

Both of those construction styles allow the shaping of the engageante to be built into the construction: cut a straight edge to gather to the sleeve, and a scalloped or rounded edge to finish with whitework or a lace edging.
The lace edging method is similar to the type of engageante shown in the American Duchess 18th century book, which is what I used for my first attempt at sleeve ruffles for this francaise. Pretty, but not quite what I’m going for:
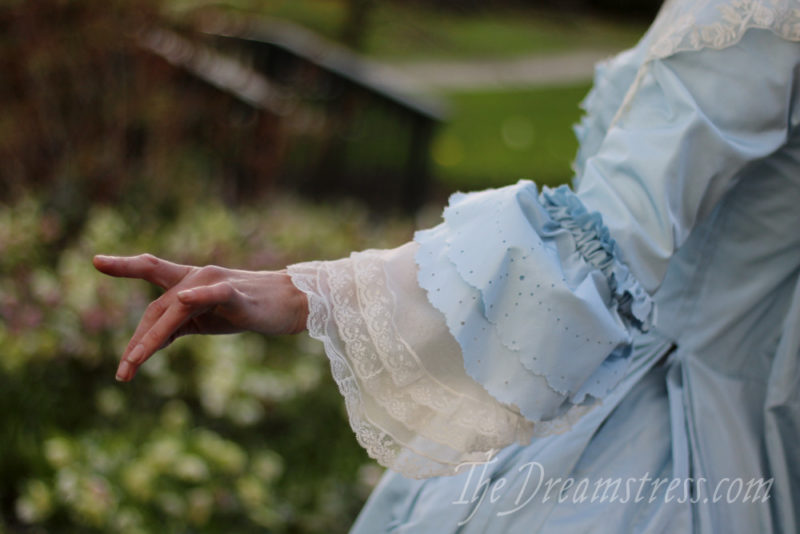
I want a fully lace engageante, which means working with lace with a straight scalloped edge – not something that can be cut to curve in along the scallops.
So, how to make that type of engageante?
In-period the lace would have made specifically for engageantes, with narrower ends, and wider centres, as surviving examples show:


But that isn’t possible with standard purchased lace, because the decorative scalloped border is along a straight edge.
To create the curve of engageantes, what I did is flip the standard engageante shape.
Here is a pattern for engageantes, from Janet Arnold’s Patterns of Fashion. The original is made in embroidered lawn:
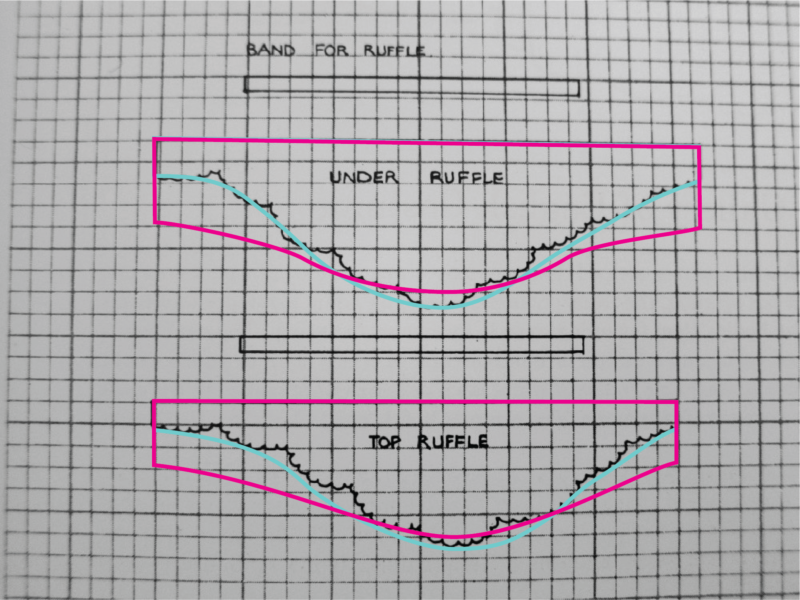
I traced off the basic shape (in blue) and then reduced the changes in height, to match what you see in extant examples, resulting in my pink pattern pieces.
I wanted a three-ruffle engageant, so I used my two pattern pieces to create a third piece, halfway between the two – I also extended the top ruffle’s circumference length by an inch, so all three ruffles were the same, as it made them much easier to work with.
This gave me a basic pattern template:

Then I flipped the template:
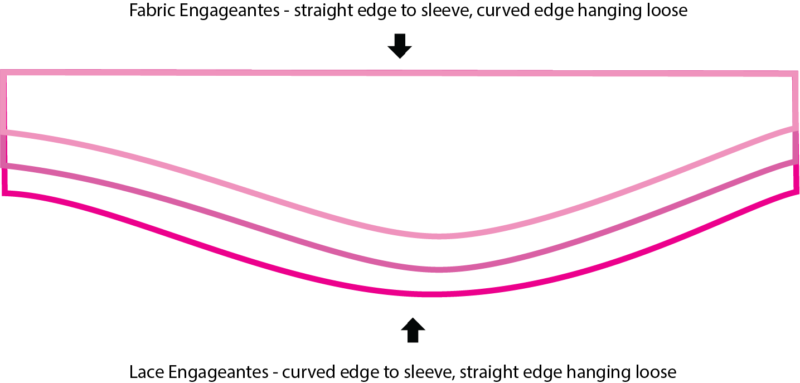
And cut my ruffles with the straight edge of my template/pattern along my scalloped lace border:
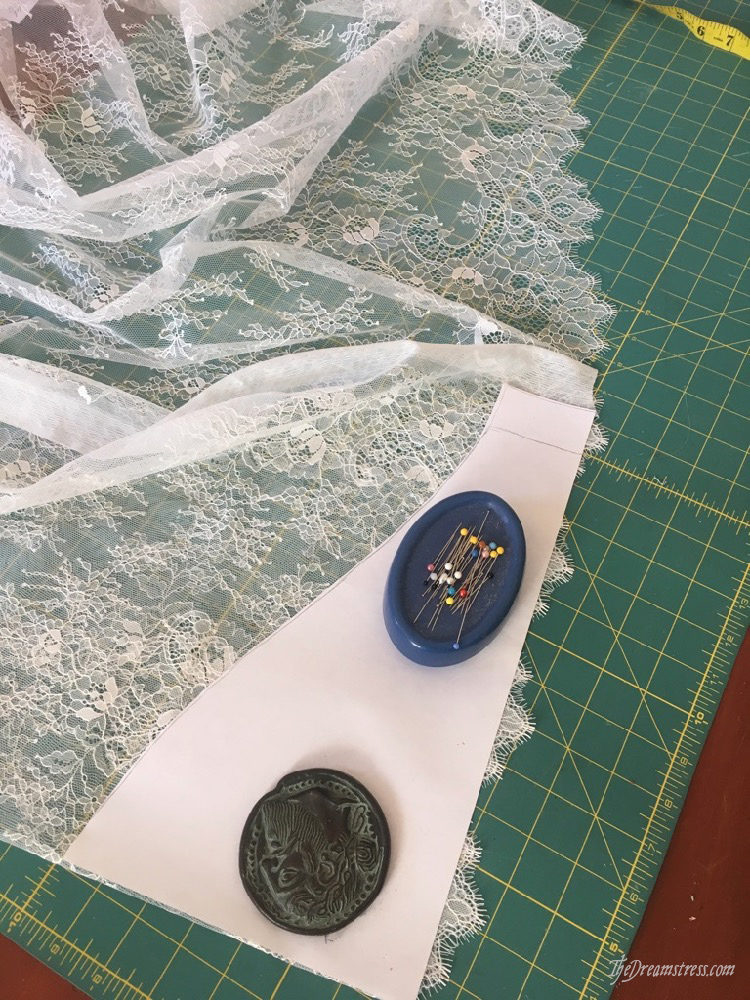
Cutting & Sewing:
I cut my bottom two ruffles with the extremely detailed, scalloped border, and my uppermost ruffle with the slightly simpler border on the other edge of the fabric – just to give a bit more dimensionality to the engageantes.
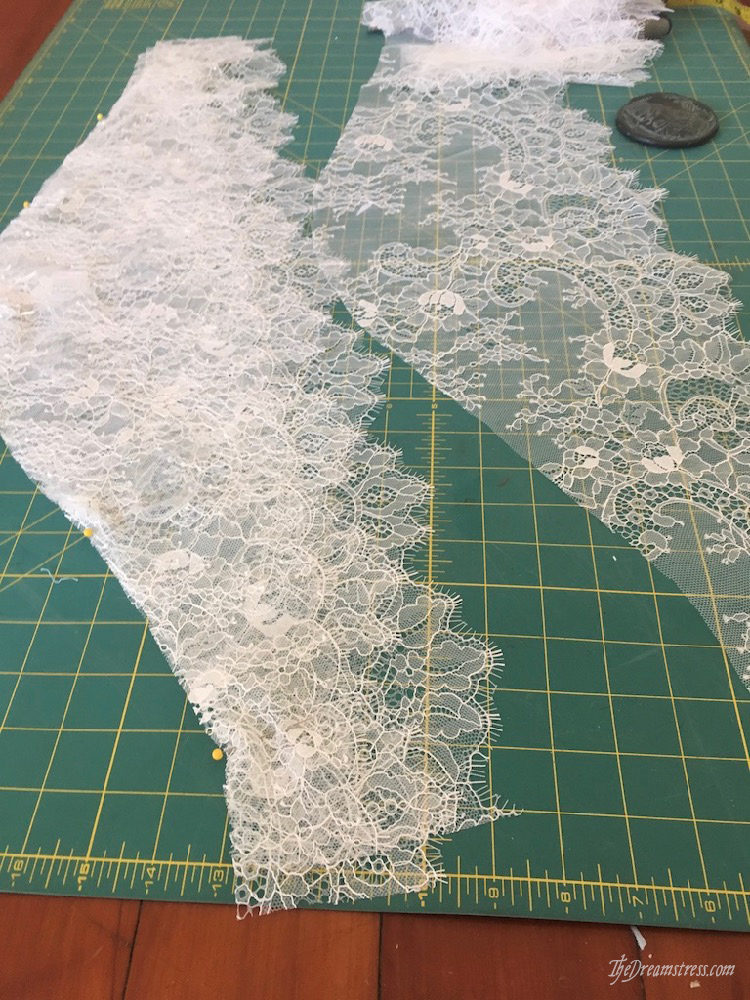
Then I stacked my three layers together:
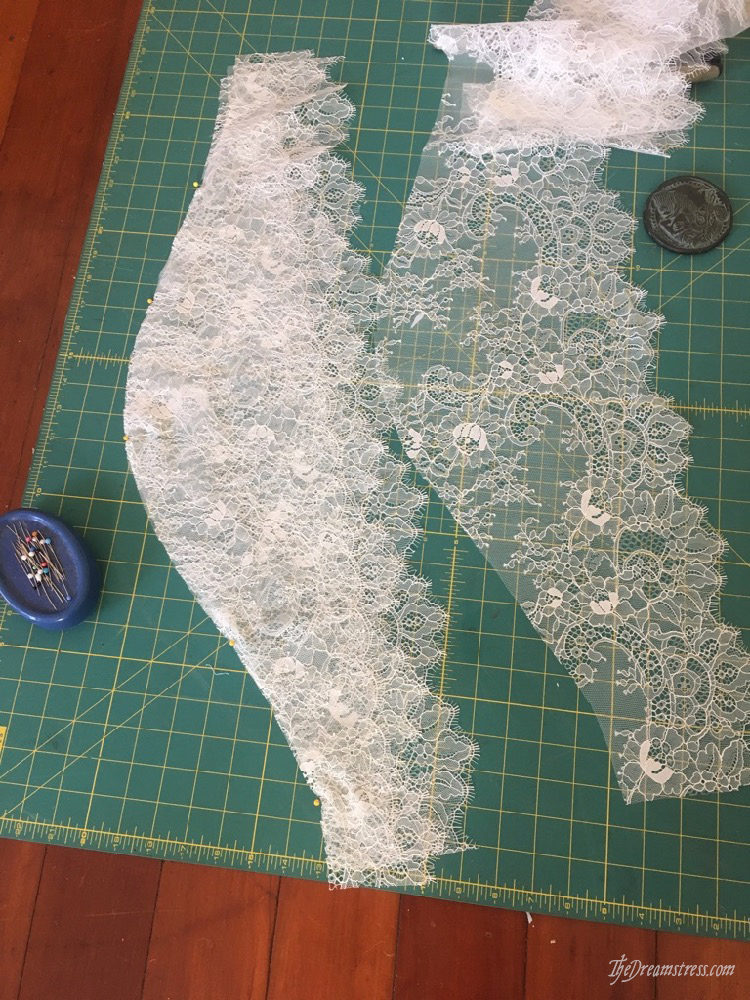
And gathered along the curved edge:
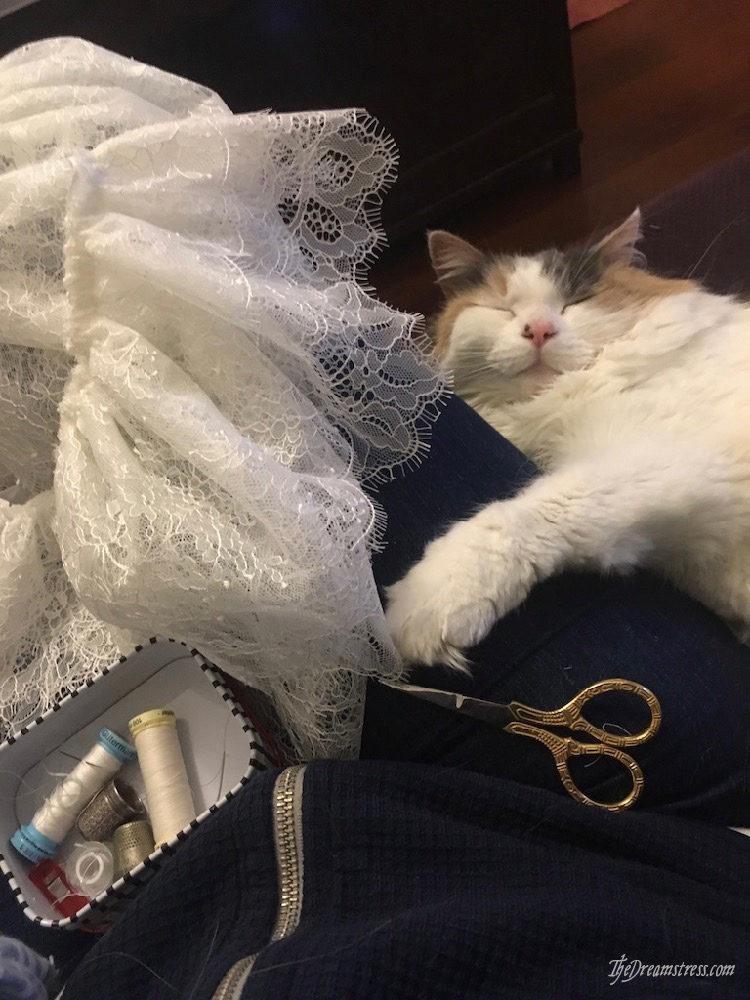
I sewed the curved edge to a tape, and basted the tape into the sleeves of my francaise, so it’s easily removable for washing, or to put on another francaise.
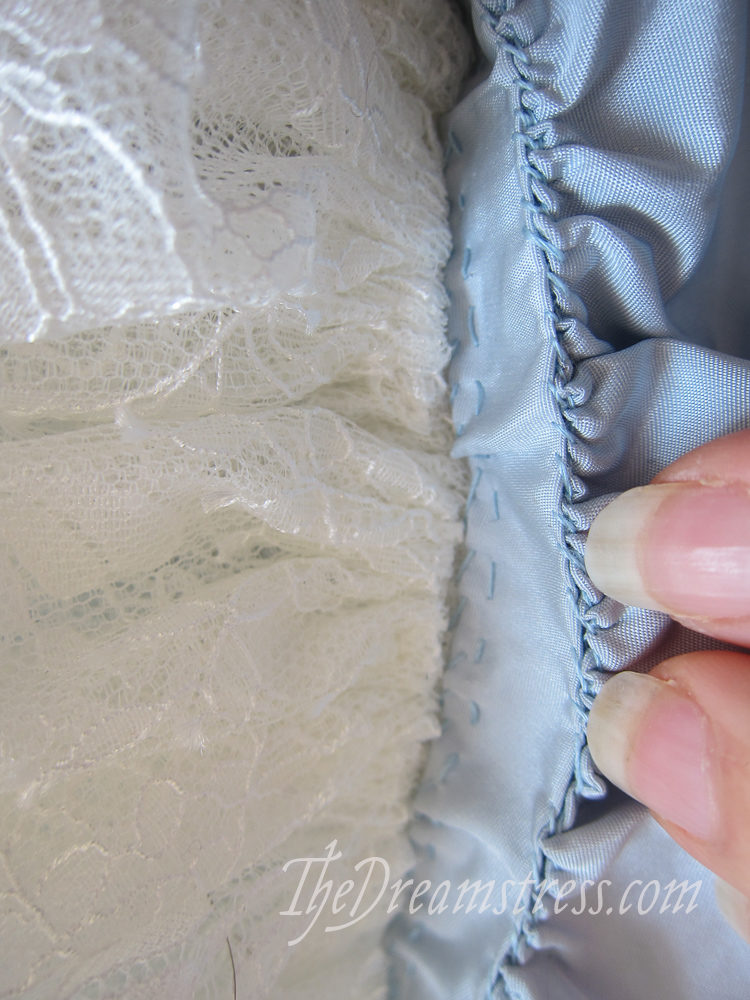
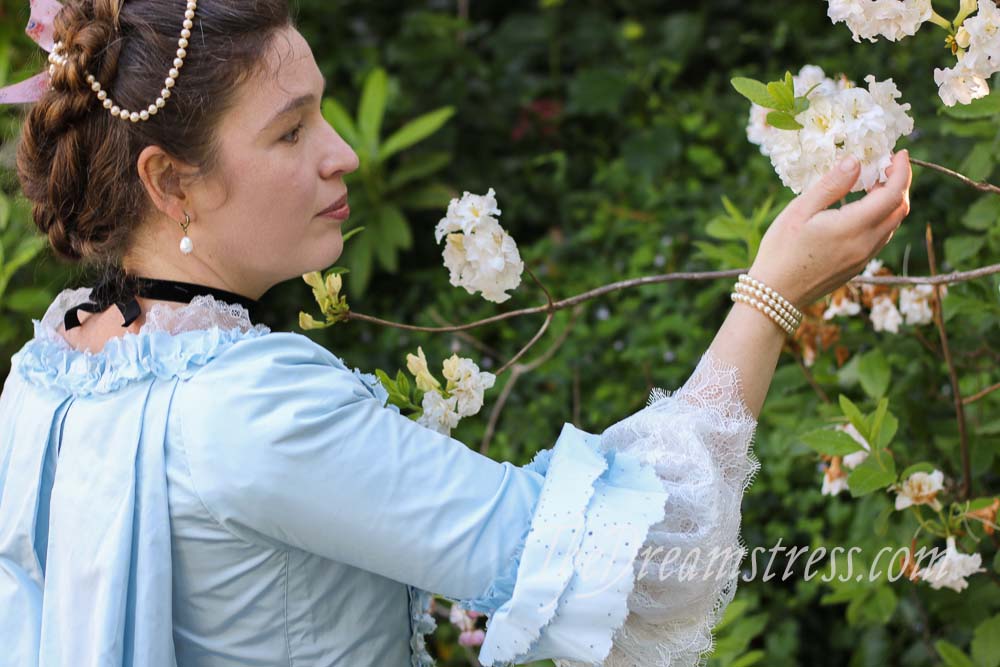
And there are my engageantes!
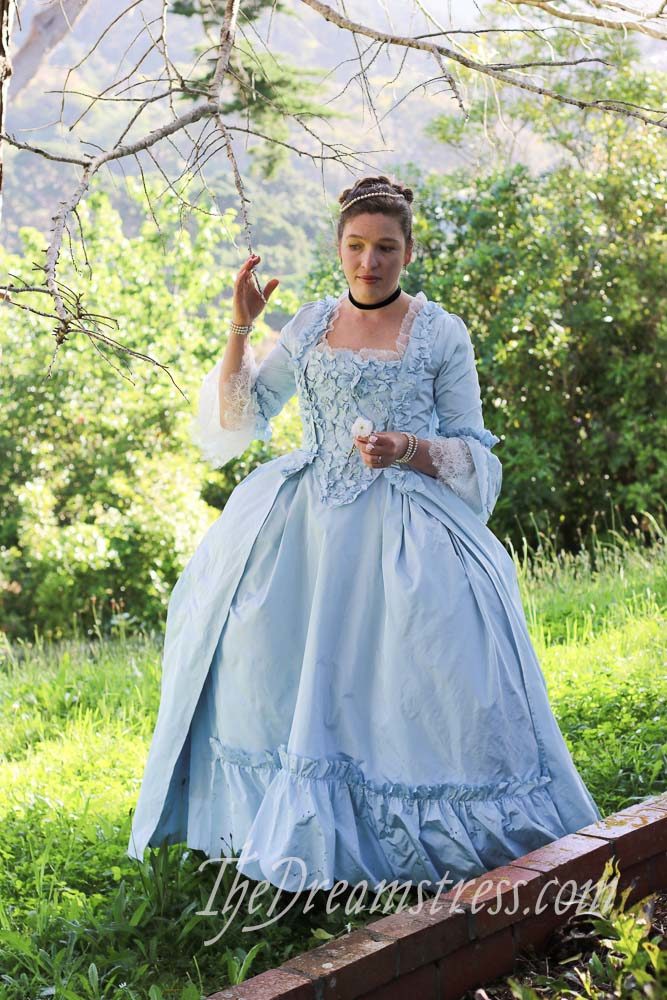
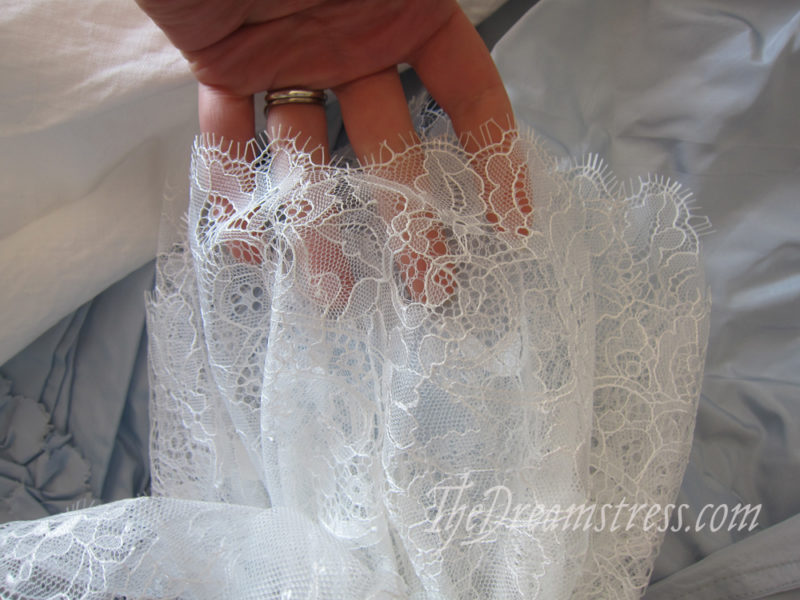
I’m really happy with what an extravagant bit of froth they give at the ends of the sleeves. I could have made them even fuller – but they are rather glorious as they are.
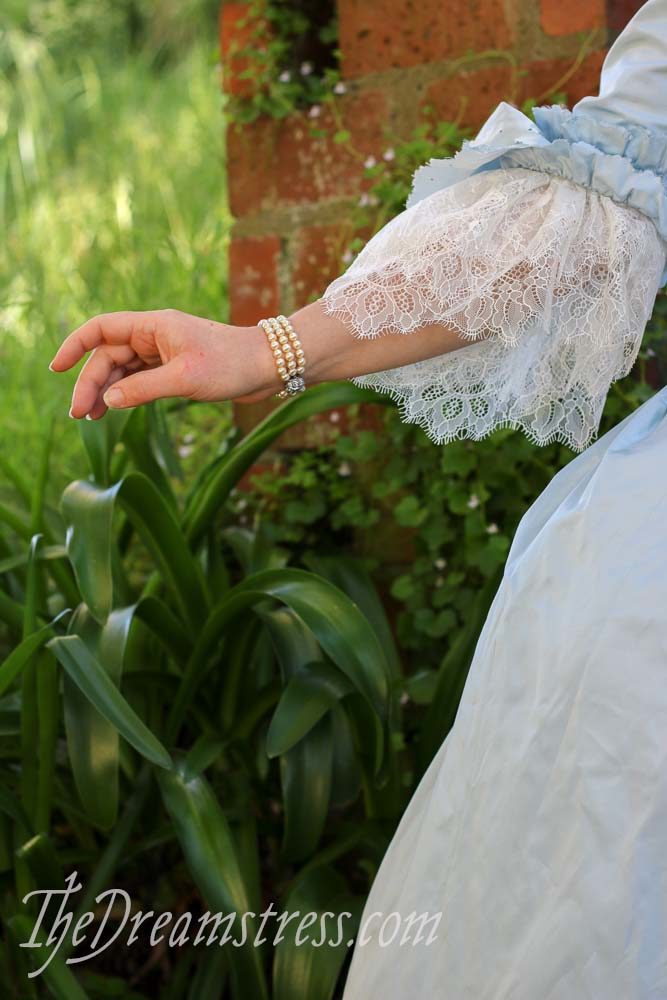
The Challenge: #12 Neglected Challenge — re-doing #9 ‘Hands & Feet’. It seems only right to include this for that challenge, as I literally re-made the engageantes I did for it!
Fabric: 1.5m lace
Pattern: my own, as above
Year: ca. 1760
Notions: thread, cotton tape
How historically accurate is it?: Nylon lace and a re-think of how to cut a pattern? Maybe 40% However, it’s as close as you’re going to get unless you are embroidering silk tulle or doing elaborate whitework on lawn.
Hours to complete: 2
First worn: for photos in early December
Total cost: Free, but only because I was given the lace (thank you silkworld.com.au!

This was exactly the kind of tutorial I needed. Many years ago I bought quite a few lengths of wide lace, but I never understood how I would be able to make them into engageantes since the lace is on a straight edge. Thank you.
Engineering is so cool. Thanks for letting us into your process and also for keeping your standards so high. Yes, it is really fun to support those who share your ideals. Also, congrats on being so popular on The Internets!
Now, what will you do with that tulle?
These are so dreamy!
Awww, thanks <3