All posts filed under: Scroop Patterns

Otari Hoodie Sew Along thedreamstress.com

The Otari Hoodie Sew Along #3: Sewing Prep

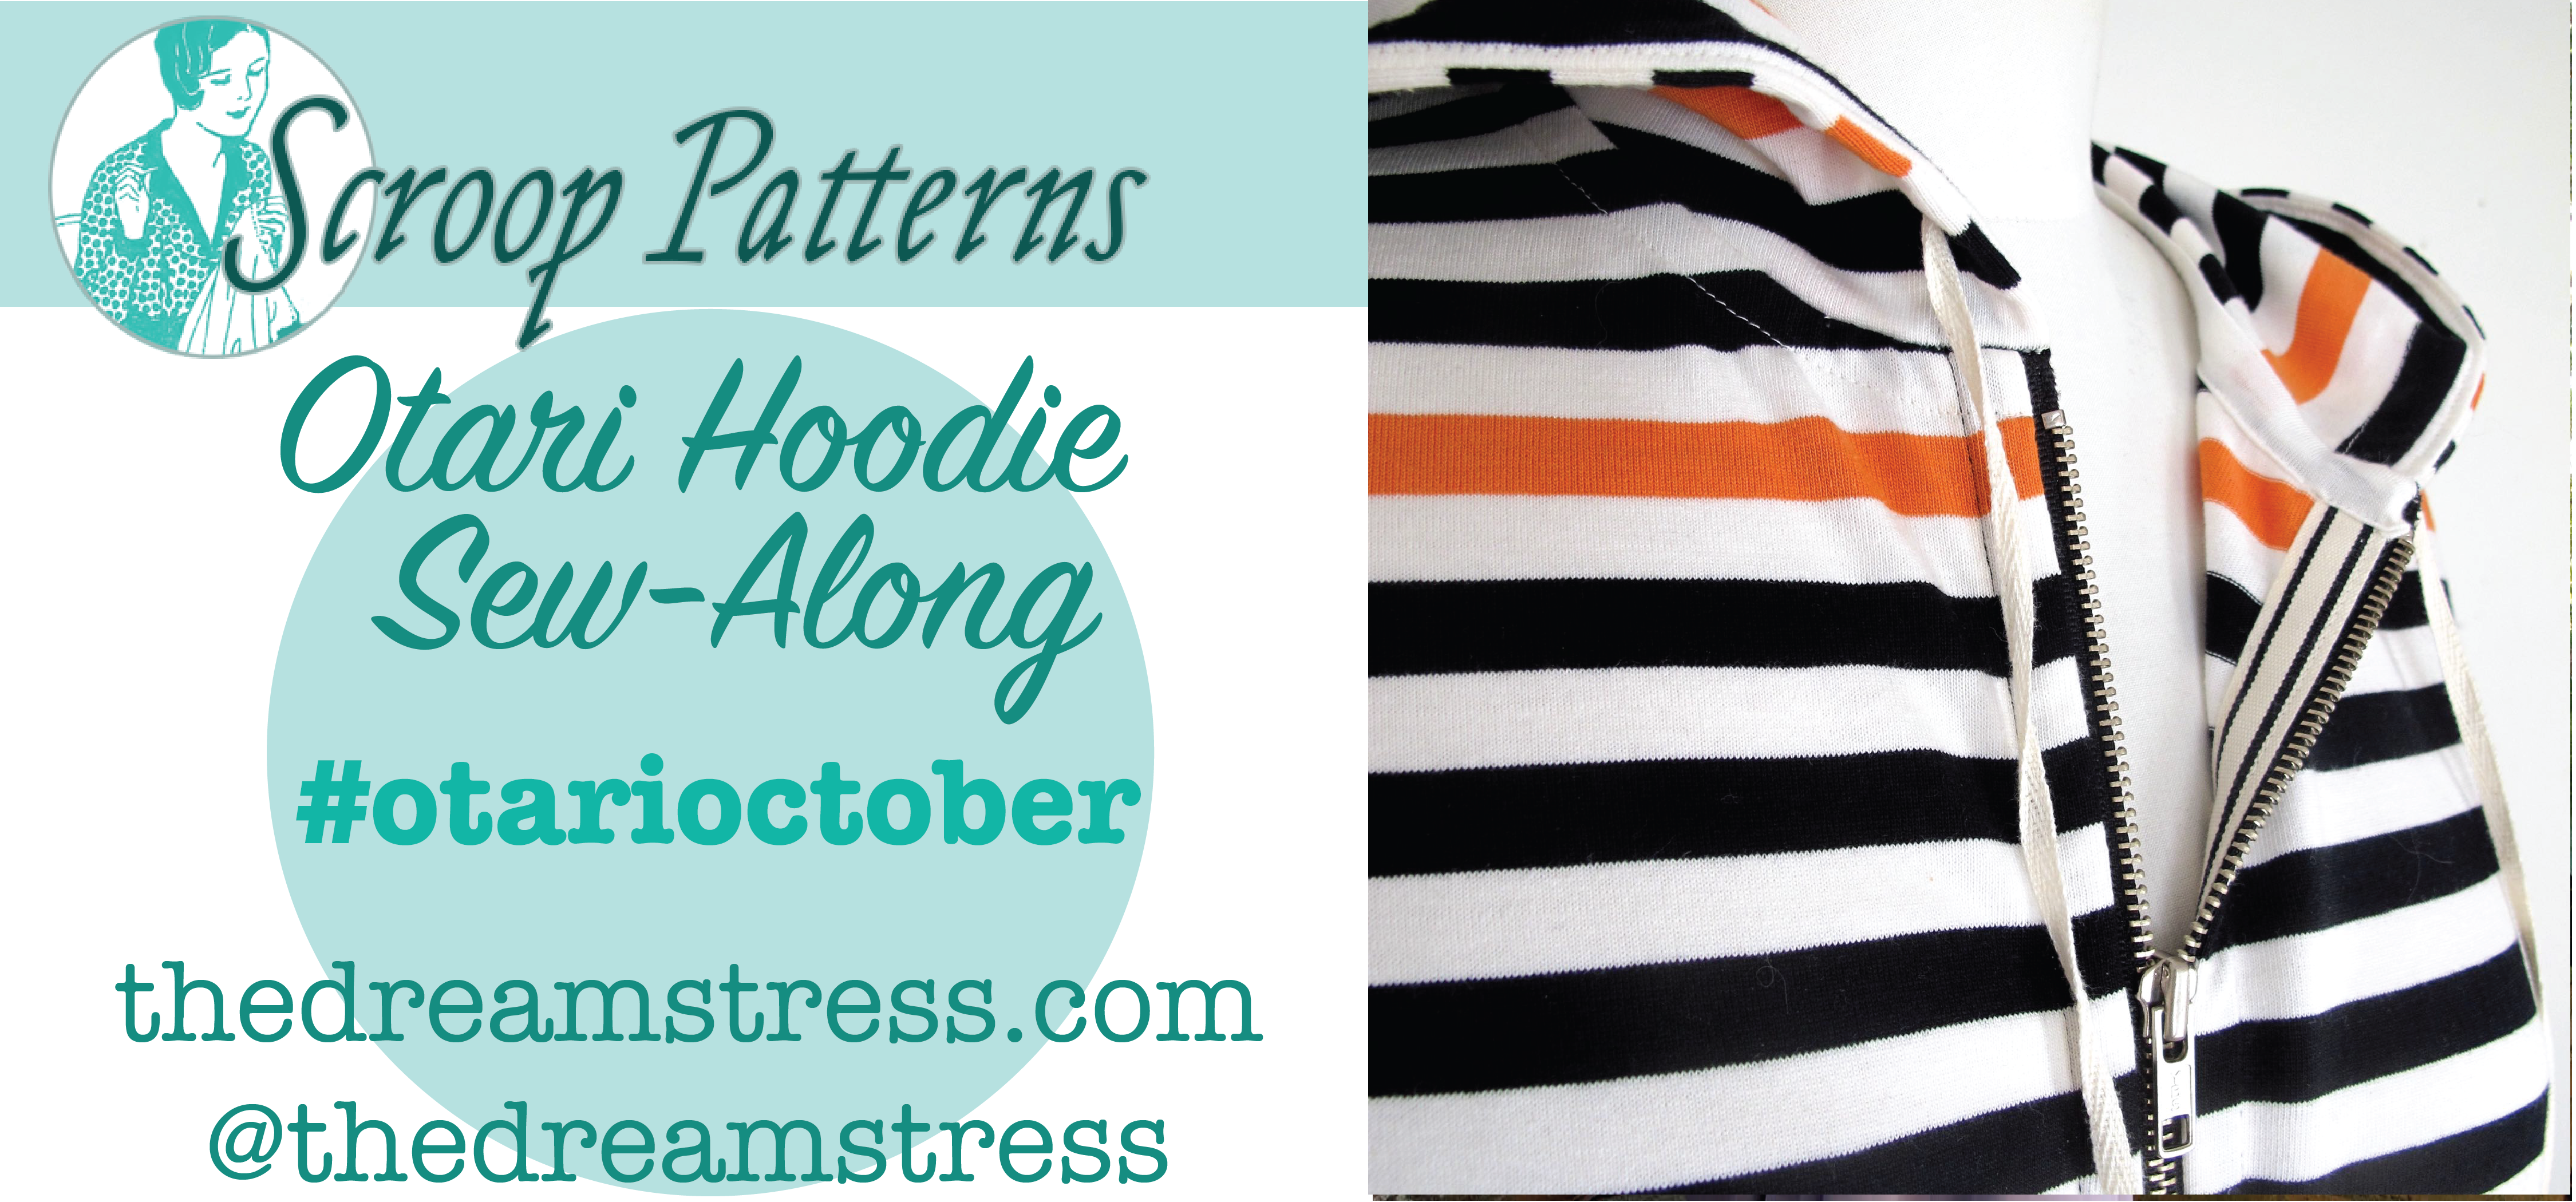
In the previous Otari Hoodie Sew Alongs I covered: #1 Choosing fabric #2 Pattern alterations to get the perfect fit, & cutting out Want to join in? Buy the Otari Hoodie Pattern Here And don’t forget that all Scroop Patterns are on sale until the end of October with the code: IPM2018   Today’s Sew Along  post is a quick and easy one: sewing prep! Interfacing: First you’ve got some interfacing to do: Interface all the areas shown on your pattern.  DO NOT interface the front of the Hoodie, where the zip will go. I prefer a lighter weight woven interfacing on a cotton base (the kind I use is sold here in NZ under the name gyclee) but knit interfacings are also a good choice. I do not recommend non-woven or knit interfacings: they don’t move with the fabric over time, so end up pulling away from your fashion fabric over time, creating unattractive bubbling. A tip: If your hood fabric is fairly lightweight, you may need multiple layers of interfacing to help reinforce …

Otari Hoodie Sew Along thedreamstress.com

The Otari Hoodie Sew Along #2: Pattern Alterations & Cutting

In the last Otari Hoodie Sew Along post I covered choosing fabric. Now that you have your fabric, it’s time to do any pattern alterations you need to get the fit you want. Buy the Otari Hoodie Pattern Here   Choosing your size First, you need to pick your general size.  I recommend choosing your size for the Otari based on your bust size, grading out or in to your hip size. I’m a 38″ bust, so I’ll be making a size 38. You also want to check the Finished Garment Measurements (the second and last columns in the image above). You can see from these that the Otari is cut with lot of ease in the bust and waist, (the finished bust measurement for a size 38″ is 44″), and a tiny bit of easy in the hips (finished measures of 43″ for 42″ hips).  This provides a garment that allows a lot of movement in the shoulders, chest and arms, and that floats over the waist, and sits fairly smoothly over the hips …

Otari Hoodie Sew Along thedreamstress.com

The Otari Hoodie Sew Along #1: Choosing fabric

As a sewing teacher I feel that choosing the right fabric can make or break a project, so it makes sense to start the Otari Hoodie Sew-Along at the very beginning: choosing fabric.   The goal with any project is to think about what characteristics you want the finished garment to have (drape, warmth, structure, weight), and then choose fabrics that when combined, will have all those characteristics.  A garment that depends on drape needs an outer and lining that are equally drapey.  A structured garment needs stiffer fabric, or the addition of interfacing or flat lining to a softer, less structured fabric.  Etc. Etc. With the Otari Hoodie, you want enough stretch in all your fabrics that the hoodie moves with you.  The main body can have a bit less stretch, but it’s important that the cuff and hem band have lots.  The cuff, pocket binding, and hem band also need good recovery, so that the shape of the hoodie stays crisp over many wears. You also want to make sure that the combination …