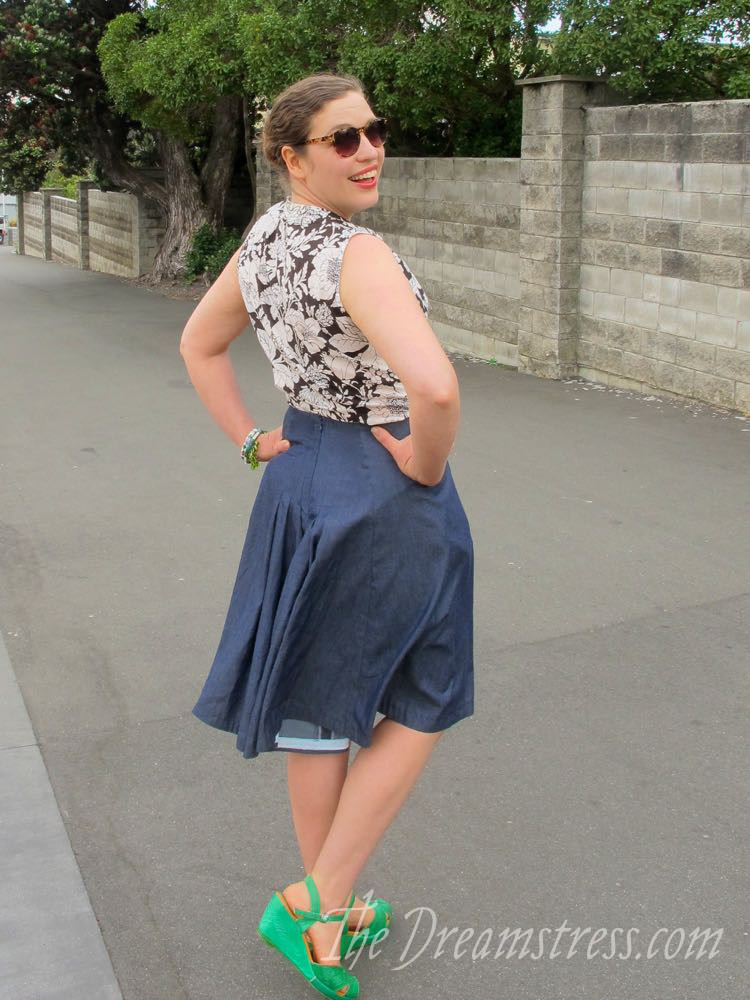
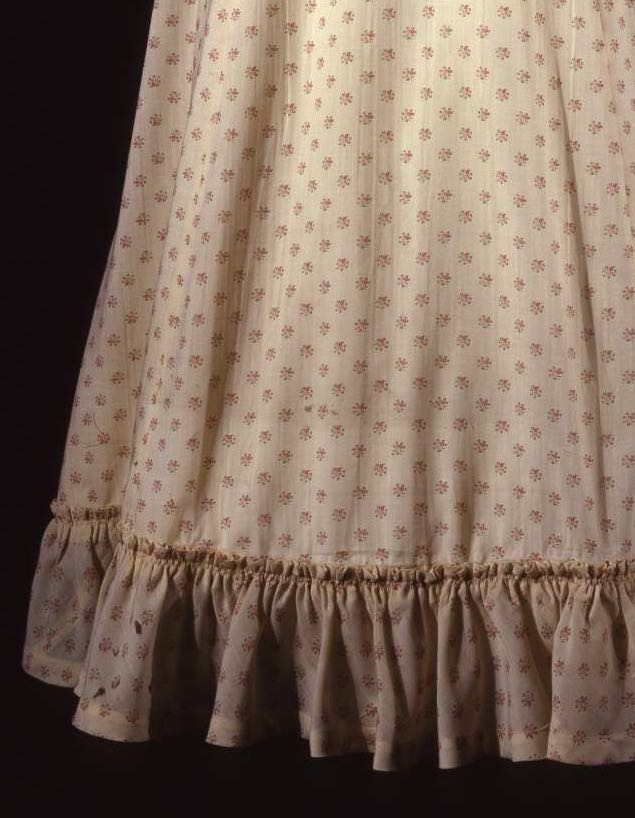
The Fantail Skirt has been an absolute cornerstone of my wardrobe all spring. It’s so perfect for transitional weather. I throw on tights and a cardigan when it’s cool, and have been wearing lighter blouses with it as it gets warmer.
I don’t always want to wear something with a really fitted waistband, so I’ve been mixing things up with my Fantails by making some with a petersham waistband, instead of the classic band waistband that is included in the pattern.
It just adds a nice twist to the skirt’s look, and what you can wear it with.
Here’s how to add your own!
You can add a petersham waistband to any version of the Modern Fantail, including ones with the added pocket hack. I’ll be demonstrating this on a version with added pockets.
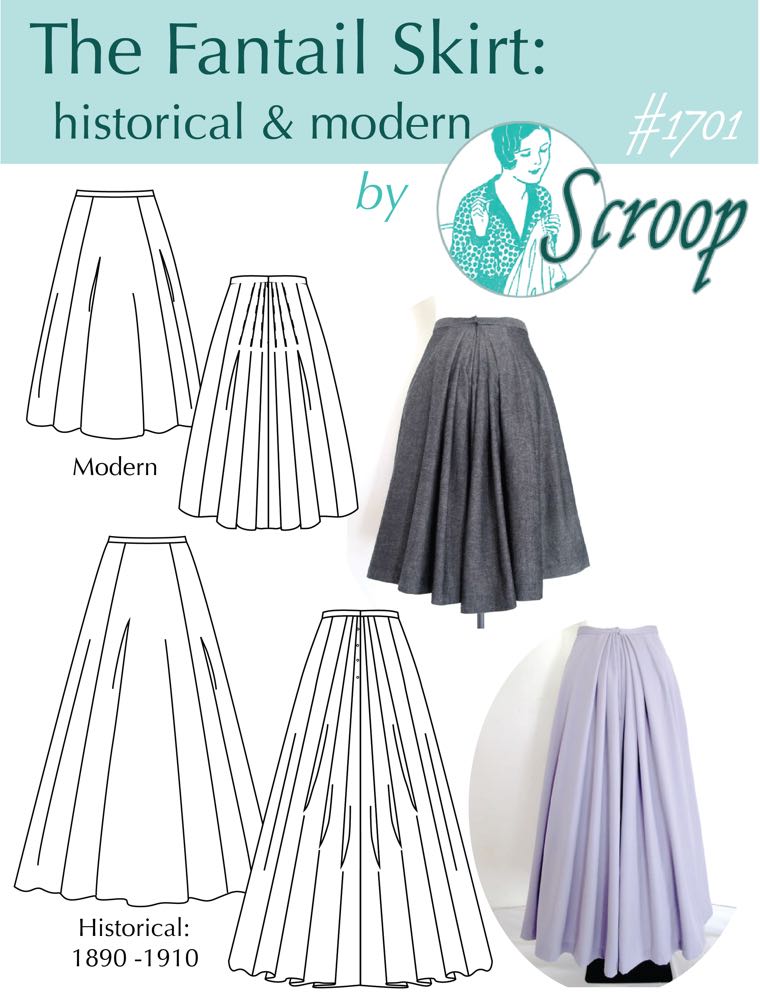
You can also add a one to a mash-up of the Historical & Modern Fantails in lighter weight fabrics: with the full length of the Historical, and the zip of the Modern, with either style of pleats.
I don’t recommend petersham waistbands for full-length Fantails in heavier fabrics, or Historical Fantails with placket fastenings.
You’ll need:
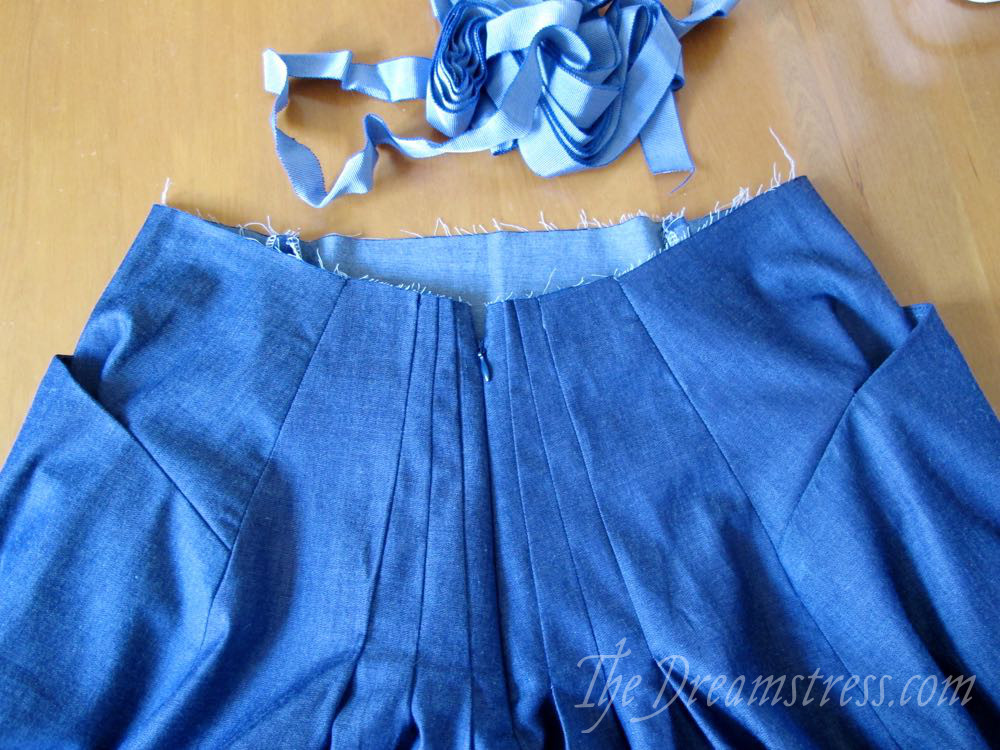
- A Scroop Fantail skirt, completed except for the waistband and hemming
- A length of 1″ / 2.5cm wide petersham the same length as the skirt waistband pattern.
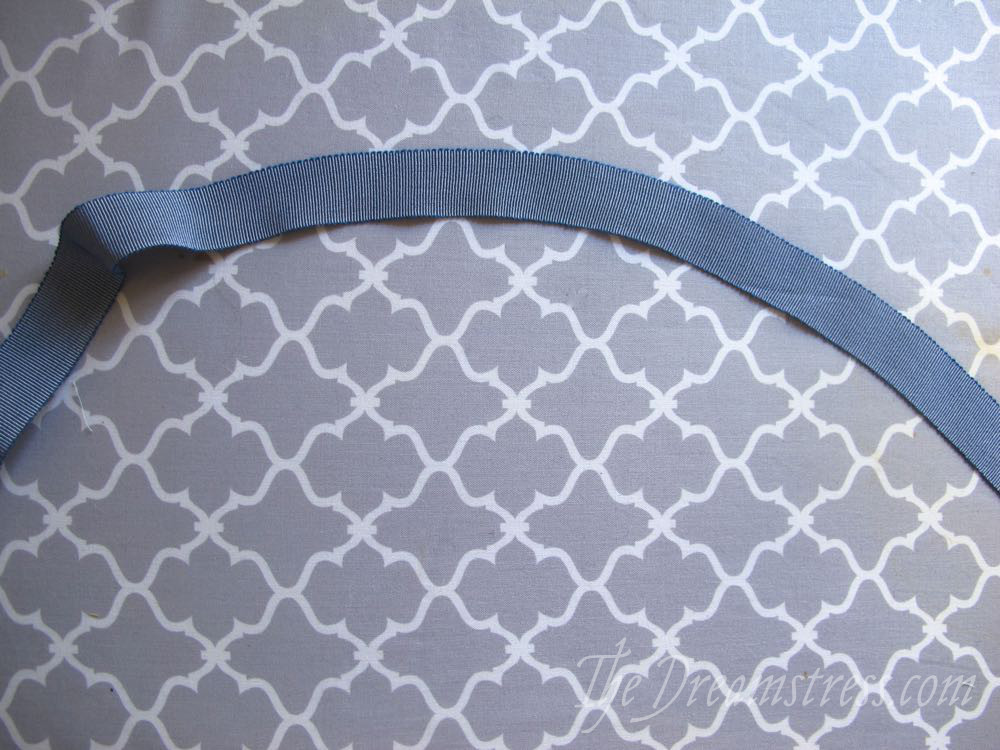
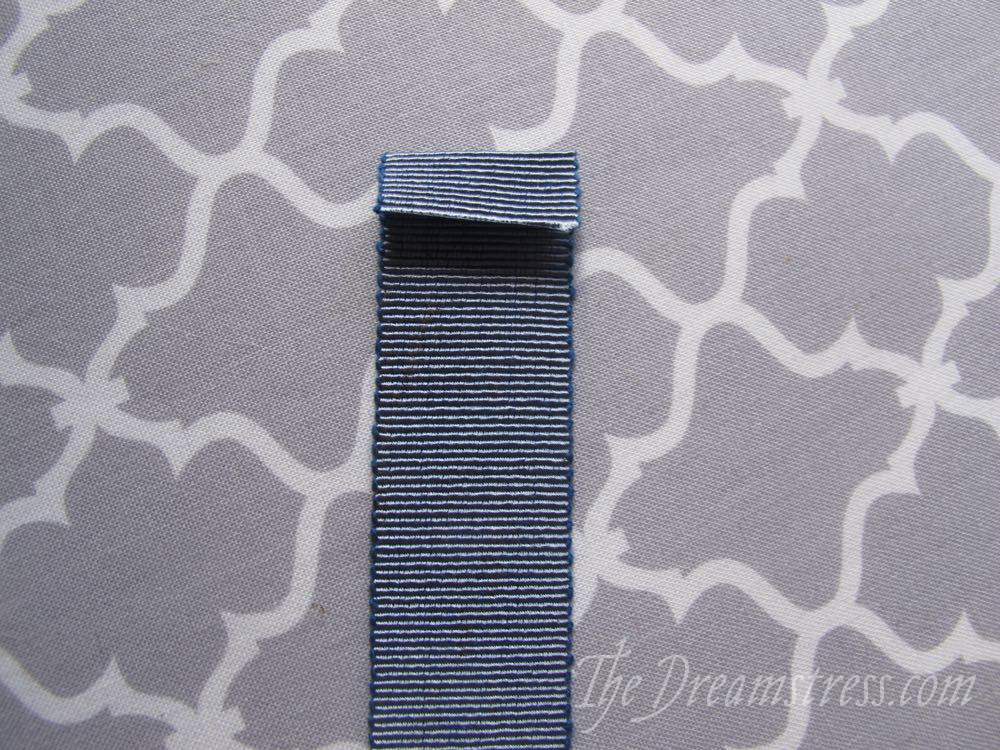
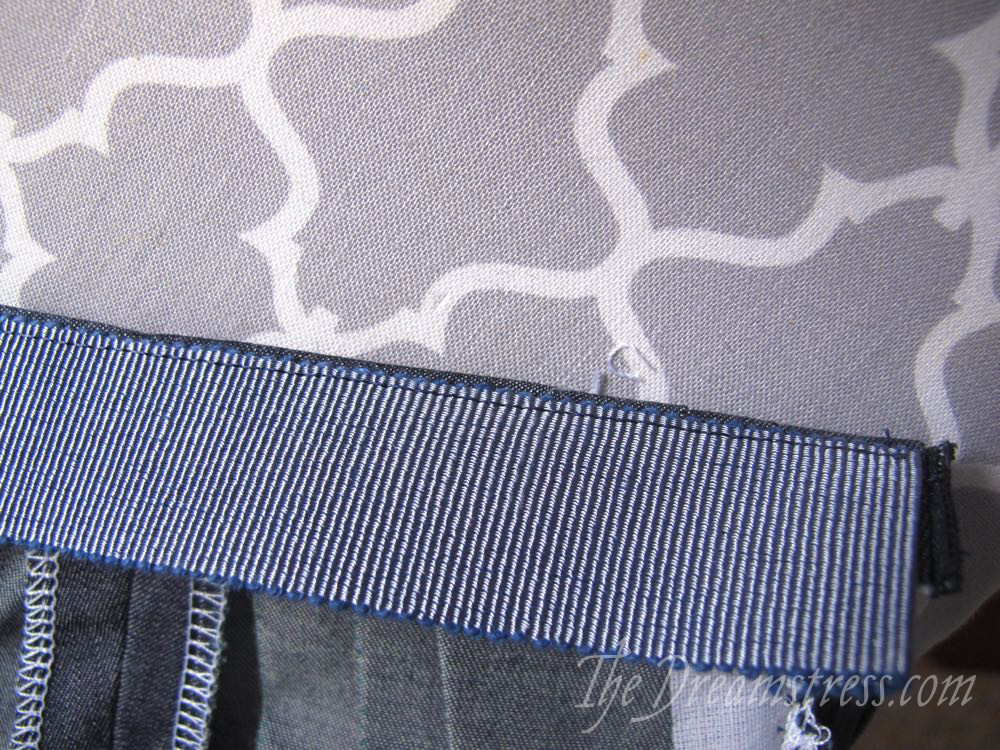
Make sure that you’re working with true petersham, with tiny scalloped edges, NOT grosgrain, which has sealed, straight edges.
See the tiny scallops:
I recommend a viscose/rayon or cotton petersham, rather than a polyester petersham. A cellulose based fibre with mould better as you work with it, and will continue to shape to your body with wear – making for a more accurate, comfortable fit.
You can add a waist stay before you sew the petersham, but I prefer this style to be a more relaxed fit.
Part 1: Shaping your petersham:
The scalloped edges of petersham allow it to be shaped with heat and steam.
Use an iron set at at the right temperature to match the fibre makeup of your petersham, and lots of steam, to shape your petersham into a curve by pulling it towards you as your press.
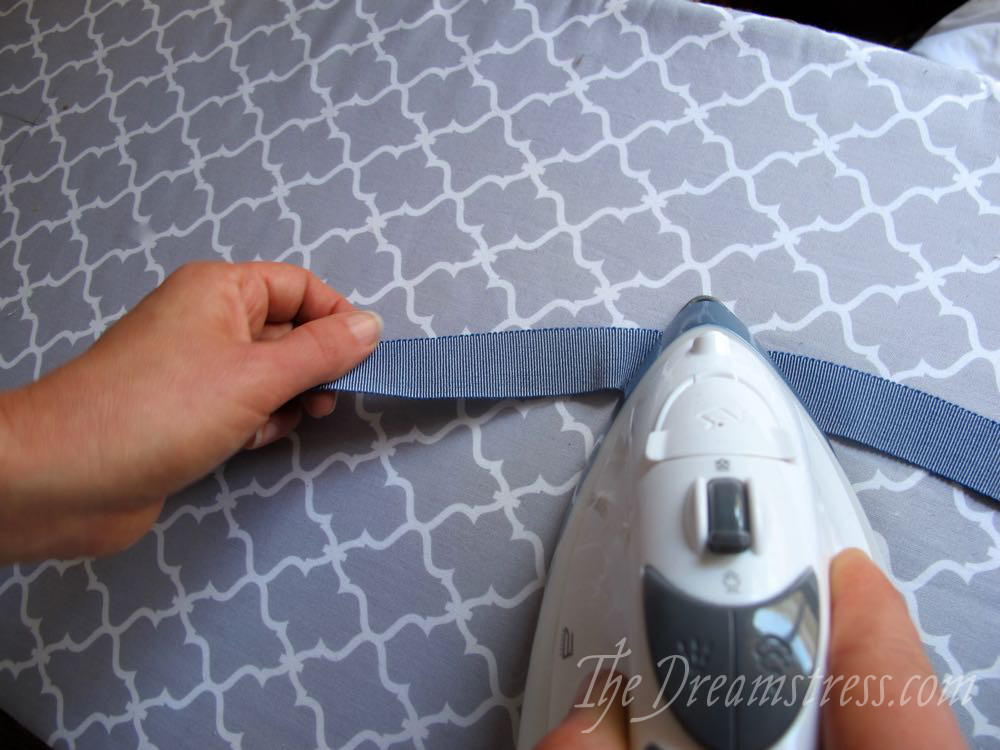 Your shaped petersham should look like this:
With the petersham curved like so: ( press down the top end 5/8″ / 1.5cm as shown.
Part 2: Sewing the petersham waistband:
Sew a line of stay stitching around the top of your skirt, 4/8″ / 1.2cm from the top edge:
Optional: finish the top edge of the skirt as desired.
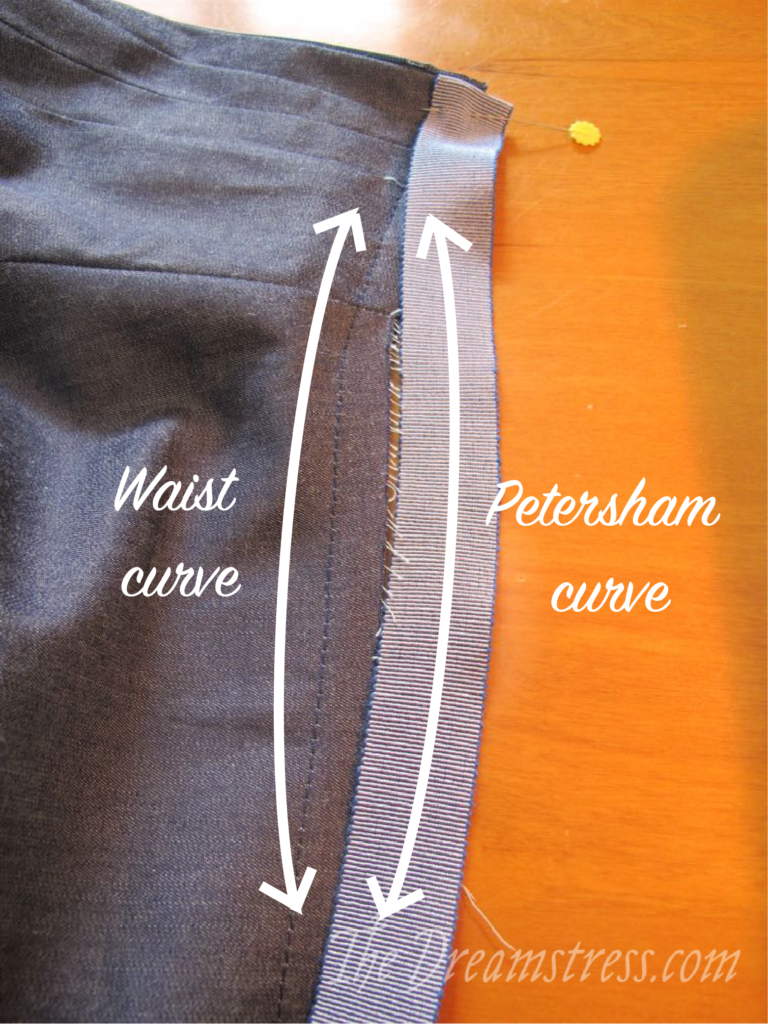
Place the petersham waistband like so:
The edge of the petersham should just cover the staystitching. The curve of the skirt and the petersham should face each other as shown.
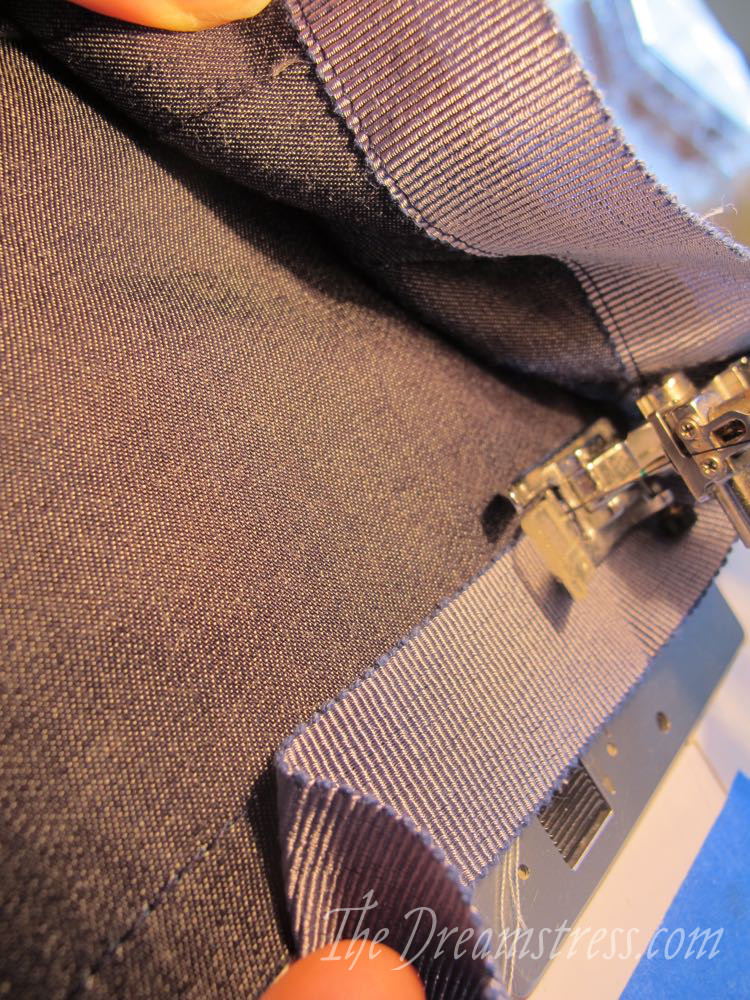
Sew, stitching as close to the edge of the petersham as you can, while still securely catching it.
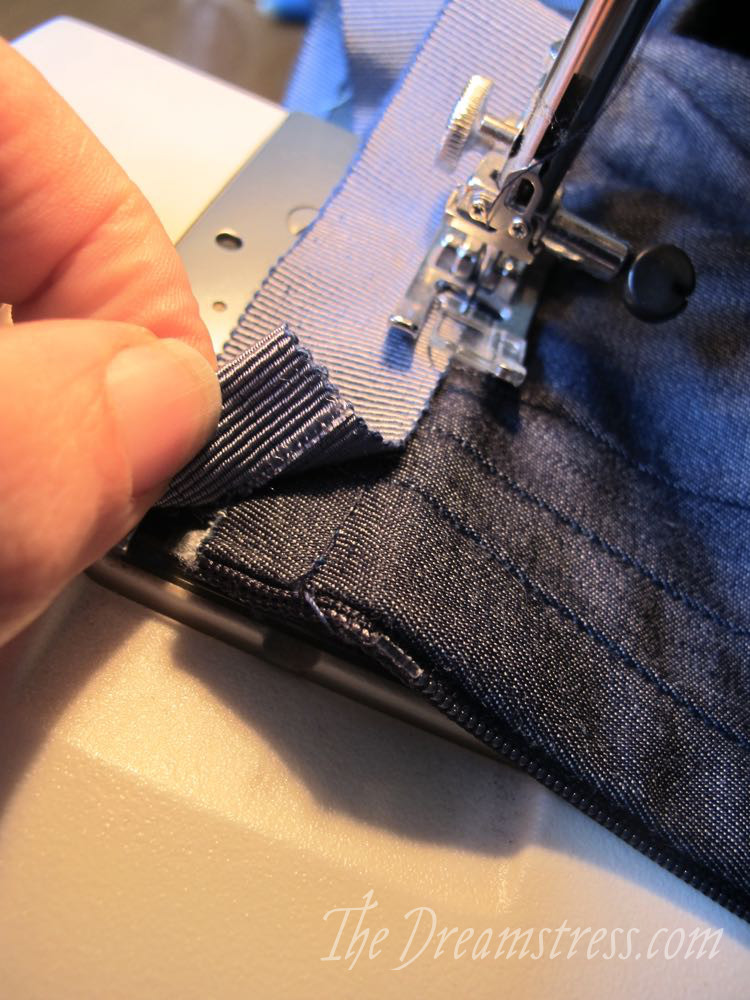
When you reach the end of the skirt, trim your petersham so there is only a 1.5cm overhang. Fold under, and sew down.
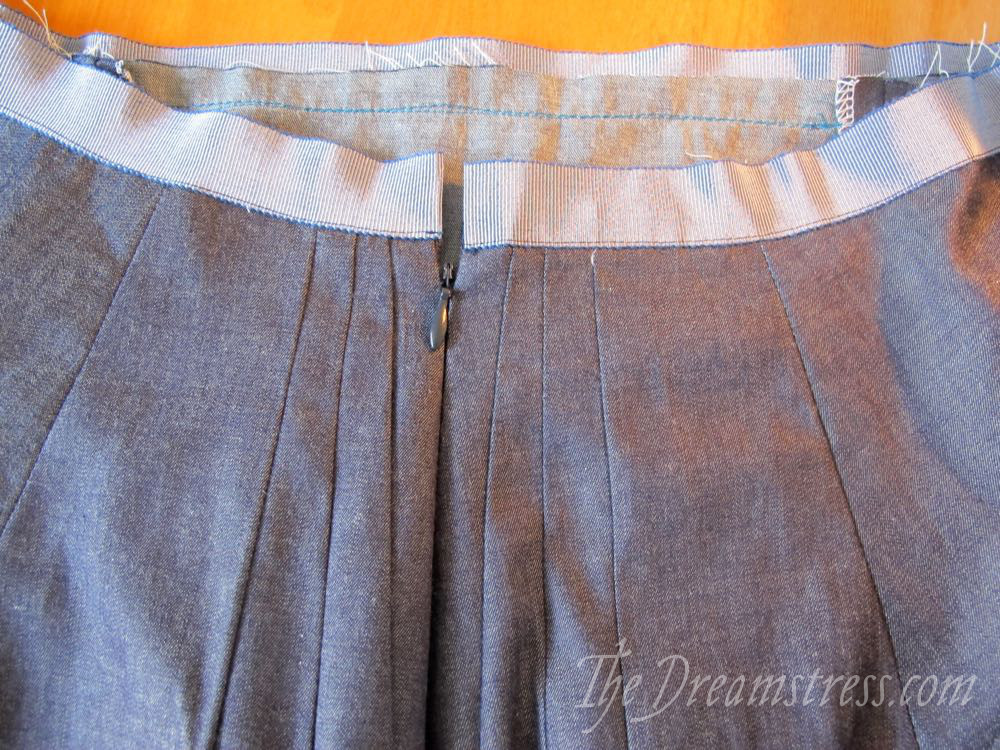
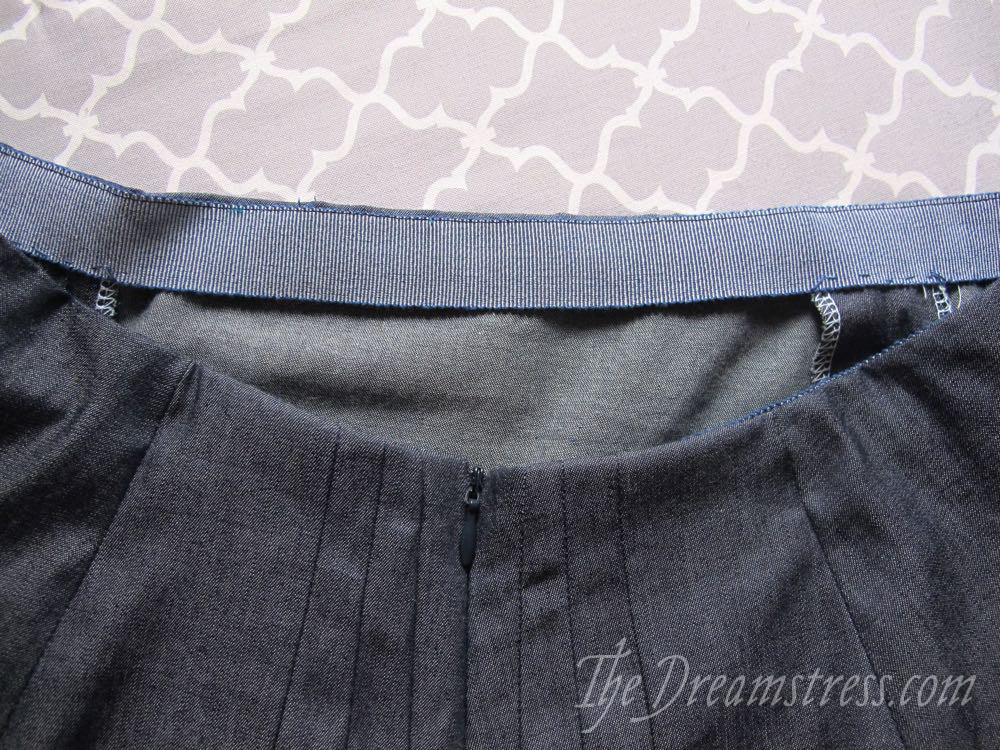
Here is what it should look like at this point:
Part 3: Pressing & finishing the petersham waistband:
Press under the petersham, pressing so you create a tiny lip of skirt above the top of the petersham:
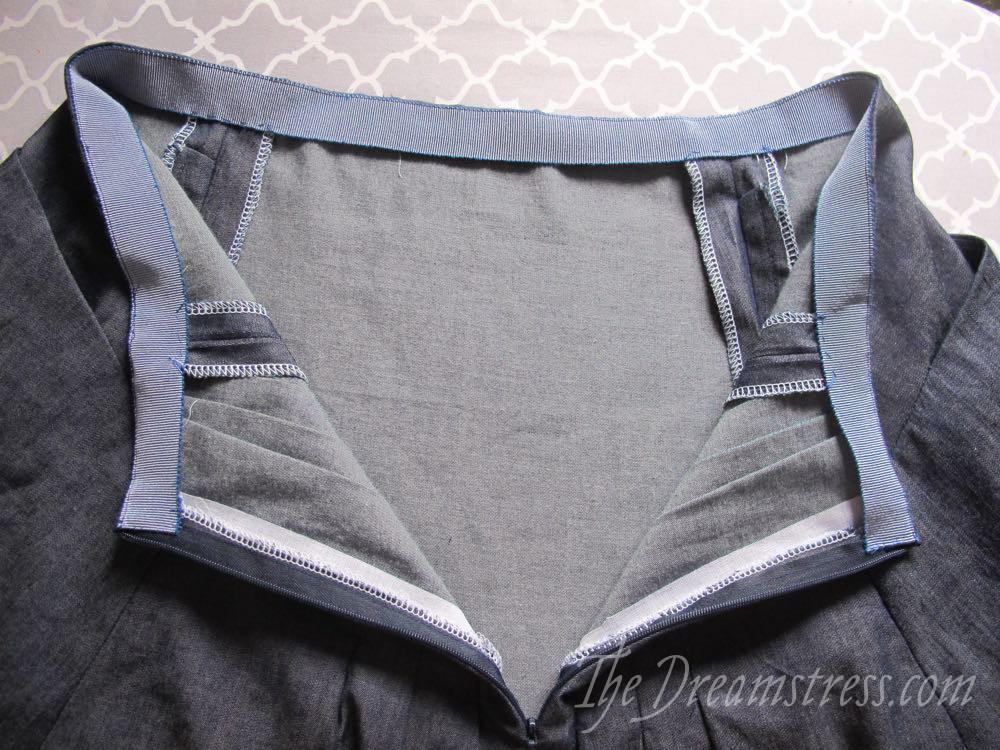
Sew the folded ends of the petersham waistband down to the zip, and hand tack the waistband at each seam allowance:
Note that I have stabilised my zip with interfacing, because the extremely lightweight denim is prone to warping.
And there is your skirt!
Add your hem and you’re done!
Enjoy!

