It is bitterly, bitterly cold in Wellington today – it even snowed a little bit, which is extremely unusual in the capitol. It’s not going to be a great deal better for the next few days either, so I’m thinking longingly of summertime, and warm days.
That, and all the blogging I’ve been doing about visiting other places, reminded me that I have a local visit from this summer which I’ve never covered.
This is Wellington, centred around Wellington Harbour (Port Nicholson, or, to be even more accurate, Te Whanganui a Tara):
Right in the middle of the harbour is an island: Matiu/Somes Island.*
Prior to Western contact, Maori used Matiu Island as a place of refuge during war. Post-Western contact, the New Zealand Company took possession of the island. In 1866 the first harbour lighthouse in NZ was built there, and it was home to the lighthouse keeper and his family. The 1866 lighthouse was replaced circa 1900, and its replacement still stands on the island.
In the 1870s the island was used as a quarantine centre. When ships carrying suspected epidemics (smallpox, typhoid etc) entered the harbour the passengers were held on the island until officials were sure they were no longer infectious – often for weeks. At first the facilities were extremely rudimentary, and immigrants, tired after a long voyage, must have felt that their welcome to the country was very cold indeed. A number of those quarantined never made it off the island: a memorial commemorates those who died there (mostly infants and small children – the terrible truth of such illnesses).
From the 1890s onwards the island was a rather nicer sort of quarantine centre: one for animals. New animals would be held on the island before being introduced to the mainland, to ensure they weren’t bringing in any extra pests or diseases. The island is still occasionally used for this purpose.
During WWI and WWII Matiu/Somes served as a prison for ‘enemy alien internees’: Germans in WWI, and Germans, Italians, and Japanese in WWII. While some of the internees were more loyal to their countries of origin than to New Zealand, the majority in both wars were victims of racism and xenophobia. During WWI even having a German sounding name would put you at risk of being sent to the island, and during WWII the internees included a half-dozen German Jews who had fled Germany due to the rising anti-Semitism. The imprisonment of the so called ‘enemy-aliens’ is definitely not one of New Zealand’s better moments.
During WWII the island was also home to anti-aircraft gun emplacements, and a de-gaussing station.
Today Matiu/Somes is a Department of Conservation reserve, open to the public during the day, and accessibly by ferry. In addition to all the historical sights, the island has been cleared of predators, and is home to lots of native birds and insects, as well as tuatara (aka living dinosaurs). It’s popular with locals and tourists, but in the 10+ years I’ve lived in Wellington, I’ve never been.
Terrible!
As my sister was visiting back in March, we decided it was time to make the trip.
The ferry (flying the red ensign flag of NZ) carried us away from the city:

WE SAW PENGUINS!!! (I feel this deserves caps, and bold, and multiple exclamation marks)

We hiked the coastal track around the island:

We found the DOC Hutt from the Kemi Niko miniature houses art project.
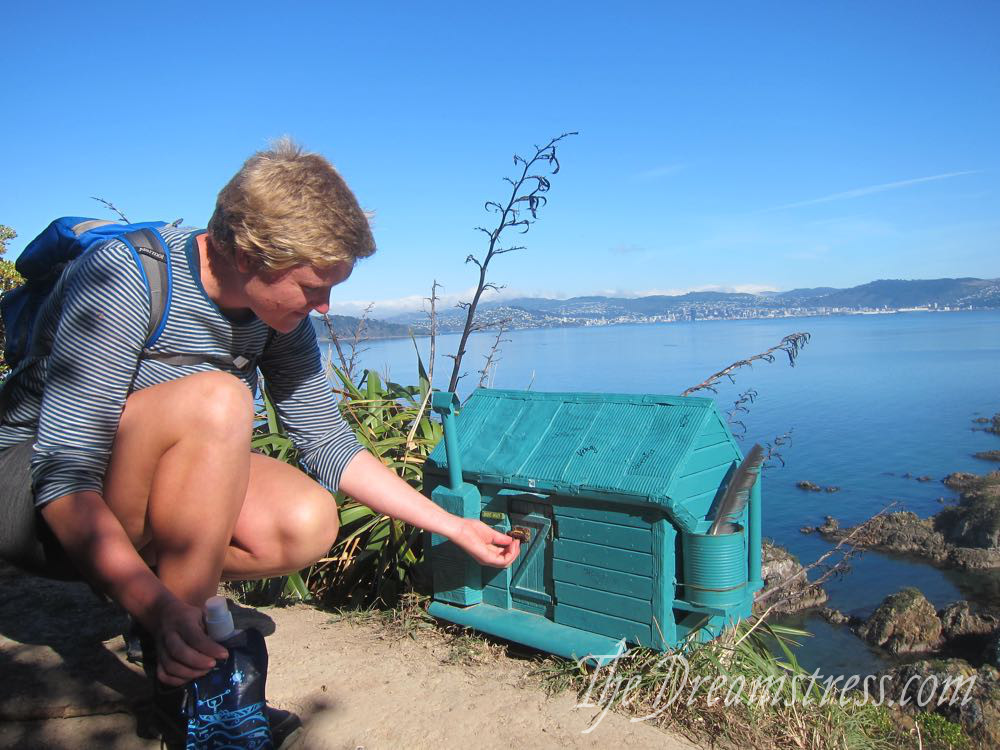
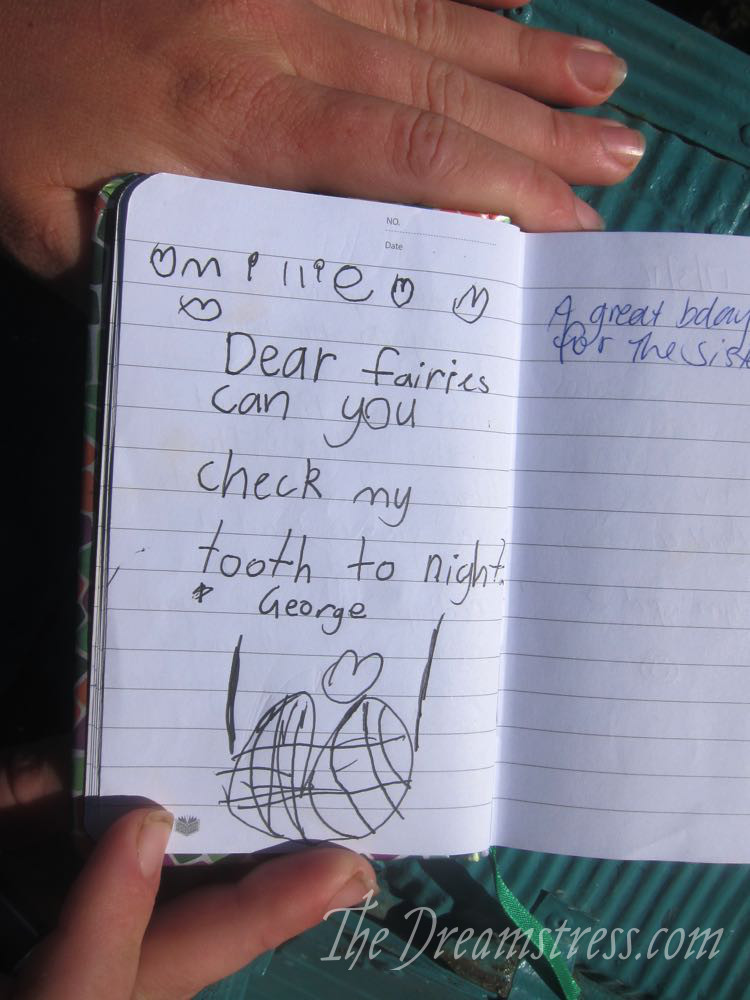
Complete with adorable visitors book:
The views over the coast, the 1900s lighthouse, and to the city were spectacular:


(and because I am having a 14 year old boy moment, lets all stop and snigger because that large rock is ‘Shag Rock’)

In the centre of the island is the trig used to survey the Wellington area, and the lichen-covered remains of the gun embankments:
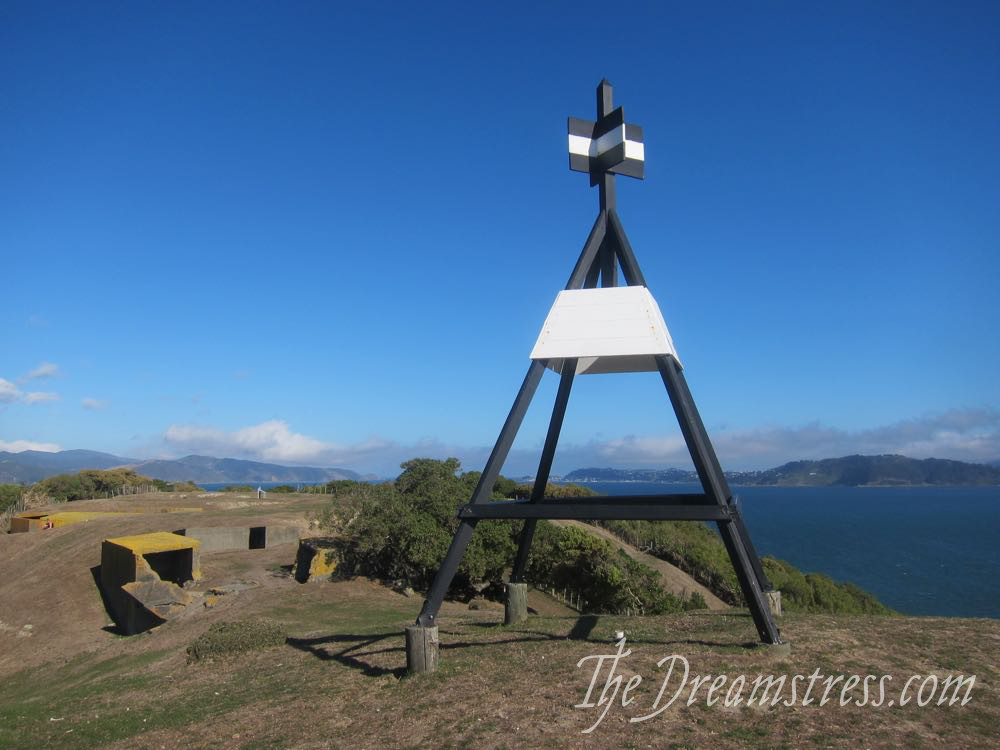
Downhill sits the complex with the old internee barracks, animal quarantine station, and visitors centre:
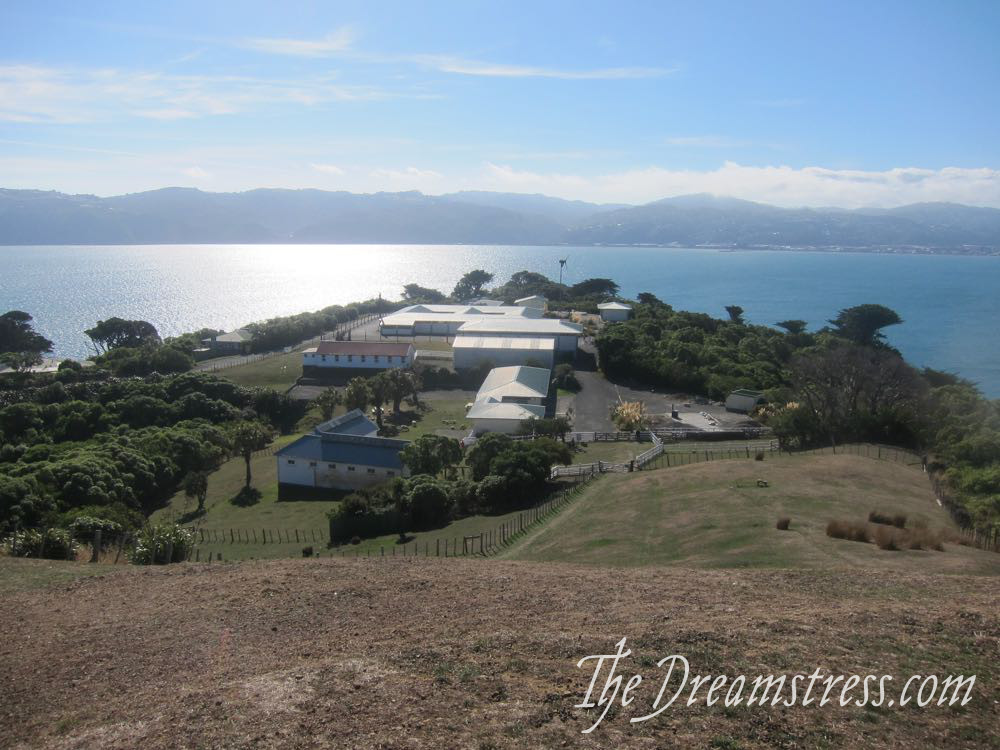
Back down on the coast is the remains of the degaussing station, manned by young WRENs during WWII. De-gaussing uses electrical cables to help change or eliminate ship’s magnetic fields, to lessen the chances of their being hit by mines – and since the German’s had laid mines (which have never been found or detonated) at the mouth of Wellington harbour, this was important.

And finally it was back to the dock for the ferry home, mission accomplished.

*almost everything in New Zealand has both a Maori and an English name. Some are called primarily by one, some primarily by the other, and some, like Matiu-Somes, are officially bilingual, and are almost always called by both.


