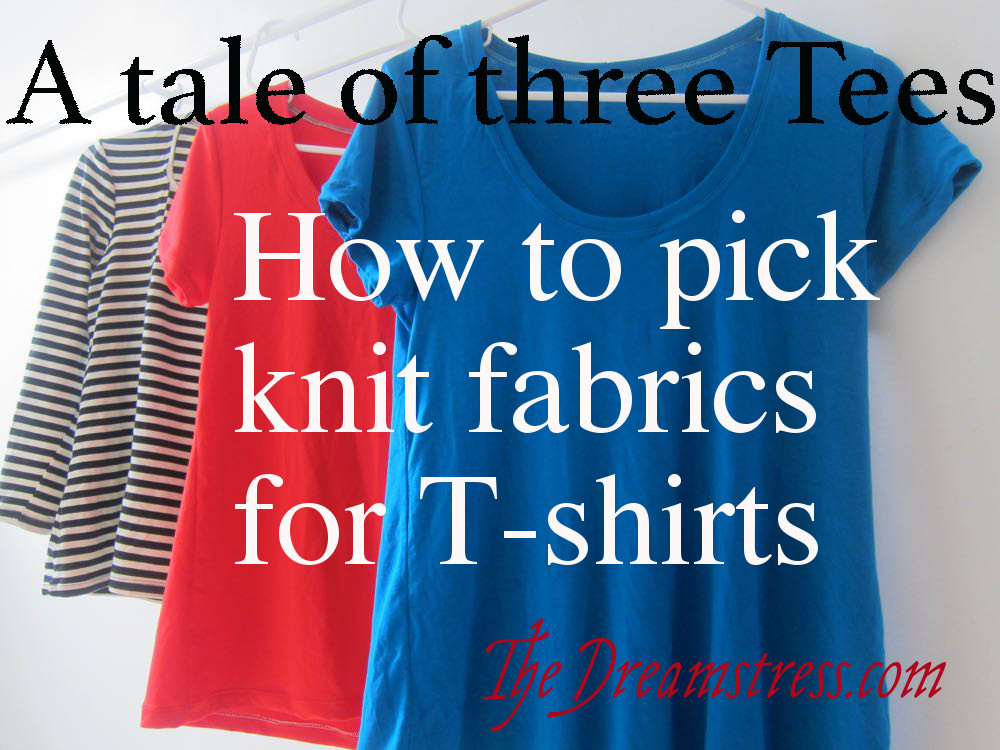
I teach sewing classes, and one of the most popular classes I teach is T-shirts, which covers the basics of sewing with knit fabrics, and some of the trickier techniques you use in T-shirts.
T-shirts aren’t hard to sew: I sew them up in batches of three in under four hours for the lot. But being easy to sew, and getting a successful T-shirt, very much depends on picking the right fabric for your project, and this is something I find that a lot of people struggle with.
To help, here is a guide to knit fabrics, and a bit of an experiment with how different knits result in different finishes.
The first thing to look for in a knit for a T-shirt is whether it looks like a knit fabric that you have seen made up into T-shirts that you have enjoyed wearing. After that, there are four things to keep in mind when picking knit fabrics: weight/thickness, stretch, recovery, and stability.
Weight & thickness aren’t actually the same thing in fabrics, as it’s possibly to have a thick but lightweight fabric, but in T-shirt knits they are usually so interlinked I’m going to treat them as one for this post. Weight is how heavy or light your fabric is: T-shirts can be made in everything from super lightweight ‘paper’ knits, to the much thicker jersey knit of old-fashioned long-sleeved rugby jerseys.
Stretch is how much your fabric stretches. A knit weave naturally has stretch, and more can be added with the inclusion of elastane/lycra/spandex in the fibre makeup of the fabric.
Stretch is measured in percentages. A 10cm square of knit with 25% stretch knit will stretch from 10cm to 12.5cm, and a 10cm square of 60% stretch knit will stretch from 10cm to 16cm. Knits can stretch along the length and/or width. Knits that stretch only in one direction are usually described as having 2-way stretch, while knits that stretch both along the length & width are described as having 4-way stretch. However (just to make everyone’s life really difficult and confusing!) some fabric sellers will describe knits with stretch only in one-direction as having 1-way stretch, and knits with stretch along both the length and width as having 2-way stretch. I like to avoid any confusion by saying “this knit stretches 14% across the width and 0% along the length” or “this knit stretches 12.5% across the width and along the length.” Knits with both lengthwise & widthwise stretch often don’t have the same amount of stretch in both directions.
Most T-shirt patterns only need widthwise stretch (to go around your body) but other kinds of knit patterns may need both widthwise & lengthwise stretch. Stretch is hard or soft depending on the amount of effort it takes to make the fabric stretch.
Recovery is how effectively a knit fabric snaps back when stretched, which helps it to hug your body and keep the garments shape over time. Fabrics with good recovery usually have higher elastane content, and snap right back. They are suitable for snugger, body fitting T-shirts, and won’t sag at the elbows etc over time. Fabrics with poor recovery warp as you stretch them, and may stay warped rather than returning to their original shape. They are better used for looser fitting Tees, with less shaping.
Stability is what I have always called wibblyness. It’s also called shear (as in engineering shear, rather than how translucent something is). It’s how much a fabric warps and distorts: very stable fabrics retain their shape very well, and fabrics with poor stability warp and distort as you work with them.
In a knit, stability is somewhat related to stretch and recovery. Extremely stable knits, like ponte knits, are so stable that while they have good stretch, they will try to shape your body, rather than shaping around your body, and so aren’t suitable for T-shirts, though they are perfect for knit patterns with princess seams and darts. Very unstable knits drape around your body beautifully, but are hard to work with because they change shape as you sew them.
To demonstrate some of the ways in which these four factors can affect the finished product, I’ve made three very similar T-shirts, from three fabrics with slightly different weights, stretches, recoveries and stability.
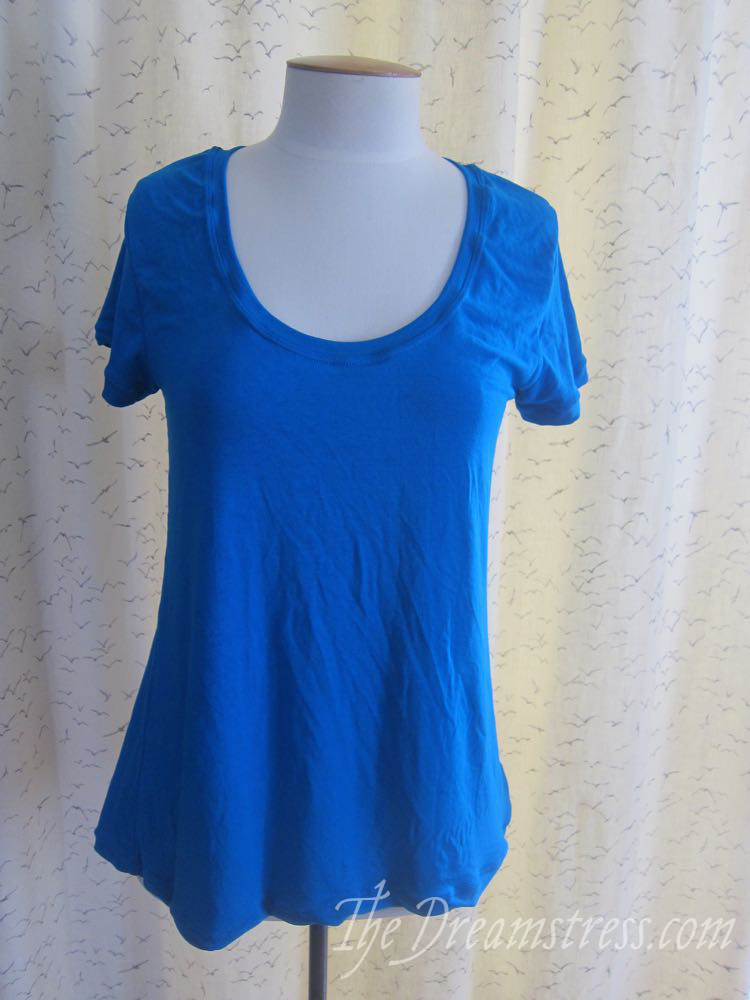
Blue: 95% viscose, 5% lycra. Lightweight knit. Stretches from 10cm to 14cm across the width, and from 10cm to 13cm along the length. Moderate recovery. Poor stability. This is the lightest fabric, and has the worst recovery, and the worst stability of my three picks.
Red: 95% viscose, 5% lycra. Midweight knit. Stretches from 10cm to 13cm across the width, and from 10cm to 13cm along the length.
Striped. 95% cotton, 5% lycra. Midweight knit. Stretches from 10cm to 15cm across the width, and from 10cm to 14cm along the length. This is the heaviest fabric (just a wee bit heavier than the red), and the most stable of my picks.
I’ve used a basic T-shirt pattern for all of these (the Deer & Doe Plantain T for the red & blue, and my personal pattern for the striped), and followed the sewing instructions given in basic T-shirt patterns like the Plantain, Renfrew, Tonic etc. I also used the machine options available on lower-end sewing machines.
I could have improved my results for some of these shirts by using the special tricks & techniques for difficult knits I’ve picked up over the years, or the special options available on my machine (ability to adjust both top and bottom tension, to adjust the foot pressure, etc), but those would all have taken more time, and aren’t possible for every seamstress. My sewing process was also fairly quick and dirty: demonstration & wear-around-the-farm Tees, not ‘my best advertisement of my skill Tees.’ I wanted to replicate what would happen to a less experienced seamstress, with a fairly basic machine, making a T-shirt.
All three T-shirts shown here are un-ironed, because they sat on my sewing table in a pile all weekend before I photographed them, and I didn’t want to press them until I’d shown you how the different fabrics behaved. Pressing will, if not fix, at least help, some of the issues the fabrics are having (as the saying goes ‘the iron fixes the seamstresses mistakes’)
So what do my T-shirts look like? Let’s start with the red, as my midpoint fabric:
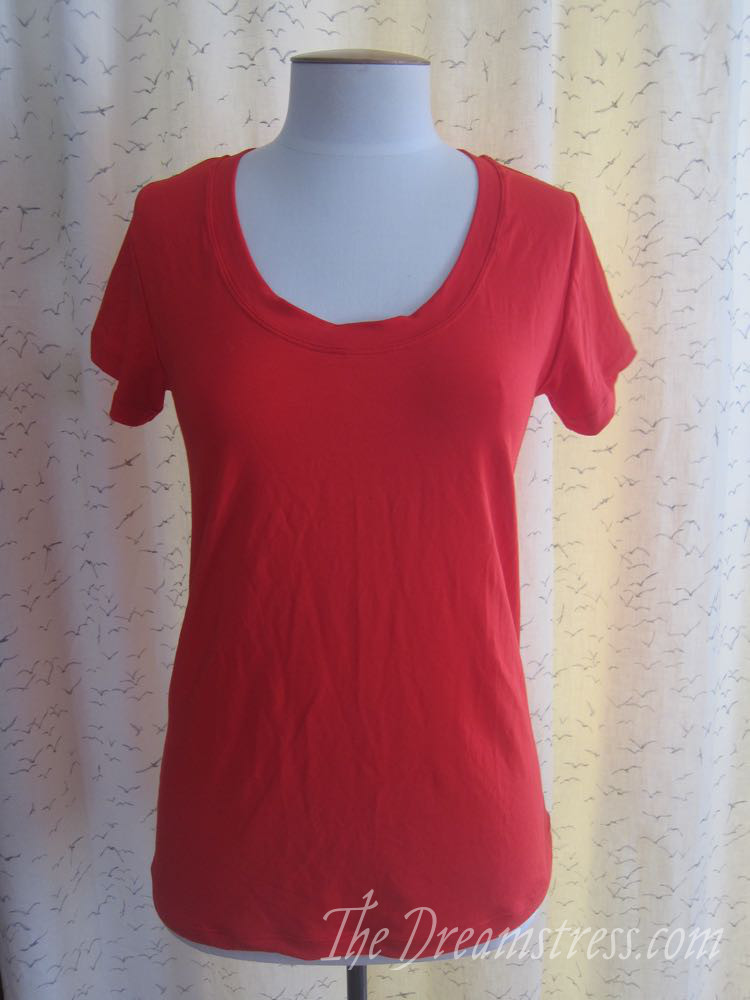
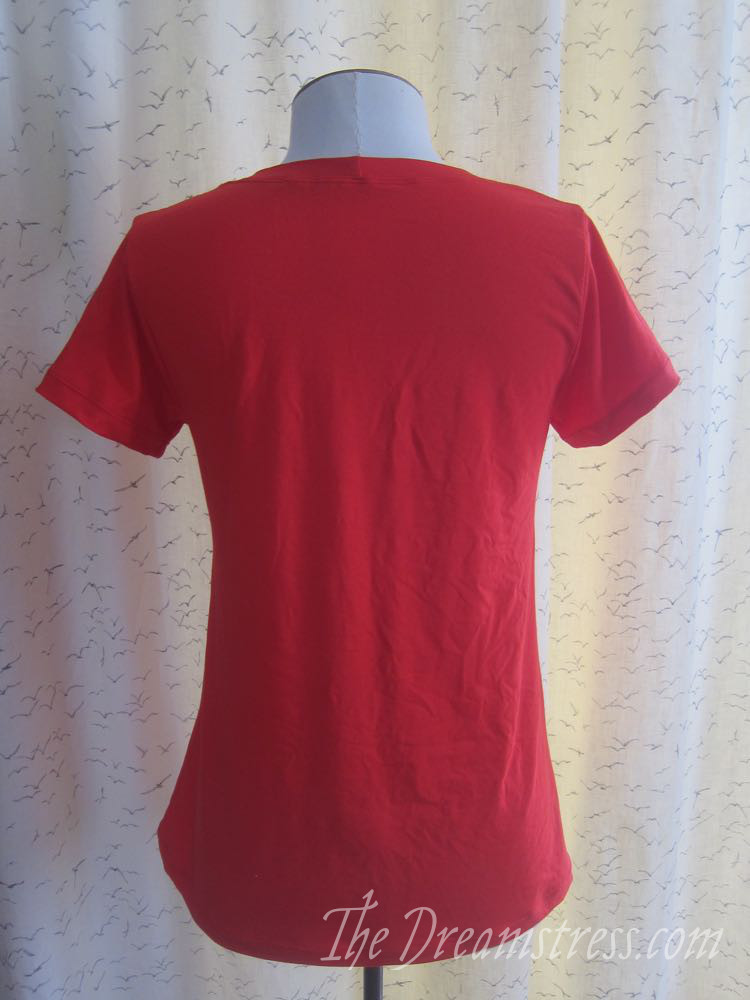
Pretty good. Because my fabric has slightly less stretch than the recommendation for the Plantain T, and because I didn’t adjust the length & width of my neck binding to compensate for this, I’m getting a tiny bit of warping around the neck binding. A slightly shorter and narrower binding would have fixed this.
My sleeves sit nicely and smoothly in the armholes:
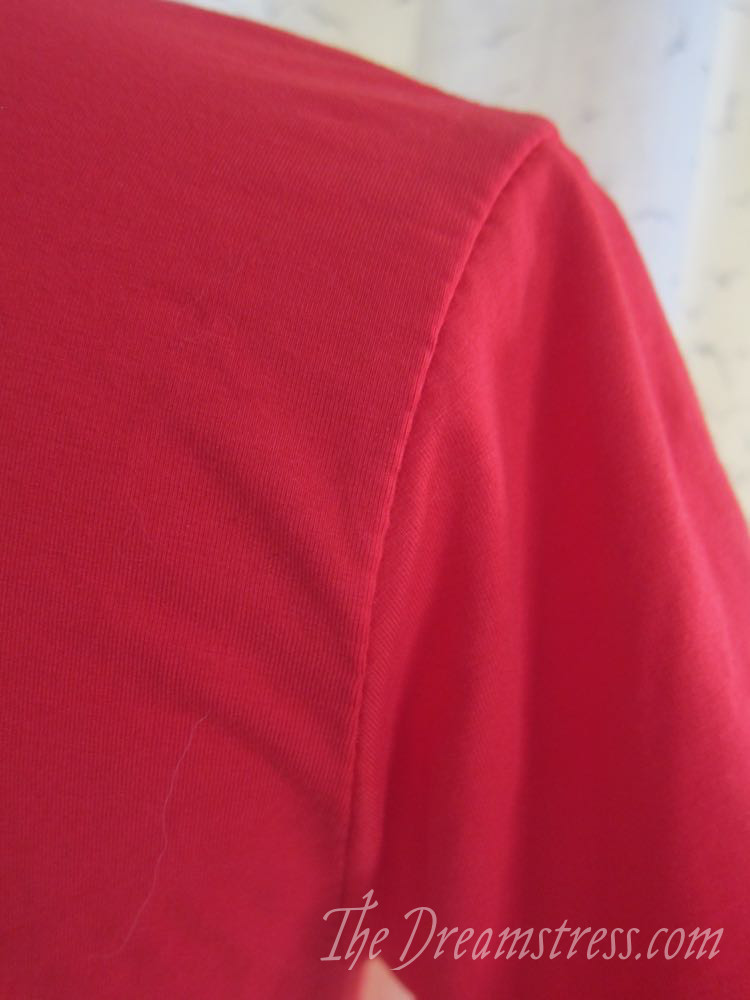
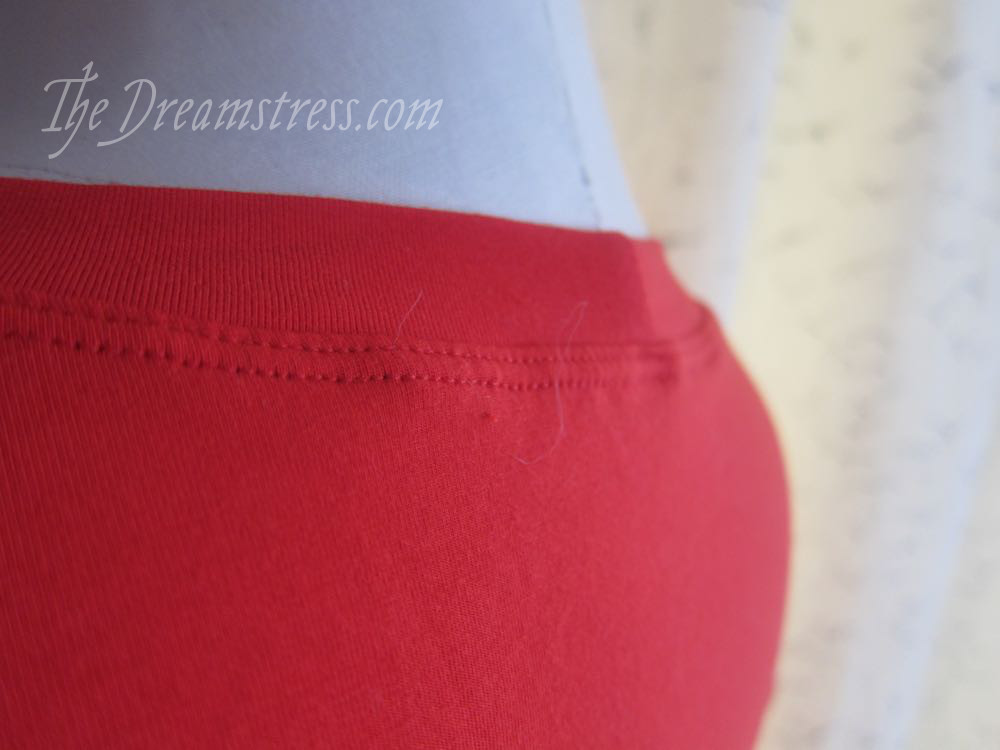
There is the tiniest bit of rippling around the back of the neck at the double stitching, where the pressure of the double stitching stressed the fabric. This will wash out, but is a sign of how good the fabric’s recovery is going to be (as in, OK, but not great).
The hem sits nice and flat, and the double-stitching hasn’t formed a ridge:
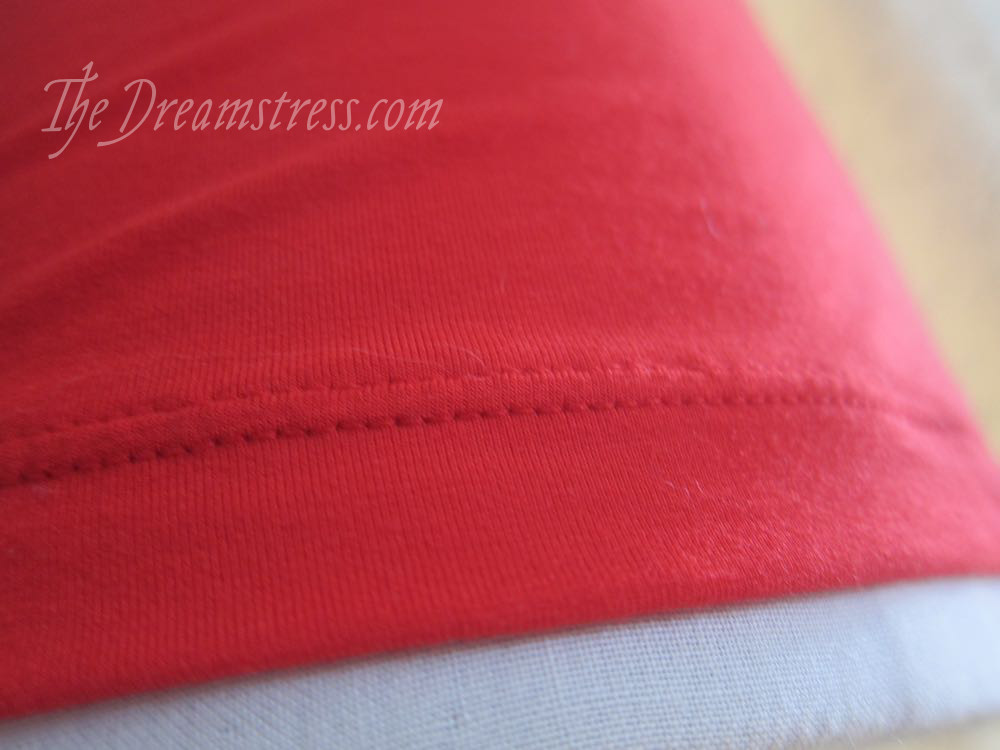
Not perfect, but not bad.
OK, on to the blue!
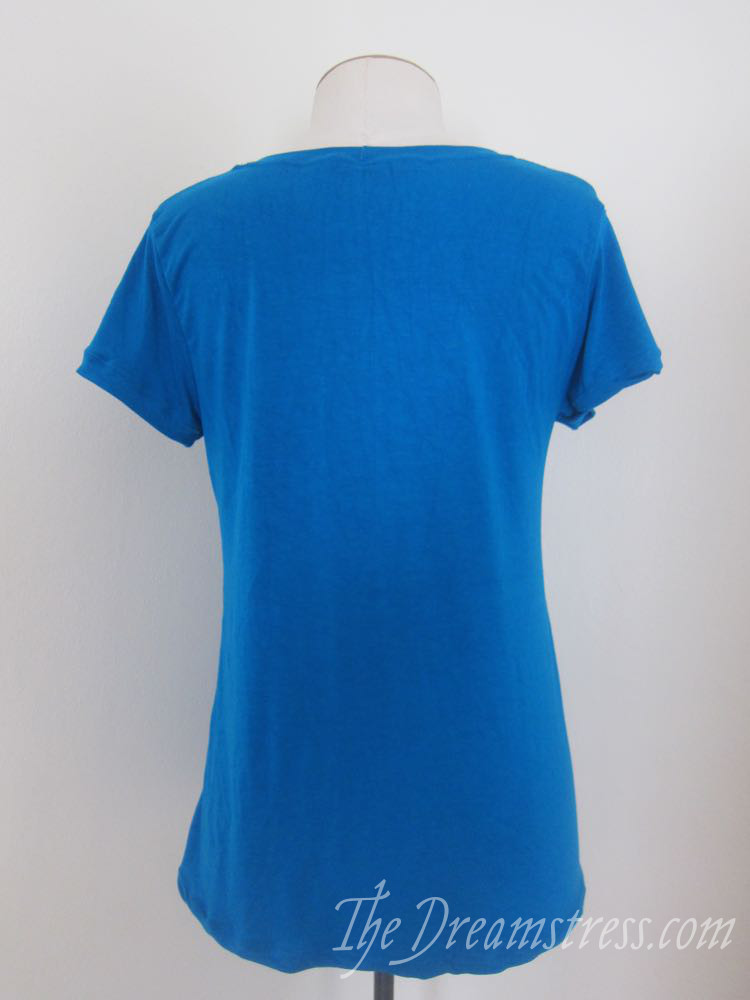
Erm. Even in the full picture you can see some issues.
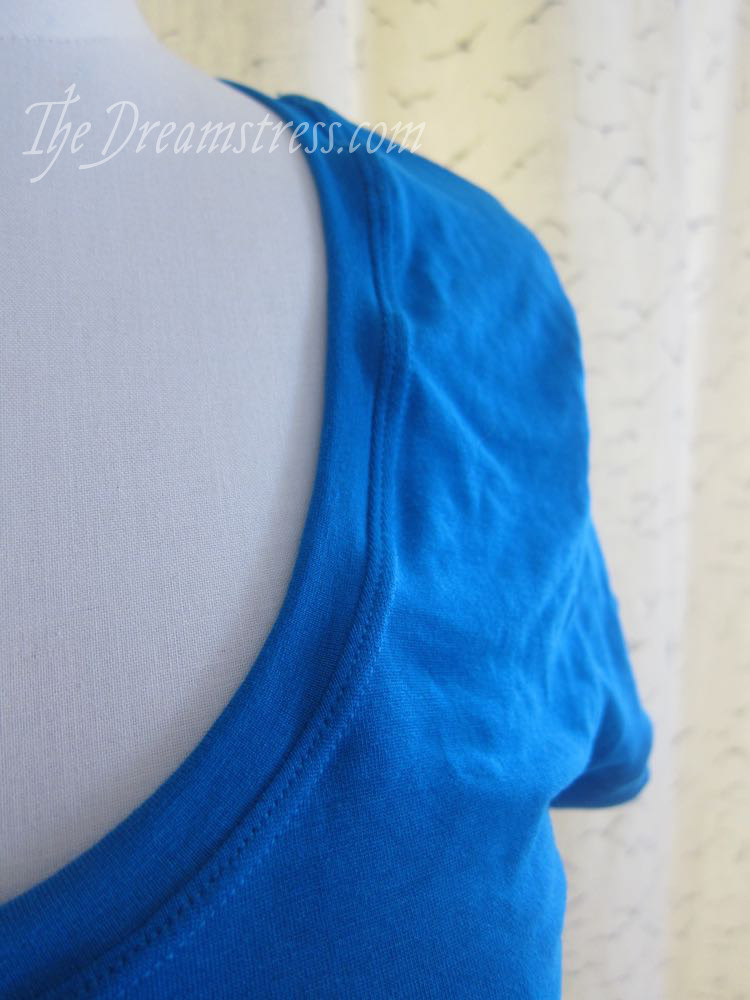
There is major warping around the neck binding, where the fabric didn’t have enough strength and recovery to withstand the pressure of the double-stitching:

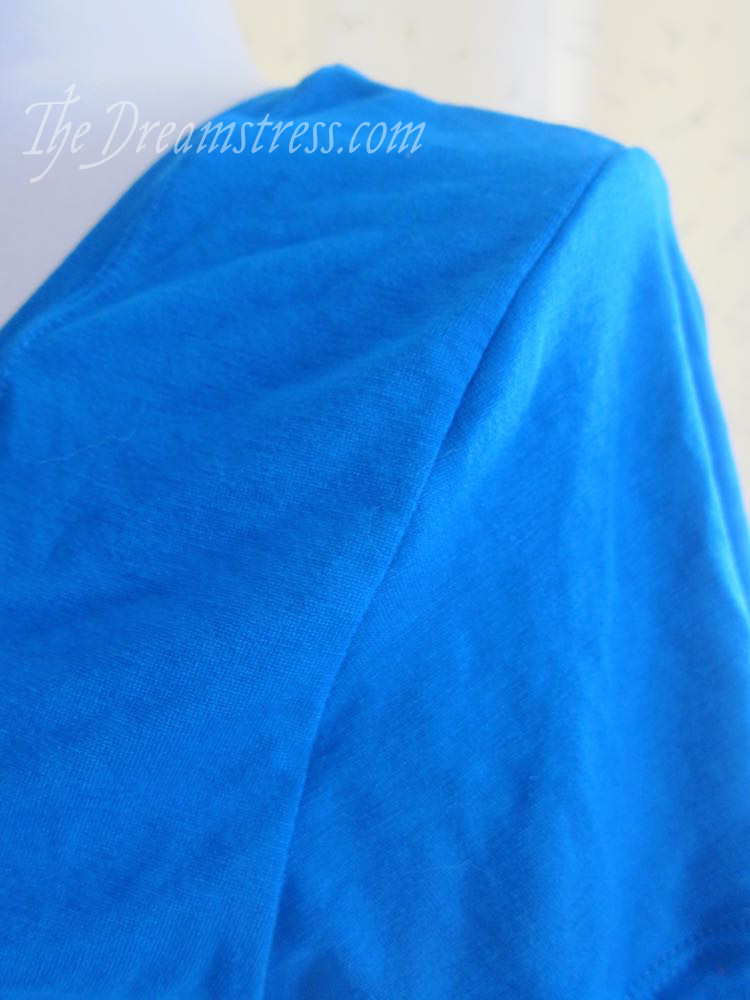
And slight rippling around the armhole, where the fabric stretched and didn’t snap back as I sewed that seam:
Then you look at the hems:

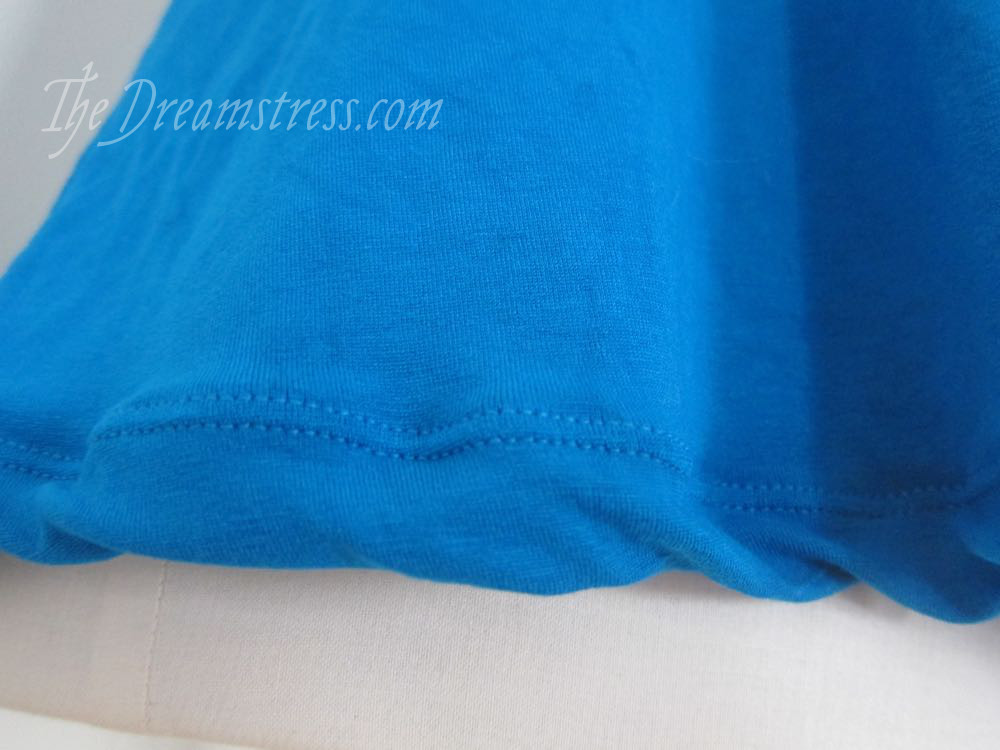
They are, quite obviously, awful. What’s happening here is that the Plantain T has a slightly shaped hem, and the fabric is so unstable it warps going around even the slightest curve. These are so bad that I’ll be unpicking them, stabilising them with hem-tape (a double-sided fusible), and re-sewing.
OK. Not so great.
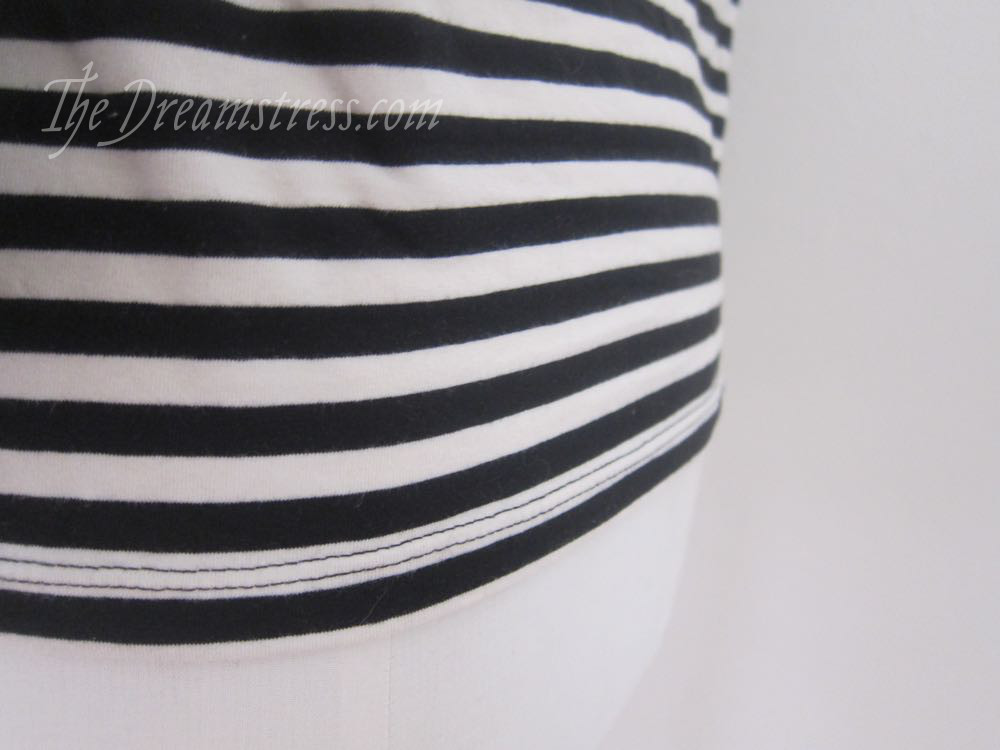
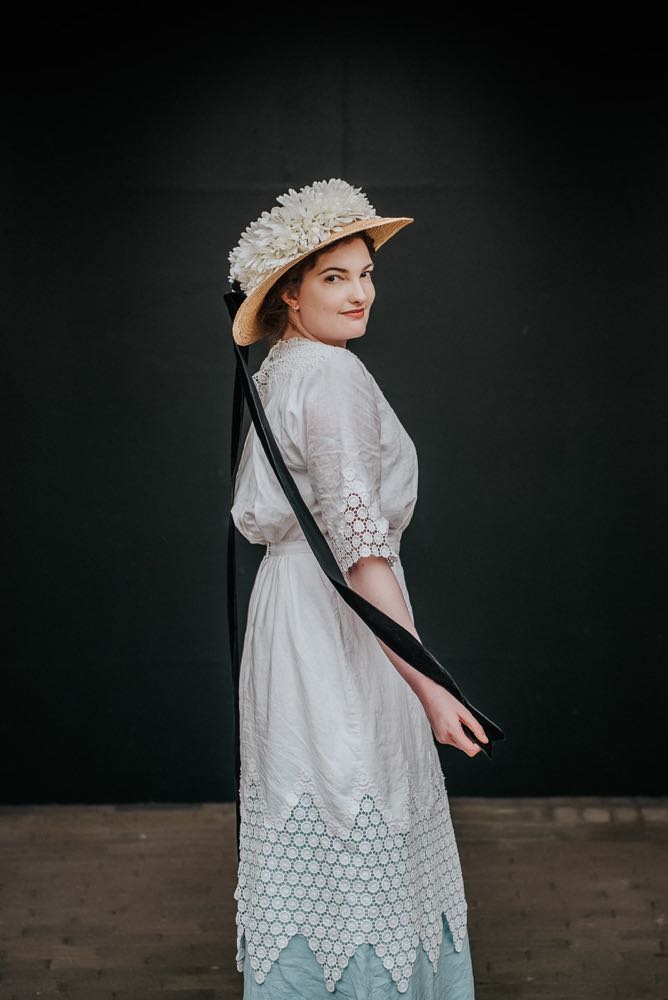
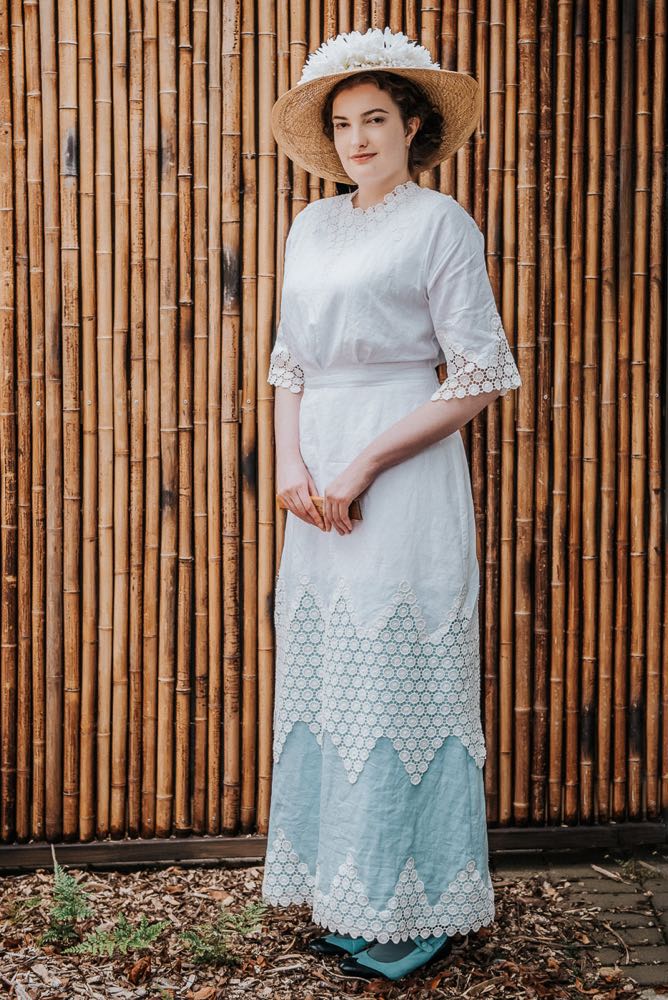
Finally, what about the black & white striped T?
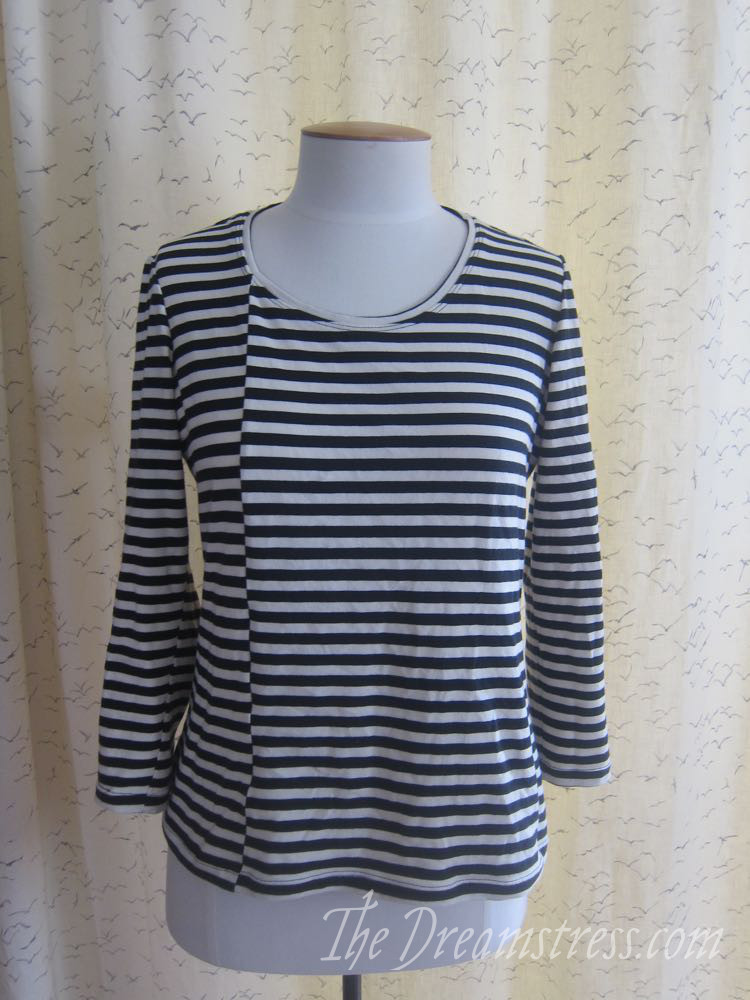

In some ways this looks worst on the mannequin, because it’s meant to hug my body, and Isabelle is a bit smaller than I, so the shirt is hanging where it wants to stretch. This shows that type of knit isn’t so good for draping styles: its a tiny bit too heavy, and too stable, without enough drape.
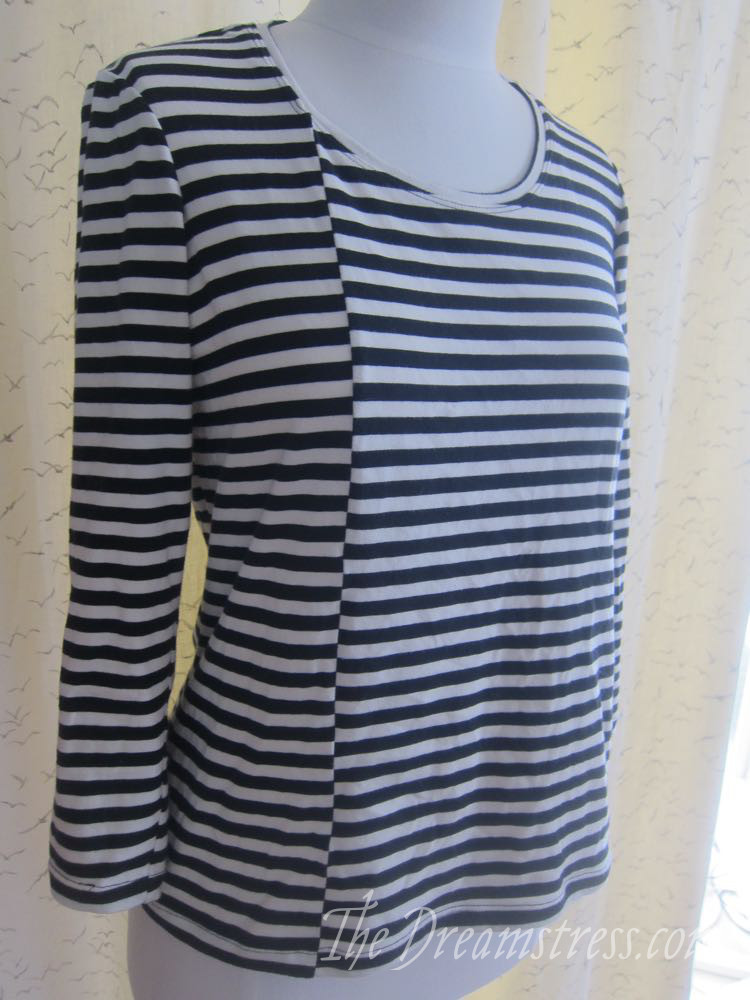
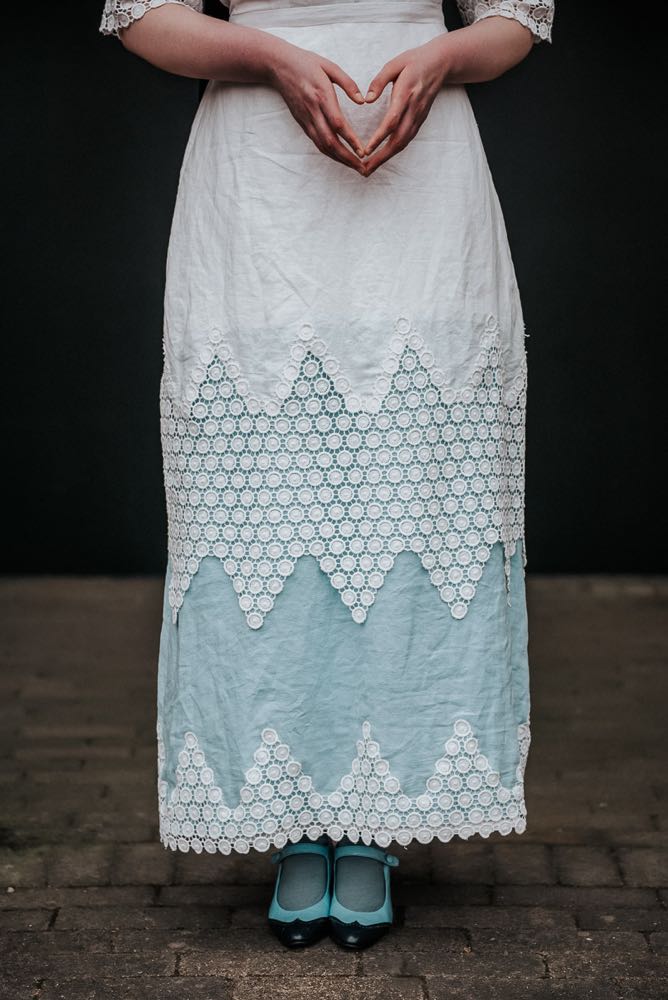
The extremely stable knit meant that I could easily pattern match the stripes across a side-front seam, resulting in a perfect positive-negative change up and down the stripes:
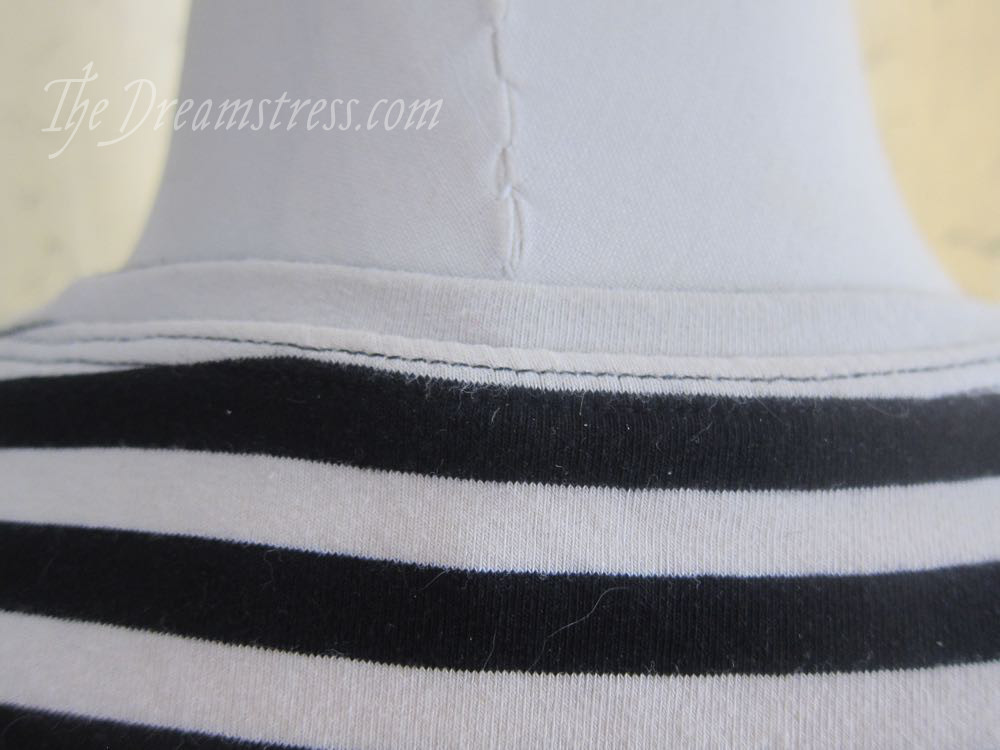
The neck sits perfectly flat:

As does the hem:
Because the cotton knit for this shirt is a bit heavier, with such excellent stretch, I was able to go for a snugger, more body conscious fit. The blue & red are looser, floaty summer Tees, this one is a transitional beginning-to-cool-down autumn Tee.
The verdict? I’m happy with the stripes and red, and would consider the fabrics equally suitable for Tees, depending on the look I want. I would recommend both these fabrics to students as being fairly easy to work with, and likely to give a successful result.
Even though the blue shirt looks the worst, it is also the one that took me the longest: the fabric was the most fiddly to work with, and I’ll be spending more time unpicking and re-setting the hem. I could get the blue fabric to look nearly perfect: it would just be significantly more work, and wouldn’t be possible on every sewing machine. I might do the blue fabric again if it was really cheap, in a colour or pattern I LOVED, and I just wanted a not-perfect gardening shirt.
Stretch and weight are pretty easy to tell, and recovery isn’t that hard, but the real thing that makes the blue so unsuccessful is stability: it’s just a wibbly, unstable fabric. So how do you know to pick an easier, more stable, less wibbly jersey knit for your next (or first) T?
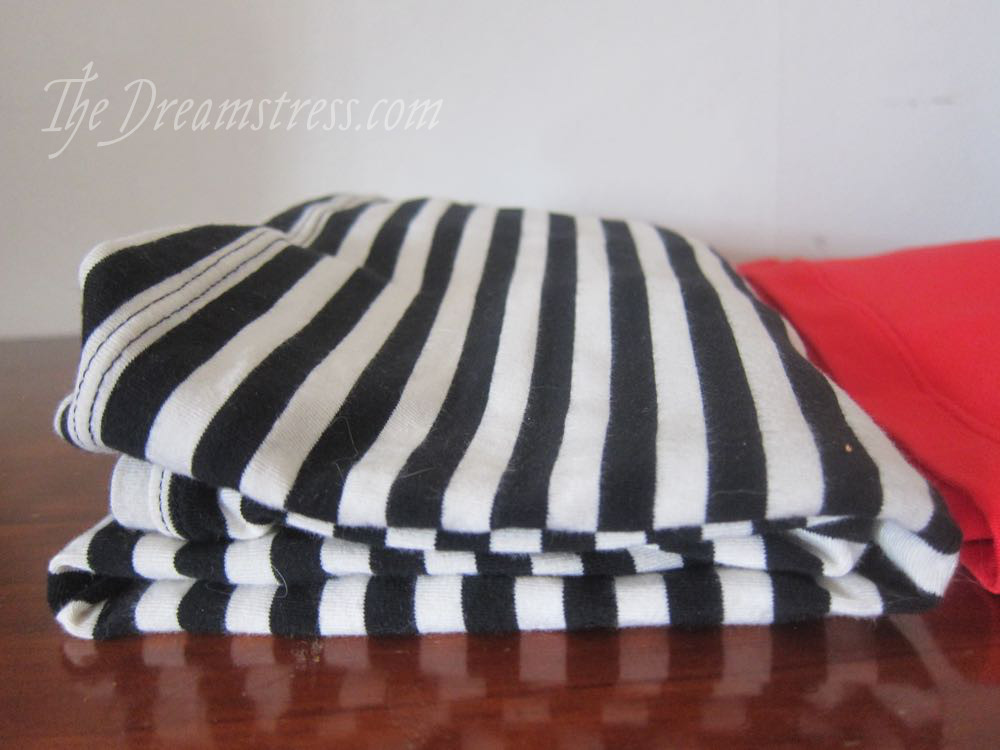
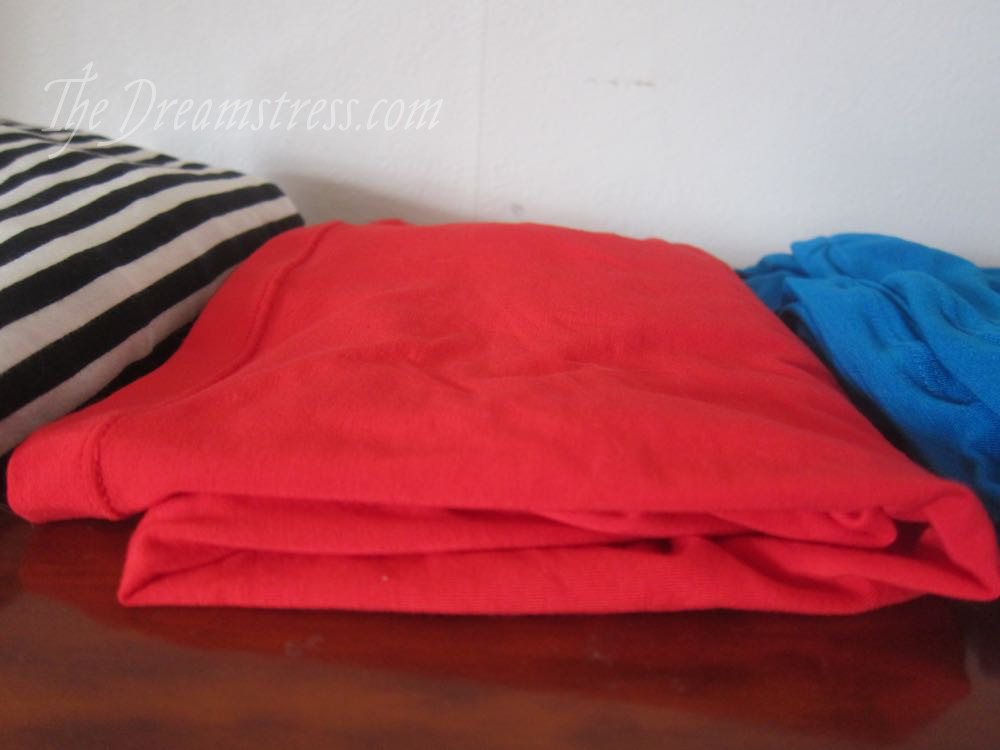
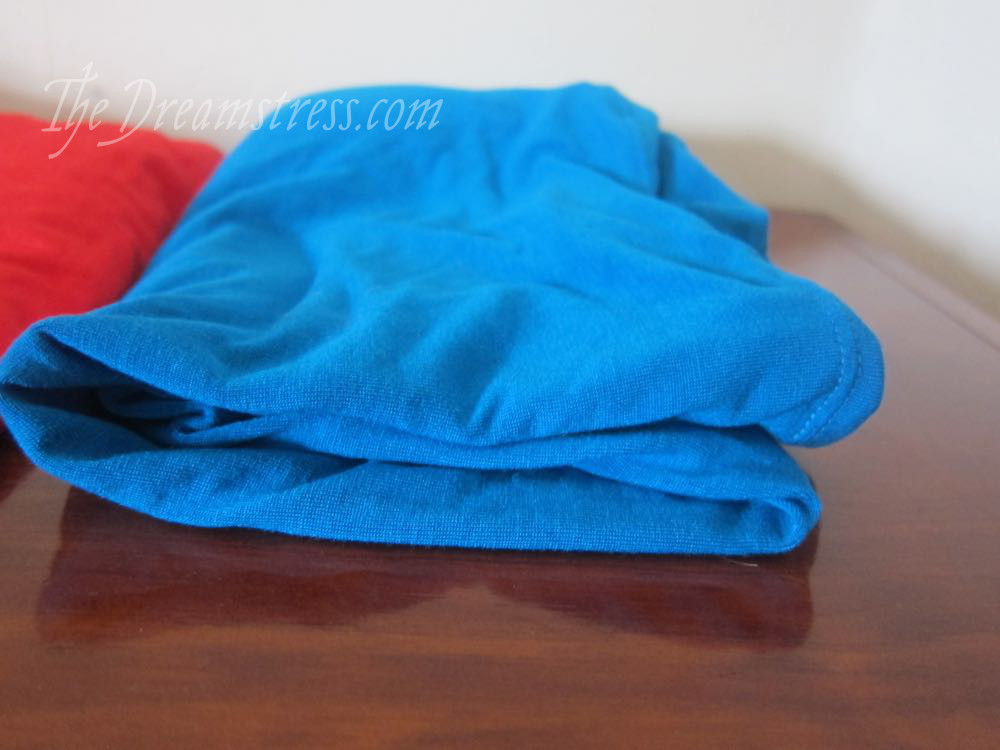
The trick I tell my students is to unroll enough of the roll that they can try to fold the end of the fabric. Look at my folded Tees:
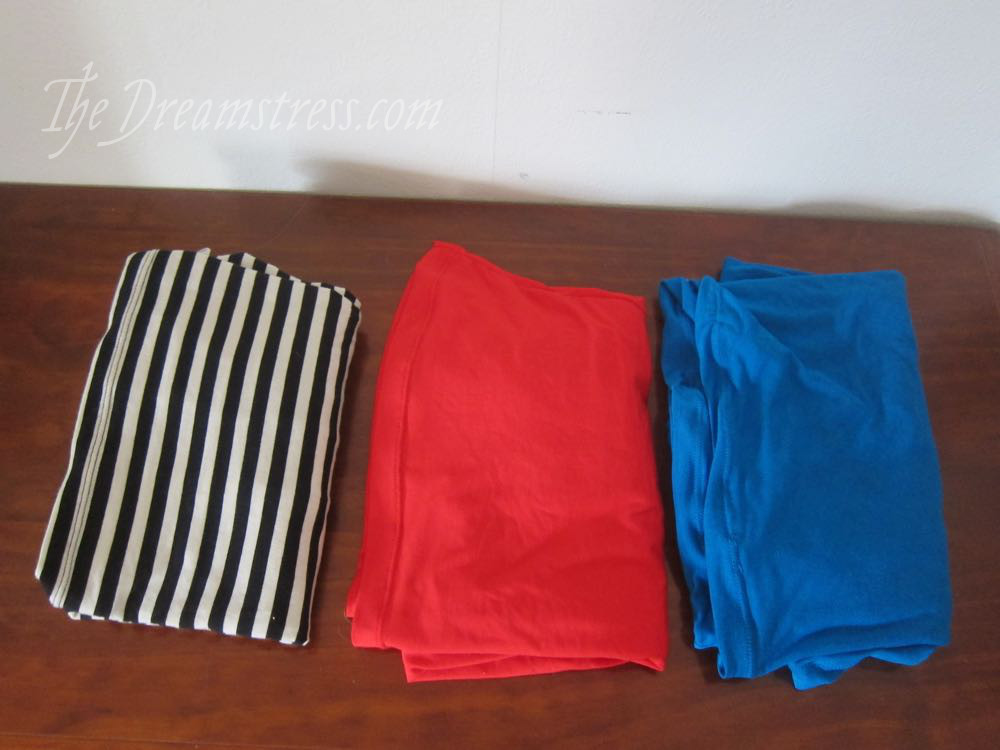
Same folding pattern, same amount of time to do each, folded by the same person (me):

See how tidy the striped shirt is?
And how the red is pretty tidy:
But the blue is a mess?
Fabrics off the bolt will be like that too: hard to work with, unstable, wibbly knits will be hard to fold, messy and wibbly.
That’s my guide for picking T-shirt knit fabrics: go for the easiest to fold.
There are, of course, lots of other types of knits that you might encounter for T-shirts, from super thin knits (which are often off-grain, which is really bad and hard to work with), to merino knits (Mmmmm….merino! Usually very easy to work with).
Hopefully this is a bit helpful – good luck in picking fabrics for your knit sewing adventures!
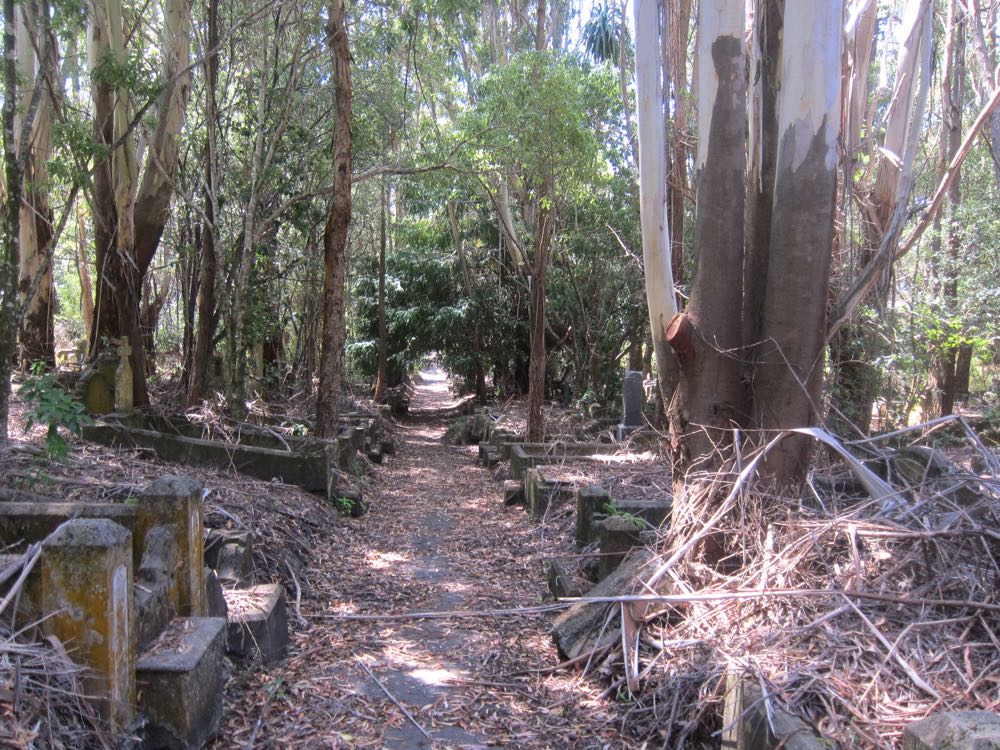 Old Karori Cemetery is one of the biggest in NZ (over 4o hectares) and I’ve only ever seen the extremely tidy, well kept portions near the entrance, so it took me a moment to realise where we were.