I spent last week in Dunedin, which was quite lovely, as I’ve never really had the opportunity to be a tourist in New Zealand. I had lots of fun adventures, and I’ll be blogging a few of them.
This one started the minute I got off the plane.
Airport corridors in New Zealand are plastered with panoramic views of local scenic spots, and little stories about them. De-planeing in Dunedin, I caught a few sentences of one story “the tunnel was hand-carved through meters of solid rock” “workers were forbidden from using the beach” “his daughter bathed in privacy” “local mermaid sightings increased.” (sadly I didn’t get photos because of all the impatient people de-planeing with me, so if you happen to be in the Dunedin International Airport (aka the tiny building in the cow pasture) and can photograph or transcribe the actual story for me, you’d be my hero!)
Intrigued, I asked my hosts about the story. “Oh, that’s Tunnel Beach! We’re going to take you there!”
This is the story I compiled from them and other Dunedin sources about the beach:
In the 1870s John Cargill, the son of Captain Cargill, one of the city founders of Dunedin, had a great deal of money, and very beautiful daughters who liked to bathe in the sea (in the Victorian sense of swimming or playing in the water, while fully clothed in modest swimwear – NOT in the modern sense). Cargill was uncomfortable with the attention his daughters attracted at the crowded public beaches in Dunedin, so he had the workers on his land dig a tunnel down through the rock to the tiny, private beach now known as Tunnel Beach. He kept the project secret, and surprised his daughter with the beach as a birthday present.
Thereafter, his daughters, in the presence of a chaperone, bathed at their own beach. Cargill’s workers were forbidden from visiting the vicinity of the beach, so they could not spy on the girls, but local fishermen noticed girls swimming at what was thought to be an inaccessible beach, and brought back stories of mermaids.
Tragically, Cargill’s youngest daughter drowned in the dangerous currents of Tunnel Beach, and, in grief, Cargill abandoned the beach and left New Zealand, never to return.
Digging into the history reveals that the story has been rather embellished and muddled. The various versions I heard differed as to how many daughters he had (just one, or four), whether she wanted a private beach because she didn’t like the crowds, or whether he made the tunnel because he refused to allow her to swim in public, whether there was already a clandestine love affair in the mix (a detail probably borrowed from his niece’s controversial marriage to the architect of his brother’s house), and whether a daughter drowned. Some accounts also have him confused with his father or brother, so the stories state that Captain Cargill (his father), or the lord of Cargill’s Castle (his brother) had it built.
Cargill did indeed have the tunnel carved so his family could access the beach in the 1870s, but details about creating it to hide his daughters away from the public seem to be later additions. He did have four daughters from his first marriage to Sarah Charity Jones (d. 1866): Charlotte (b. 1851); Madeleine (b. 1853, m.1877); Eleanor (b. ?) & Isabella (b. 1864), all of whom lived to adulthood. He had a further three children from his second marriage to Eliza Catherine in 1869: two boys, and a child that died at 8 months. Tragic, but not a daughter drowning. He did leave New Zealand forever in the mid 1880s, but period accounts suggest he left because of financial setbacks.
I suspect that what actually happened is Cargill (or someone in his family) looked down from the cliffs, saw the charming little beach, and though “Oooh, we’ve got lots of money, labour is cheap, let’s get our workmen to build a tunnel down and we’ll have our own private beach!”
By the early 1900s the beach was known to the public, and used for public events.
In any case, I got to visit the beach, and whatever the story, the area itself is amazing. So come on a walk with me!
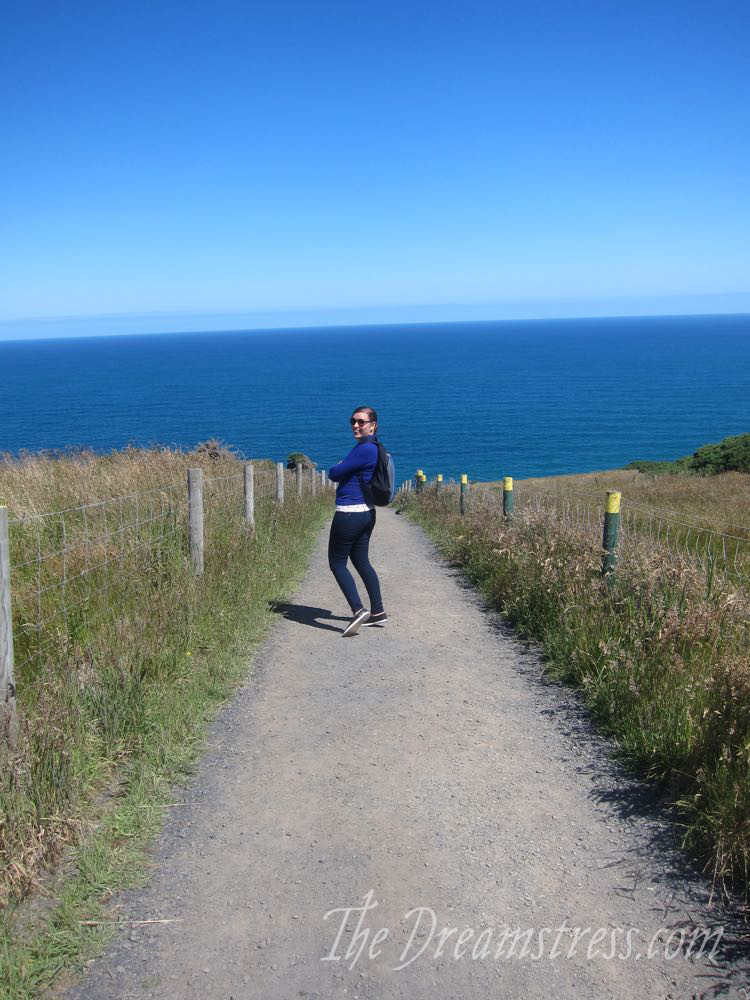
The path starts at the top of a hill, and soon dips steeply down, revealing a spectacular view of sea cliffs – and yes, that’s where were going!
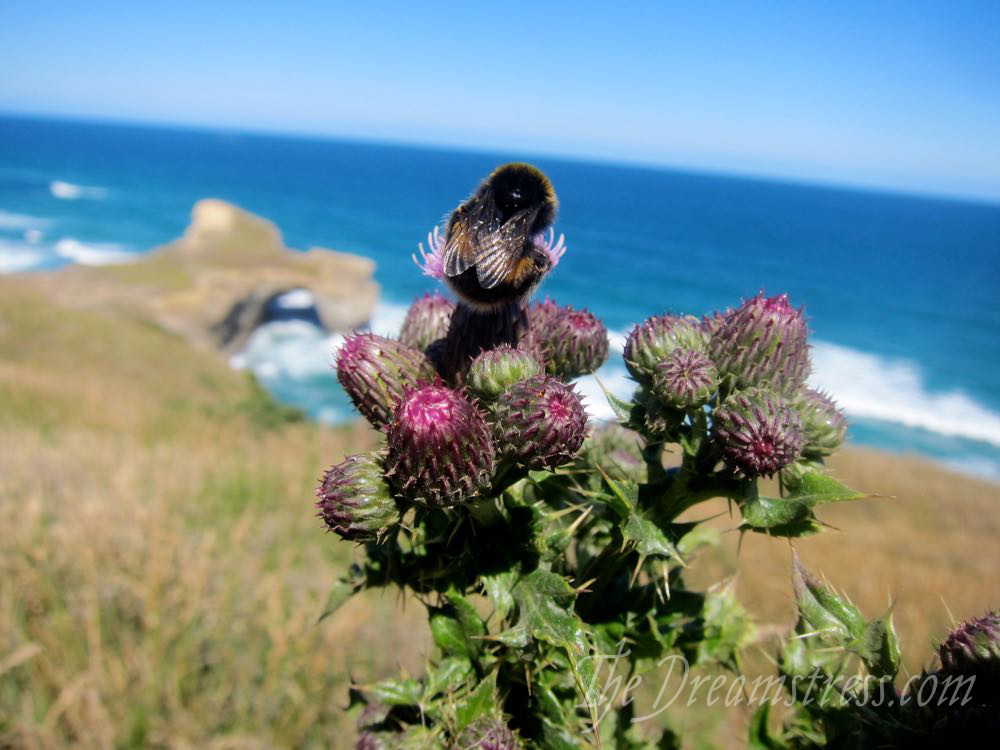
In spring the path is closed for lambing, but here in summer the sheep were far away, and bee-covered flowers fringed the waysides
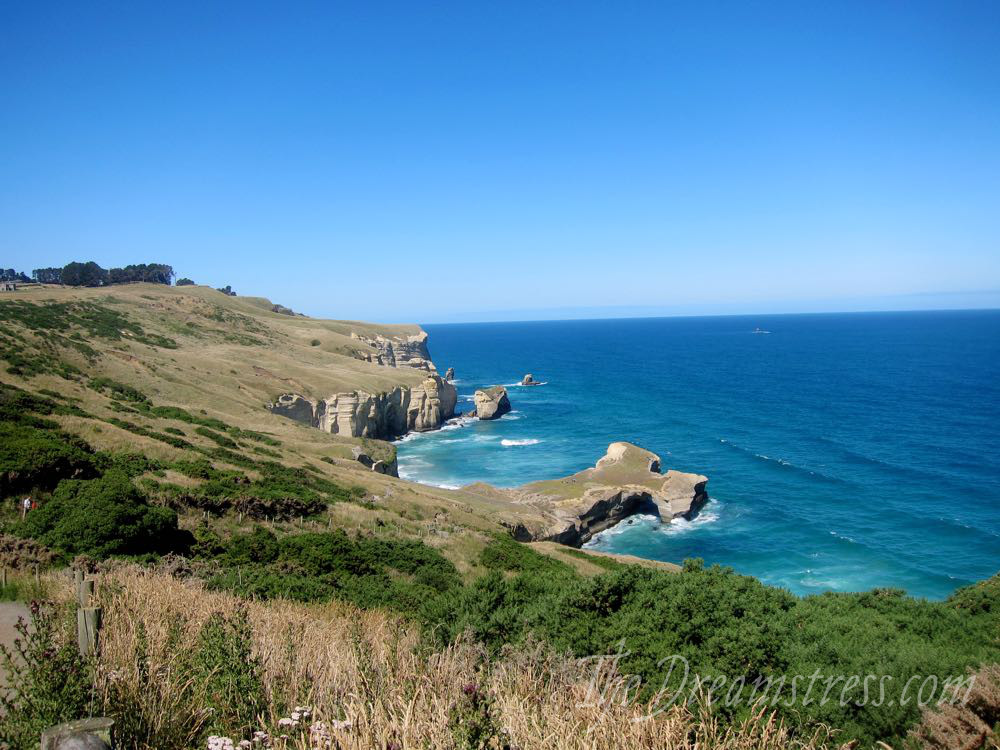
As we approached the cliffs I could see that the little peninsula out over the sea was more than just that: it was a sea-arch, with the cold salt water rushing under the rocks and smashing up against the cliffs, slowly eroding them:


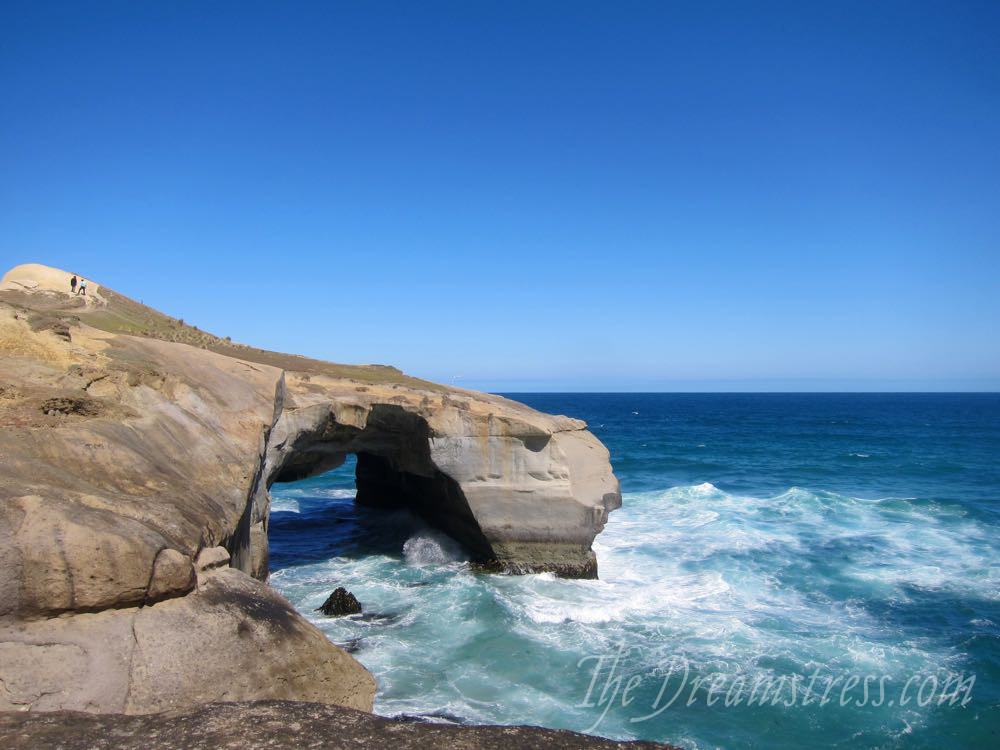
What a view!
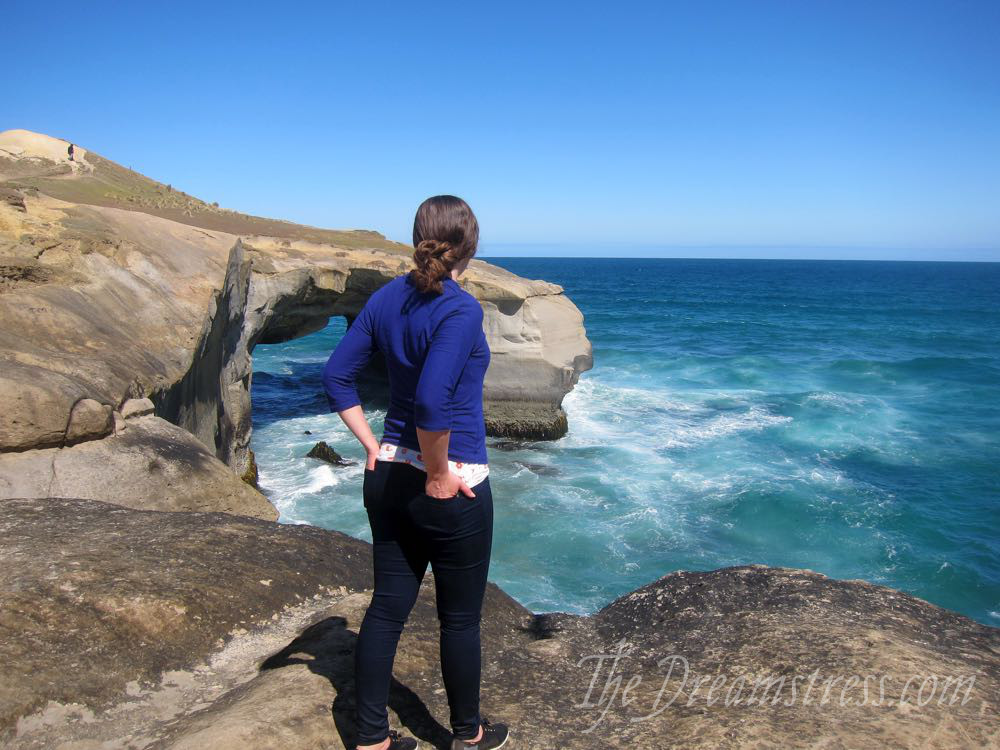
Confession time:
I’m afraid of heights. Even worse than being on a height myself is watching someone else on heights:

I am so bad about it that even watching the seagulls dropping off the edge of the cliffs and taking flight freaked me out.

OK, so spectacular cliffs, yes. Sea tunnel: amazing. But what about the beach, and the people tunnel?
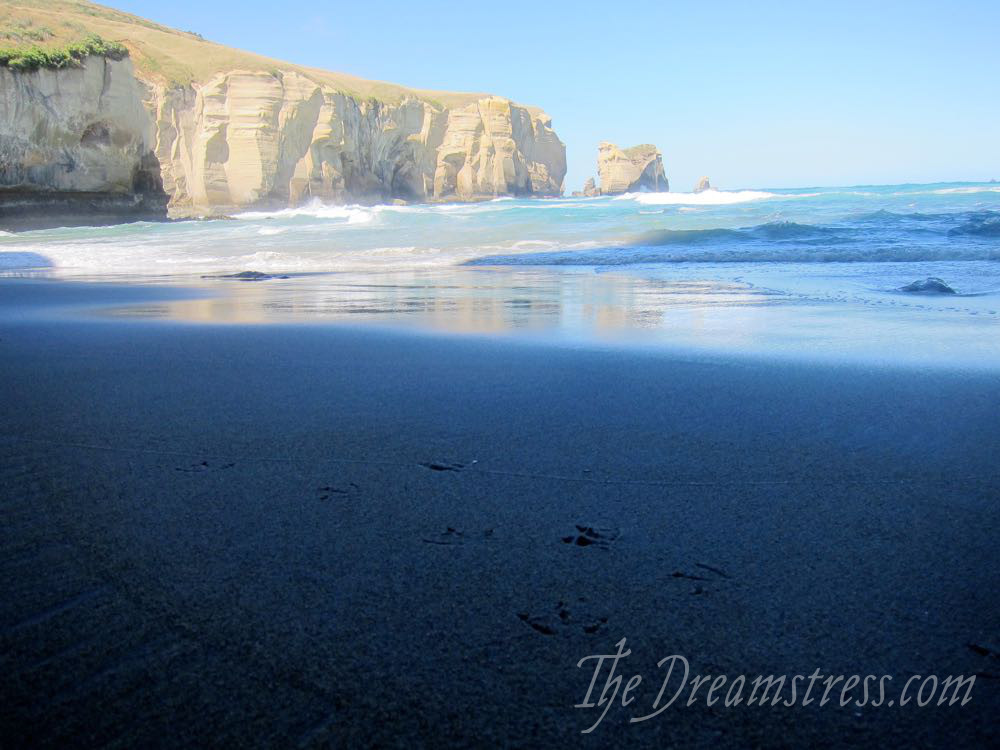
Here is the beach, tucked just to the side of the little peninsula with the sea-tunnel:
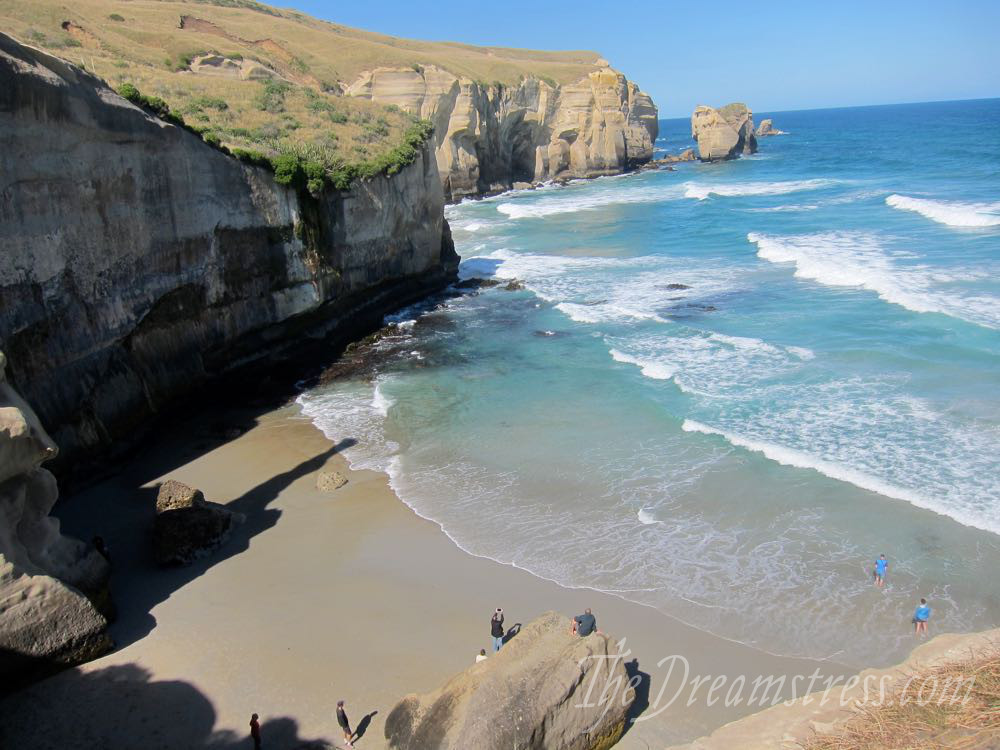
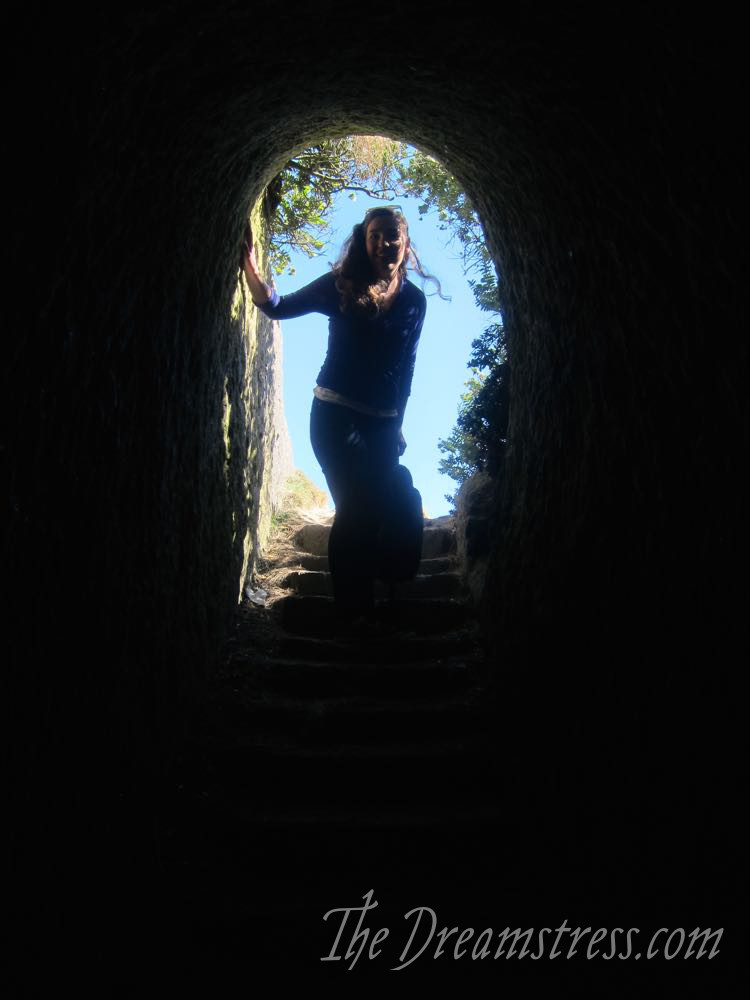
And here is the people tunnel, tucked in a little hollow, all fringed ’round with hebe.
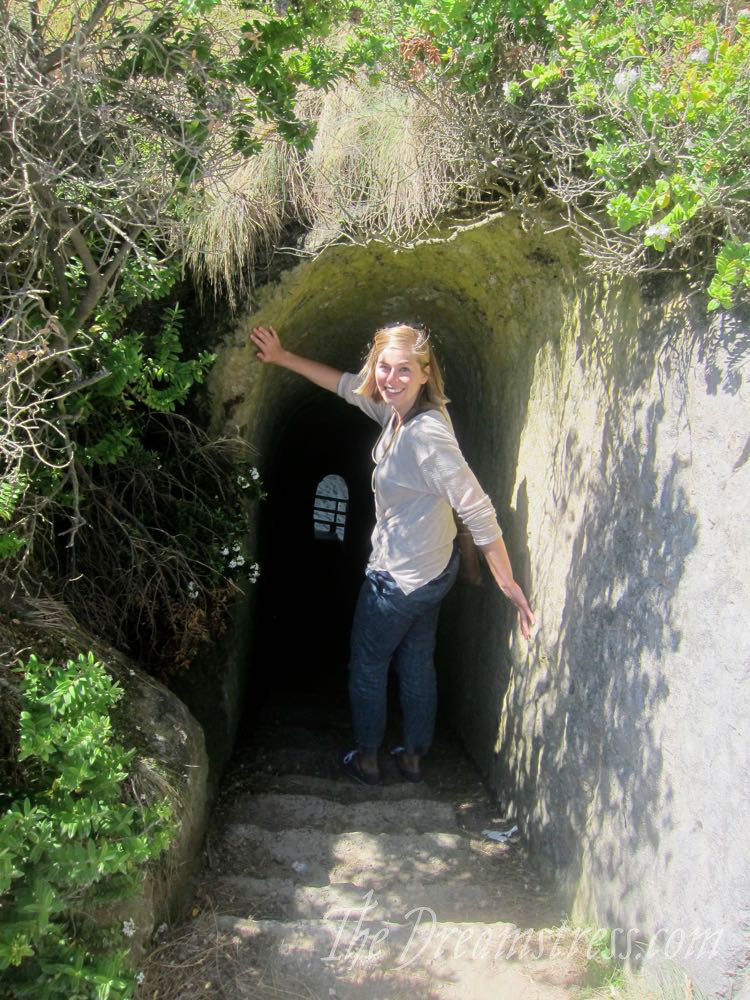
Down it goes, descending steeply through 60 meters of sea cliffs.
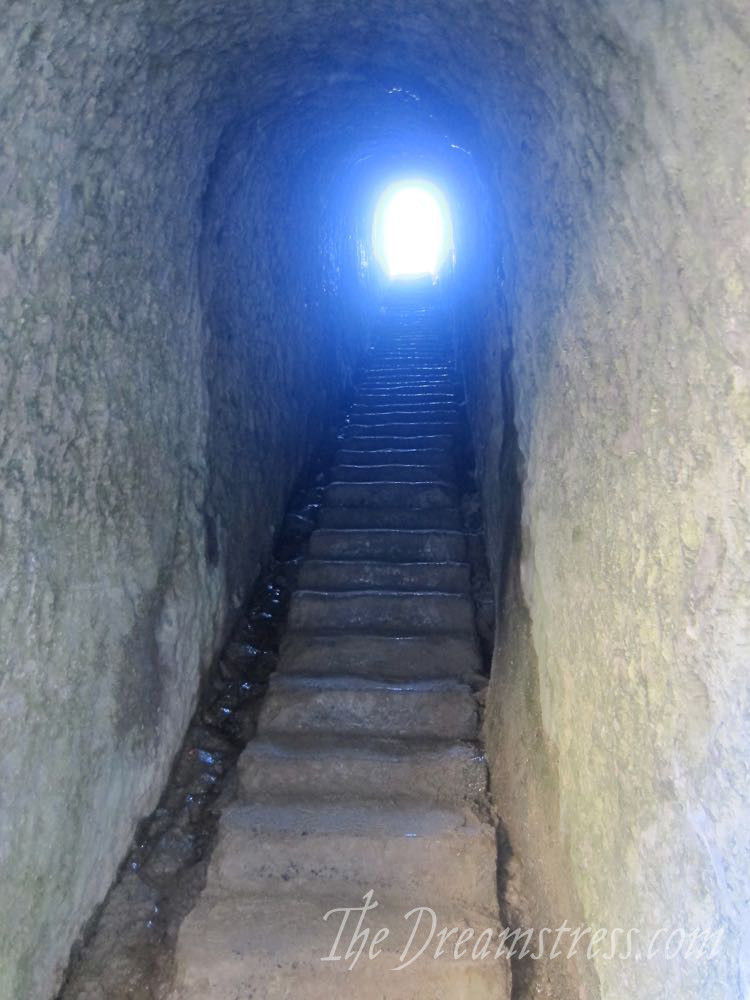
Down below is the perfect private little beach:
Somewhat less private on a beautiful sunny public holiday:
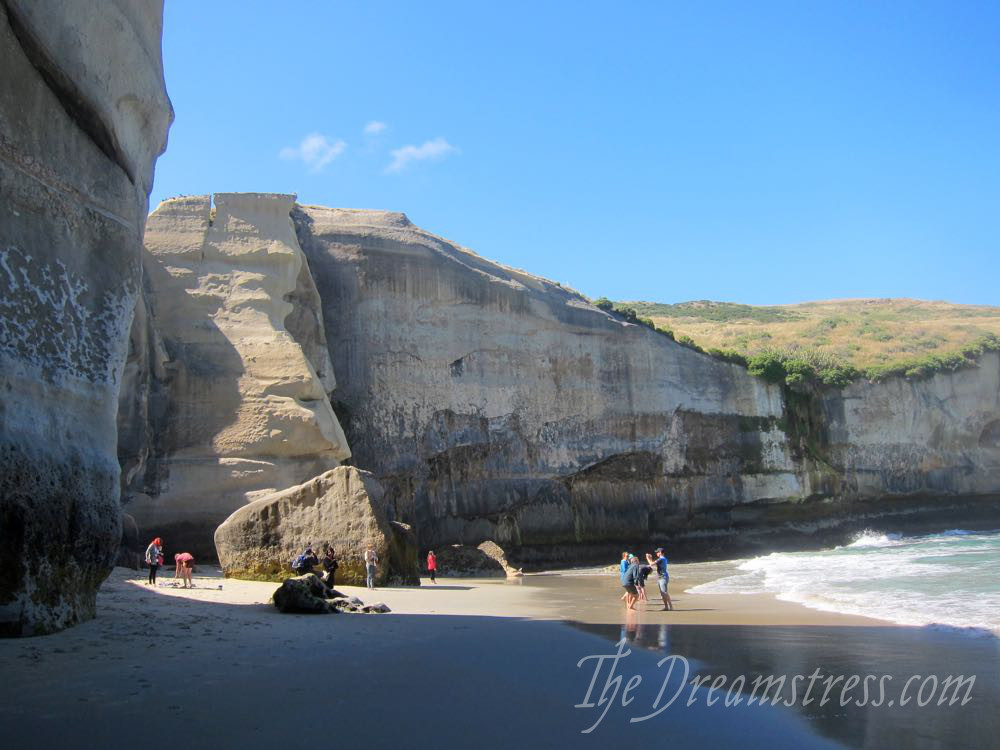
We sat in the sun, gazed at the sea, marvelled at the cliffs:

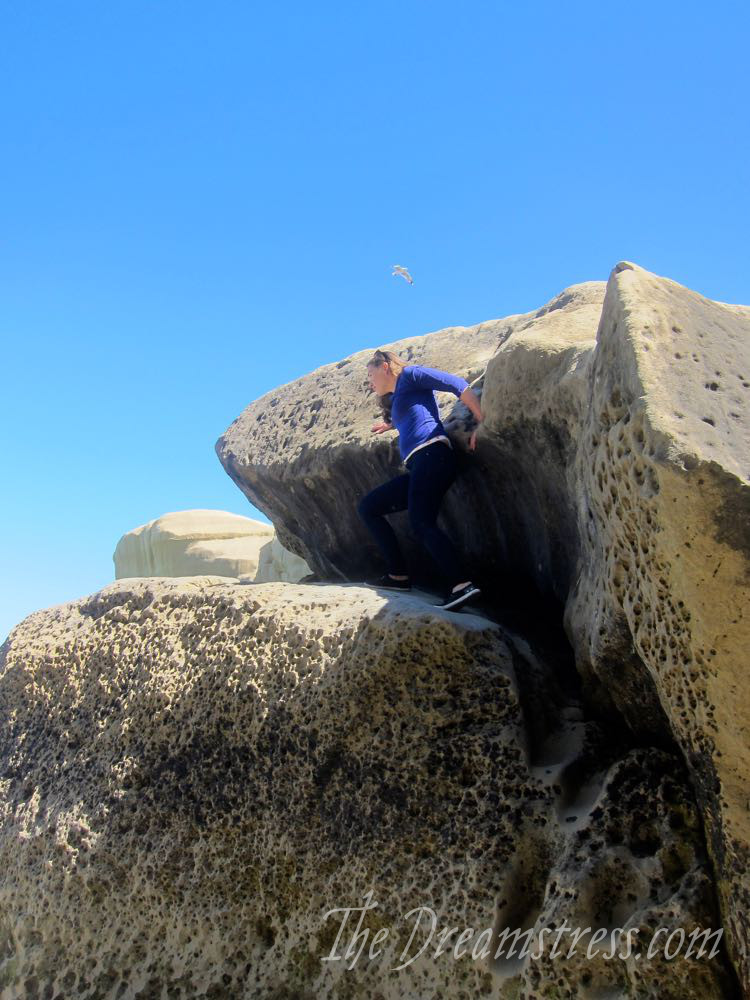
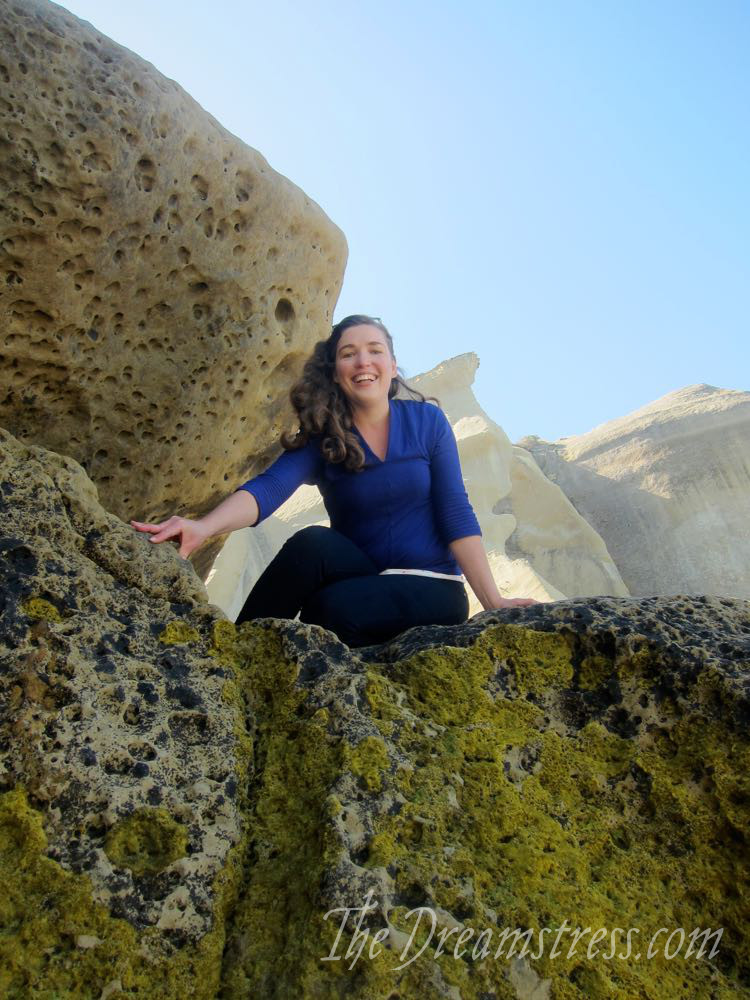
And I even attempted a little minor rock-climbing!
I’m now having serious thoughts about 1870s bathing costumes and seaside wear, and return trips to Dunedin…