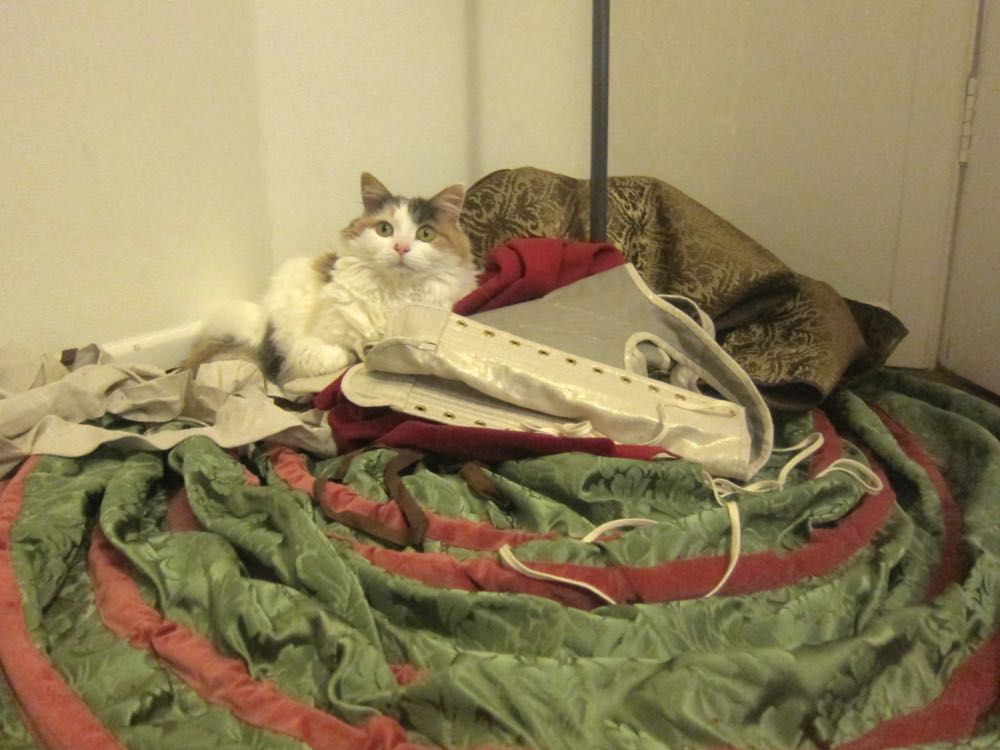
I made an Elizabethan ruff! And it turned out really well (not perfect, but really well). And I am extremely pleased with myself.
And it’s really, really close to perfectly historically accurate!
Making a ruff turned out to be a lot harder than I thought it would be simply because there is so much rubbish information about ruffs on the internet. (Granted, there is rubbish information in books too – Tudor Tailor doesn’t do a good job of making it clear when they are using a historically accurate method and when they use a theatre one, for example, and even Saint Janet got things wrong on occasion. So I like to read EVERYTHING and then collate all the evidence in the hopes of arriving at something at least reasonably plausible.)
So I had to weed out all the advice about 1) cutting yourself a really long strip entirely on the selvedge (this immediately read wrong to me because it’s hugely wasteful of fabric, and fabric wastage is rarely historically accurate. Plus the grain will be wrong and the ruff will want to collapse if you have the grain running along it rather than across it. And yep, when I looked into it every example of an extant ruff I could find is cut from multiple lengths across the grain); 2) arranging your ruff into stacked pleats (doesn’t match the visual evidence, extant ruffs, or written historical records), 3) using fishing line on the edges (clearly this isn’t HA), 4) sewing your setts into place (useful for theatre, but not supported by any historical record)
I ended up relying almost entirely on Arnold and Noel Gielgehem’s extremely helpful 1570s ruff tutorial/discussion at St George North.
I made one-and-a-half huge concessions to historical accuracy in making my ruff.
The big one was finishing the raw edge and attaching the lace by machine – I wasn’t willing to expend the amount of time it takes to hand sew 162″ of hem on a ruff I wasn’t sure would work out.
The smaller concession was fabric: I used a vintage linen intended for napkins, with helpful drawn threads at intervals, for my ruff. It’s a lower grade than would have been used in an Elizabethan ruff (not that it’s really even possible to find linen up to Elizabethan standards), and, of course, the drawn thread gaps aren’t accurate, but it’s not too bad, and it was cheap ($3 for a couple of meteres at an op-shop!), so great for what is effectively a working toile.
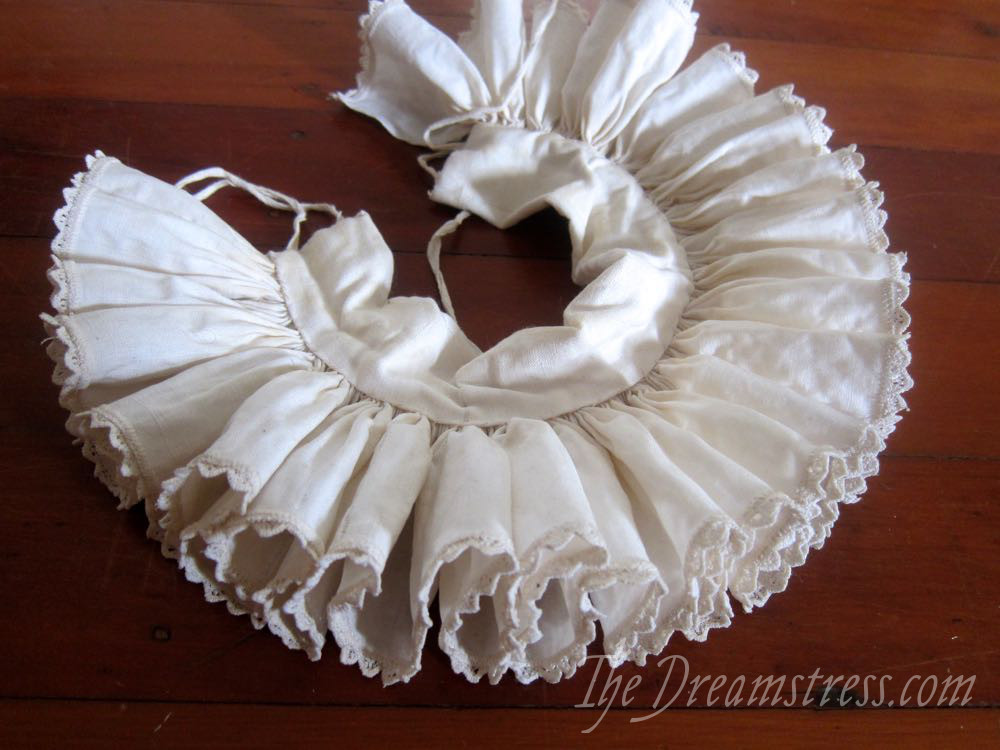
I joined my lengths of linen, finished my edges, attached my lace (with help from the lovely Nina of Smash the Stash, who rescued me from a couple of hours of, if not exactly swearing, at least emphatic grumbling, by doing it for me), and then marked the points for cartridge pleating.
And marked them.
And marked them.
And marked them.
And marked them.
1,296 cartridge pleat points later (and I did the MINIMUM number of lines!) I was ready to cartridge pleat, which, of course, took every bit as long as marking the dots.
But I’ll spare you the repeated blog points of them.
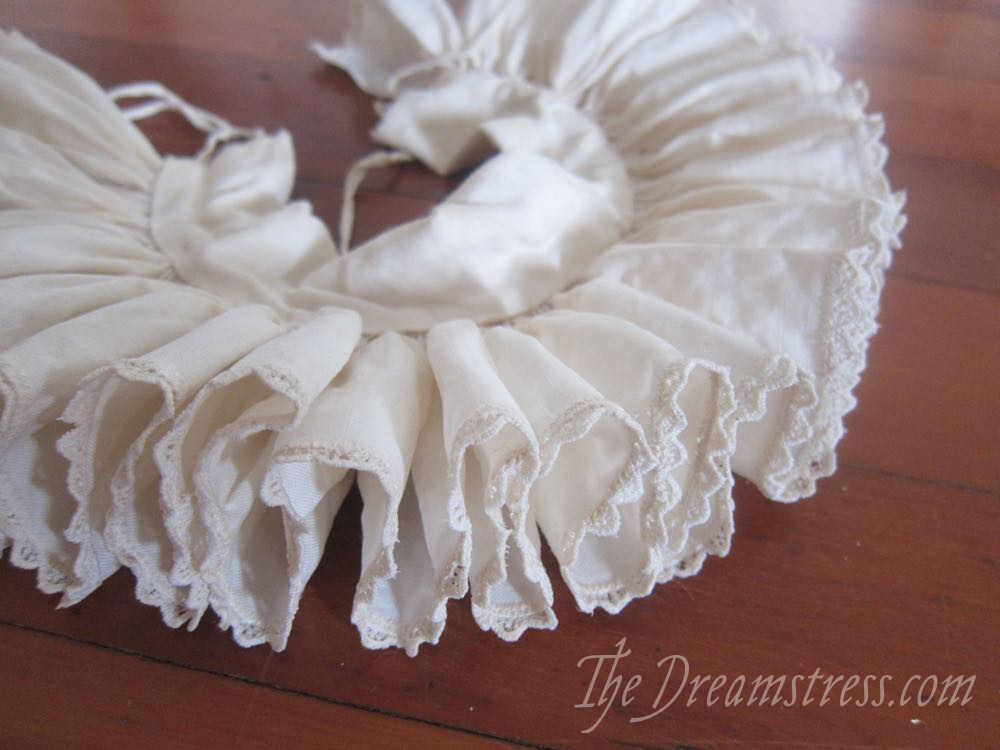
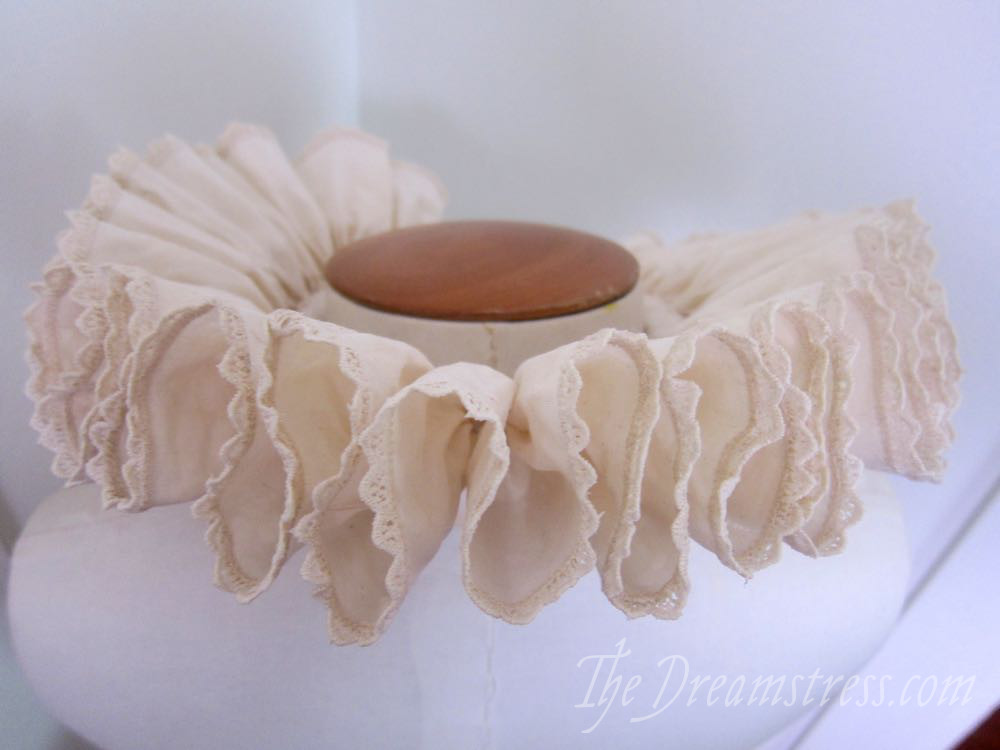
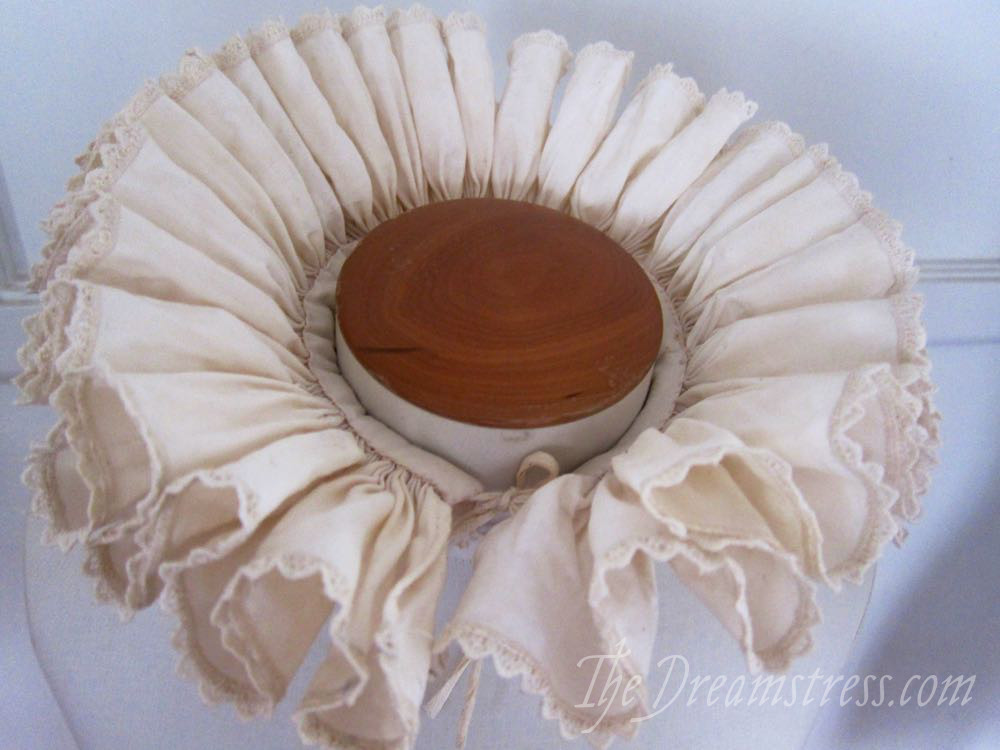
I gathered in the cartridge pleating, and attached them to my neckband, added ties, and I had a ruff:

I managed to twist and warp the neckband a little bit while making it. I may re-do that at some point, depending on how soon I am motivated to make a better one.

Once the ruff was done, I washed it:
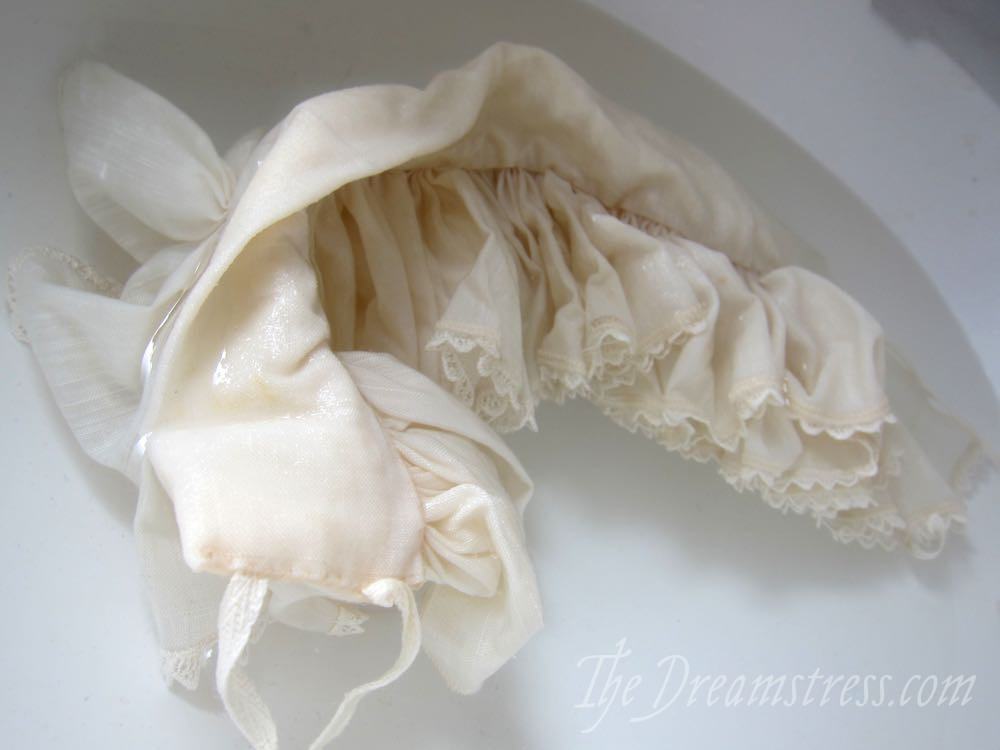
And made starch, and coated it in starching paste:
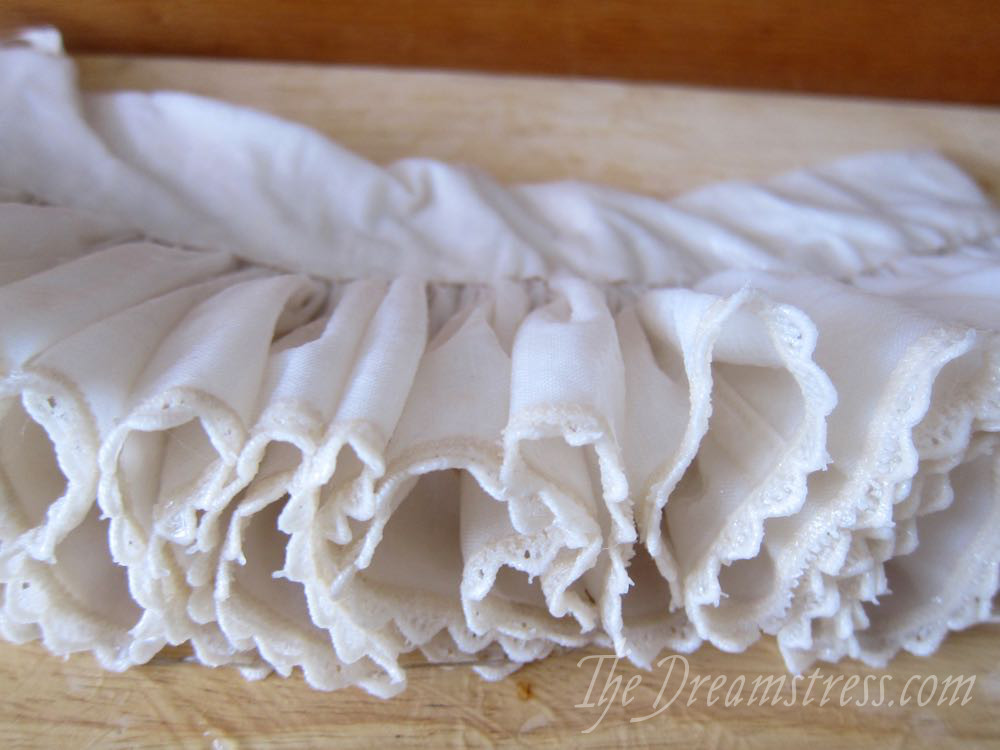
This is where I made the biggest mistake of the process. I let the ruff dry on a wooden chopping block. Bad move. I hope the wood stains launder out!
As it dried, I shaped the setts, and once it was almost dry, I used a curling iron to finish setting them. My setts certainly aren’t perfect, and I mis-measured on one end, but for my very first attempt, not too bad!
Here is the mis-measuring:
The starching is REALLY impressive. The ruff is STIFF. These photographs were taken after the ruff had already spent a day being handed around and inspected by 60+ 14 year old girls, and modelled by four of them.
 And it was a warm, extremely humid day. But there is no wilting whatsoever!
I think I see more ruffs in my future…
The Challenge: #12: Re-Do
Challenges this is re-doing (once again, I am attempting to re-do every challenge from the year in December, though each item can cover multiple challeges):
– #3 Stashbusting: I’ve had the linen and lace in stash for years)
– #4 War & Peace: unprecedented peace within Tudor & Elizabethan England brought prosperity, and enough abundance to use wheat starch on clothing, rather than just as food.
– #6 Out of Your Comfort Zone: I’ve never made a ruff, worked with starch from scratch, or done upper-class Elizabethan.
– #7 Accessorise: that one should be self evident
– #8 Heirlooms & Heritage: some of my ancestors were minor nobility in England at this period, shortly before they emigrated to the US (pre-Mayflower!), this is exactly the sort of garment they would have worn, and another one was apparently a linen weaver in Wales, who may have made linen for ruffs.
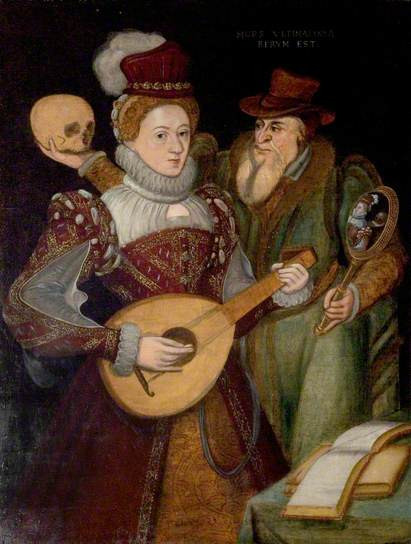
– #11 Silver Screen: there are dozens of films about Queen Elizabeth or Shakespeare that use ruffs like this, but mine particularly reminds me of the ruffs in Shakespear in Love – one of the things the films costuming really got right was the not-always-pristine-ness of the ruffs, which lent an air of authenticity even if the costumes weren’t technically accurate.
Fabric: 1/2 metre of ivory linen
Pattern: None, but hugely based on this tutorial, with lots of reference to Janet Arnold
Year: ca. 1570
Notions: linen thread, cotton lace, cotton thread
How historically accurate is it?: I finished the ruff edges with machine sewing, and the lace is (of course) modern, and the overall construction is a bit rough, but it’s not at all implausible than a (possibly slightly inept) 15th c apprentice ruff-maker made something very like this as their first attempt! Overall, I’m quite pleased. 80%
Hours to complete: 12
First worn: Wed Dec 2nd, by a bunch of high school girls who I gave a talk on Elizabethan fashion to. The photos shows the ruff post handling, inspection & try-ons by 60+ 14-year-olds, so I think it’s holding up pretty well indeed!
Total cost: Under $5