So, I was supposed to be going to Medeltisveckans on Gotland in Sweden this August. But I’m not. And that’s OK (well, the not going. Not how it happened. That wasn’t OK. And I’m dealing with that).
But the good news is, I’m going to be doing something even better. You’ll hear about that soon…
But, I spent 4 months planning for Medeltisveckans, which obviously means sewing! Medieval sewing.
My big worry about Medeltisveckans is that by all accounts is usually hot. So I needed to plan a capsule wardrobe of >1 suitcase worth of Medieval clothes that I wouldn’t overheat in, and that would be as light as possible (because, luggage allowances).
My solution? My yellow 1370s dress, and one of the short sleeved dresses from the famous Herjolfsnes finds in wool, with the option to wear it with or without pin on sleeves and alone or over the yellow 1370s dress – so many different options, and the looseness of the Herjolfsnes dress would make it cool and breezy in the heat.
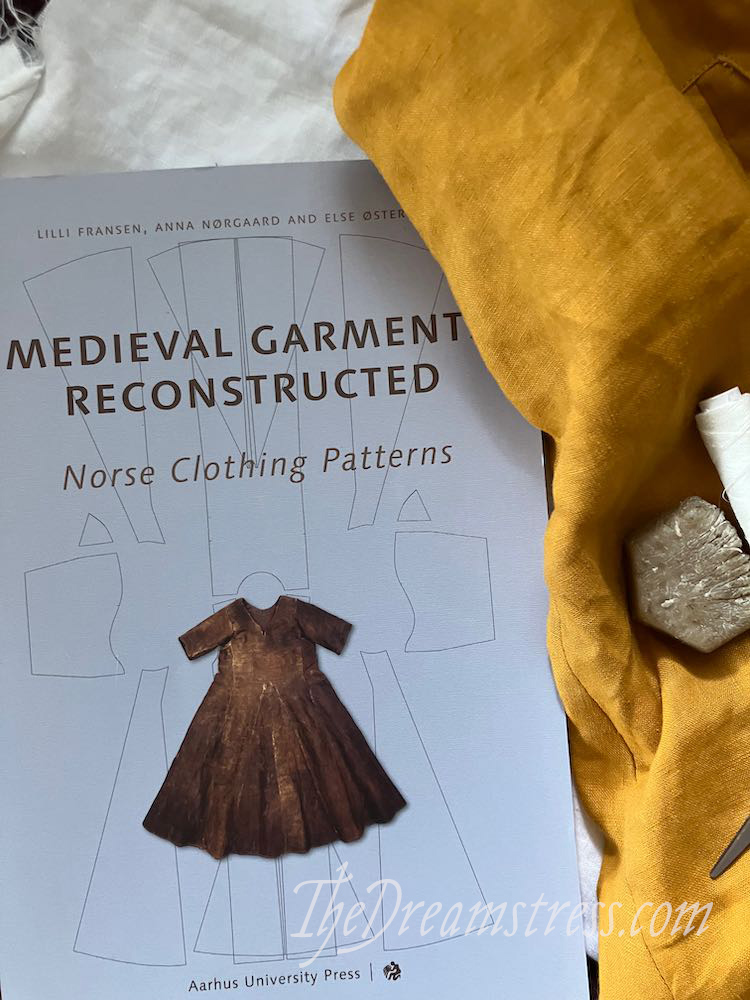
So, I patterned up Herjolfsnes 39 from Medieval Garments Reconstructed (it’s on page 58, and featured on the front cover)
I decided I’d make a wearable mock up in linen to test the pattern before cutting in to my precious, this-is-going-to-take-every-scrap wool. I wouldn’t wear the linen dress as a historical garment, but it could make a fun everyday dress, for a different kind of historybounding.
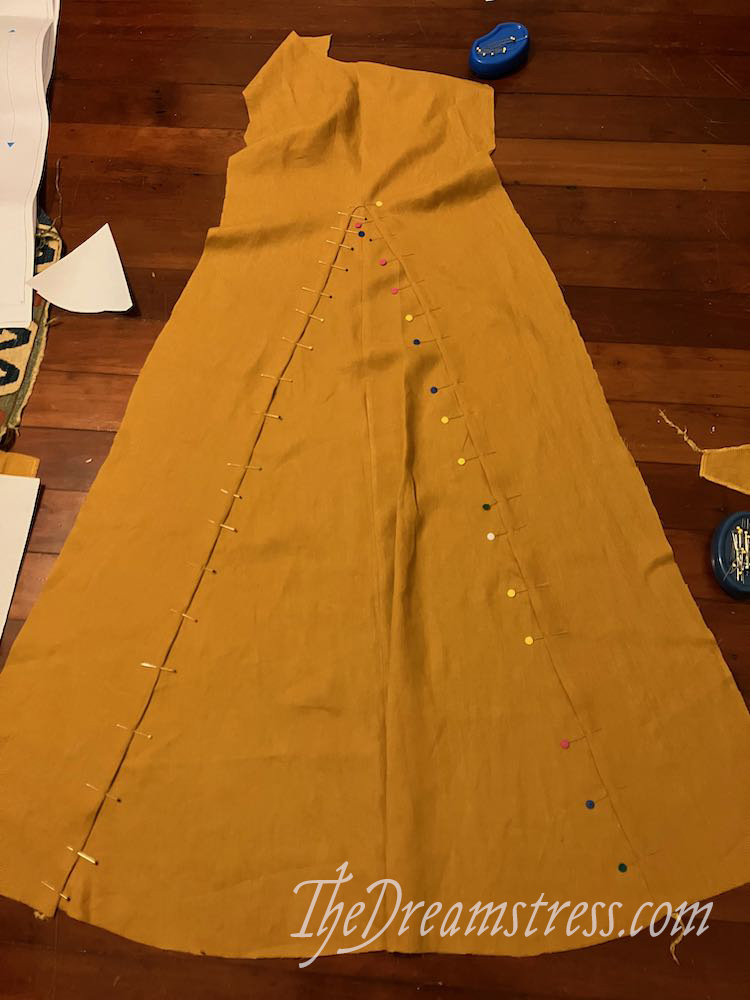
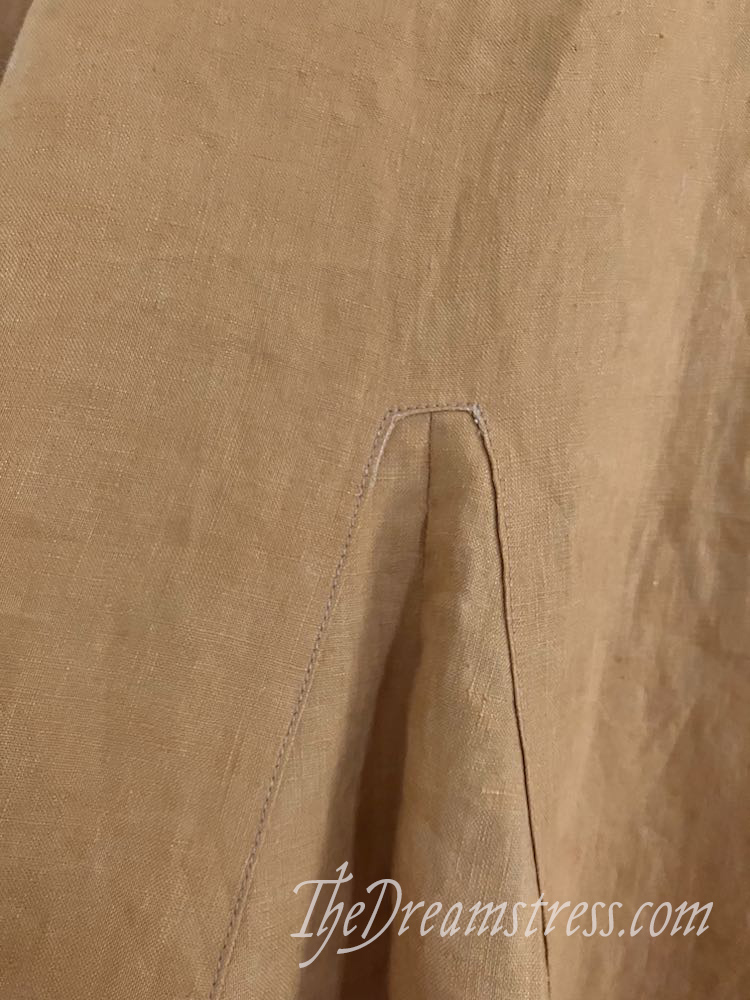
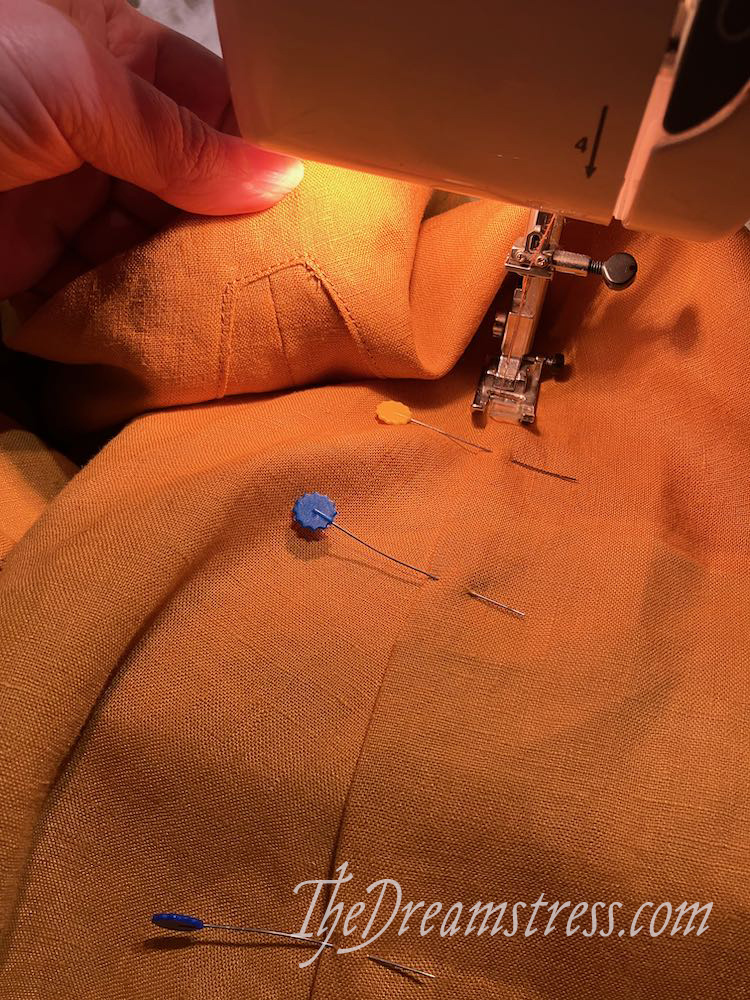
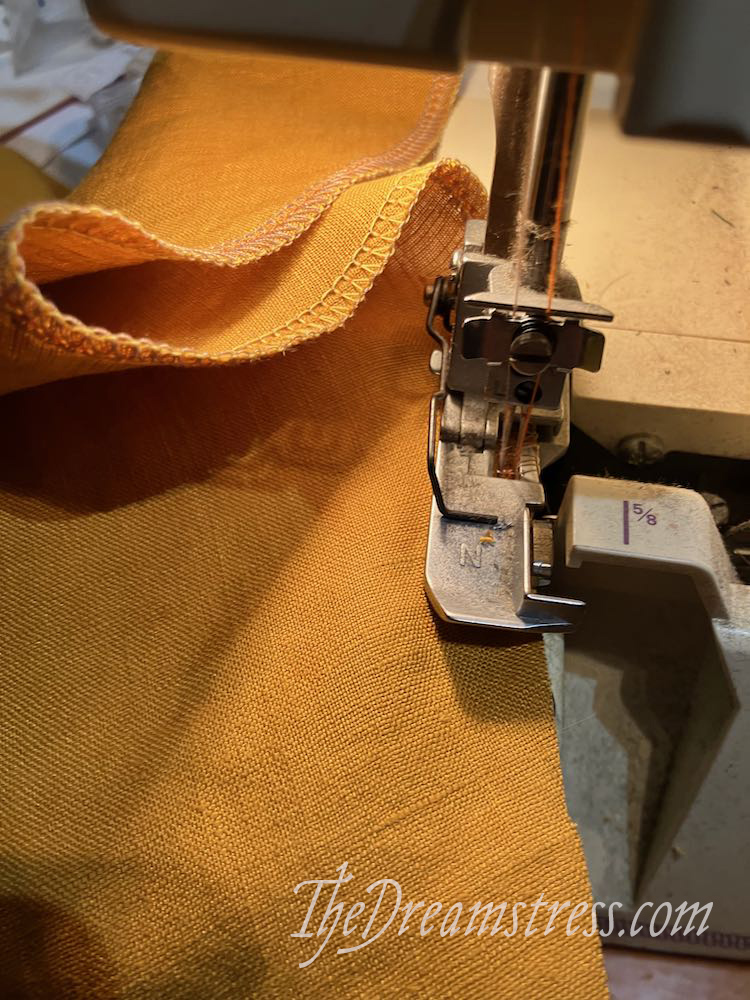
Because this is meant to be an everyday dress, I did it all by machine, including figuring out a fun way to do the inset godets by machine
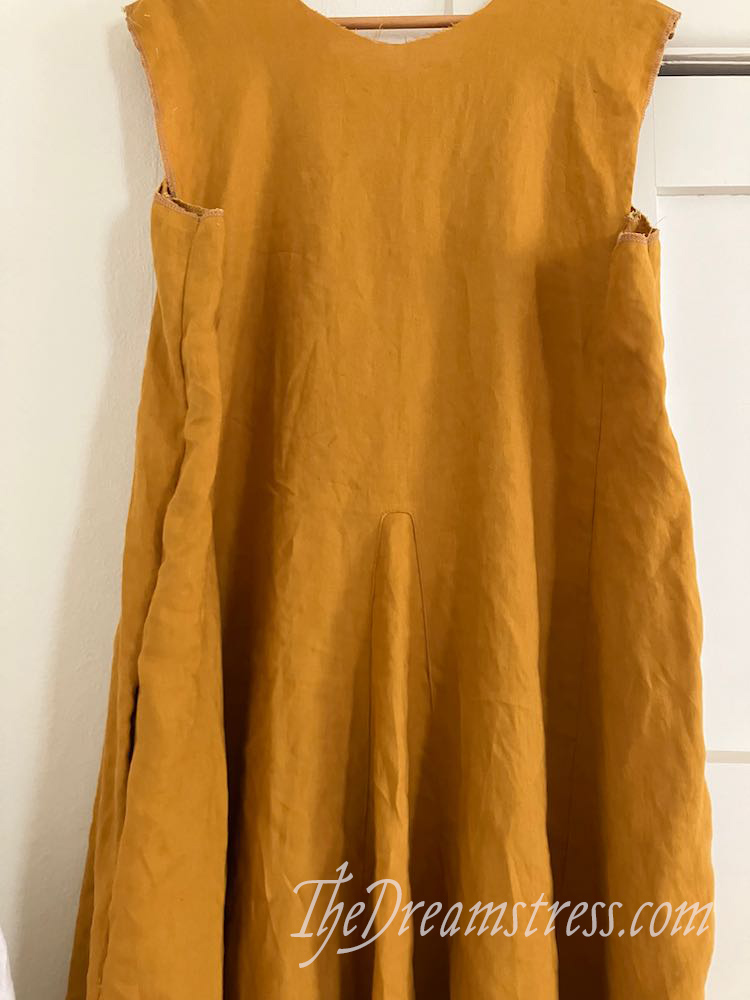
Here’s the dress at finished-except-sleeves point:

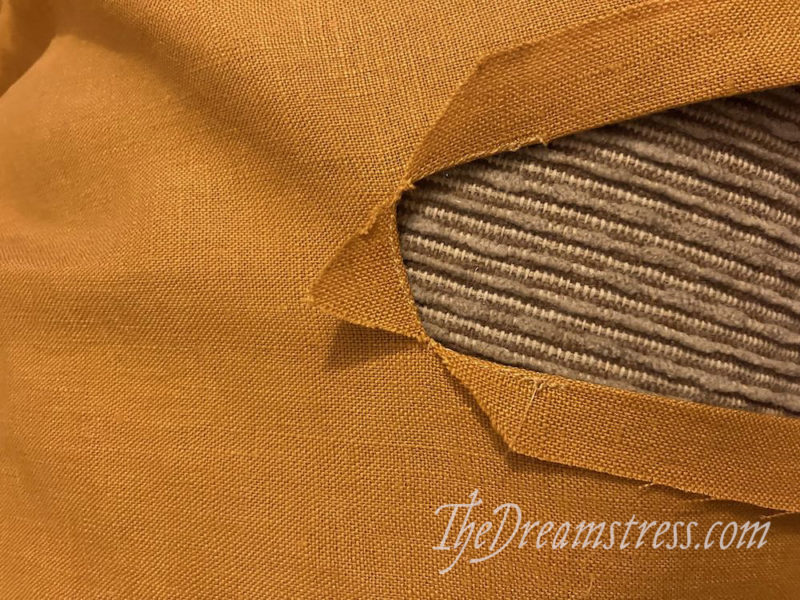
The pattern fit me extremely well exactly as I’d drafted it, except for the sleeves. They were extremely weird. Did not fit. I can understand historical sleeves that don’t fit our modern standards of attractiveness, but these ones were just uncomfortable and did not provide a good range of movement. Bulgy extra fabric in all the wrong places, and not enough in the right places.
The archeological notes on the dress say the woman who wore it may have had a hunch back, so perhaps that accounts for the sleeves. Perhaps the drafter for the original garment was bad at it? Perhaps they were installed badly at some point after their excavation? I know at least one of the garments patterned in Medieval Garments Reconstructed has the sleeves put on backwards, possibly repeating a mistake that was made when the garments were ‘conserved’ and re-sewn in the mid-20th century.
Whatever the case, the sleeves required a total re-draft. With help from Miss Fiss:
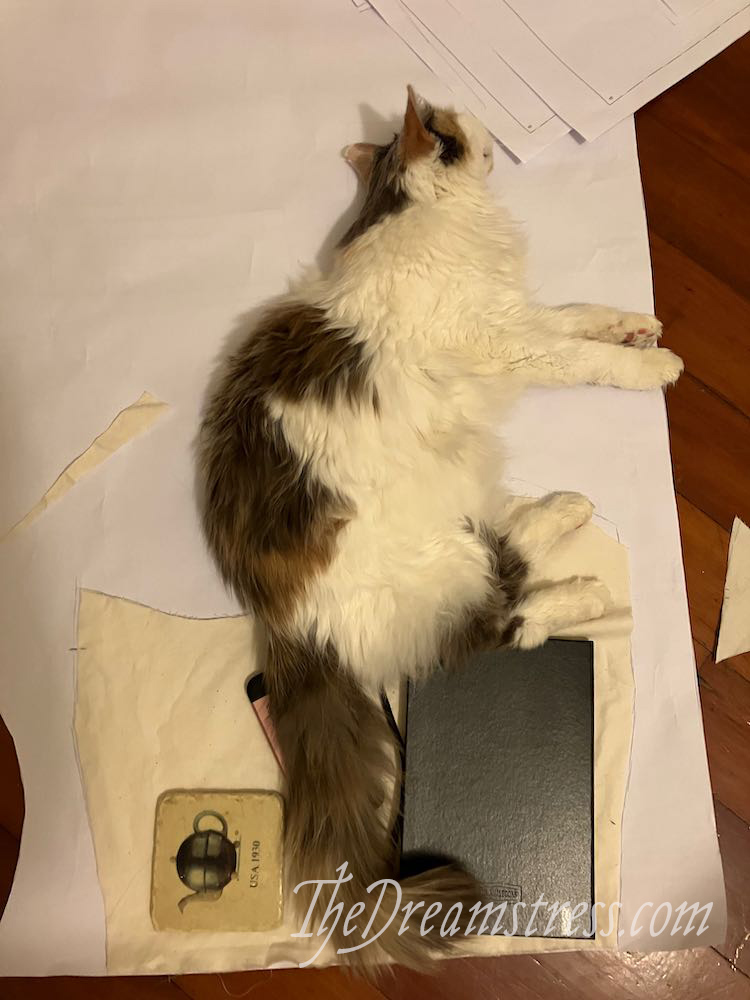
It took a few tries, but I got there!
I kept the original sleeve length for the linen dress, but I may cut them shorter for a more flattering look. They do end at an odd length.

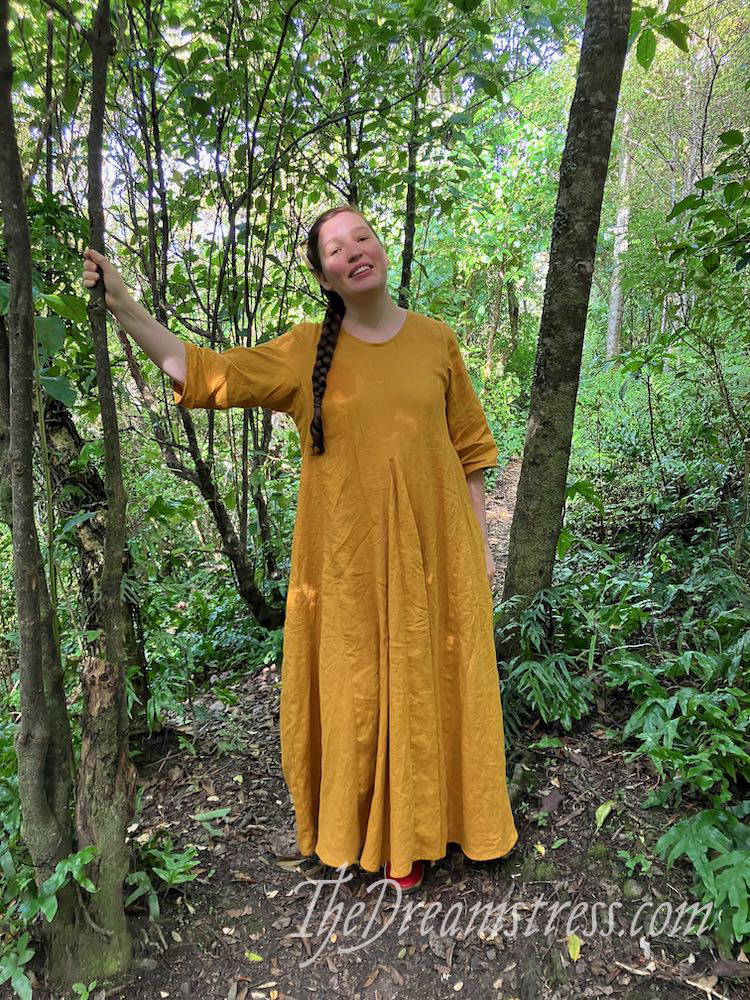
I just had time to get a couple of wears out of the dress before winter closed in in New Zealand, and I loved it. So swishy!
Also, I added pockets.

I got tons of compliments too – who knew that marigold yellow linen sacks would be so popular!
It was so comfy I wore it for a walk in Zealandia.
Enjoy this ridiculous series of photos of me loosing my sunglasses:


(and apologies for the wet spot – braids just after washing your hair!)
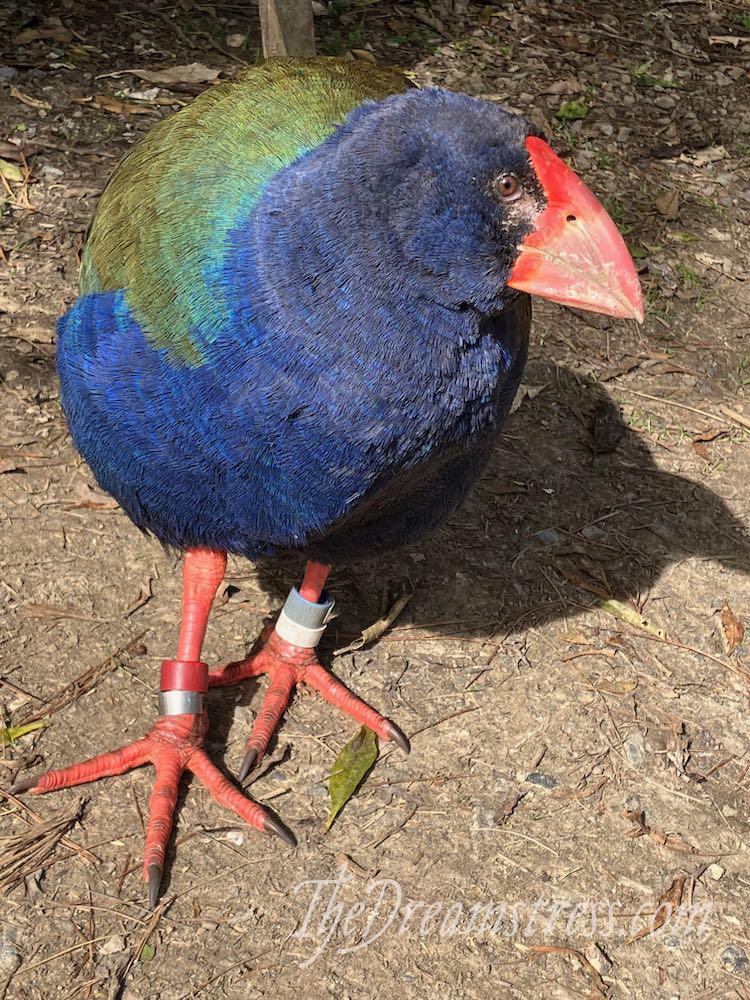
And then enjoy some of the other pretties we saw in Zealandia that day: