The Baha’i Faith puts great emphasis on the importance of joy. ‘Abdu’l-Bahá (the son of Baha’u’llah, the Baha’i prophet) said:
Joy gives us wings! In times of joy our strength is more vital, our intellect keener, and our understanding less clouded. We seem better able to cope with the world and to find our sphere of usefulness.
The focus on joy doesn’t preclude the existence of times of sorrow, pain, sadness, and depression but reminds us that there can be moments of happiness even in those times, and that by finding those bits of happiness, we can make the hard times easier. ‘Abdu’l-Bahá knew about suffering: he spent most of his life, from the time he was a small child, in prison due to the persecution of the Baha’is in Iran and the Ottoman Empire. And yet people who met him vividly recalled the joy he exuded, and his sense of humor and laughter. One of my favourite stories of ‘Abdu’l-Bahá recounts how, when he and fellow Baha’is were imprisoned and subject to particularly harsh privations, he insisted that at the end of every day, they would share jokes and funny stories, until everyone was crying with laughter.
All of which leads me to this dress:
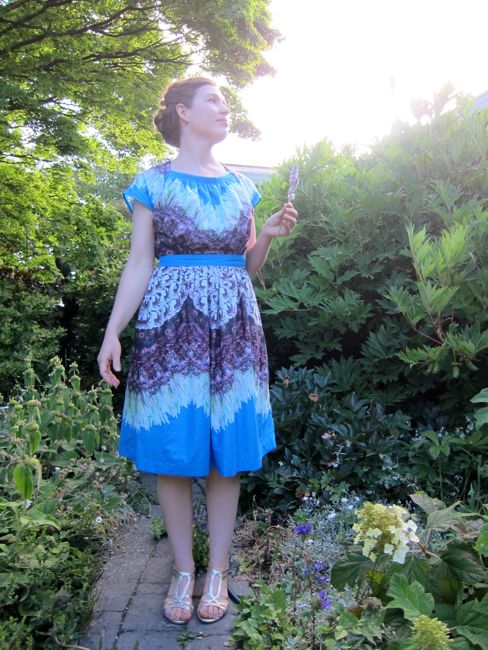
The pattern for this dress is the Decades of Style #4013 Dorothy Lara dress. I was smitten with the pattern as soon as I saw it, and thought it would be the perfect pattern to go with this crazy feather border print that I picked up at a Fabric Warehouse pop-up sale. I instantly loved the fabric, but wasn’t sure I would love it on me, so it seemed a good pick for a working toile of the Dorothy Lara dress – if the finished item didn’t suit me, I wouldn’t be brokenhearted.
Now, four Decades of Style patterns in, I know I struggle with the instructions. I love the finished items, but getting there involves a bit of hair pulling. I find them tricky for two reasons. First, I dislike the modernised, updated instructions (I prefer original vintage techniques). Second, I find that DoS patterns lack a ‘road map’, which gives you a clear idea of what you will be doing to construct the garment. It’s like trying to follow Google Maps driving instructions without being able to see a map of the route: you can read all the distances and right and left turns ahead of time, but visualising them is difficult. If this pattern had a little blurb that said “The Dorothy Lara dress features a bodice with raglan sleeves and faux-smocking gathers to the lower and upper front and lower back, with upper back darts for shaping. The skirt also features faux-smocked gathers at front and back. The gathers are sewn-in, gathered up, and then oversewn and the original stitching removed. There is a invisible side zip on the left, and a pocket on the right” I would know how to make it without really needing to read the instructions. As it was, I read the instructions through three times before starting, but still didn’t ‘see’ the process in my head.
So there was a lot of unhappiness and unpicking while making the dress.
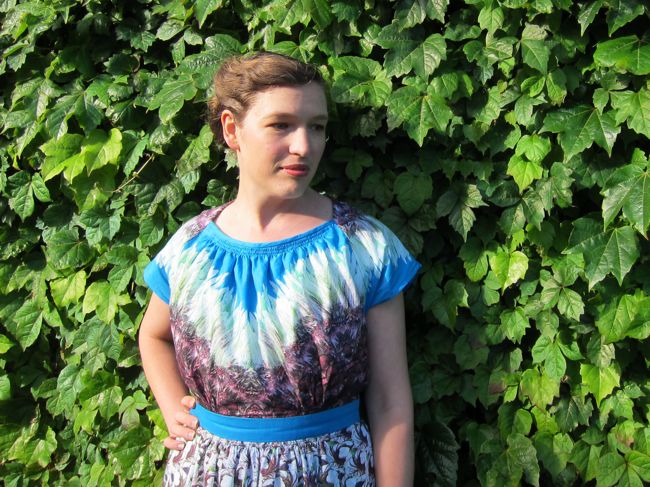
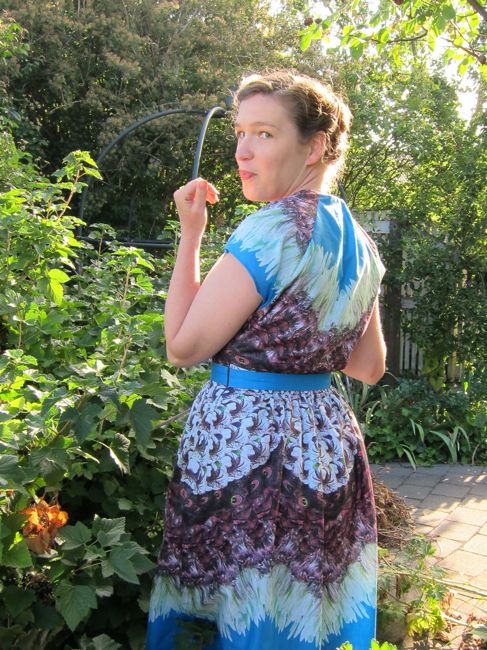
Most of it was entirely my fault, because getting the border print of the feathered fabric cut right turned out to be INCREDIBLY tricky – much more so than it looks. It’s really large scale, mirrored across the width of the fabric, and looks symmetrical, but isn’t quite even. First I cut the skirt front wrong. Then I cut the skirt bodice wrong. Twice. Then, halfway through making the dress, I realised that the feather-patterned belt I’d originally planned looked daft, so I had to re-cut it in the blue. Finally, I’m still not convinced that I did right in cutting the sleeves with the feathers going down. I liked the idea of the feathers heading down like wings, but once it was sewn together I began to suspect that I should have made the sleeves match the bodice, with blue framing the neckline all the way around.

But there was also a lot of pattern-instruction-based grumbling and muttering as I tried to figure out where I should use basting thread colours for gathering, and where I needed to use my finished thread, and when I pulled out the gathering stitches, and how to get a neck facing that isn’t the same curve as the neck to sit nicely.
The front neck still gapes and falls forward, but I’ve checked and it gapes on both the DoS samples, and every other version of this dress I have seen sewn up, so I feel a bit better about mine. And I have cunning plans on how to fix the gape on the next version.
I had originally intended to call the dress ‘Fancy Feathers’ because, feathers (I know. So original). By the time I was halfway through the poor thing had been dubbed the ‘Blood, Sweat, Tears & Feathers’ frock. But, once I put on the fully finished dress, I loved it.
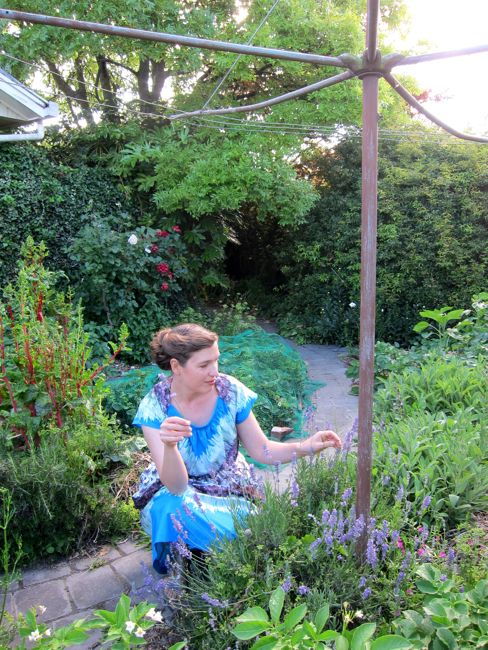
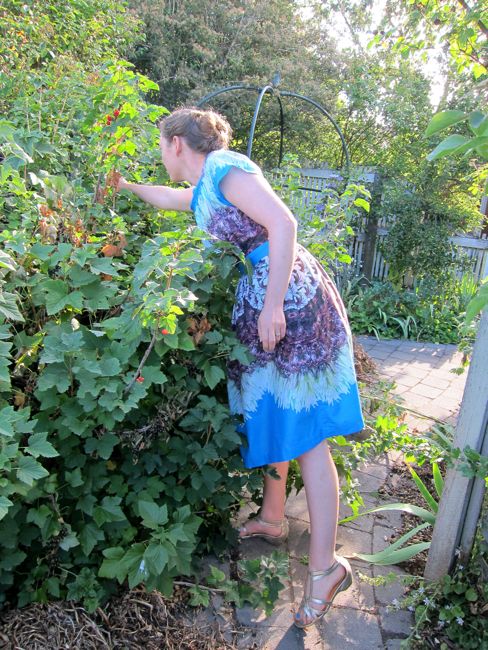
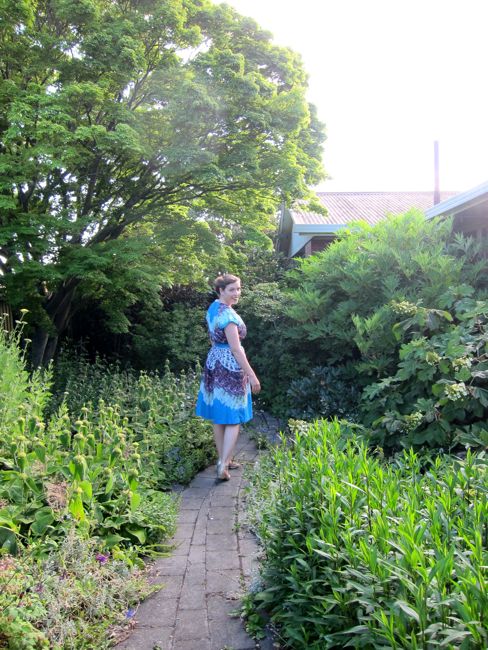
I gave the dress a trial run at Lynne’s, frolicking around in her garden, my camera in the cunning pocket when it (the camera, not the pocket, obviously) wasn’t in use. I picked blackcurrants and redcurrants, lavender and mint. I skipped and twirled and swished, and it was wonderful.
Enjoying my dress in the garden, I realised that I don’t want to give it a name that focuses on the trials of making it. I love the joy of the finished product, and the irritations of sewing it will soon be forgotten. The important thing about this dress, about any experience, is what you learn, and the bits of happiness.
So, the frock’s third and last name is the ‘Joy Gives Us Wings’ dress. It suits.
I know it’s a small, silly thing to be joyful about, but the whole point is to remind yourself how much joy there is, all the time.
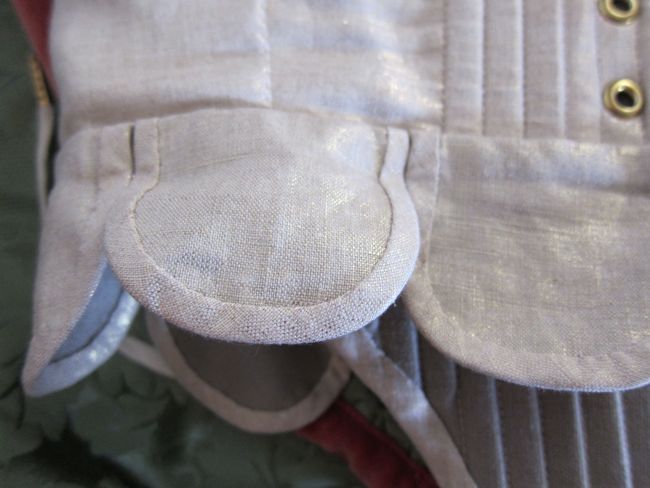
I’m particularly joyful about the excellent pattern matching on the side of the skirt:
And how deliciously light and airy the dress feels.
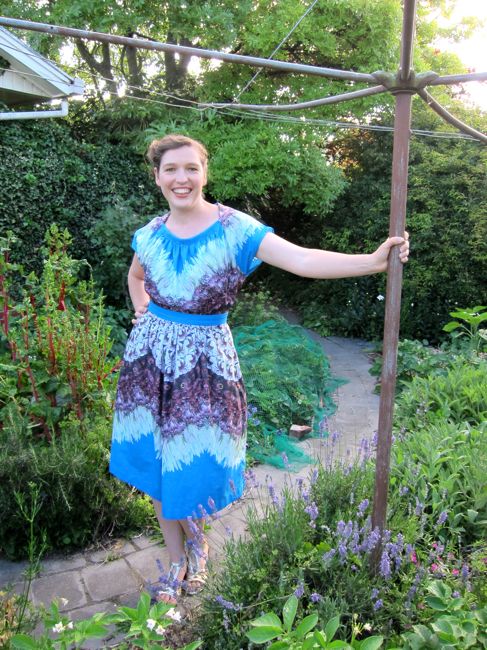
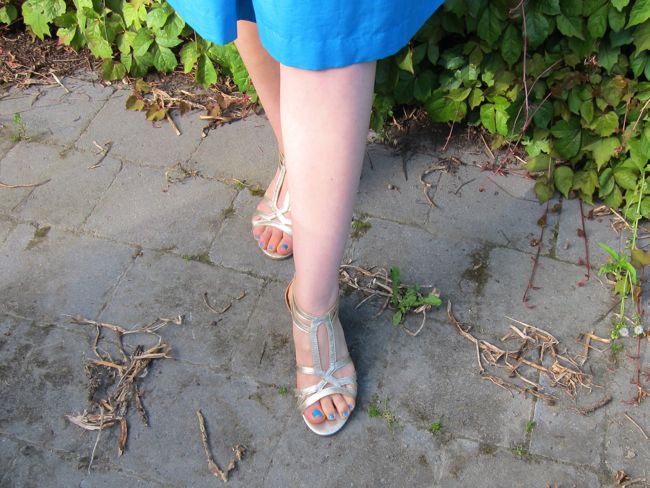
And how perfectly my toenails match the frock (first nailpolish of the summer – yay!)
Mostly though, I’m joyful because of all the lovely moments that there were around making the dress: turning the cutting mishaps into a joke, constructing it in a sewing day with a friend, finishing it while hanging out with Lynne. The real joy is in the moments with people: the connections and laughter and sharing.
I will be making some changes next time I make the pattern, but I will be making the pattern again, and that’s a very good sign.
I tried not too make too many adaptations to the pattern this time, because I like to trial a pattern in a fairly un-adulterated form, but I did make a few small alterations.
According to the size guide, I should have made a 38″, but I checked the finished pattern measurements (Yay for DoS for including them!) and made the 36″ instead. The waist is perfect on me, but the bodice is still really big. Next time I’ll be cutting the skirt and waistband as a 36″, but cutting the bodice as a 34″, or maybe even a 32″. And I’ll be shortening the bodice a teeny bit. I’m just not quite the shape that DoS patterns are drafted for, and they do run a size or two large in any case.
I also added four inches to the length of the skirt (and then did exactly the 1.5″ hem allowed on the pattern). I’m 5’7″, but have short legs (I have the waist-to-ground measure of the average 5’5″ woman), so the skirt is REALLY short for the 1940s. Four inches shorter would have the skirt ending well above my knees. Even with fabric rationing, that’s not normal for the period. So definitely check the skirt length if you want a period look with this pattern! (The DoS Button Dress is also much shorter than the ’30s original would have been).
The instructions have you sandwich the bodice hem between the inside and outside waistband, sew, and then sew the outside waistband to the skirt, so that the inside waistband has to be hand-stitched from the inside. If you are willing to have a topstitched waistband, this step can be simplified and the handstitching omitted by sewing the inside waistband to the skirt instead of the outside waistband, and then topstitching down the outside waistband from the outside – perfect finish and no handstitching required!
Finally, both the front and back neck facings are really fiddly, and neither sits particularly well in the finished dress. I’m going to swap them in favour of bias finishing next time, which I’m pretty sure will improve matters, making sure to stretch my bias, especially in the binding across that front neck.
None of these are big deals, and I really do love the pattern and dress, but I do like to get the fit and finish of items absolutely perfect, so next time I’ll be able to get a lot closer to that goal.

The Challenge: #23 Modern History
Fabric: 2.6m of feather patterned cotton lawn from the Fabric Warehouse (NZ$5 pm on sale)
Pattern: Decades of Style #4013 Dorothy Lara Dress
Year: 1943
Notions: cotton thread, a concealed zip, interfacing.
How historically accurate is it?: The fabric pattern is quite modern, and the concealed zip isn’t exactly period, plus I overlocked all the interiors (overlockers did exist, but were unlikely to be used on a frock like this), but otherwise the cut and construction is pretty accurate for the ’40s. Maybe 50% I really liked the idea of adding a very modern twist to a period pattern for ‘Modern History’ so I’m happy with that.
Hours to complete: 3 to cut out, 6 to construct, including lots of hand-sewn finishes.
First worn: Mon Dec 22nd for photos, and then again on Christmas (perfect summer-Christmas frock: light, comfortable, and the gathers hide the post-meal bulge).
Total cost: NZ$15 or so, though I can’t remember when I bought the concealed zip (unless you count the pattern, which was around NZ$25, but I intend to use it again and again).