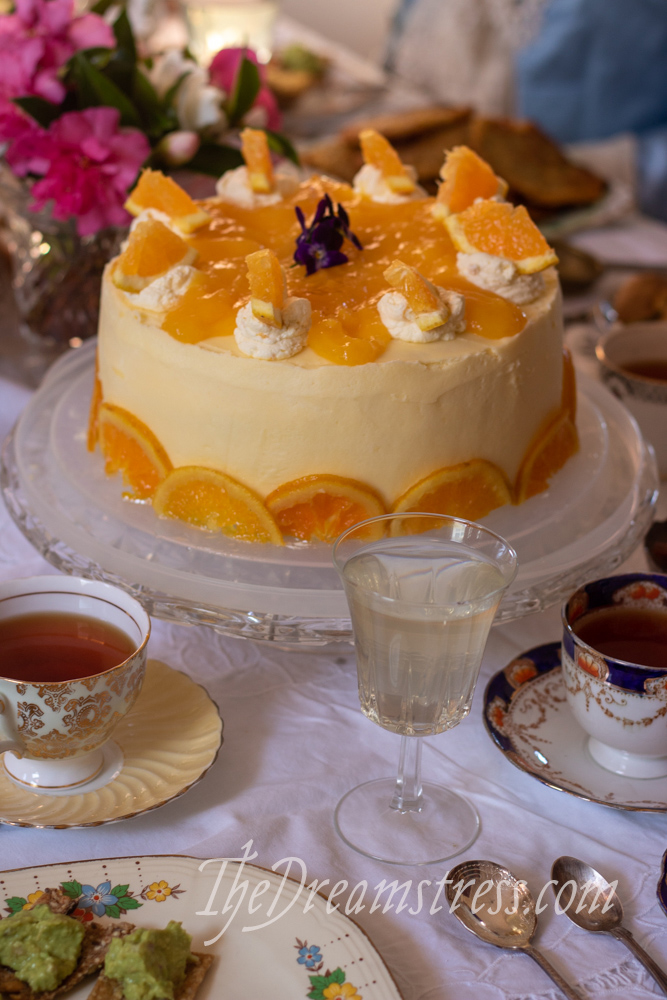
Here’s some more notes on making Roach’s 40 Orange Glaze Cake, and what we did!
(I know, this is supposed to be a costume blog, not a baking blog. We’ll return to our standard programming shortly).
The Quest for Oranges
One of the things I love about New Zealand is that produce availability is much more seasonal. Out of season items are available, but only in small quantities at high prices. And covid has meant that there are supply issues with a bunch of things…
Unfortunately, this is a problem when you decide to make a 40 18 orange cake in early winter. Oranges were out of season…
It took us three supermarkets to finally find oranges, and even then the NZ ones were definitely end-of-the-growing year oranges, and weren’t the prettiest.

However, having to go on a major quest to find oranges is just so on-theme for an Our Flag Means Death cake that it just added to the whole experience!
And today there were no oranges at all even in the supermarket I found them at last week, and two different customers were having befuddled “how can you not have oranges” moments.
Orange You Glad You Wore Yellow
So, as you know, I really like yellow. I wear a lot of yellow. So on the day of cake making, I found myself at the yellow-themed NZ supermarket, wearing…
…a yellow Te Aro dress, and yellow minx boots, carrying my yellow and orange re-usable shopping bags, and buying mandarins, oranges, bananas, and butter in yellow wax paper wrappings. 🤣
I guess I really like yellow…
Making the Cake
Oranges. So Many Oranges.
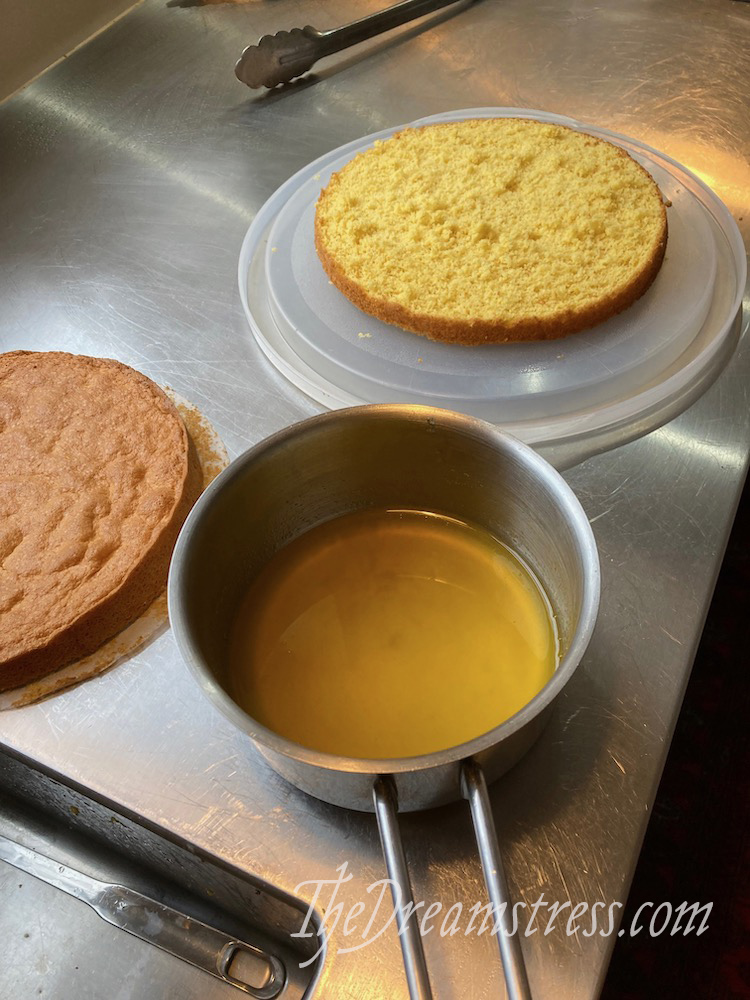
OK, unless you have an orange juicer and some fancy zesting machine, be prepared to spend a LOT of time zesting and juicing oranges.
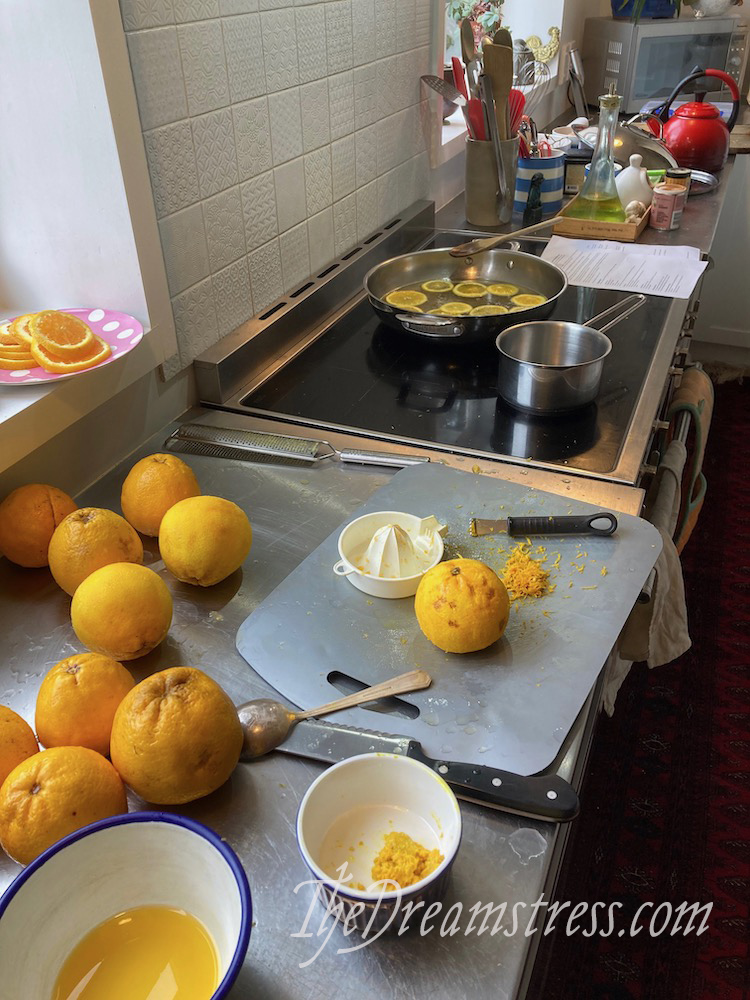
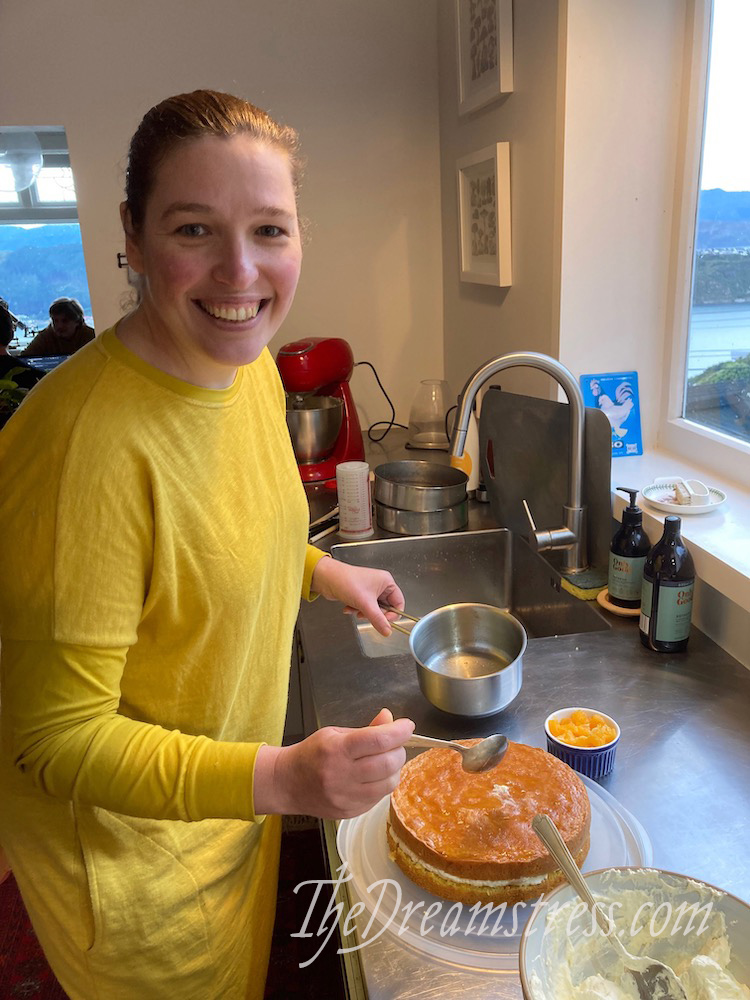
As the sous-chef, I was on a team juice-and-zest. While Nina got candied oranges started, and made the cake, I sliced and juiced and zested as fast as I could to keep up.
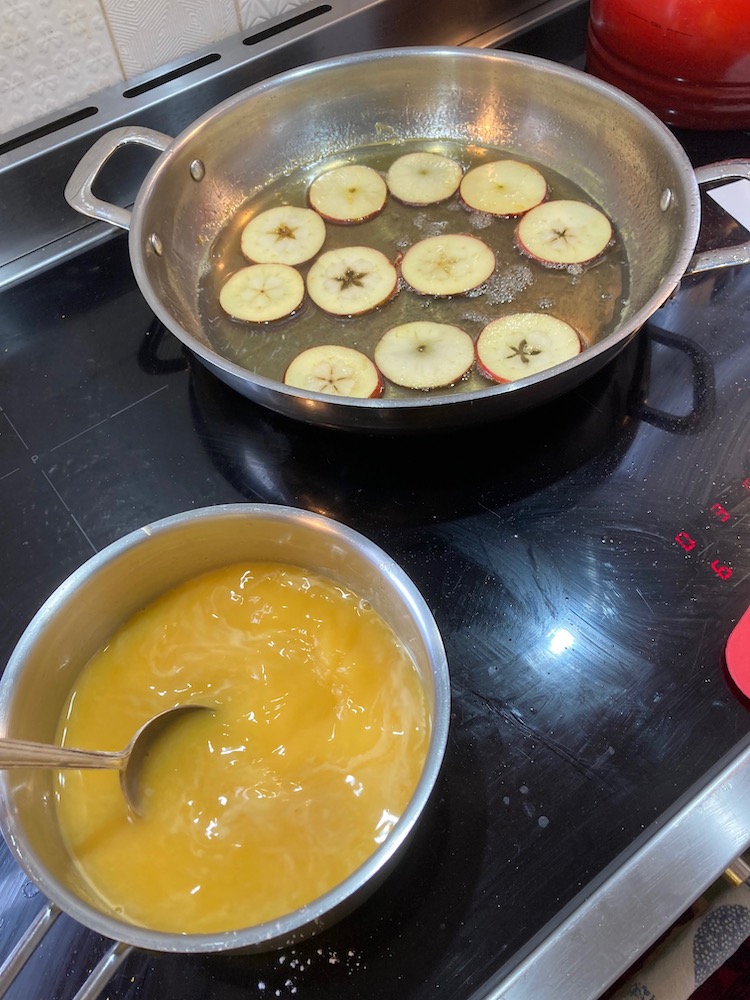
While she made orange syrup, and orange glaze, I zested and juiced.
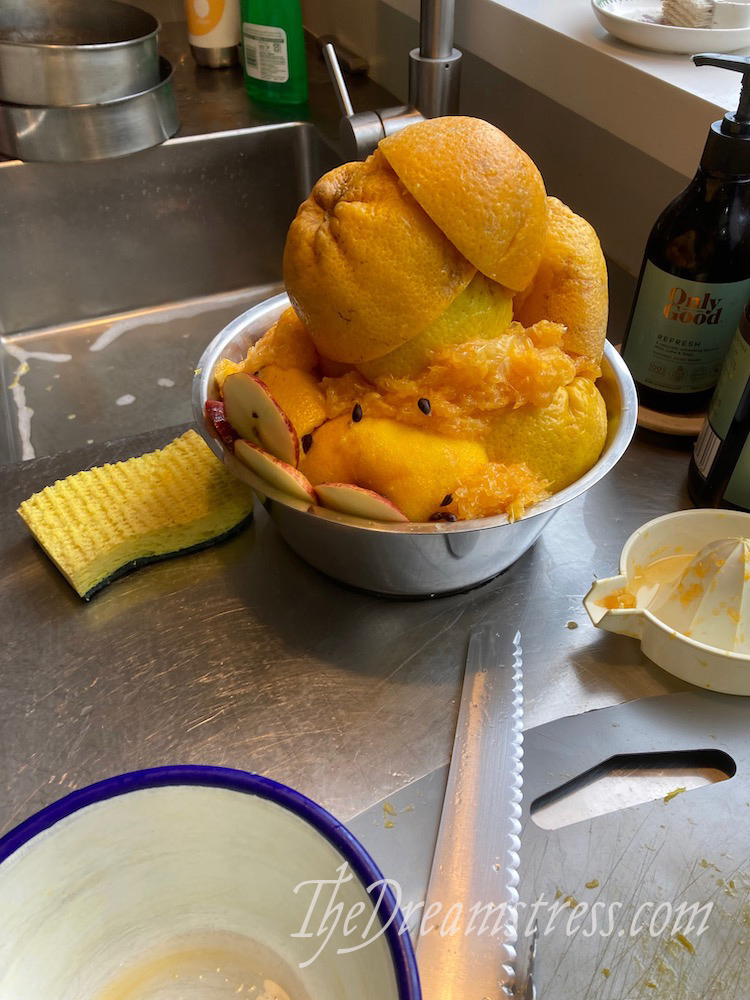
Finally, finally, the pile of oranges had been reduced to a mountain of orange skins and pulp, ready for the compost.
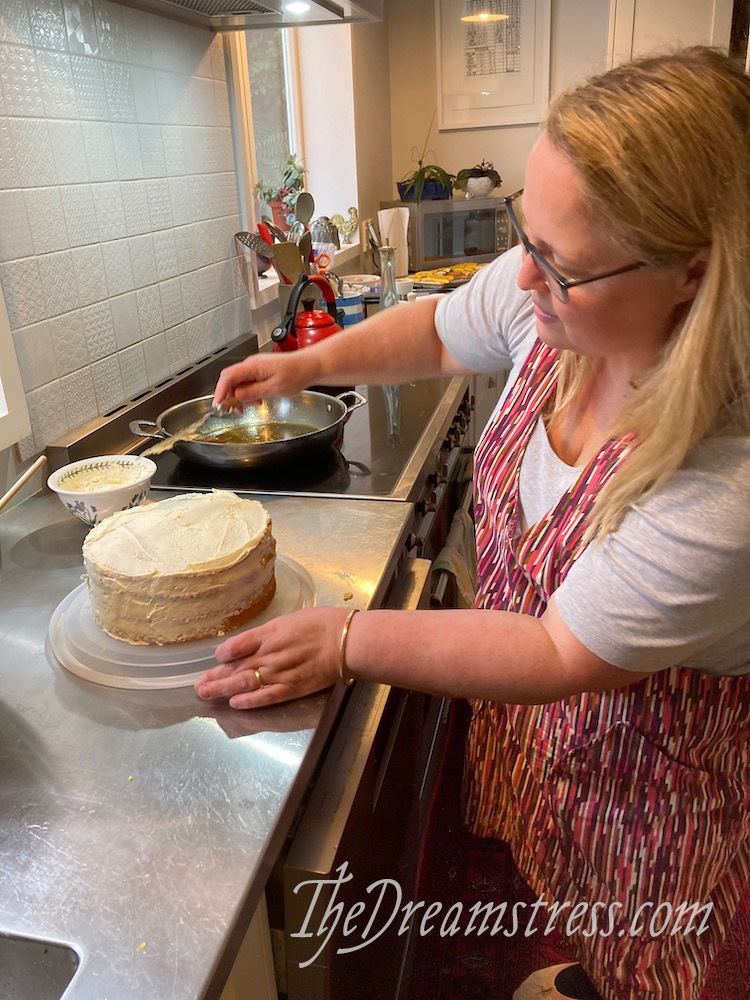
And then I got to stir glaze and taste!
Things We Changed, and Things that Stayed the Same:
We made our own candied oranges! (and when I say we, I mean that I sliced the oranges exactly as Nina told me to, and that was my total involvement…)

They came out beautifully, and were so delicious. I could just gobble them up.
In fact, I got so carried away with how fun making candied oranges were that I suggested we used the leftover syrup to make candied apple slices with the last of Nina’s tree apples from this year (the few that the naughty Wellington kākā didn’t get first).
I particularly like this, because if you look really closely, the tea in Our Flag Means Death features dried apples. Not quite the same, but close!
Other things that were changed:
- We weren’t that fond of the filling flavour with orange essence. It was a little chemical-y. So Nina added crème fraîche, and some of the syrup from making candied oranges, to add more dimensionality to the flavours. Next time we’d just skip the orange essence altogether, and use the candied orange syrup for flavour.
- We added more corn powder/starch to the glaze, as it seemed too thin, but I personally think it made it a little too thick and lumpy, and wouldn’t do it again.
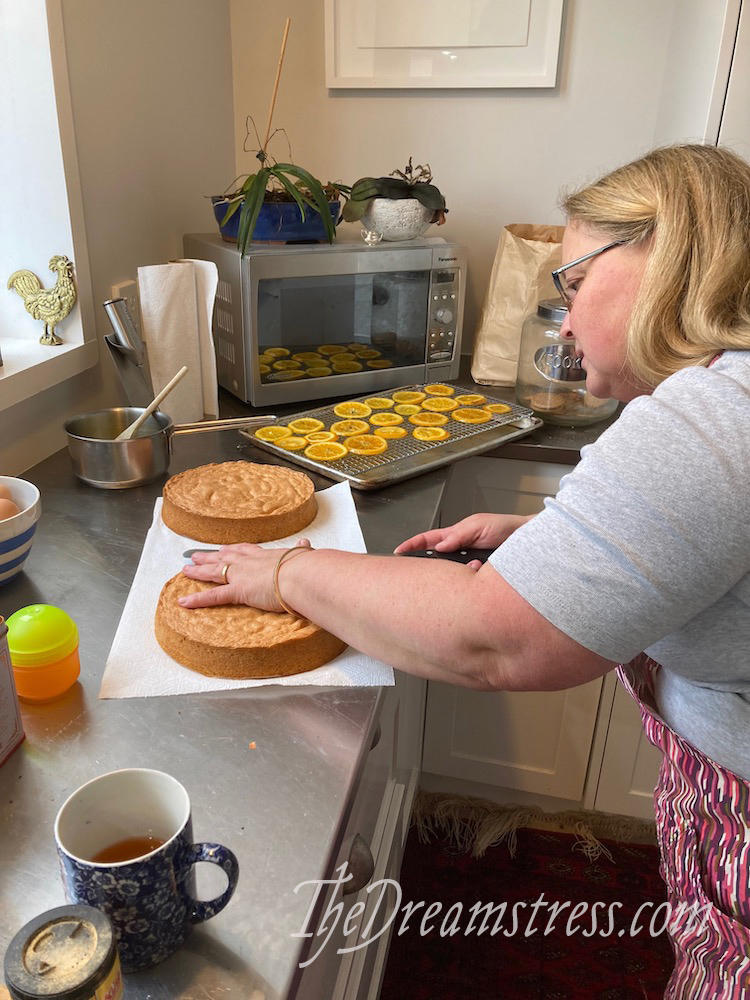
- We sliced each of the cake layers in half, for a four layer cake, instead of a two layer cake.
Things that stayed the same:
- Nina’s expert opinion is that the Genoise Sponge recipe was an exceptionally good recipe. My inexpert opinion is that it was delicious.
Things that we might change if we ever did it again:
- We refrigerated the cake for a whole day before decorating it beyond the initial frosting, which made the decorations slide off it 😢
All in all, 10/10 for cake deliciousness, and 10/10 for a lovely day making a cake with a friend.


40/10 for eating delicious cake with friends.