It’s been quite a year! Not one I care to repeat any time soon either. One of the things that did go well in 2021 was sewing. I coped with stress by making lots of things…
Almost all the historical things I made this year qualify for the Historical Sew Monthly challenges. What did I make?
My Historical Sew Monthly 2021 Makes
January: Joy:
Create an item that brings you joy, or that epitomises the joy you find in historical costuming.
The Frances Rump! Rumps are silly and hilarious, and thus joyful by by the very ridiculousness of their nature. And I made this one as a free pattern, to give back to the costuming community which has brought me so much joy. I made three rumps this year.
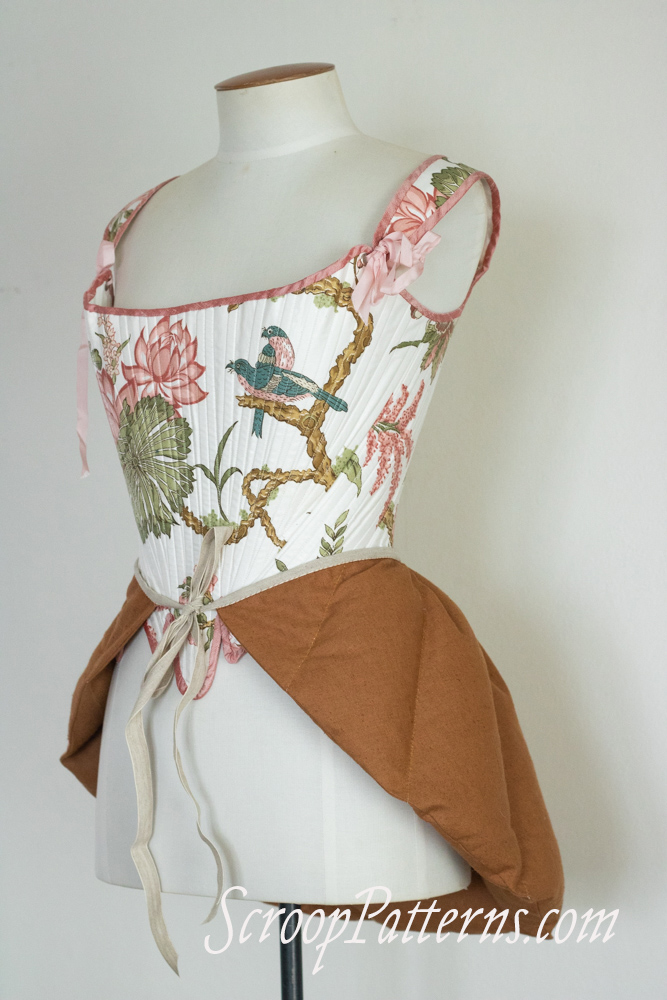
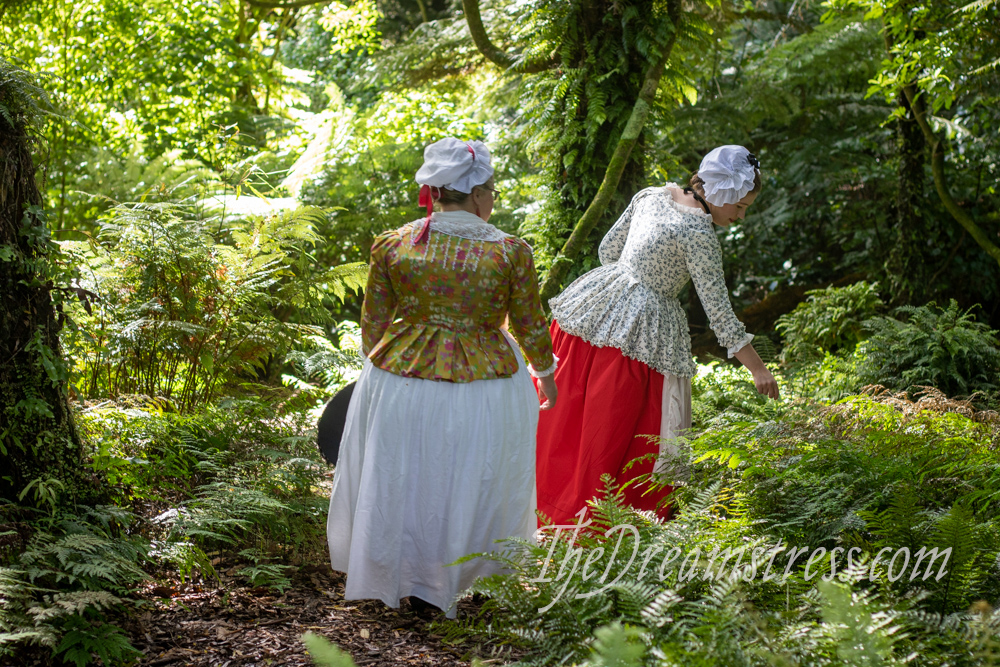
Another make this year that brings me a lot of joy is my Extremely Exuberant Amalia ensemble.
The fabric is just so fun! The fabric was actually a 2020 lockdown stress purchase, so it’s nice that something that brings me so much happiness came out of that… Plus, all the accessories for this ensemble, from my cap (2018), to my muff (2013), to my fichu, to my stockings, to my apron (2020, and never blogged), are things I’ve made for past HSM challenges. I’m so delighted they all get to come together!
What a year! I managed to make a pattern with two handsewn samples, AND a full 18th century ensemble for the first challenge. Is that a sign of how my 2021 sewing went? Yes it is!
February: The Roaring 20s:
Make something from the 20s (any century) or that somehow incorporates a number in the 20s.
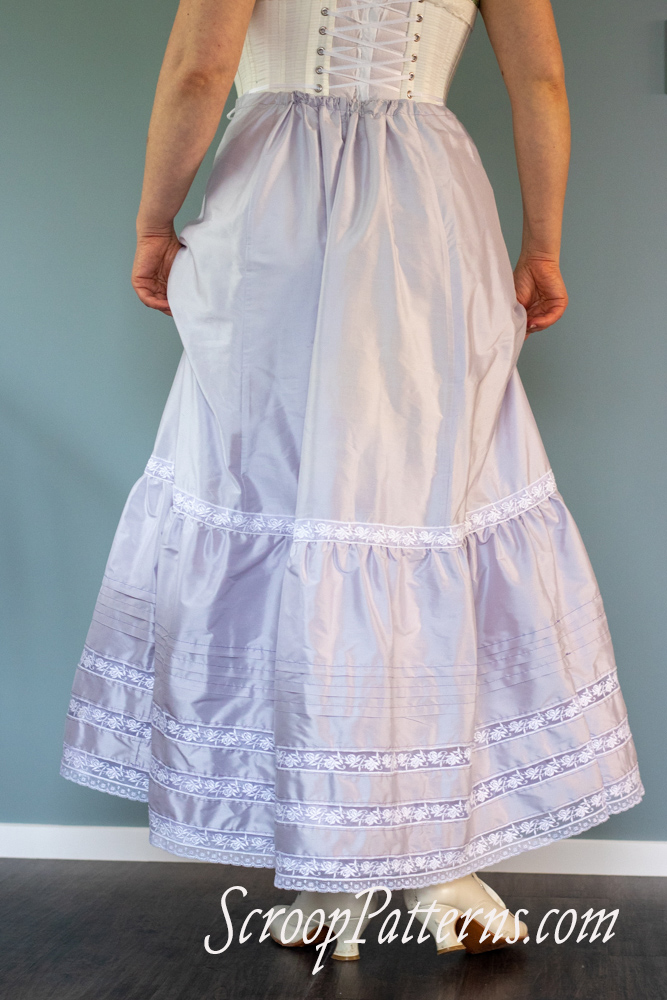
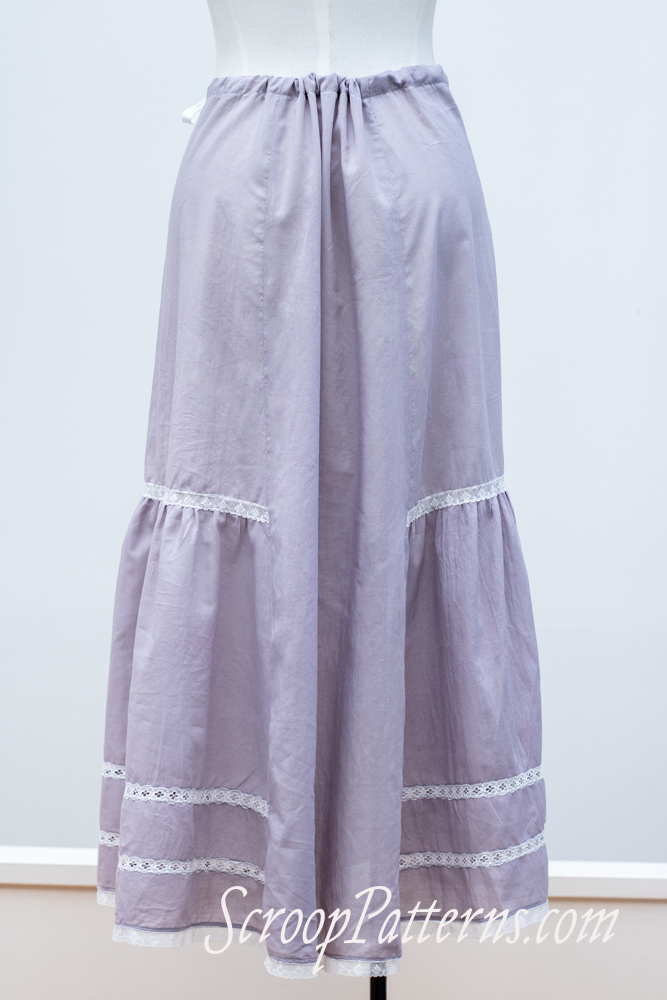
I finished my real entry for this just in the nick of time! I really like finishing off the year with a sewing project. This year I chose a Rilla Corset that’s been in my UFO pile for a couple of years. It feels so good to get it done!
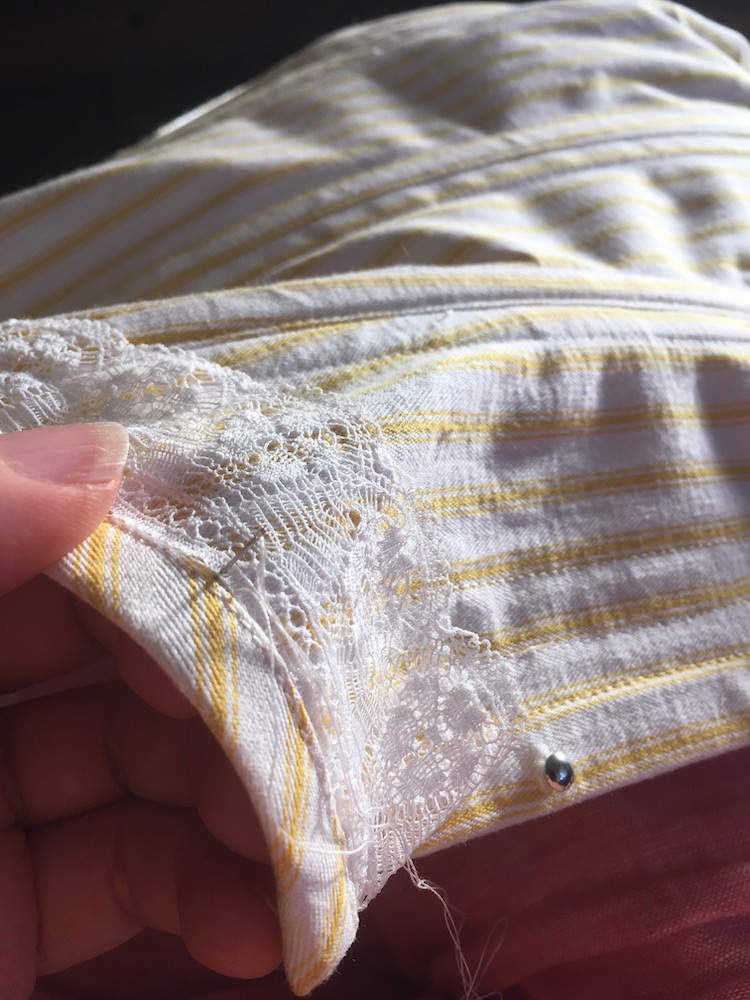
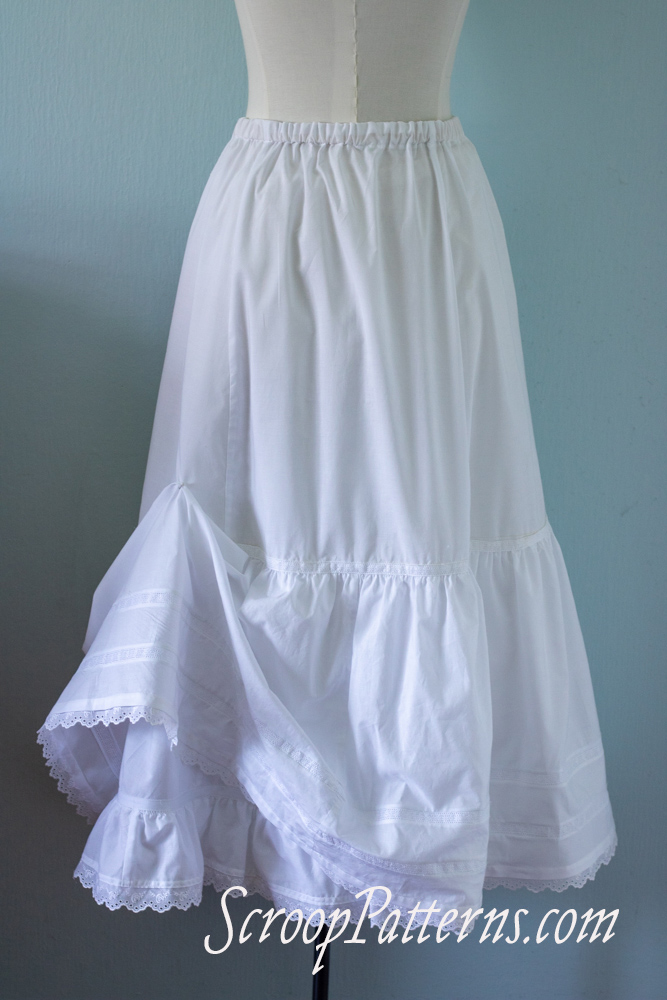
I’m very annoyed with myself for the second part of this challenge. I made a charming View D (which goes to the 1920s) Ettie Petticoat as I was testing the pattern, and gave it away to a friend before I photographed it.
It’s white, trimmed with pale yellow lace, and is very sweet indeed.
I also made a couple more pairs of Rosalie Stockings, which are perfect for the 1920s.
March: Small is beautiful:
Little things can make a big difference to the finished look. Make something small but perfect (bonus points if it exclusively uses materials purchased from a small business)
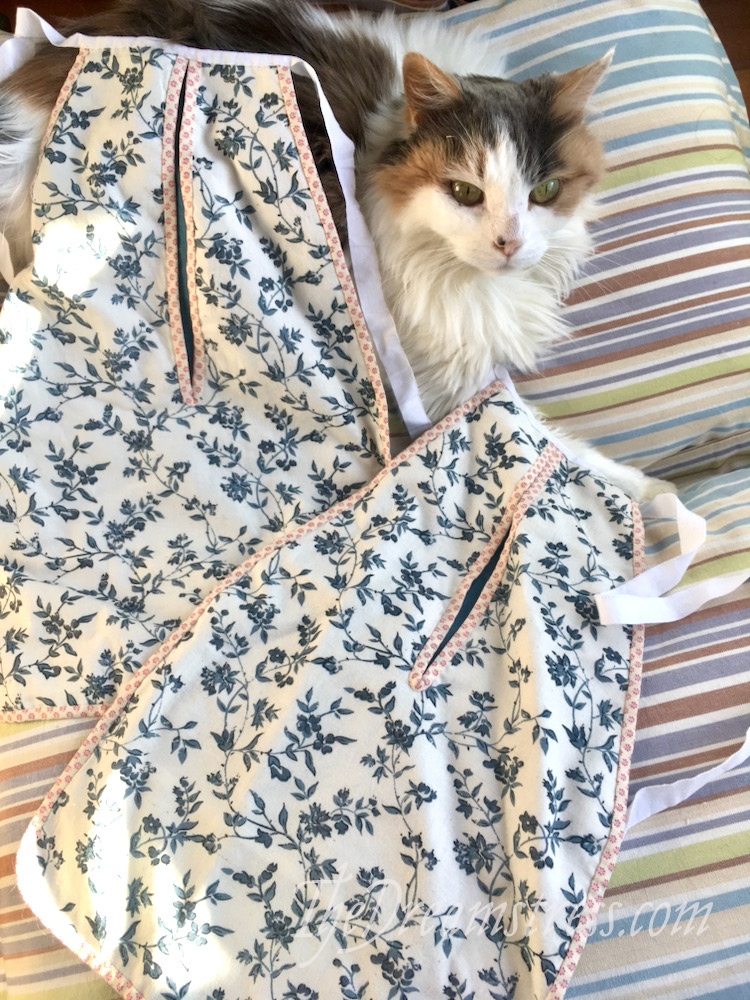
I think these 18th century pockets fit this challenge perfectly. Small, beautiful, and all the bits from local businesses or charities.
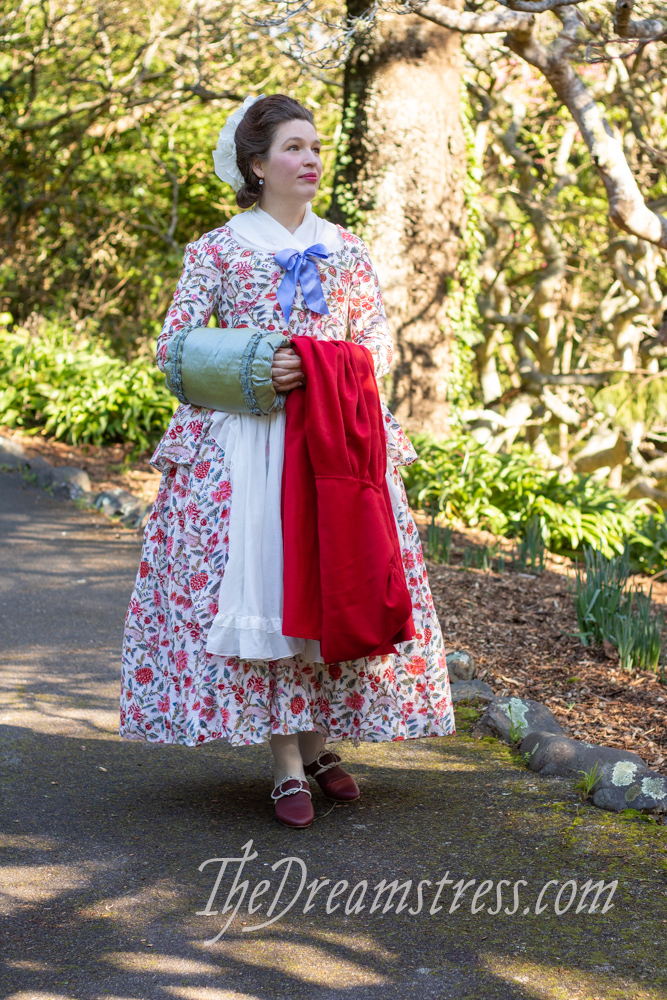
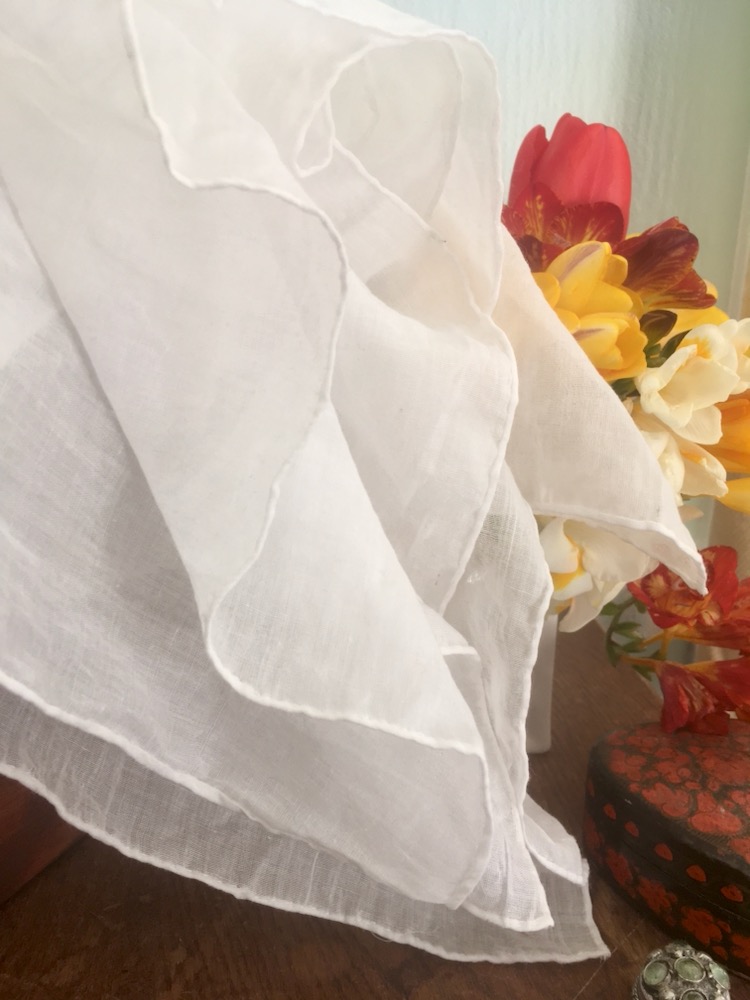
I also made a new fichu that is worn with my Extremely Exuberant Amalia ensemble. Just a lovely light square of cotton finished with roll hemming.
April: The Costumer’s New Look:
Give an old costume a new look, either by creating a new accessory or piece which expands or changes the aesthetic and use of an outfit, re-fashioning something into a costume item, or re-making an old costume.
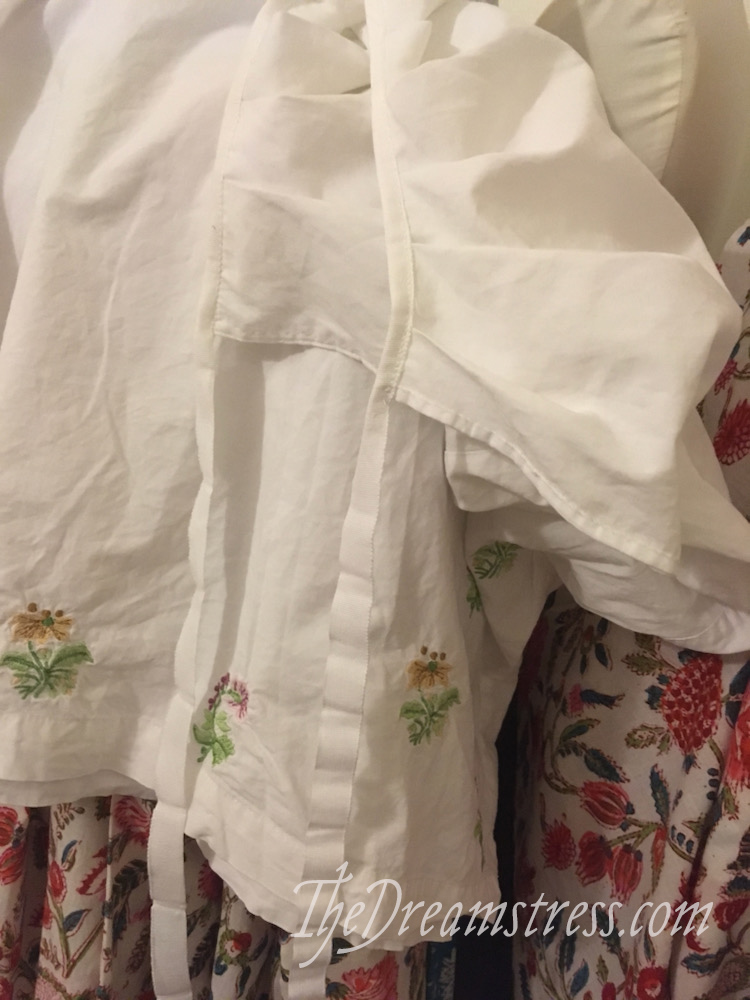
I remade an old nightgown into an under petticoat. Technically accurate..no, but accurate in spirit, absolutely!
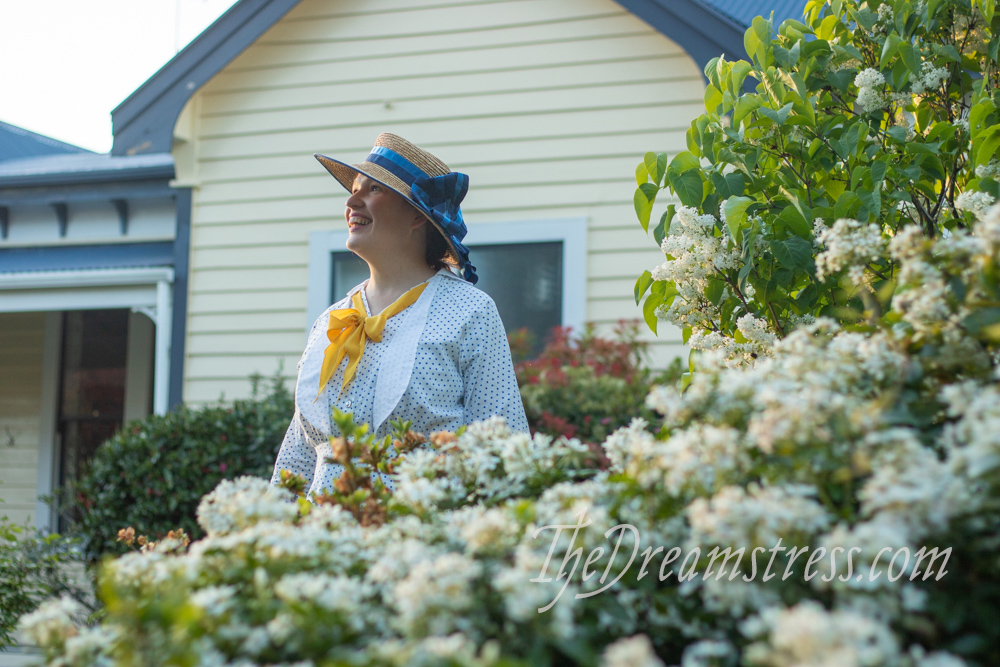
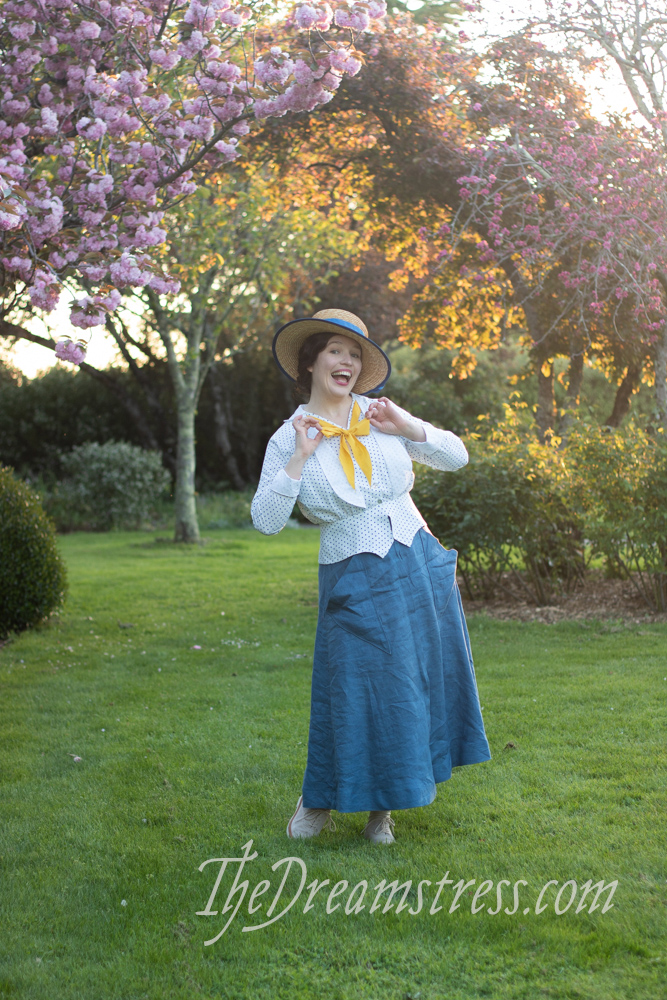
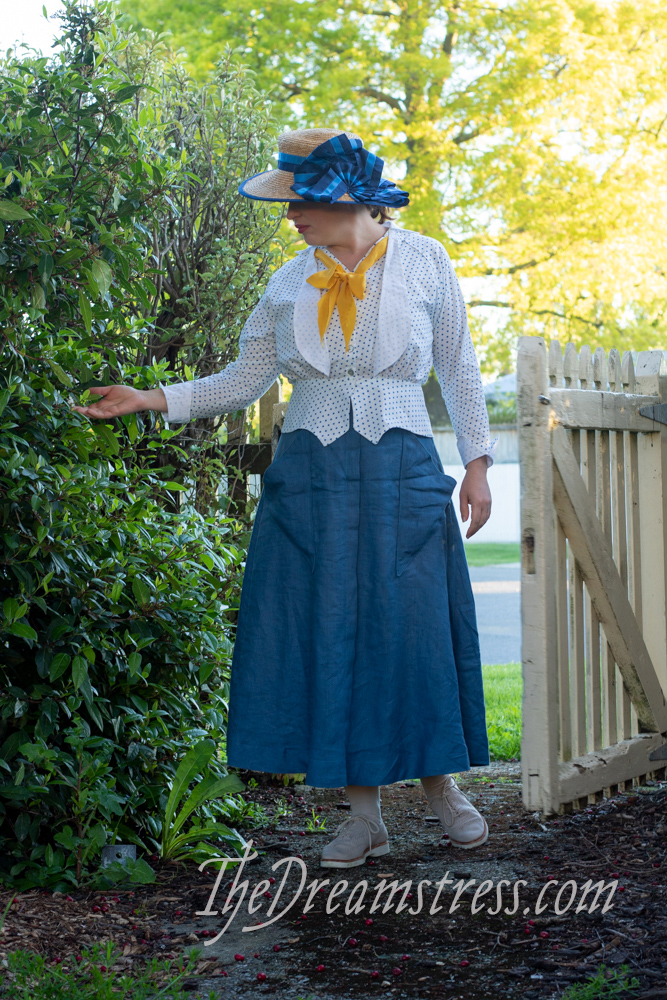
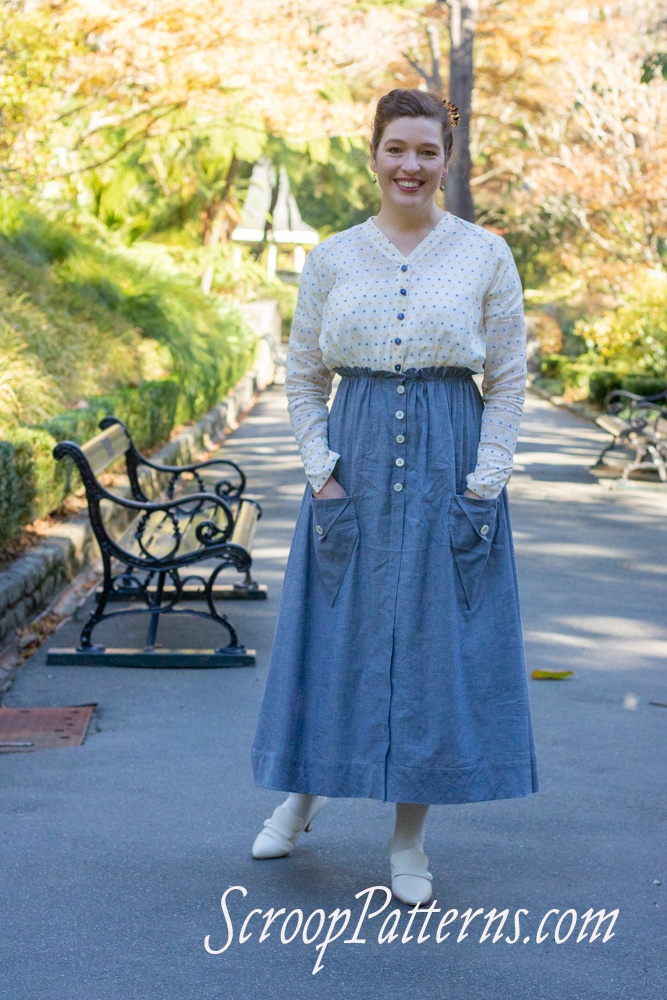
My jaunty 1910s outfit also counts in triplicate. The blouse is a re-fashion of a remake, and the skirt is a remake.
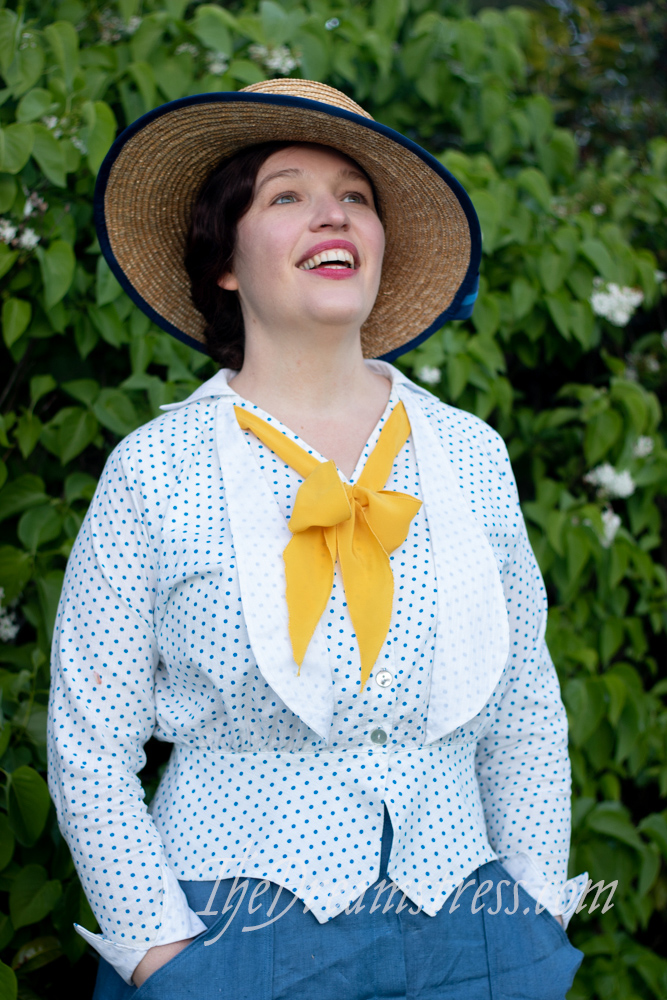
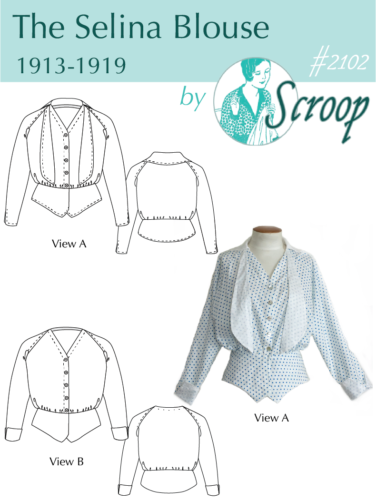
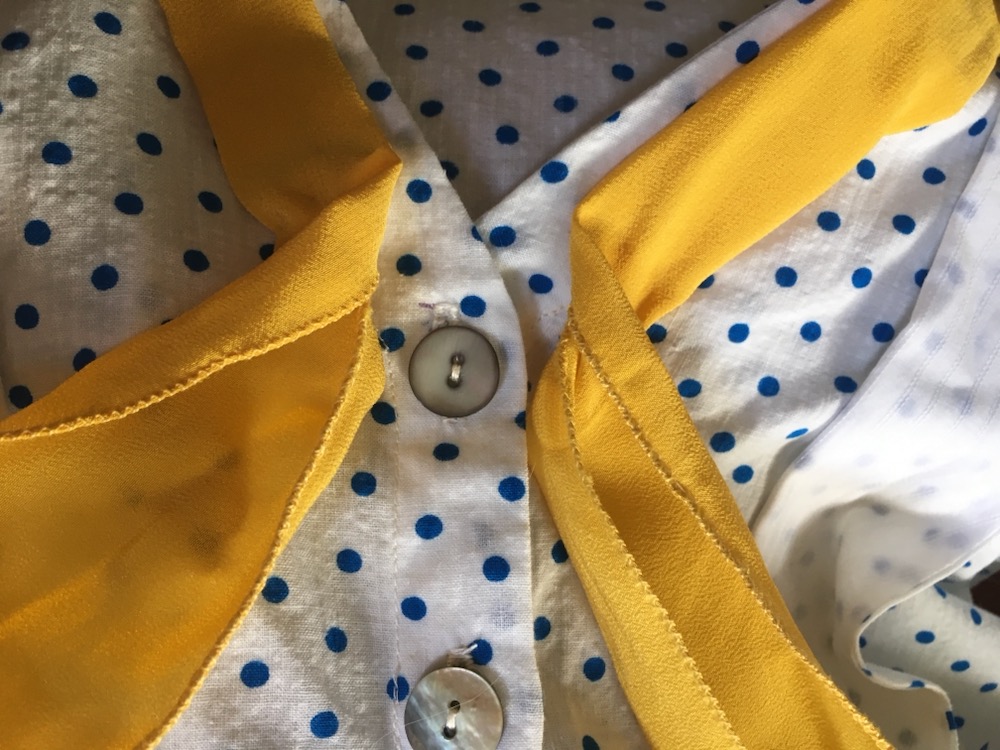
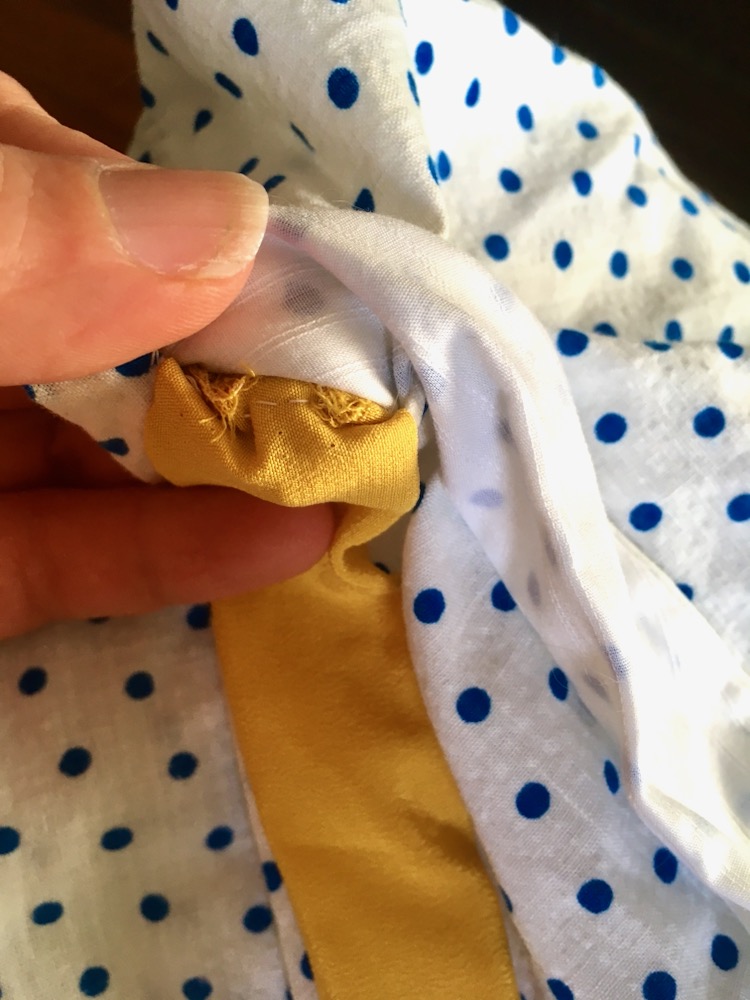
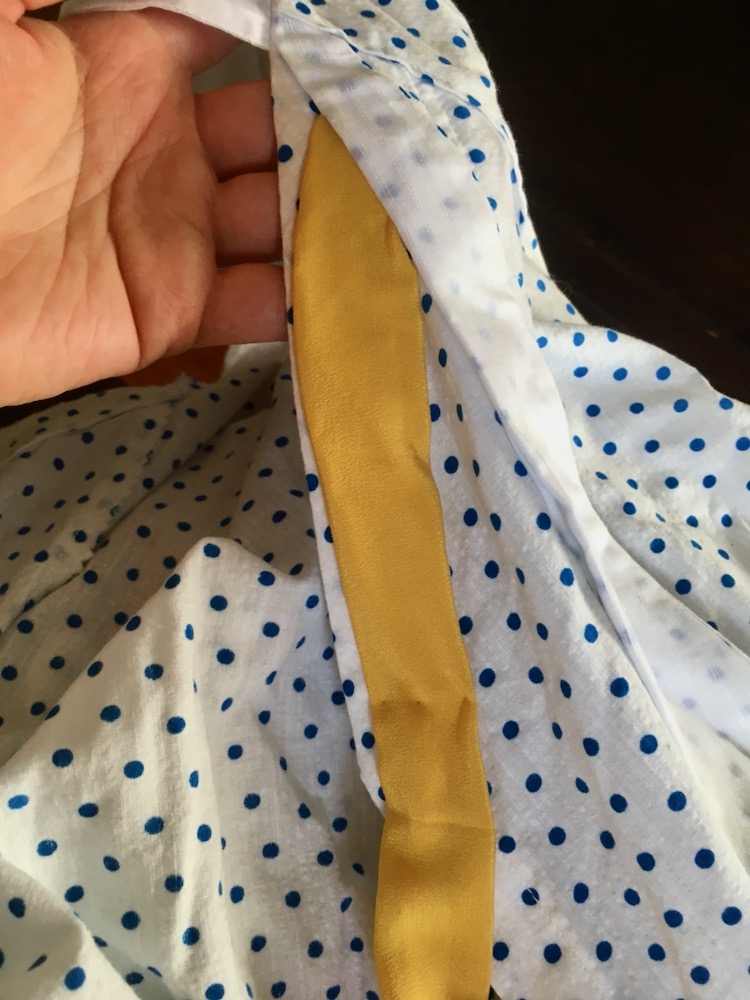
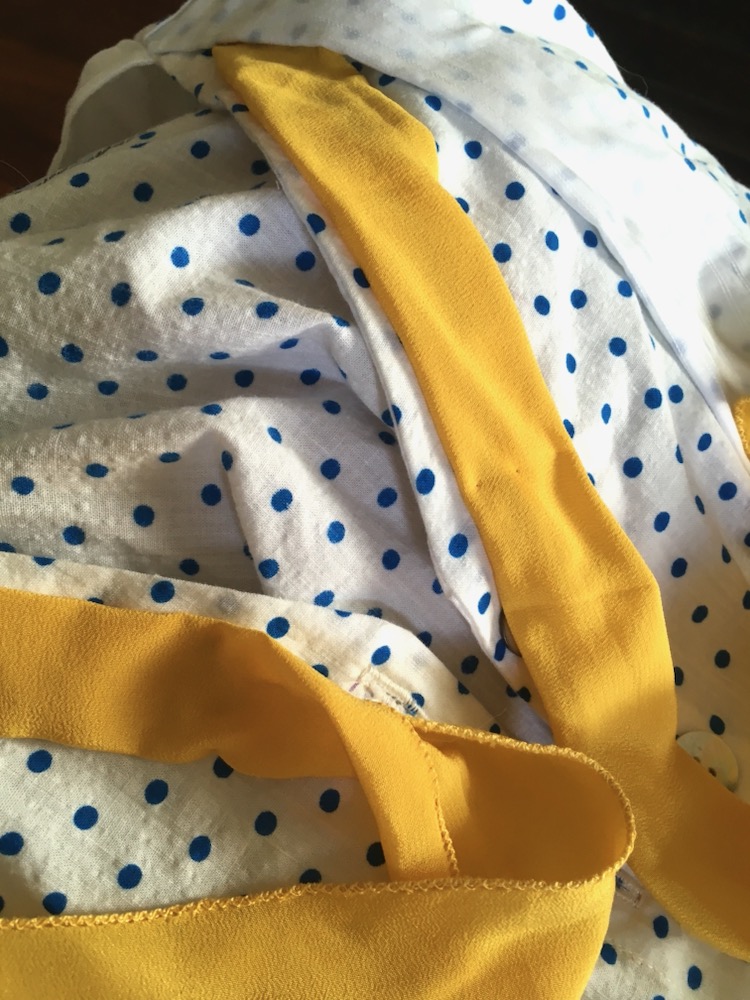
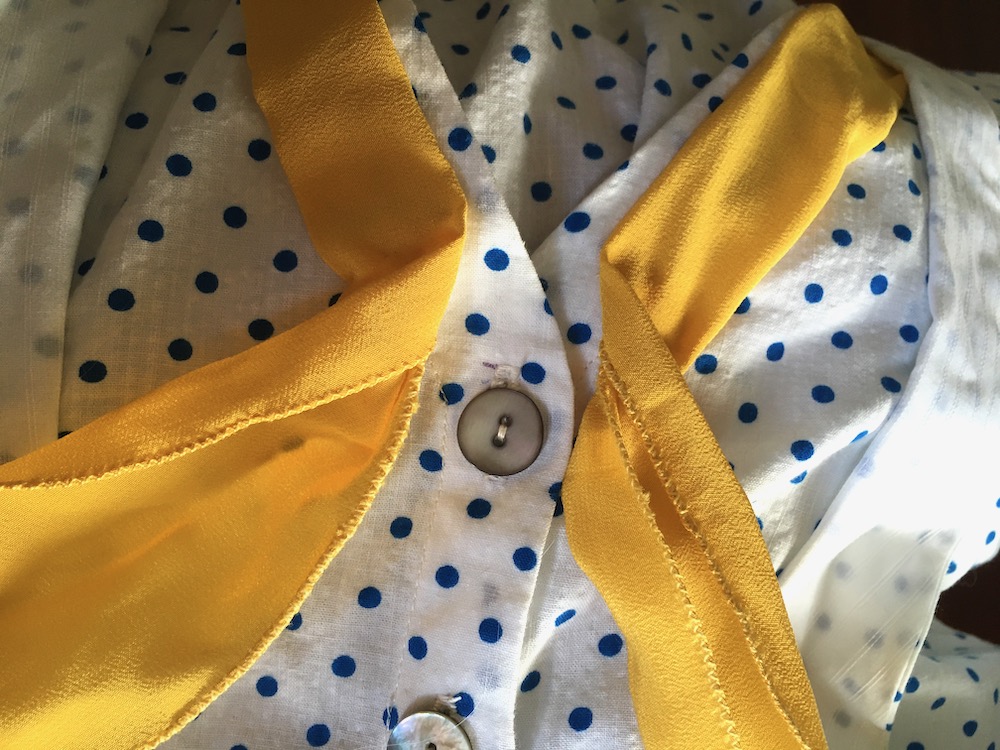
The Selina Blouse is remade from an unfinished but stained in places 1970s bathrobe. I unpicked the robe, and carefully cut my blouse around the stains. The blouse featured on the front cover of the Selina Blouse pattern, and then I added the jabot tie to it.
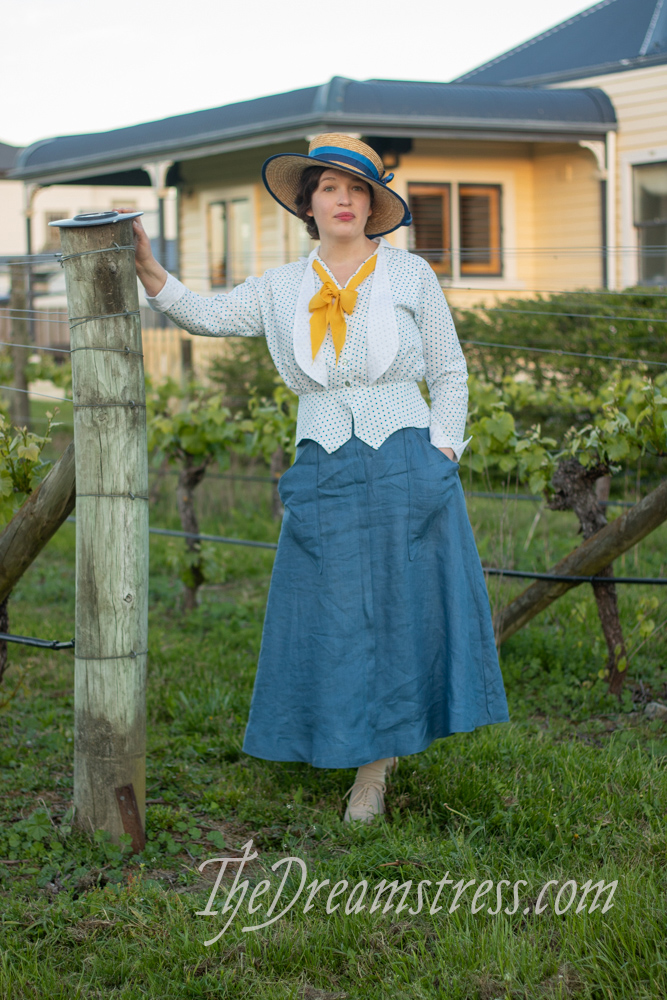
The skirt was worn without pockets in the Selina Blouse photoshoot, and then I added pockets to it, because pockets make any garment even more fabulous!
May: Purple:
Make an item in any shade of purple.
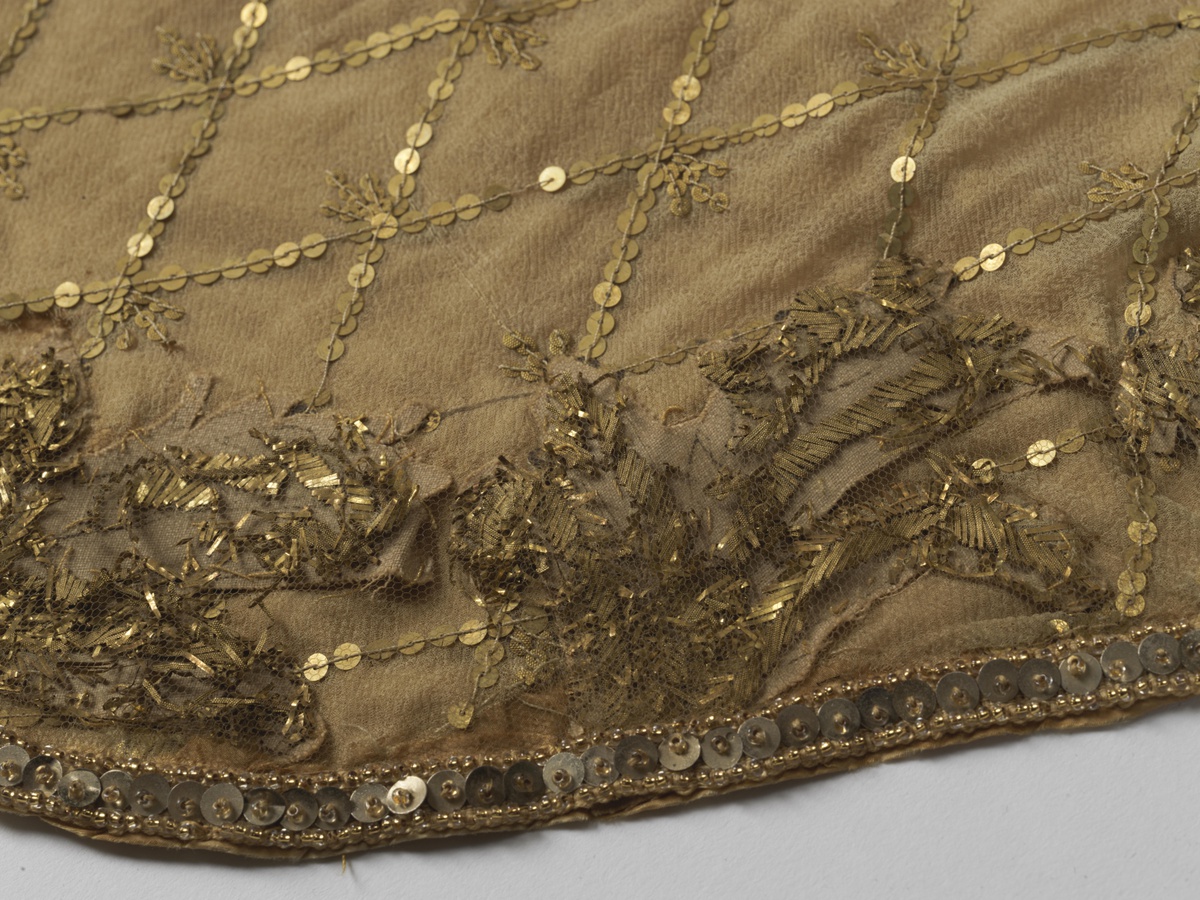
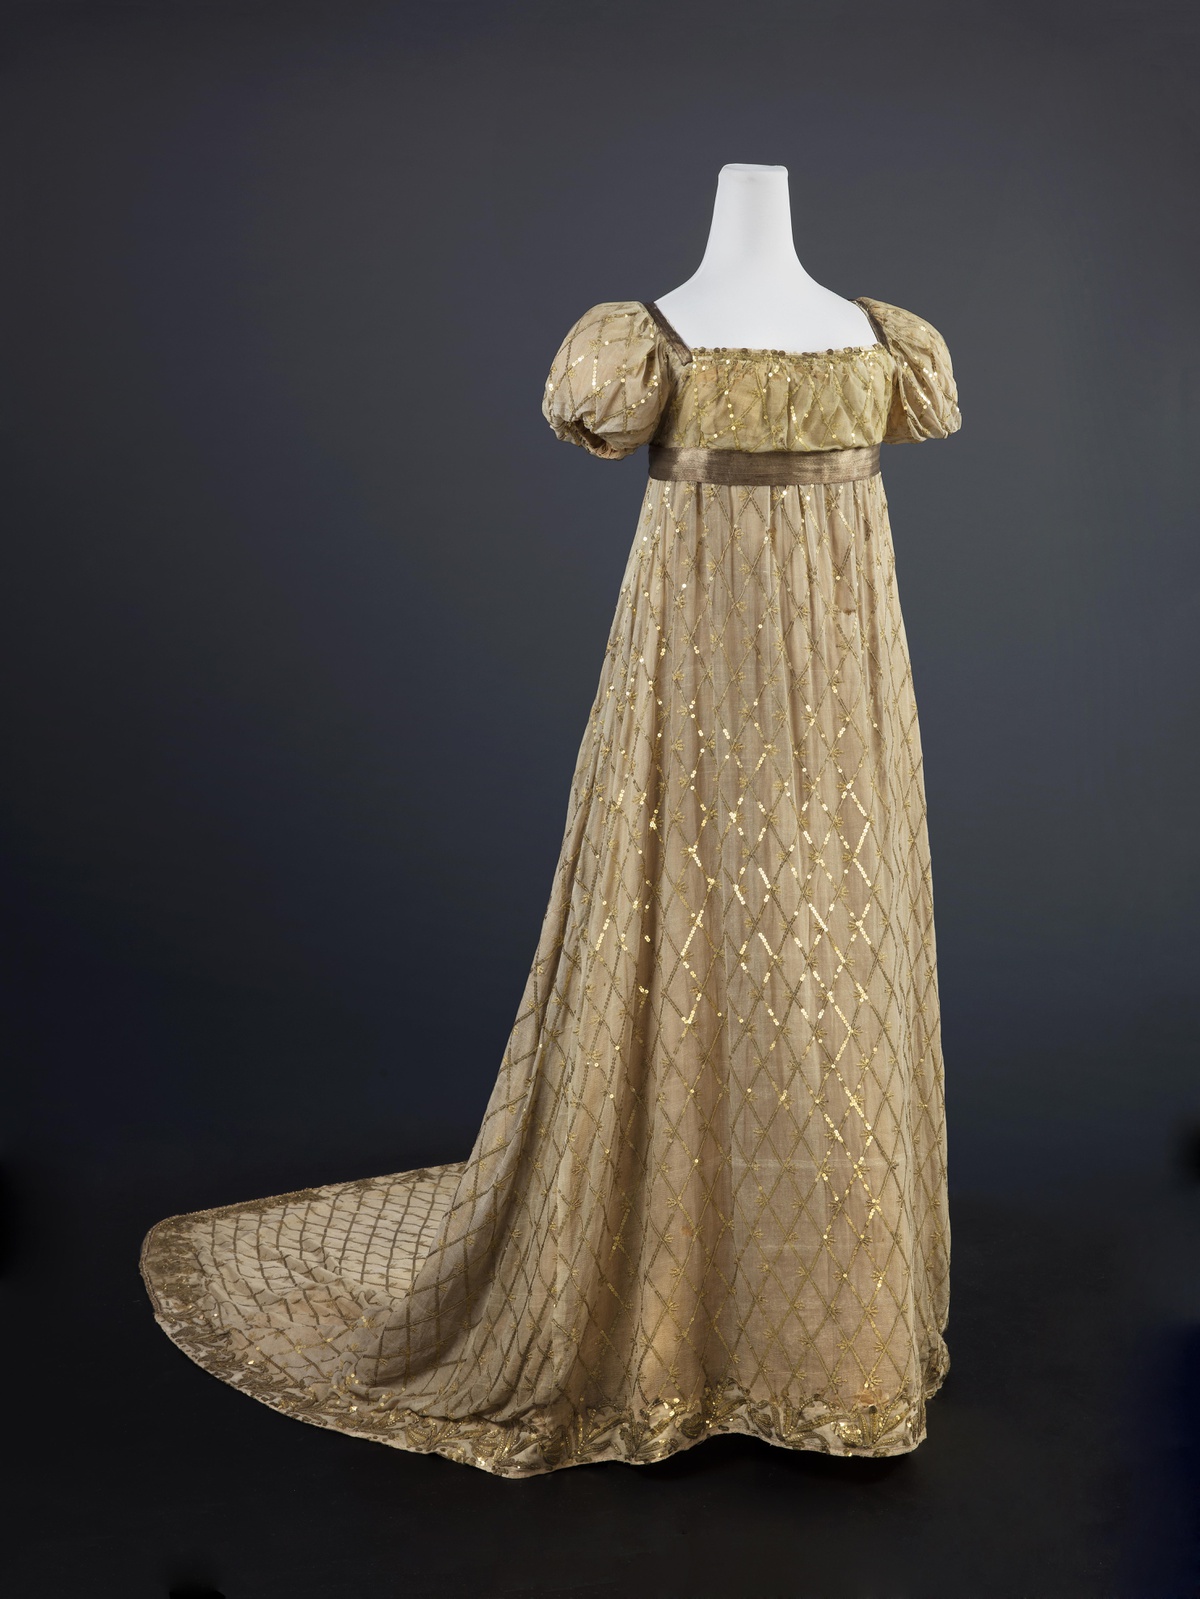
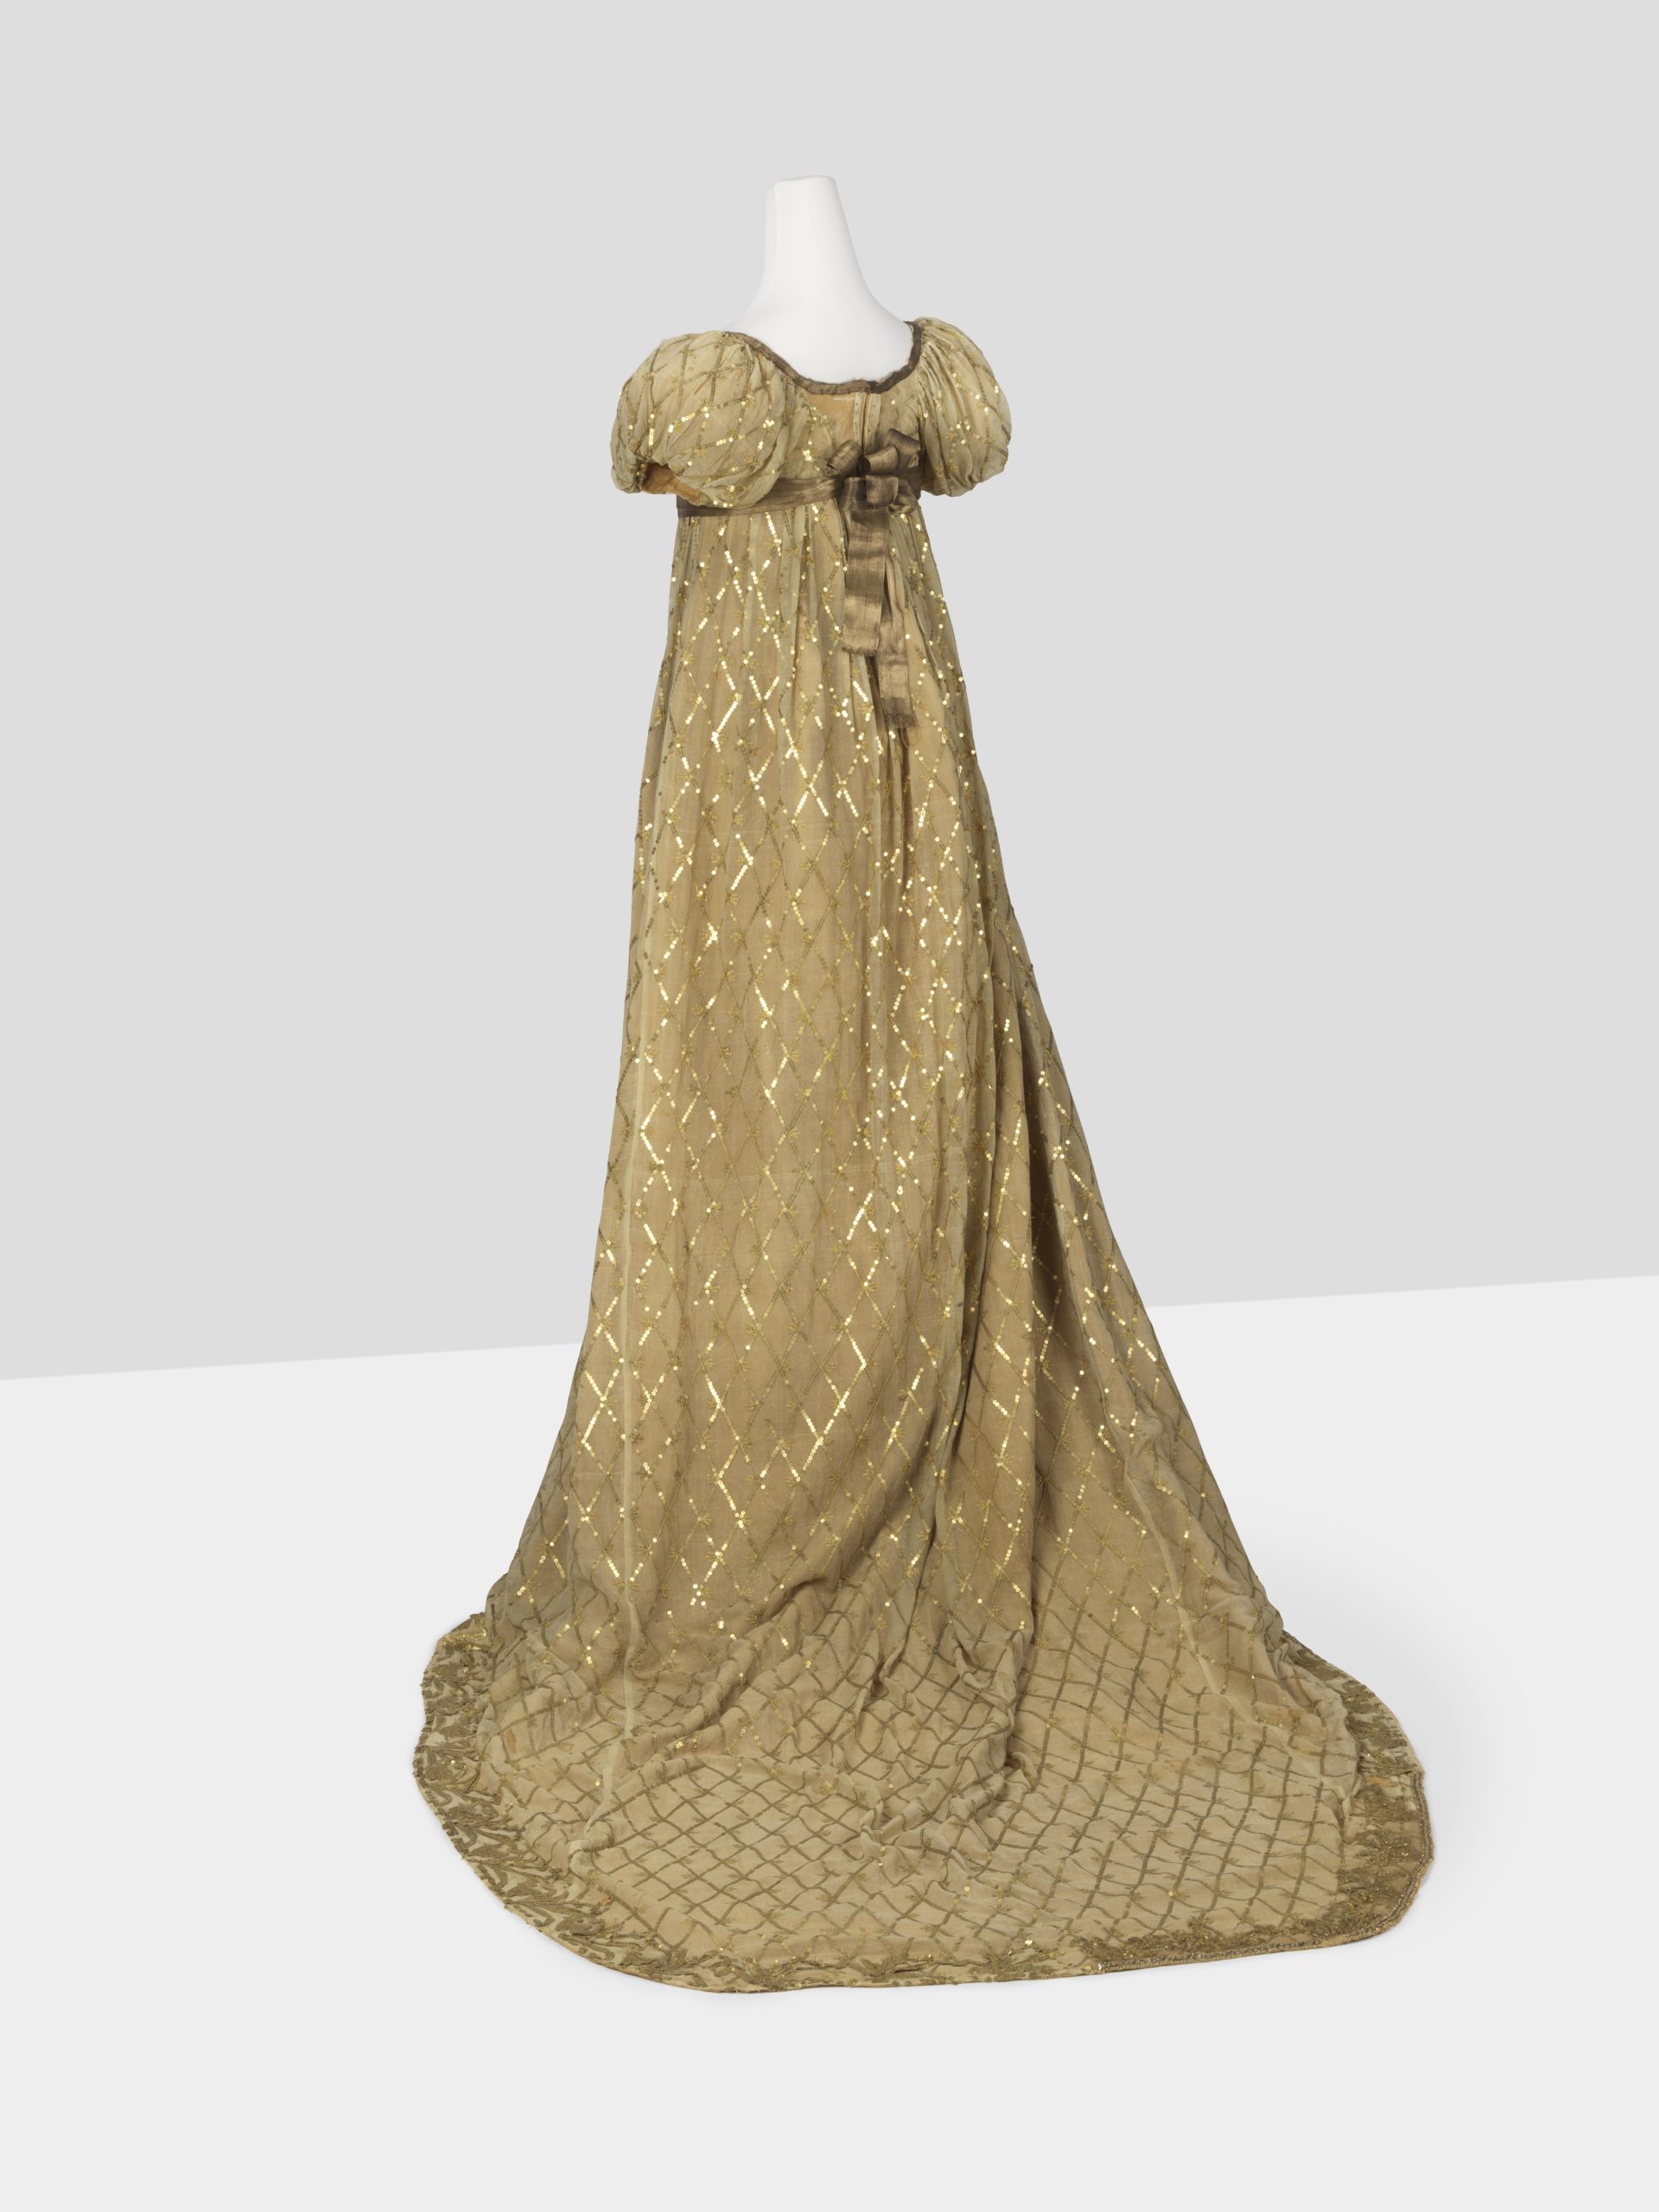
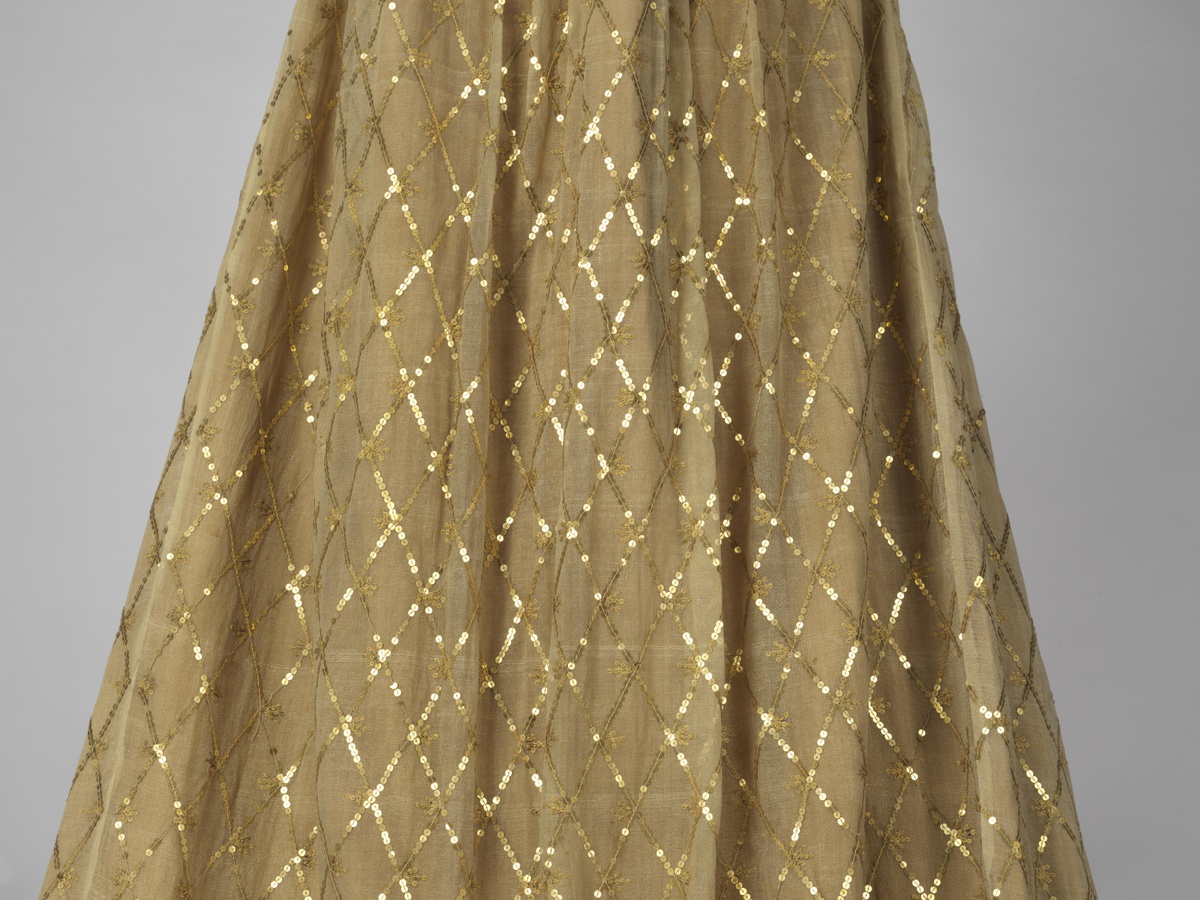
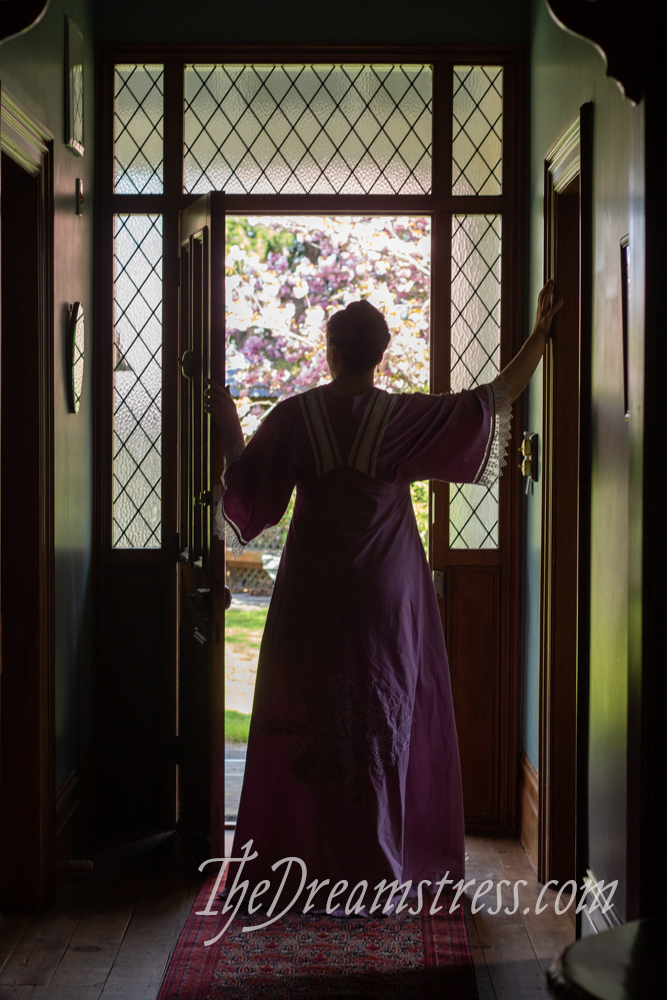
This one was easy, because 2021 was the year of purple! Two purple Ettie Petticoats, a pinky-purple dress for Miss Five (which I’ve included in zero waste instead), and a very exciting extremely purple wrapper that I haven’t even shown off yet!
Here’s a sneak preview of the wrapper:
June: On Your Head:
Create an item you wear on your head.
The hat that goes with my jaunty 1910s ensemble certainly counts! Bonus points: I helped friends trim two more hats on the day I wore this.
July: Like a Melody:
Make something inspired by music.
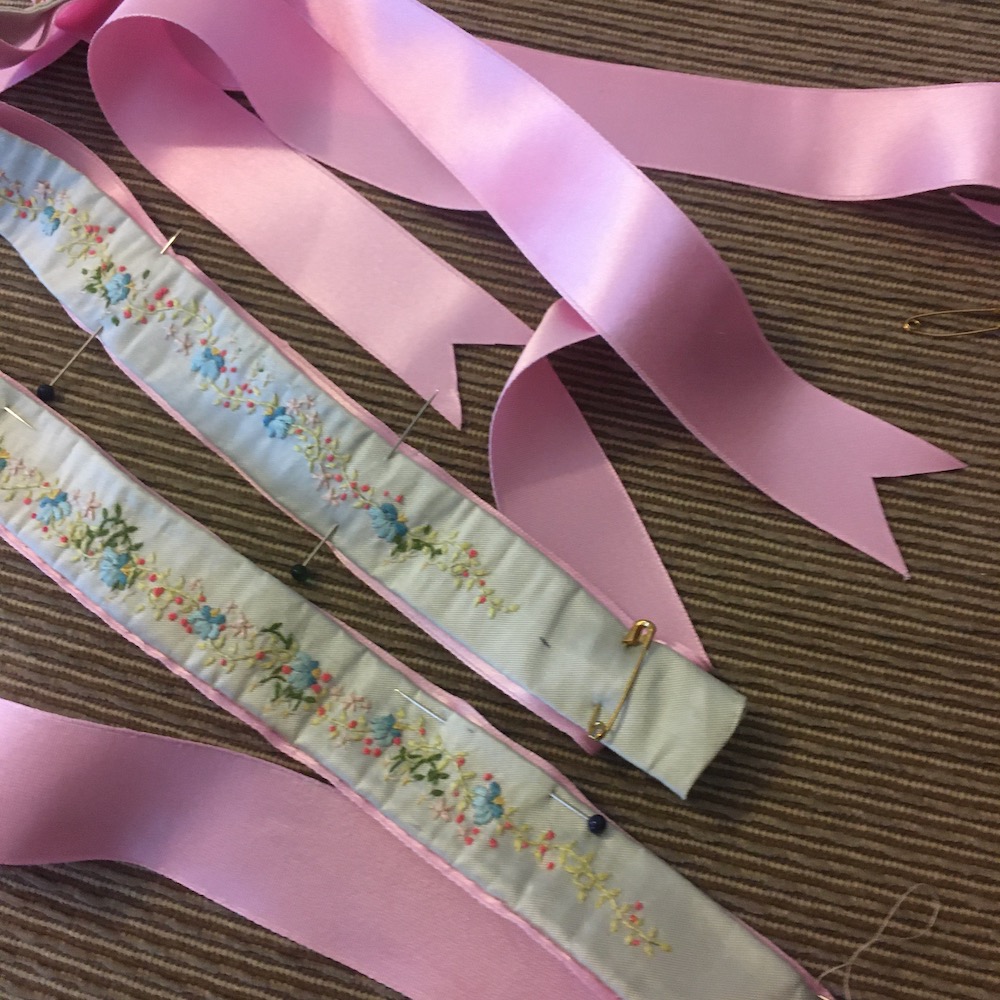
This is probably my weakest entry of the year. Ruffly 18th century caps always make me think of traditional ballads. I’m not really the type to be needing help re-tying my garters as I take my cheese to the fair, but I this Pretty Maid is a kindred spirit, so perhaps this is what she wore!

I did make a pair of garters though! My friend Madame O embroidered me these beautiful garters a couple of years ago. I sewed them to pink silk ribbon from Burnley & Trowbridge, and now I have gorgeous garters!
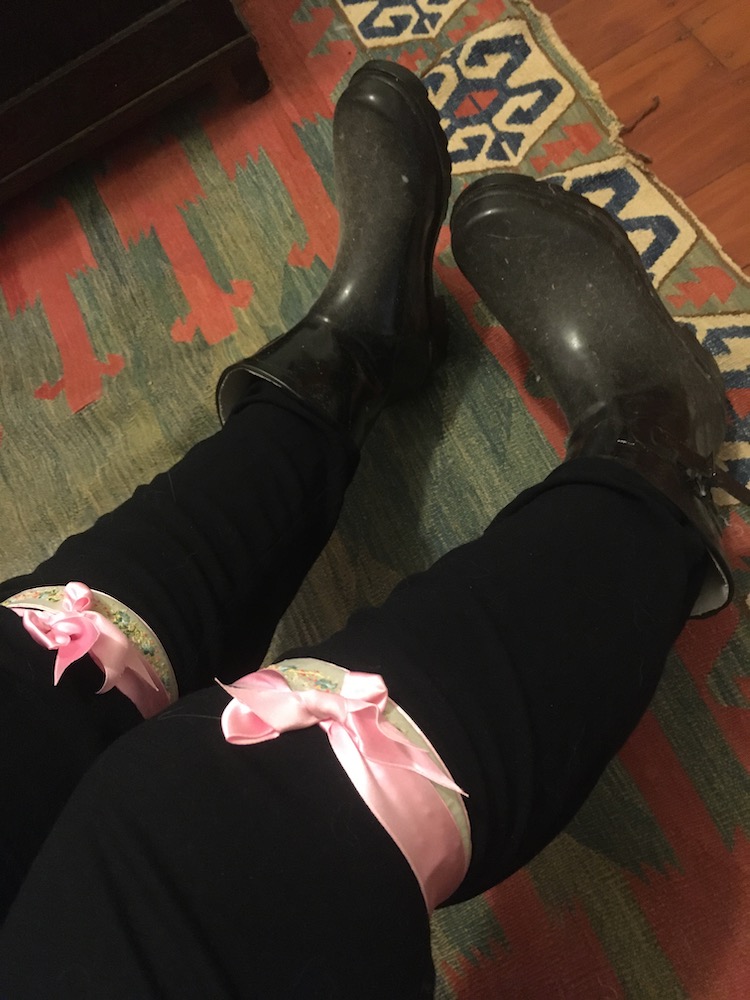
Finishing them got interrupted by a pipe needing fixing, so when I came back in I couldn’t resist taking a ‘Girls, Gumboots and Garters’ photo (if you know the reference, you’re my kind of person!)
August: Cite Your Sources:
We’re always a fan of research in the HSM, but this time it’s the centre of the challenge. Create something that requires research to get it right. Be thoughtful in your choice and use of research sources, and (of course) be sure to share your research sources along with your make!
Oh my goodness, did I ever do a lot of research for the Ettie Petticoat! Extant garments, period magazines, period sewing manuals….
September: Closures:
This one is all about how you fasten a garment. Try a new type of closure you’ve never done (time to tackle dog-legged plackets, hand-sewn eyelets or pinning yourself in?) or make something where the focus is on the fastenings.
The interior belt and placket closure of 1910s garments is a fascinating thing. The Kilbirnie Skirt features a classic version of this very interesting closure:
And I made two!

October: Orange:
It’s the final colour to be covered by a colour challenge! Make something orange.
I also made two things for this challenge! Or, to be more accurate, I made a matching set.
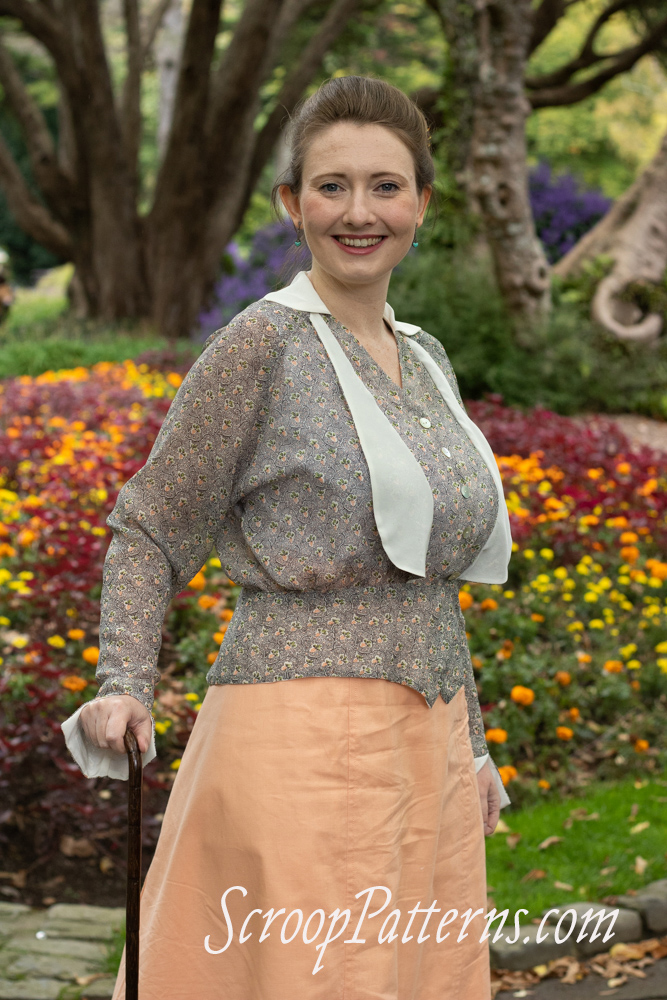
The little peachy-orange berries on this silk Selina Blouse called for a matching skirt. The linen skirt is based on a 1910s pattern in my collection.
November: Zero Waste:
Make something that creates zero waste. You could either sew a garment like a shift that uses clever geometry to use all the fabric, re-make an old costuming item to extend its life, or create something entirely from re-used materials.
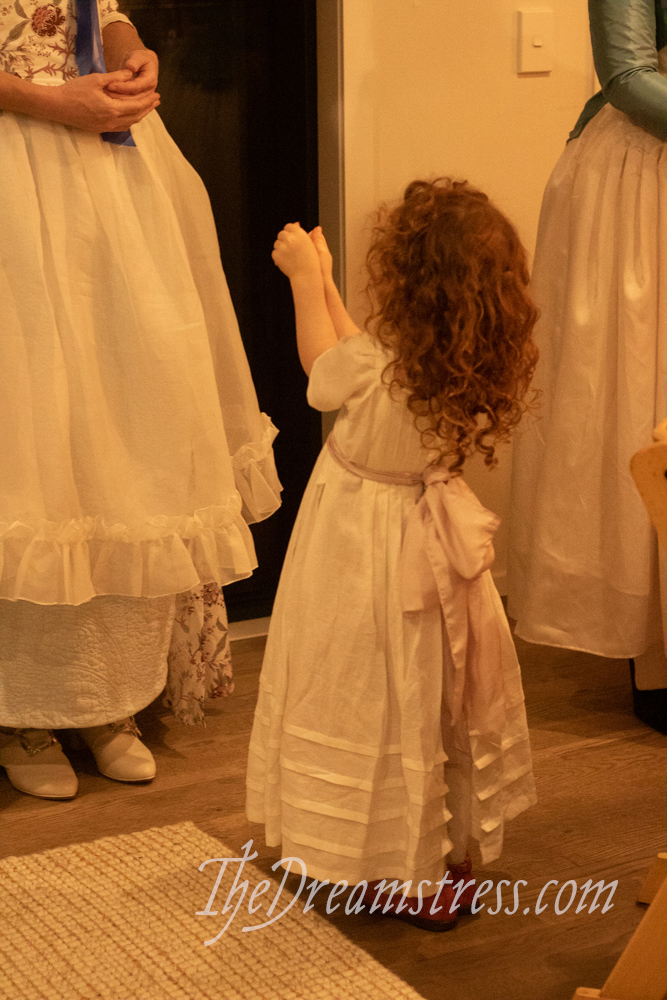
The sweet Norland Frock I made for Miss Four used up every bit of the fabric scraps from a few different projects: linen left over from petticoats for the dress, a silk scrap from a lining for the sash, and cotton unpicked from a costume for a film that never got made for the under-petticoat.
December: All the World’s a Stage:
Make something inspired by theatre, opera, or the modern stage: films & tv. You can recreate a historical stage costume, a historically accurate film costume, or use this as an excuse to make a historically accurate version of something that isn’t.
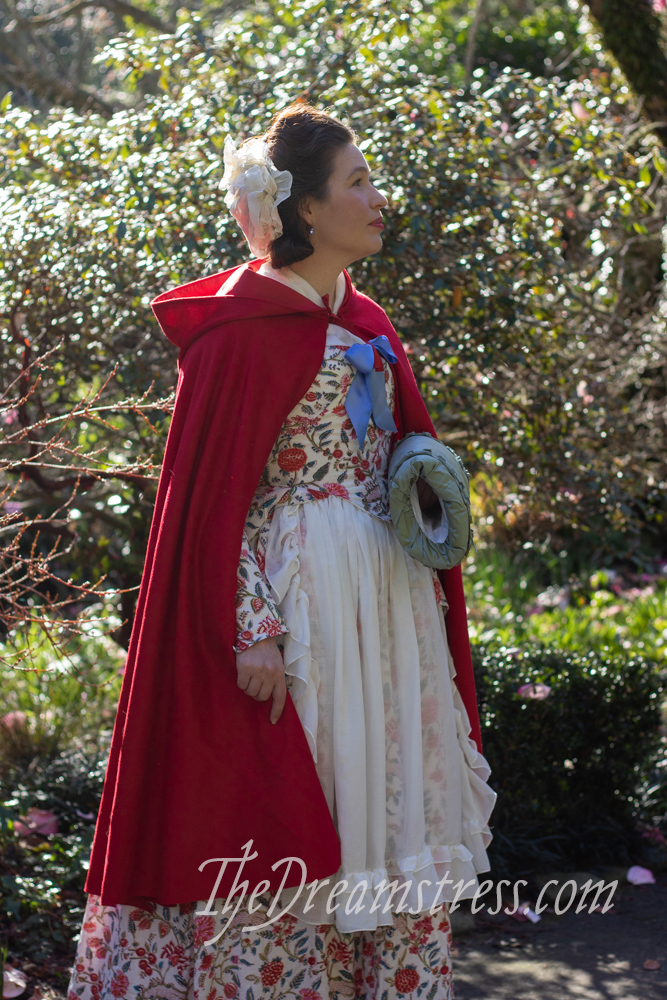
The classic red cloak is a very theatrical garment that’s been used in lots of things. I could be an accurate Little Red from Into the Woods, or the Christmas panto.
So, what was my total? Five skirts/outer petticoats. Five petticoats. An Amalia Jacket. Two dress-things (one with wearable under-dress and sash). Three Frances Rumps. Four Selina Blouses. A corset. Garters. A fichu. A hat and a cap. Two pairs of stockings. A cloak. Pockets. 28 items? That’s better than a Historical Sew Fortnightly!
What I like most, looking back at my Historical Sew Monthly, is that while I was prolific, I was also frugal and environmentally friendly. Quite a few of these items were made from re-fashioned items. The vast majority of the remainder were made from stash fabric (often originally thrifted) rather than new. And all of them were carefully and thoughtfully made, and will get lots of use. It’s a very good feeling.
I was also generous: a free pattern, quite a bit of information and tutorial, and I helped lots of friends and students make things!
Here’s to a 2022 full of satisfying sewing, but waaaaaaay less stress than 2021!