Latest Posts

The 1770’s linen paniers – done!

Yay!  The Panier-Along is done! (or at least all the instructions are up, feel free to keep making them and leave a comment on the page with a link to your finished paniers).

Panier-along button2

My paniers are done too.  I won’t have time to do a proper photoshoot with them over a chemise and with stays for a few weeks yet – too busy teaching classes, running off on road trips with friends to the South Island and Art Deco weekend and doing my own sewing to get dressed up.

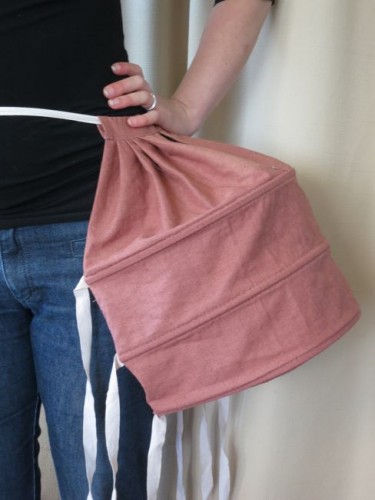
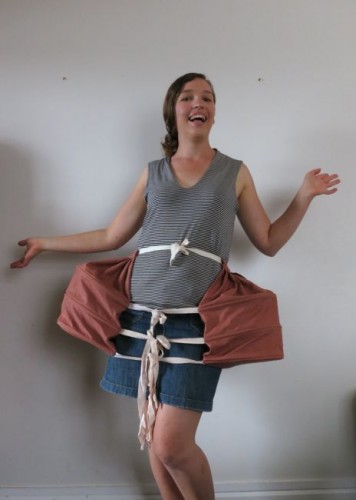
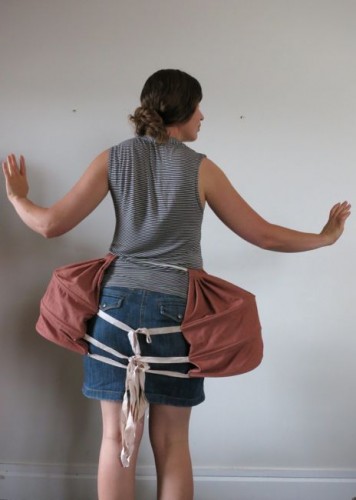
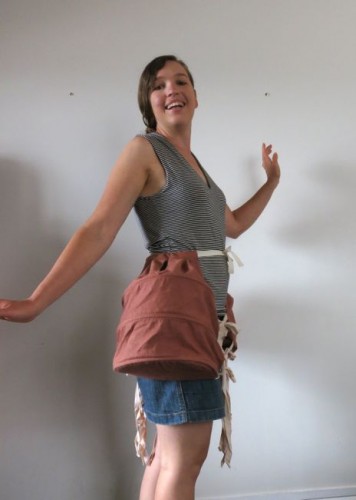
So here is a quick holder photoshoot with my super-historically-accurate tank top and denim skirt, just to show that they do work:

1770's paniers

1770s paniers

1770s paniers

1770s paniers

The Challenge:  Under It All (undergarments)

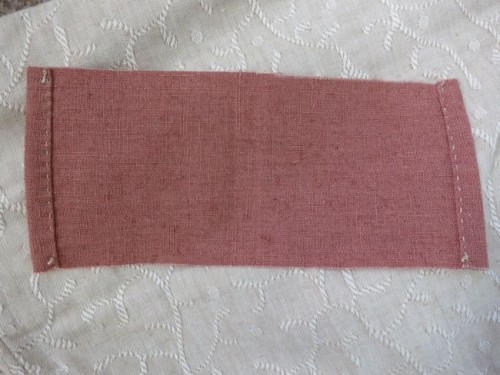
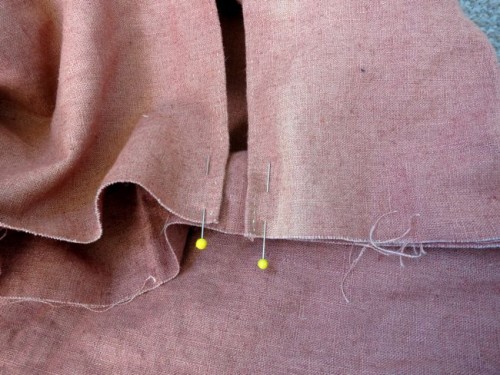
Fabric:  Brick-red linen ($2 at an op shop some years ago)

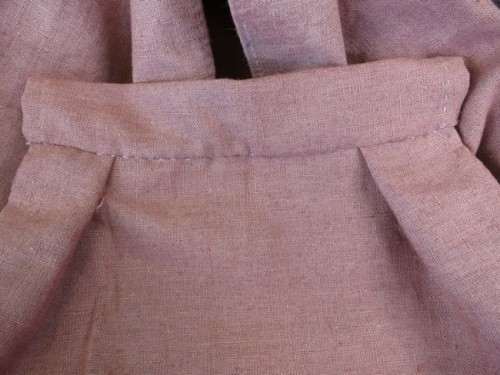
Pattern:  self-drafted, based on the pattern in Corsets and Crinolines and other historical examples

Year:  1760-1780

Notions:  Cane hooping ($6), heavy twill tape (less than 20 cents at an op shop), twill tape ($1), linen thread (inherited from Nana)

How historically accurate is it?  Very – all the materials are as close as I could get to period accurate, and it is hand sewn with linen thread using period stitches.

Hours to complete:  4 of actually sewing, another 8 of documenting and blogging

First worn: Wednesday 6 Feb (Waitangi Day) for photos.

Total cost:  Under $10 (Yay!)

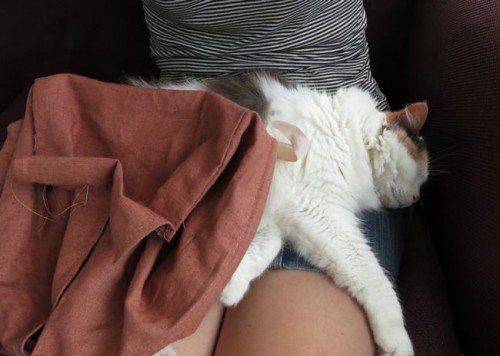
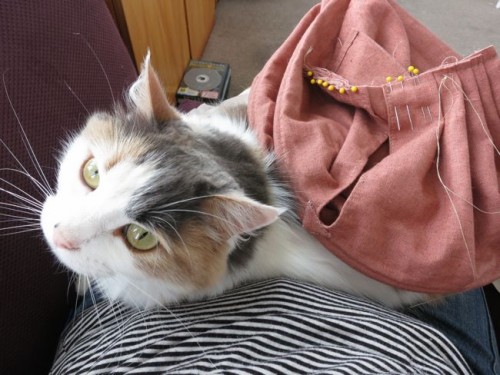
And two final photos – here is Felicity helping me with the last bits of sewing:

Happy lappy kitty

Don't finish it and make me move!

Rate the dress: Gold and glitter in the 1870s

Last week I showed you a very embellished (and everything elsed) yellow ballgown from 1889.  You were a little confused by the bodice design – and you weren’t the only one.  The Met couldn’t decide which was the front and which was the back either.  A few of you loved it, but most of you felt that there was just too much embellishment, and too many different kinds of embellishment, and it came in at a rather disappointing 6 out of 10.

This week, since it is the Embellishment challenge on the Historical Sew Fortnightly, I’m going to risk it and post another heavily embellished dress, this one from a decade before the  yellow ballgown.  Like the ballgown, this afternoon/dinner dress is monocolour and has a variety of different kinds of trim: beading, ruching, buttons, bows, ruffles and pleats, arranged asymmetrically around the dress.

Dress, ca. 1879, French, Maison Cecile Laisne, Metropolitan Museum of Art

Dress, ca. 1879, French, Maison Cecile Laisne, Metropolitan Museum of Art

Dress, ca. 1879, French, Maison Cecile Laisne, Metropolitan Museum of Art

Dress, ca. 1879, French, Maison Cecile Laisne, Metropolitan Museum of Art

Dress, ca. 1879, French, Maison Cecile Laisne, Metropolitan Museum of Art

Dress, ca. 1879, French, Maison Cecile Laisne, Metropolitan Museum of Art

Dress (detail), ca. 1879, French, Maison Cecile Laisne, Metropolitan Museum of Art

Dress (detail), ca. 1879, French, Maison Cecile Laisne, Metropolitan Museum of Art

Dress, ca. 1879, French, Maison Cecile Laisne, Metropolitan Museum of Art

Dress, ca. 1879, French, Maison Cecile Laisne, Metropolitan Museum of Art

What do you think?  Does this frock manage to harmonise all its different embellishments more successfully than last week’s frock?  Or is it another example of too much, with too little logic?

Rate the Dress on a Scale of 1 to 10

Panier Along #6: Pleating & Finishing

Panier-along button2

Update: I’m so sorry! I finished my paniers on Wednesday, wrote the final posts on how to make them, scheduled all the posts, and headed off for a much-need relaxing long weekend with friends. And then stupid WordPress didn’t publish my posts!

So, to those of you who were counting on the end of the tutorial, I apologise! And to those of you who were just deprived of your daily entertainment, well, I apologise too!  On the bright side, now I have pretty pictures and a fun trip to tell you about on Wed!

~~~~~~~~~~~

Right, back to the Panier-Along! Let’s get these done!

Yay! Final steps!  Today we’ll be pleating the top of your panier bags, and sewing them to the channels that your waist ties will go through.  First, hem the short edges of both of your 3″ x 7″ waist pieces.  I’ve done mine by hand, but machine is fine too.  When you are done it will measure about 6-6.5″ long

Hemmed waist piece

Hemmed waist piece

Now you’ll be pleating the top of your panier-bags so that they fit the waist pieces.

Mark the centre of your panier inside piece, and pin the pocket slit edges of your panier bag on either side of it.  Rather than butting the edges together at the centre leave a little gap to make it easier to slip your hand in.

Pocket slit pinned to panier back

Pocket slit pinned to panier inside

Now, pleat your panier bag inside and outside pieces together so that they measure the same length as your hemmed waist channel piece.

Checking that each half of the panier bag is pleated to 3"

Checking that each half of the panier bag is pleated to 3″

You’ll need one pleat of the shorter panier inside piece and longer outside pieces together, and four pleats in the panier outside piece by itself on each side of the pocket slit.

Single pleat of the panier inside piece and outside piece together

Single pleat of the panier inside piece and outside piece together

Check that your pleated together panier bag top is the same length as your waist piece:

Checking the pleated bag against the waist piece

Checking the pleated bag against the waist piece


Once you have your pleats figured out, pin your waist piece to your pleats, with the right side of the panier waist piece to the right side of the panier inside piece.

Pleated panier bag pinned to waist piece

Pleated panier bag pinned to waist piece

Sew the pieces together:

Sewn together panier bag and waist piece

Sewn together panier bag and waist piece

Now, fold the long raw edge of your waist piece under 1/2″, and fold the waist piece over so that it encloses the raw edges you have just sewn, forming a long tube with all the raw bits inside (just like you would sew a waistband).  Topstitch in place.

Waist channel topstitched in place

Waist channel topstitched in place

The waist channel from the back/inside

The waist channel from the back/inside

Now, thread your twill-tape waist tie through the channel (a big safety pin will help with this), and your first panier is done!

A finished panier bag

A finished panier bag

Do the same to the other one, and you have a finished pair of paniers.

I’ll show you my finished paniers tomorrow!