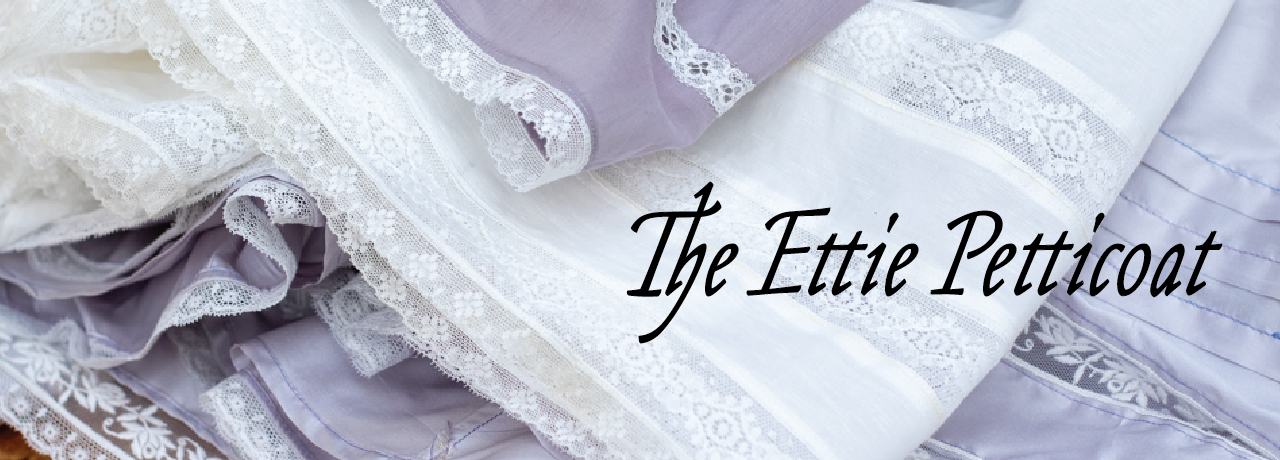
I took a break from Rate the Dress last week to launch the Ettie Petticoat. This week is running a little late because Delta has reached New Zealand and we’re in strict lockdown, so I’ve been focused on getting my teaching and a schedule sorted.
But, life aside, Rate the Dress is back, with a dress that has been on the RTD list for almost five years. It was just never the right time for this 1840s dress in printed silk with supplementary warp brocading. Now that its here what will you make of it? Will this floral frock be a RTD success story, or a wallflower?
Last week: a 1920s dress with pink peonies
Generally speaking you loved Molly Tondaiman’s Callot Soeurs frock, and found the history behind it really interesting. A few of you weren’t so keen on the green colour, or the way the two greens were paired together. There was a bit of criticism of the embroidery placement, but as AnnaKareninaHerself pointed out, it was a dress devoid of accessories: with a long necklace the blank space would be perfect and purposeful.
The Total: 8.7 out of 10
Not quite making that 9!
This week: an 1840s day dress in printed silk
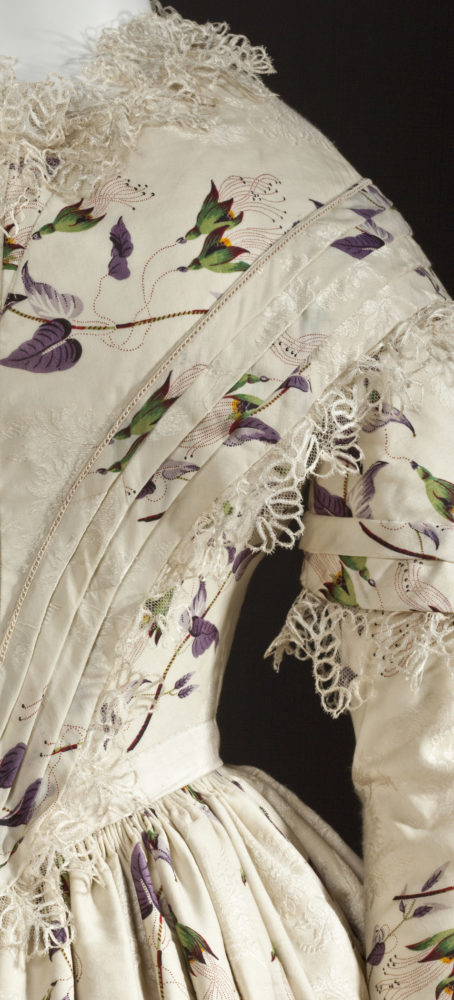
This day dress, with its sloped shoulders, berthe-effect pleated front, mancheron oversleeves, pointed waist, and cartridge-pleated bell-shaped skirt, is a classic example of mid-late 1840s style
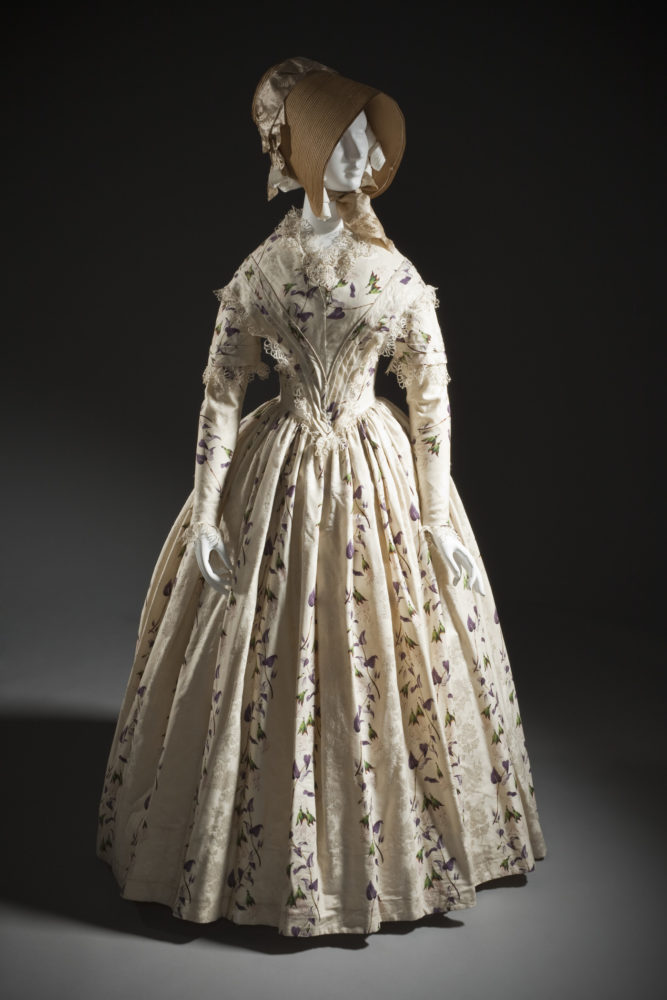
The Los Angeles County Museum of Art has paired it with an equally classic 1840s bonnet: sleek smooth brim, and ribbon embellishment around the crown.

The whole effect is sweet and modest: the shape of the bonnet mirrored in the skirt, the bodice, sleeves, and waist creating lapped layers of Gothic arches leading down the body.
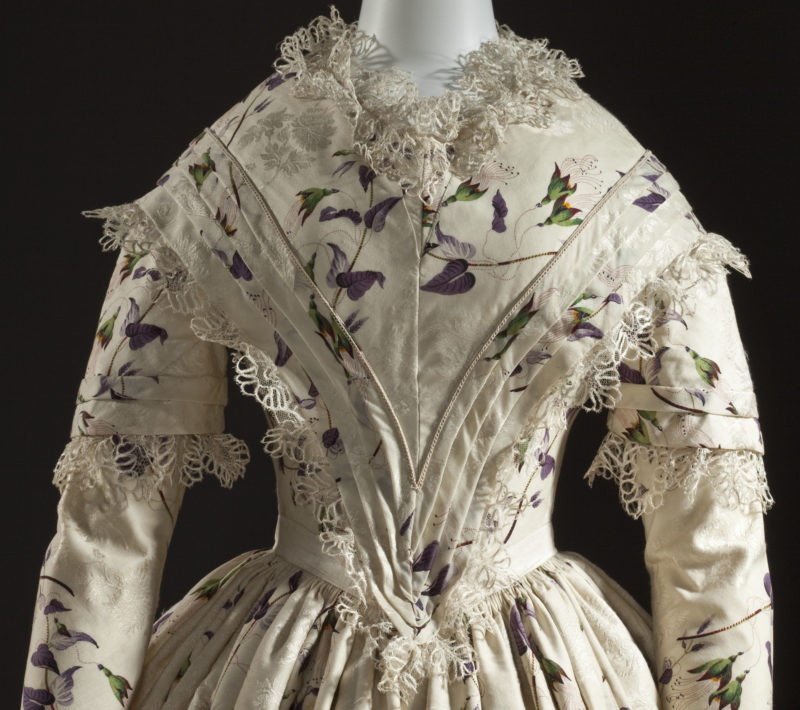
The simple, archetypical shape is made interesting through trim and fabric. The delicate silk lace framing the neckline and berthe and hemming the mancheron oversleeves is remarkably well preserved. The entire dress is made from a striking printed silk with a vining floral pattern in purple and green with touches of red and yellow.

The silk ground the vining pattern is printed on has a woven-in warp-thread brocaded pattern of peonies, giving the dress a delicate shimmer from a distance.
What do you think? As an example of 1840s fashion is this top of the curve?
Rate the Dress on a Scale of 1 to 10
A reminder about rating — feel free to be critical if you don’t like a thing, but make sure that your comments aren’t actually insulting to those who do like a garment. Phrase criticism as your opinion, rather than a flat fact. Our different tastes are what make Rate the Dress so interesting. It’s no fun when a comment implies that anyone who doesn’t agree with it, or who would wear a garment, is totally lacking in taste.
As usual, nothing more complicated than a .5. I also hugely appreciate it if you only do one rating, and set it on a line at the very end of your comment.