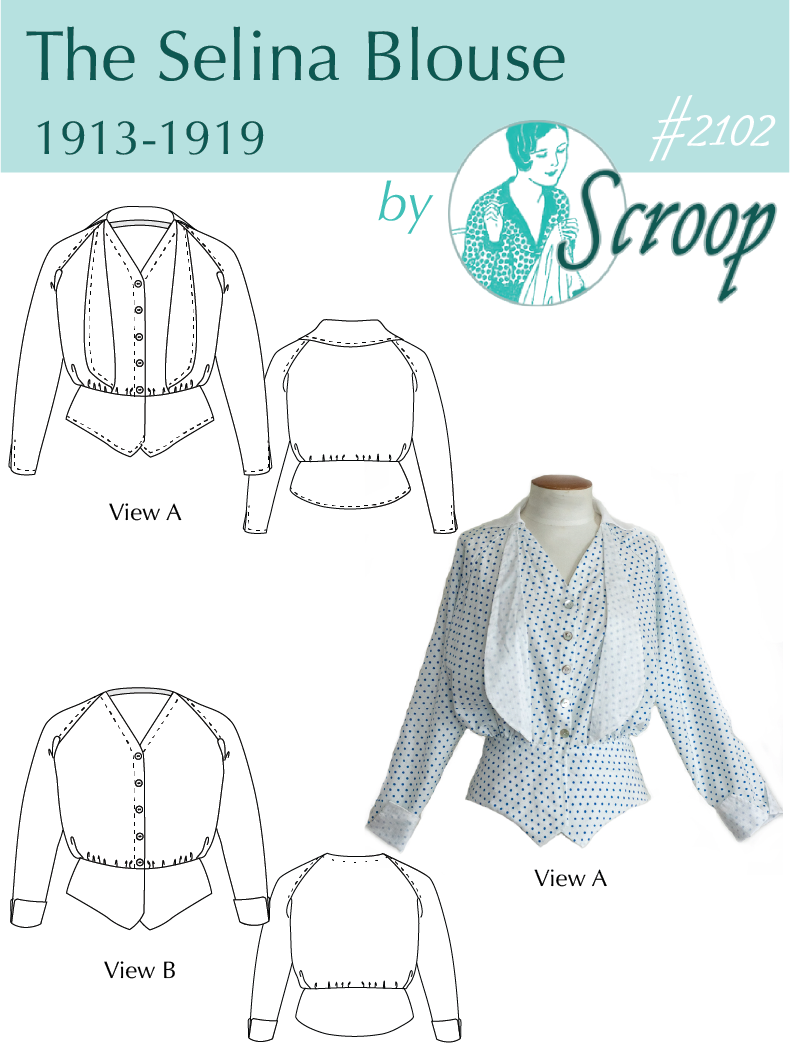
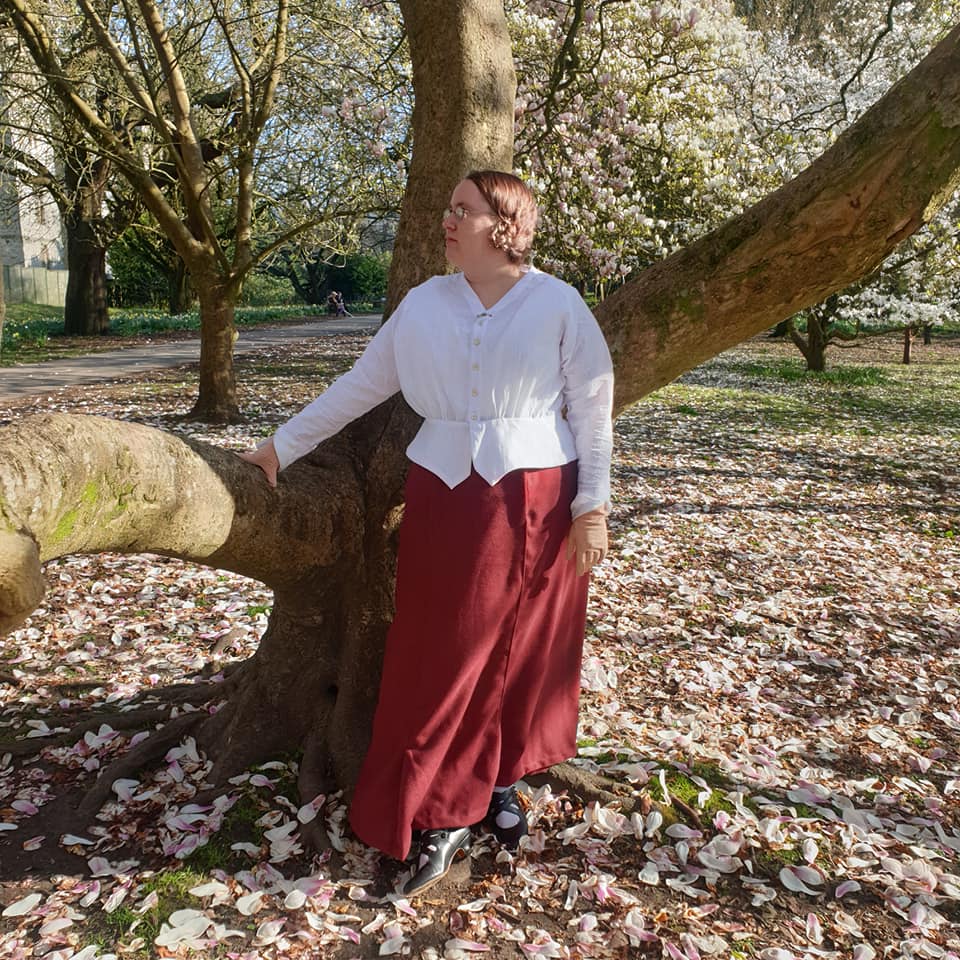
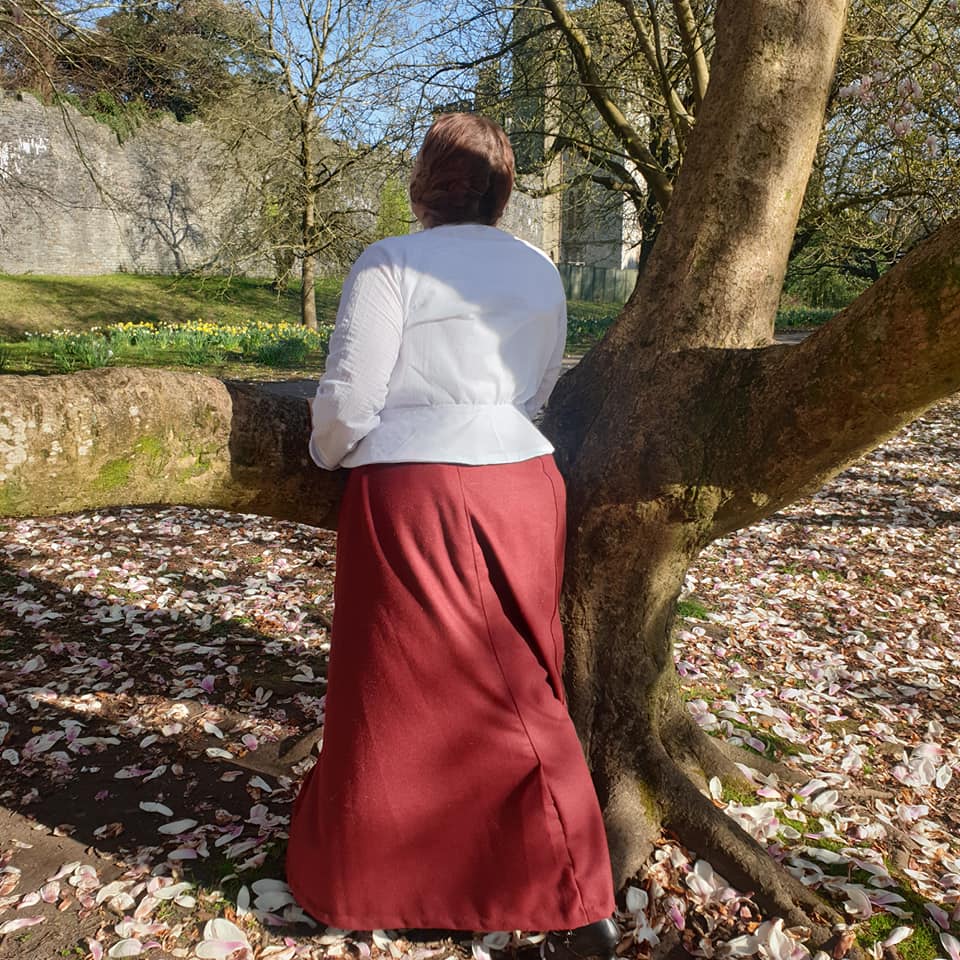
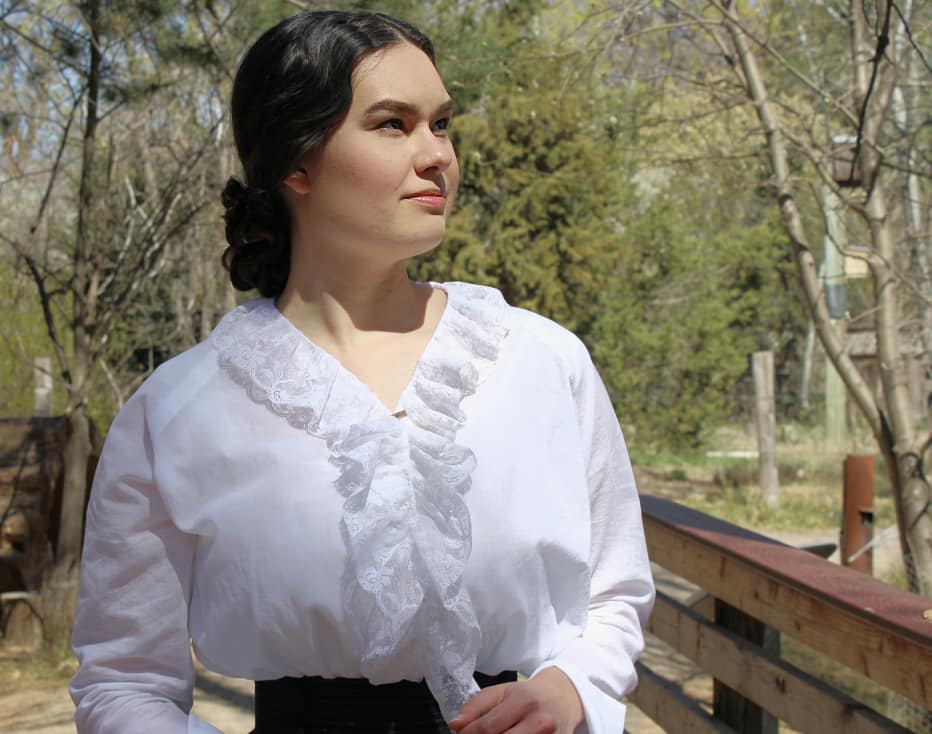
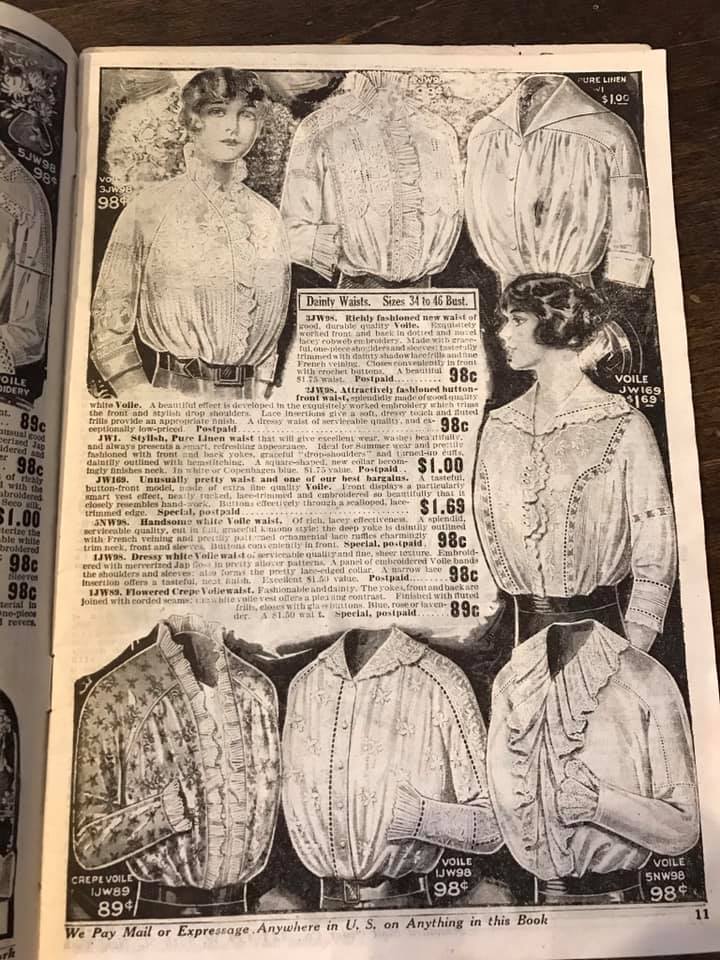
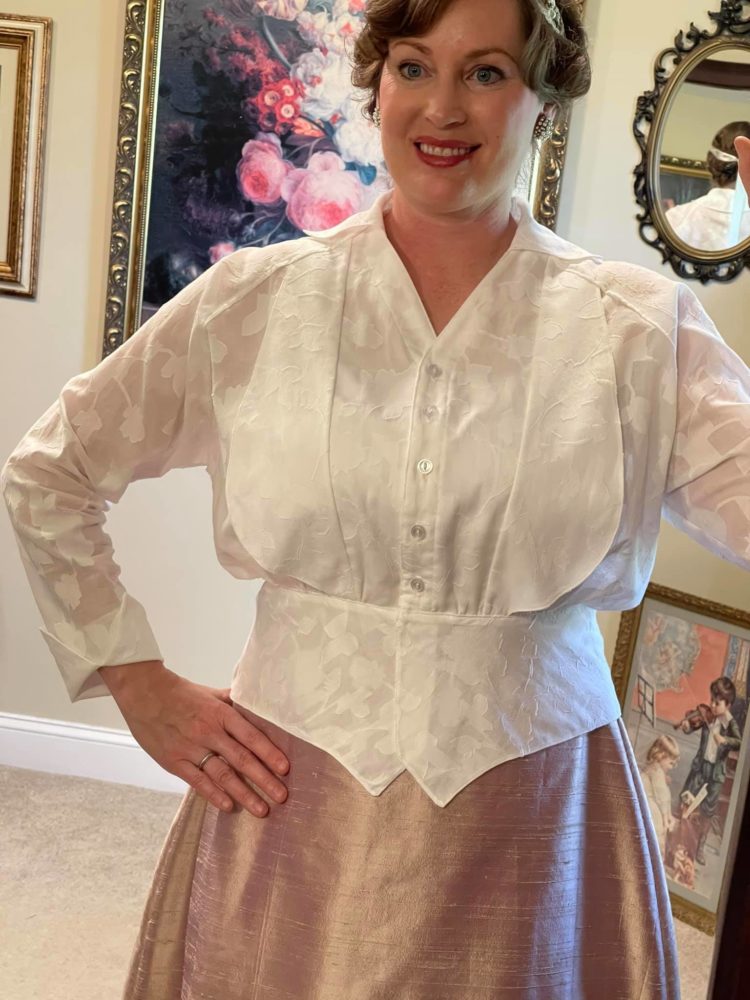
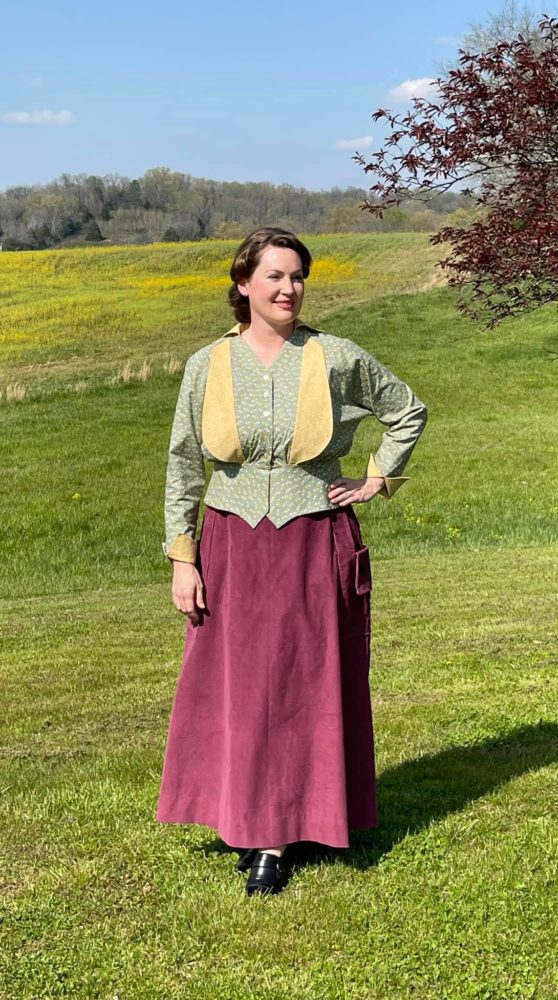
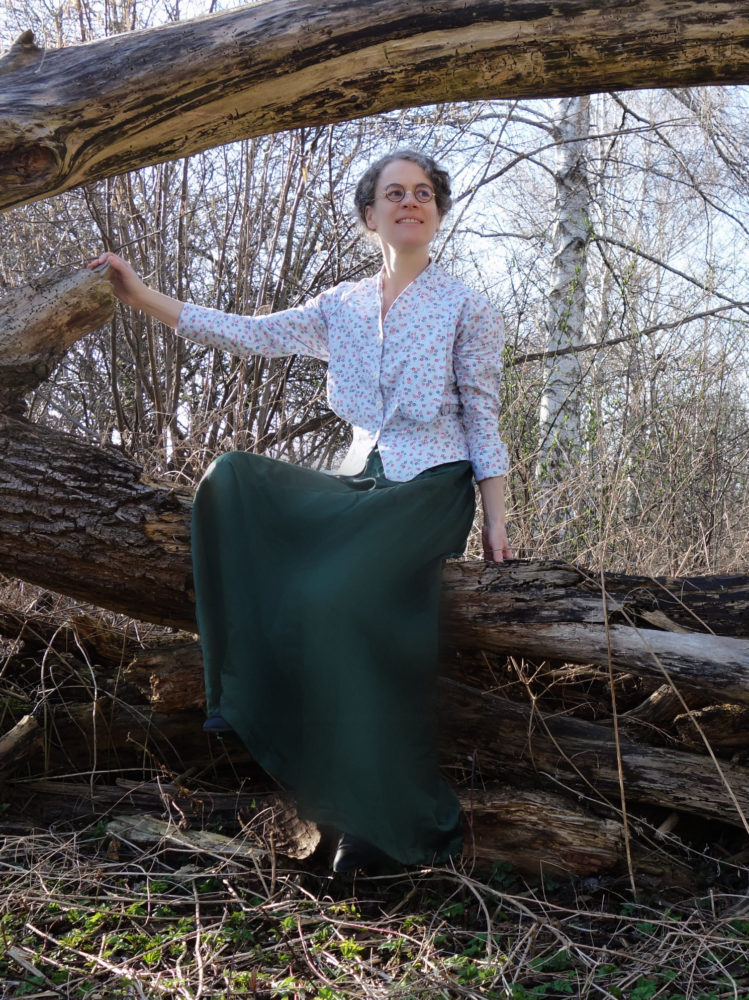
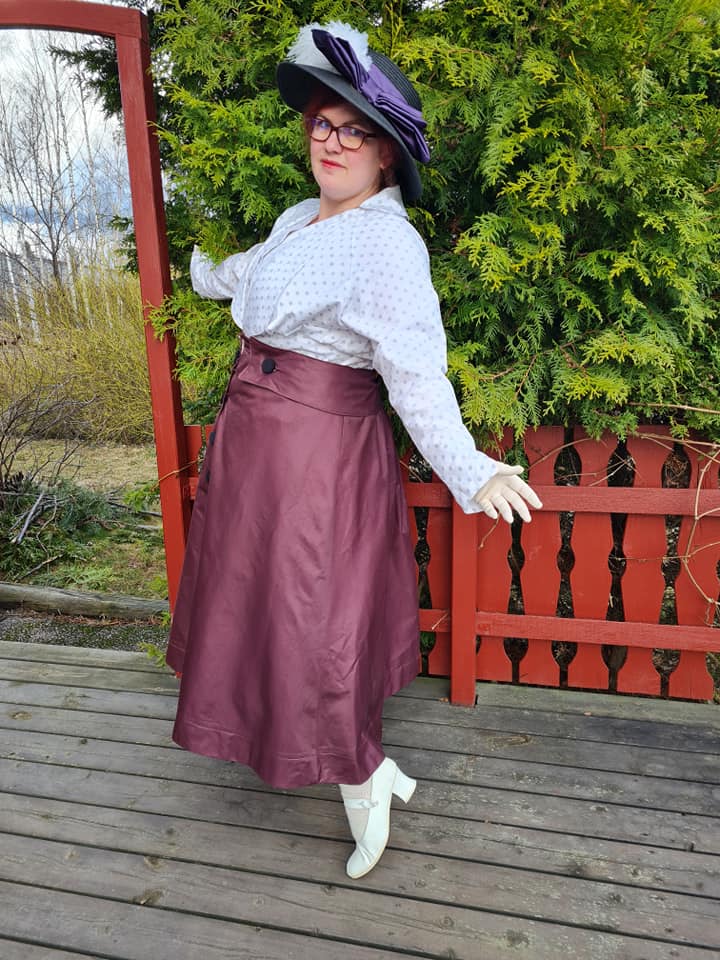
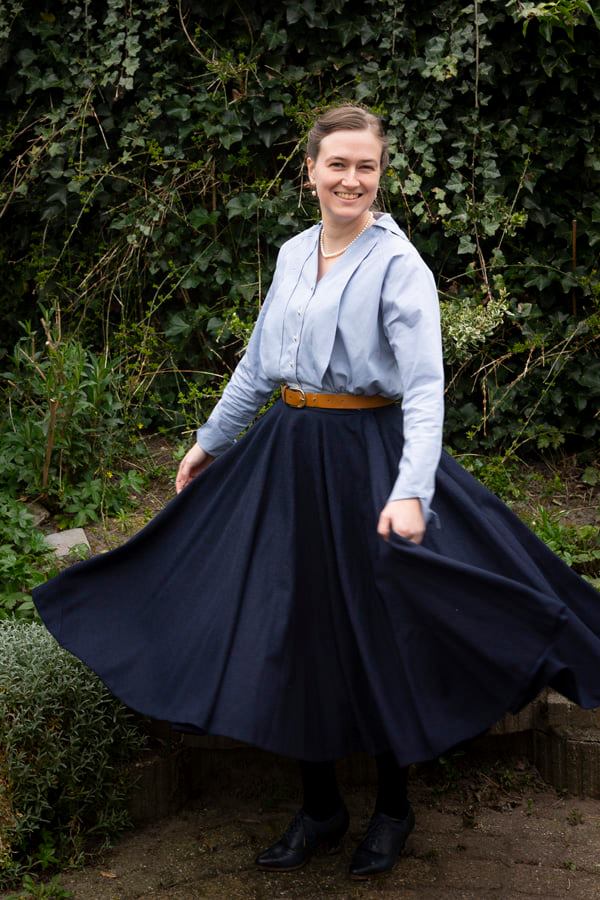
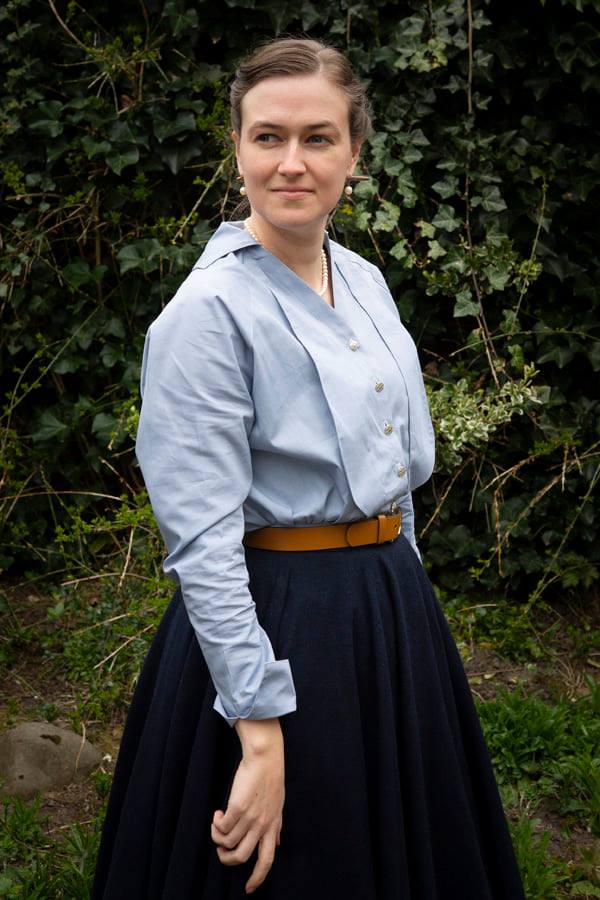
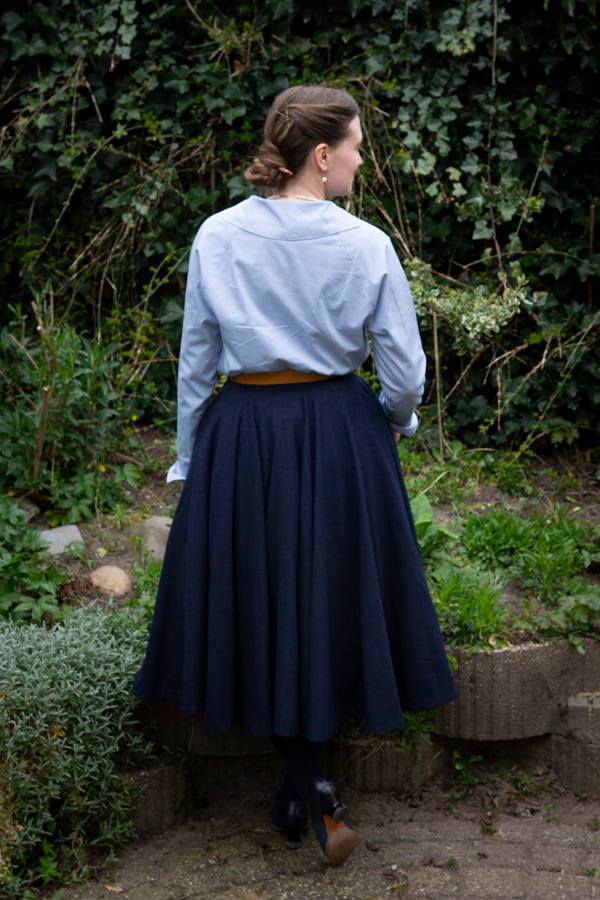
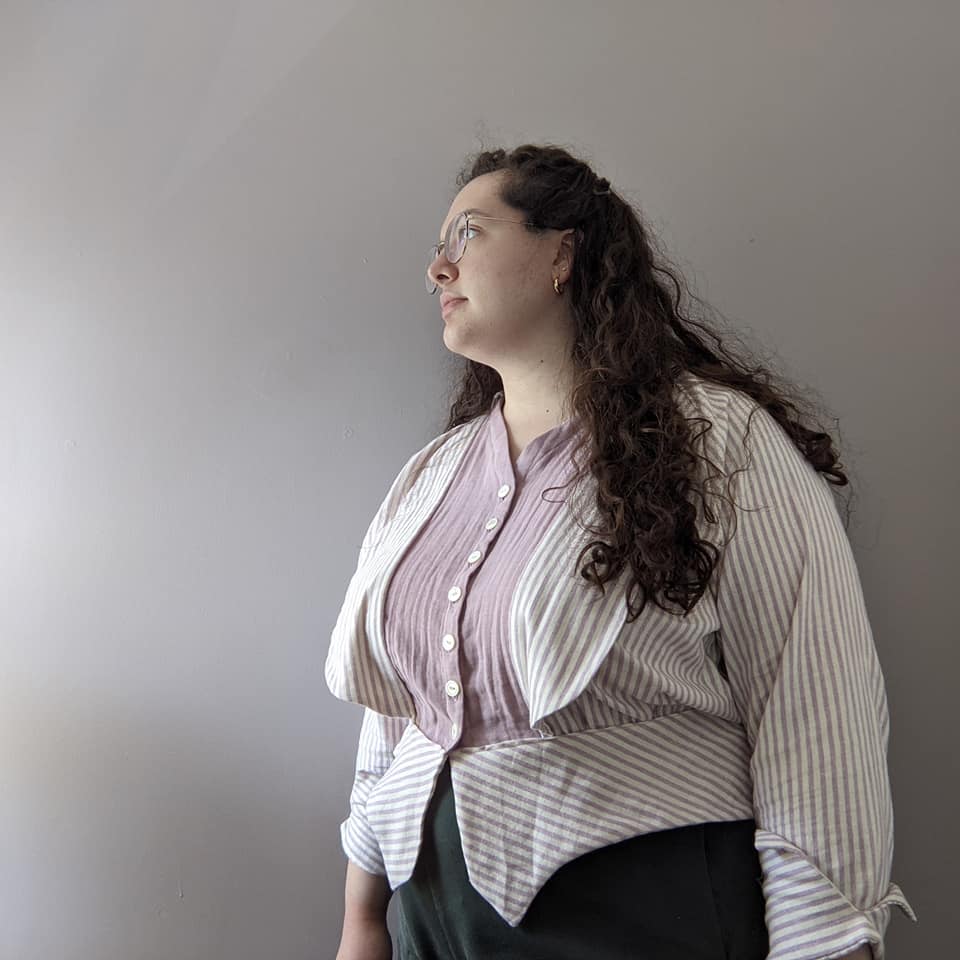
This week’s Rate the Dress is mid-1910s themed, to celebrate the launch of the Selina Blouse.
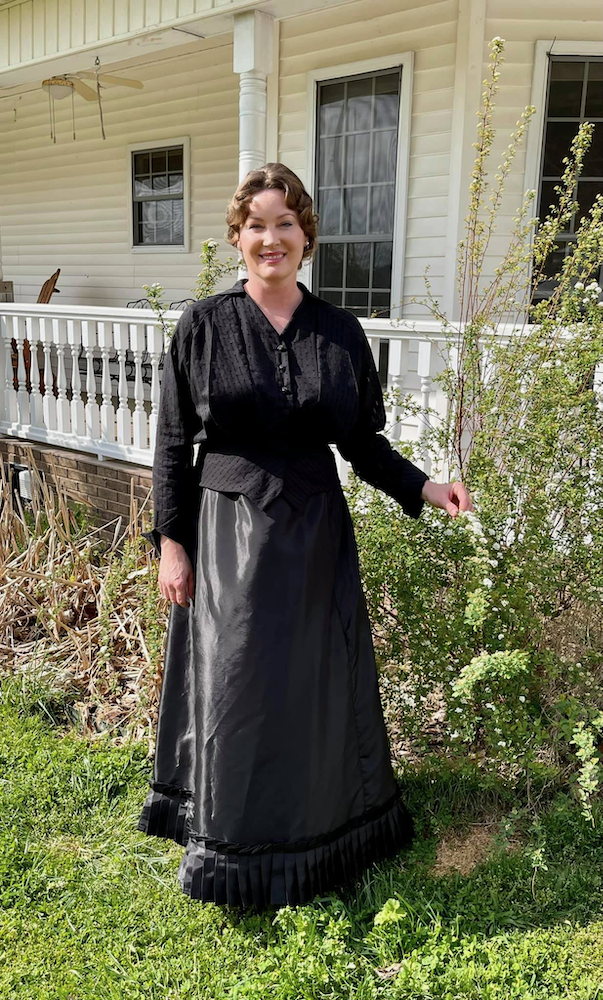
Last Week: an 1830s banyan and waistcoat of 1740s fabric
Apparently men need to go back to wearing beautifully fitted housecoats in lavish floral fabrics, because last week’s banyan and waistcoat were very popular.
The Total: 9.7 out of 10
In Rate the Dress that’s practically perfection! And no surprise – fabulous fabric, fabulous fit, and so interesting.
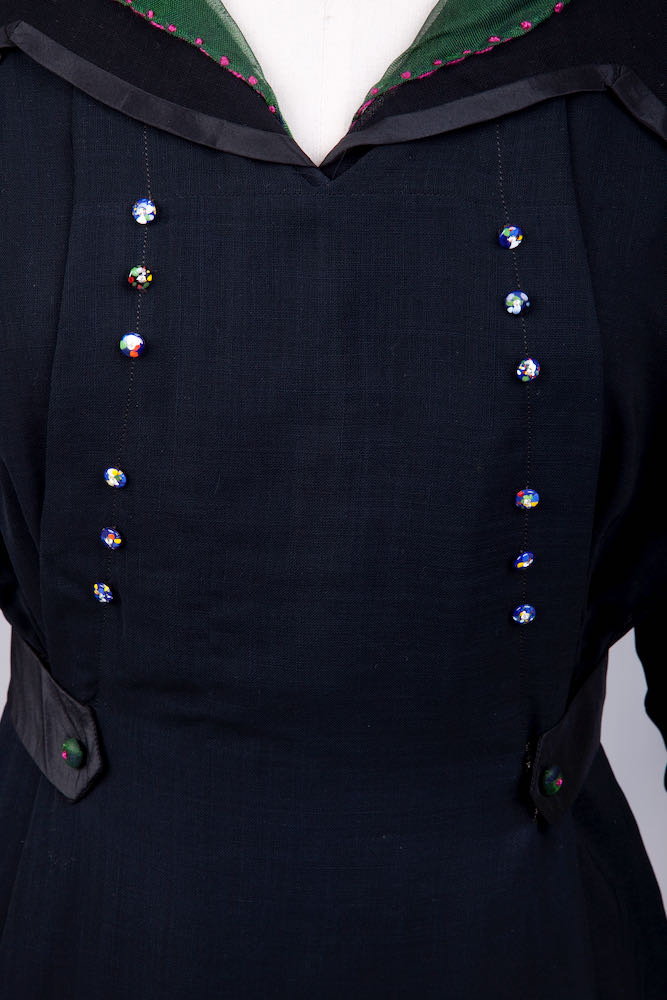
This week: a 1910s day dress with touches of colour:
This dress is an excellent example of high-end mid-1910s day dress:

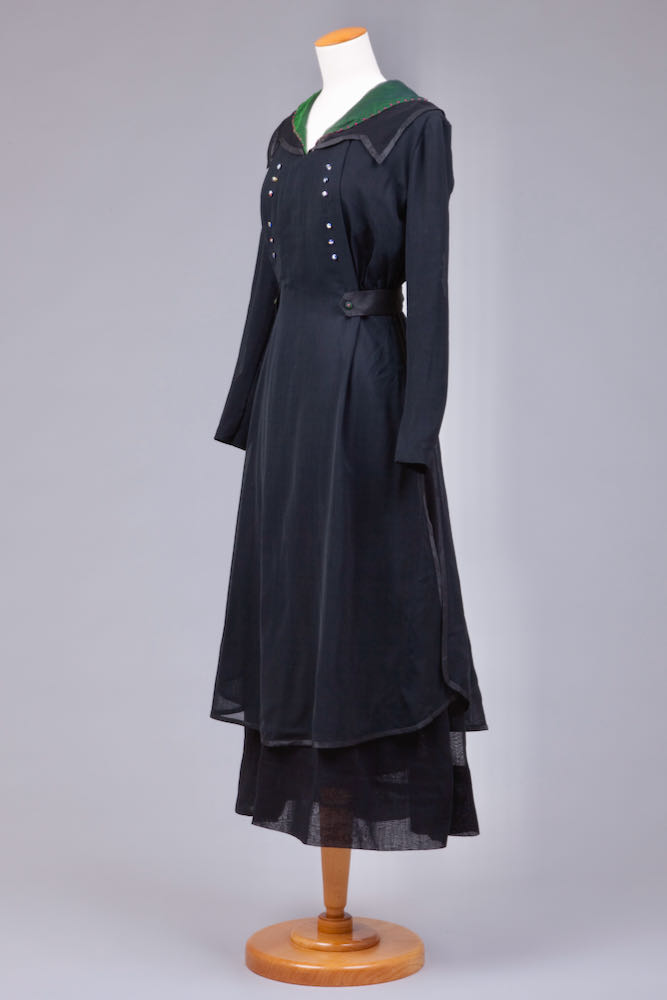
It’s got a simple, practical silhouette, enlivened by interesting details.
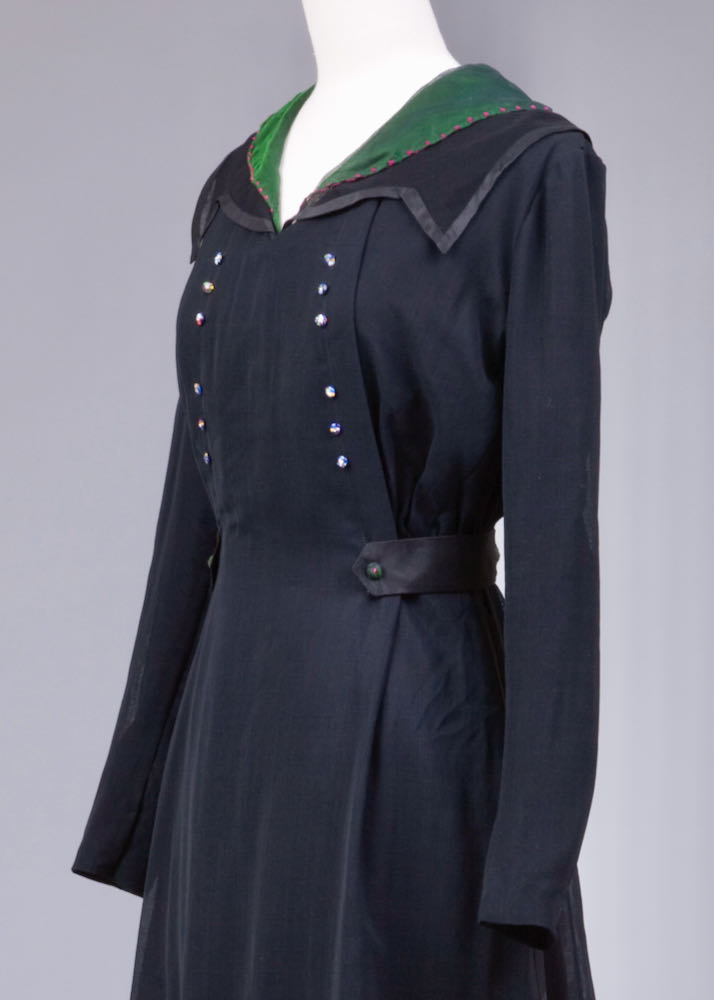
The black colour shows the trend towards black as a chic, practical, everyday colour which was had been championed by couturiers like Paquin since the late 19th century.
Black was practical in more than one sense in the middle of WWI. Germany had been the world’s largest dye producer prior to WWI. The war cut off supply lines, even to countries not involved in the war. One of the few dyes manufactured in large supply outside of Germany was black: so black clothes were in.
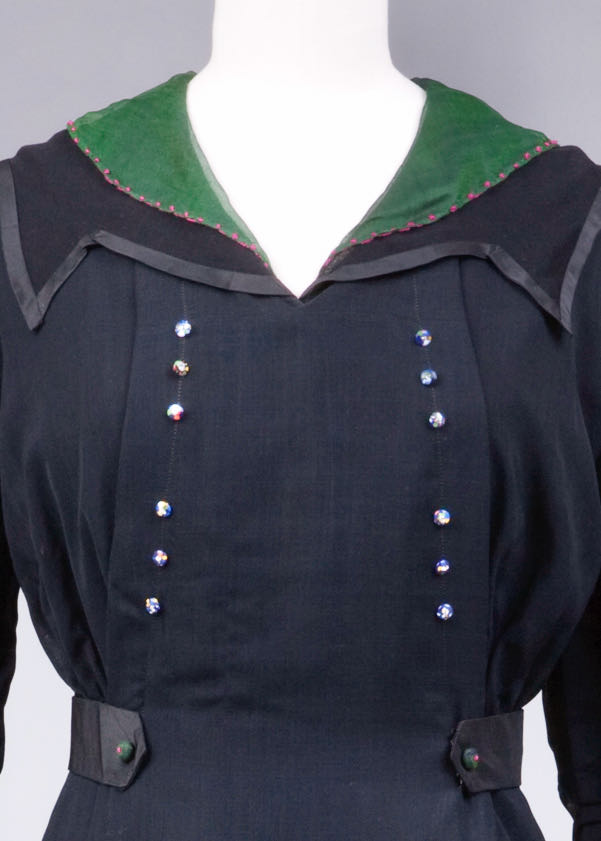
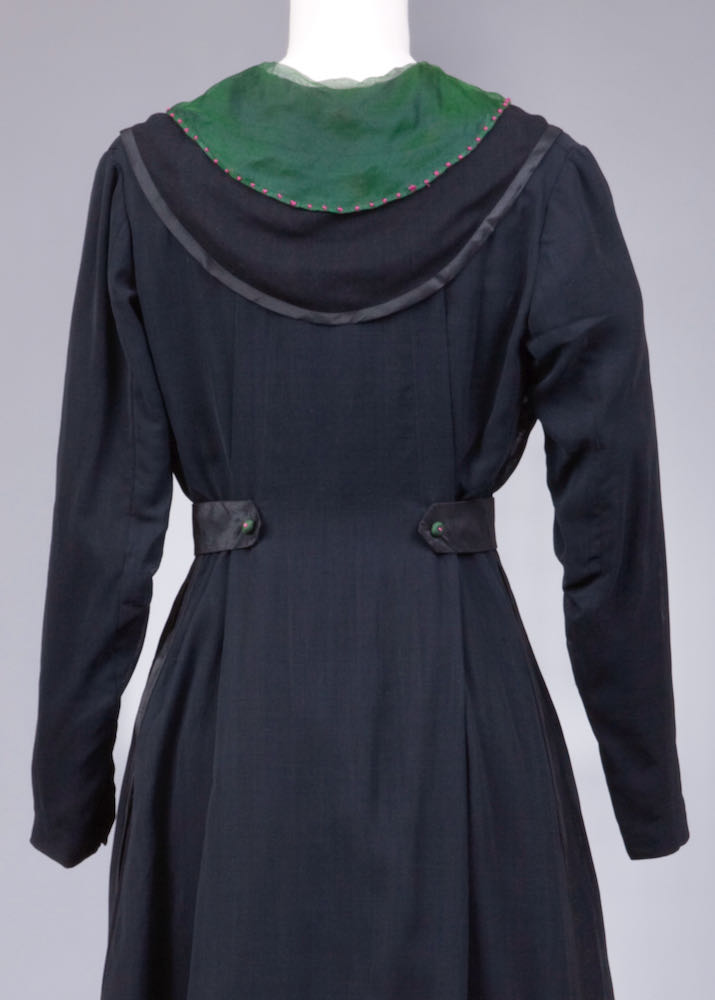
This dress uses touches of unexpected colour to relieve the black: the green collar edged with hot pink embroidery, and multicolour glass beads running up the front.

The grouping of the beads, rather than running them at regular intervals down the front, is a typical feature of mid 1910s design.
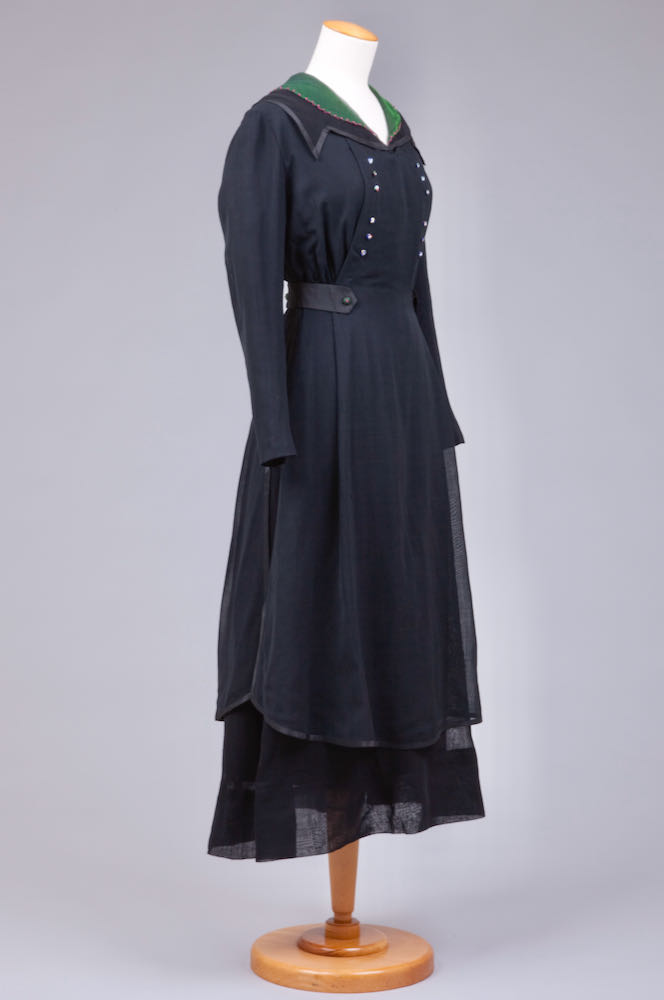
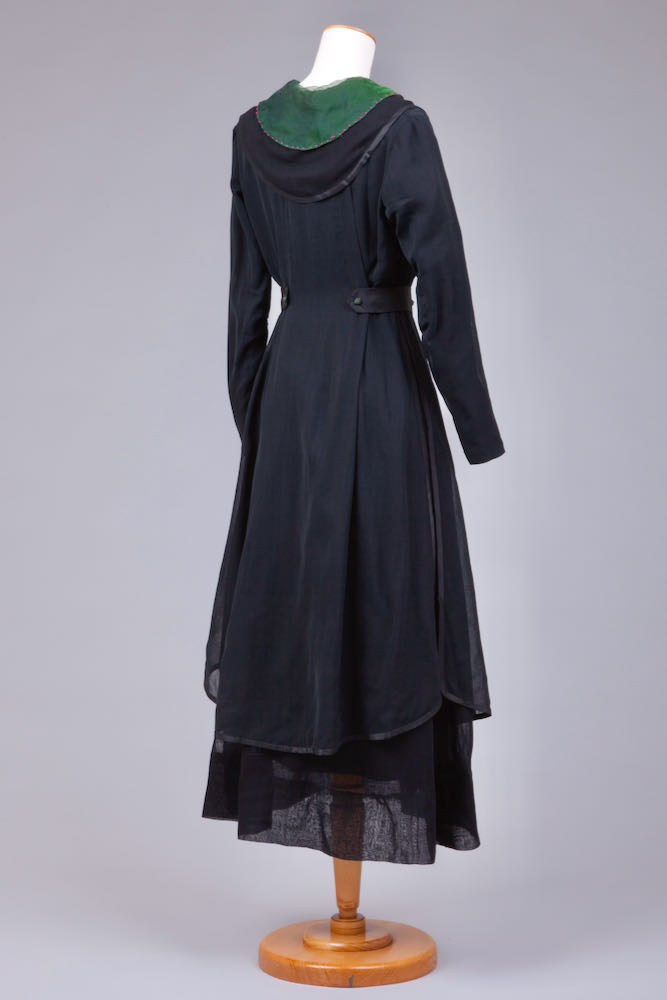
The dress is full of other classic war-year design features: quirky double collars, a loose sheath silhouette that anticipates the 1920s, but is pulled in with the two side sashes, layered skirts, and beautiful finishing details.
I’ve puzzled over the entry to this dress, and think I’ve figure it out. It fastens down the centre front under the front panel. The panel hooks or snaps under the collar on the proper left, and is caught with a hook under the proper left waist sash bead.
What do you think? A good balance of practical, luxurious, elegant and fun?
Rate the Dress on a Scale of 1 to 10
A reminder about rating — feel free to be critical if you don’t like a thing, but make sure that your comments aren’t actually insulting to those who do like a garment. Phrase criticism as your opinion, rather than a flat fact. Our different tastes are what make Rate the Dress so interesting. It’s no fun when a comment implies that anyone who doesn’t agree with it, or who would wear a garment, is totally lacking in taste.
As usual, nothing more complicated than a .5. I also hugely appreciate it if you only do one rating, and set it on a line at the very end of your comment.