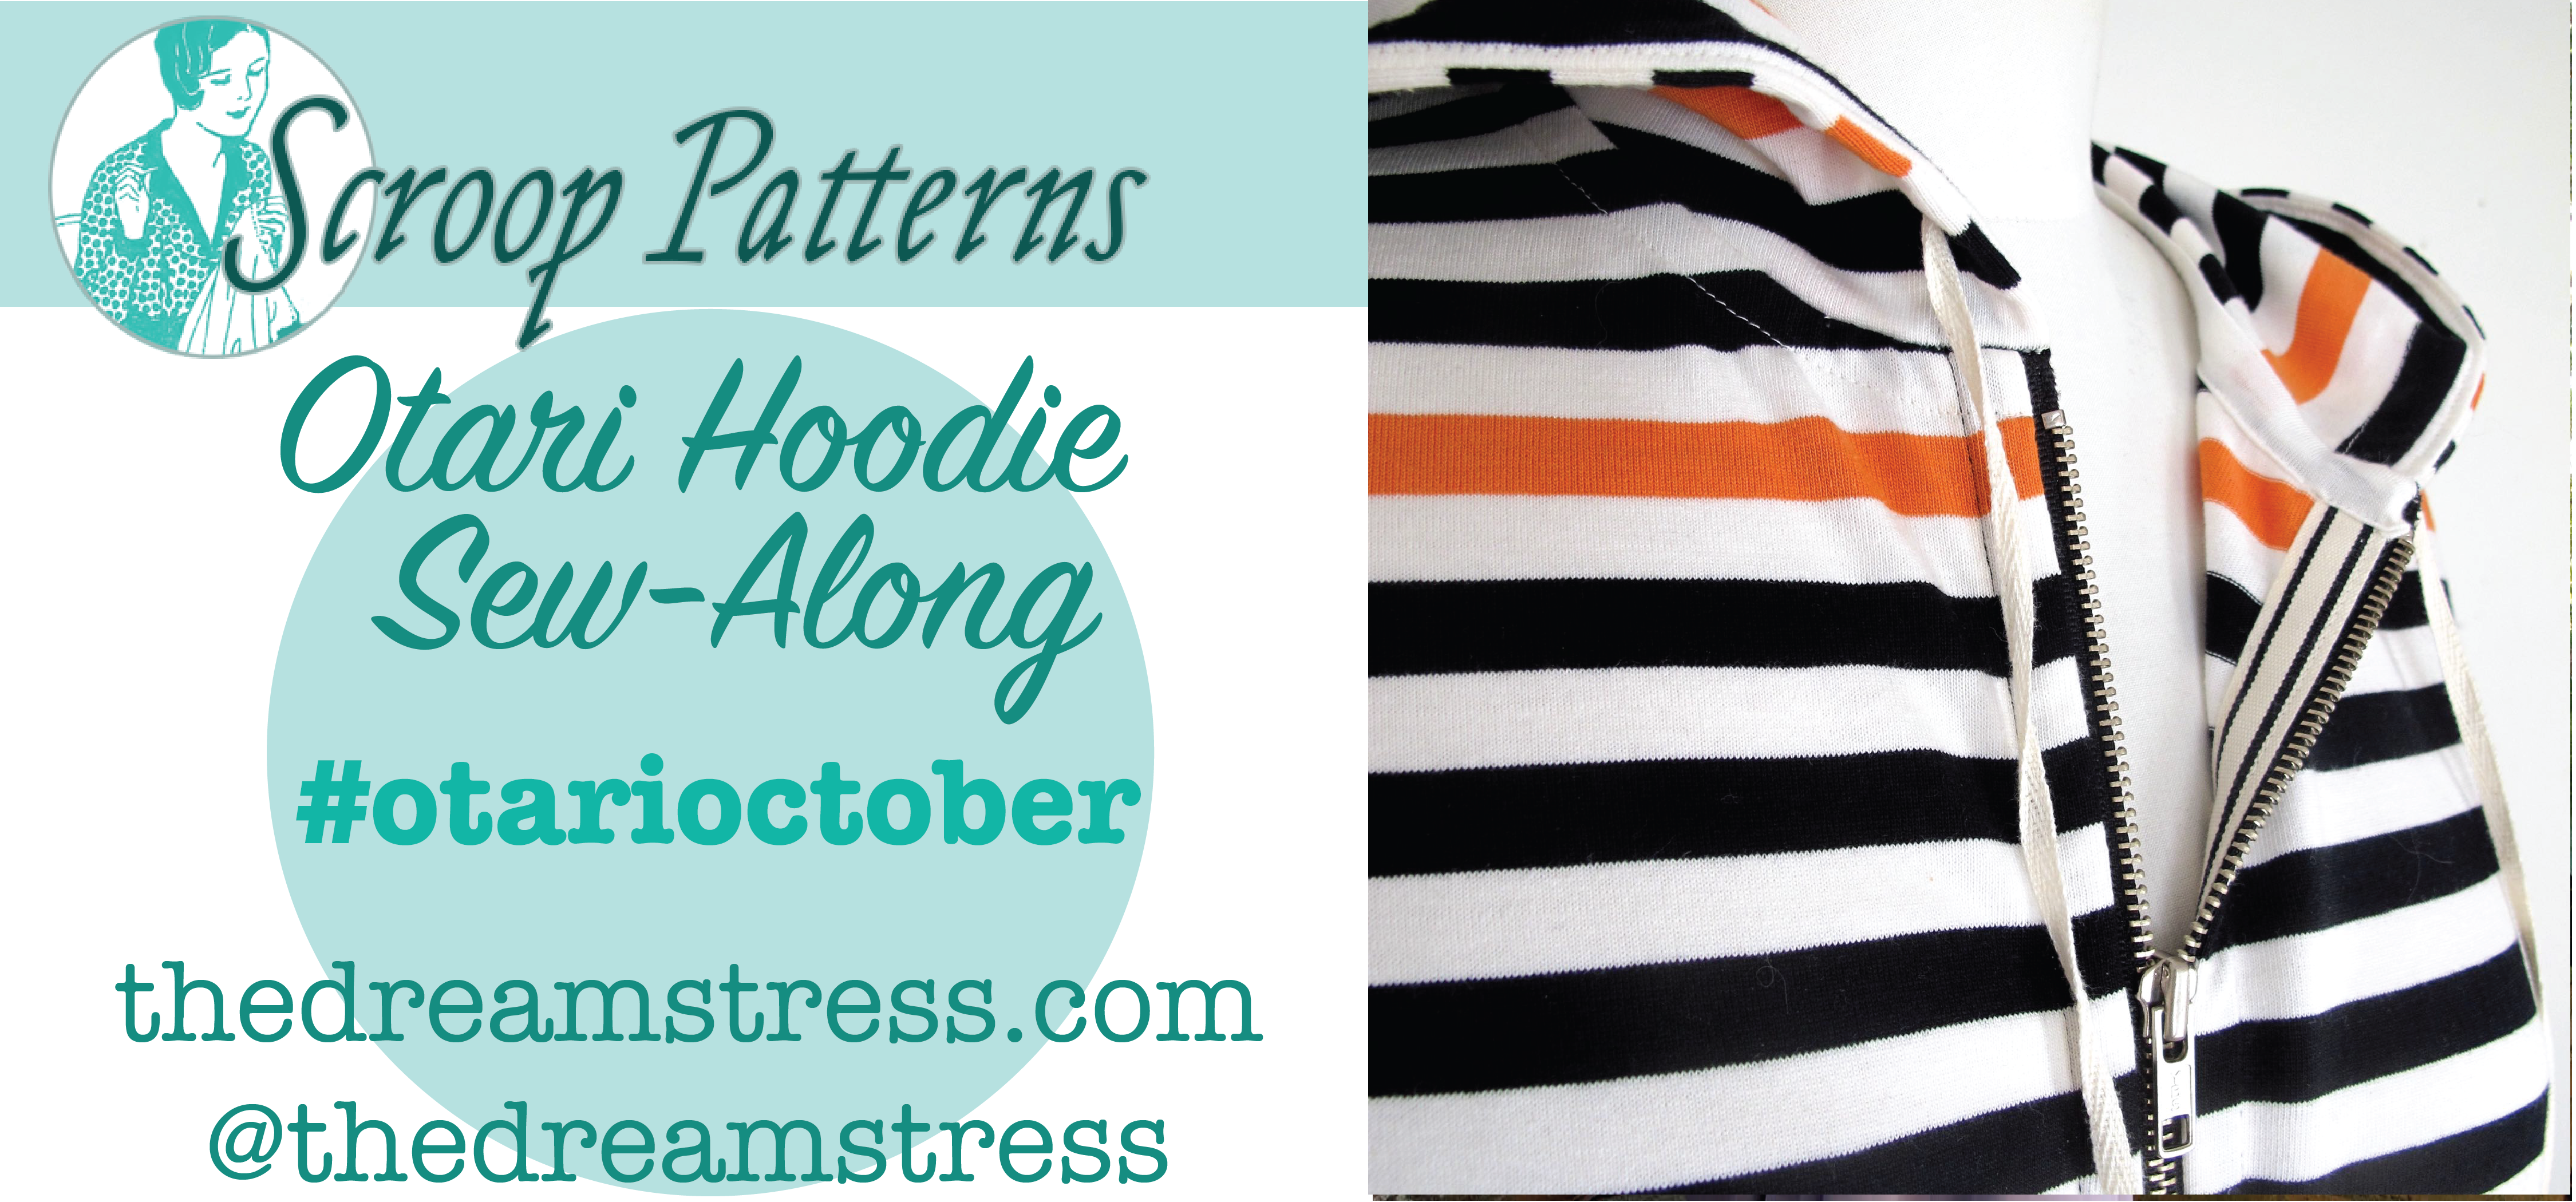
The Otari Hoodie Sew-Along #11: Attaching the Hood & Finishing
Hooray! It’s the last construction post for the Otari Hoodie Sew Along! In this post I’ll show you how to attach the hood, finish the seam, and give some tips on threading your cord. And then your hoodie is done! Buy the Otari Hoodie Pattern Here In the previous Otari Hoodie Sew Along posts I covered: #1 Choosing fabric #2 Pattern alterations to get the perfect fit, & cutting out #3 Sewing Preparation: interfacing & choosing stitches #4 View A Pockets #5 View B Pockets — including a hack to add binding to them #6 Sleeves & Side Seams #7: Hem & Sleeve Bands #8: The Zip #9: Covering the Zip Tape #10: Constructing the Hoods, Views A & B So, last post! Let’s do this thing! The numbering of the instructions in this post corresponds to the numbering of the pattern’s instructions. Attaching the Hood to Body 40. Clip/pin and sew your hood to your body, matching the centre back, and the front edges of both views. The seams of …


