

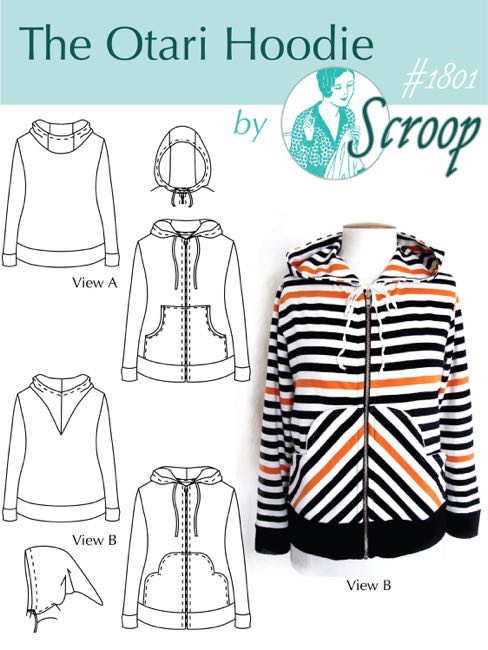
Almost there with the Otari Hoodie Sew Along! This is the second to last construction post: in it I’ll be showing you how to assemble both styles of hood.
Buy the Otari Hoodie Pattern Here
In the previous Otari Hoodie Sew Along posts I covered:
- #1 Choosing fabric
- #2 Pattern alterations to get the perfect fit, & cutting out
- #3 Sewing Preparation: interfacing & choosing stitches
- #4 View A Pockets
- #5 View B Pockets — including a hack to add binding to them
- #6 Sleeves & Side Seams
- #7: Hem & Sleeve Bands
- #8: The Zip
- #9: Covering the Zip Tape
The numbering of the instructions in this post corresponds to the numbering of the pattern’s instructions.
Assembling the View A Hood
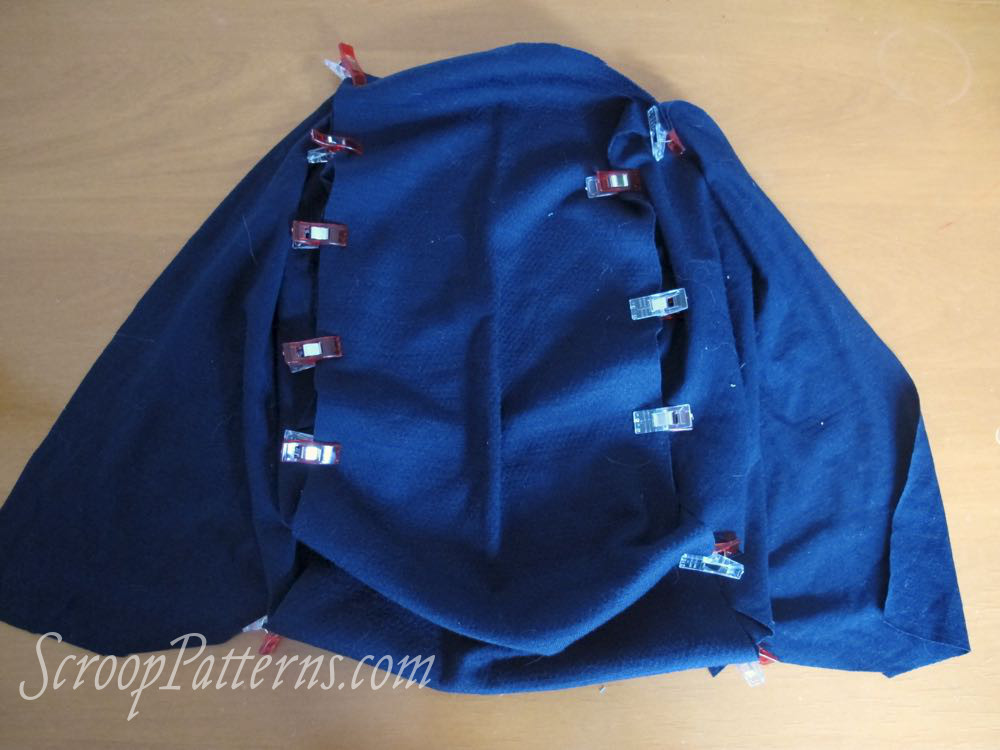
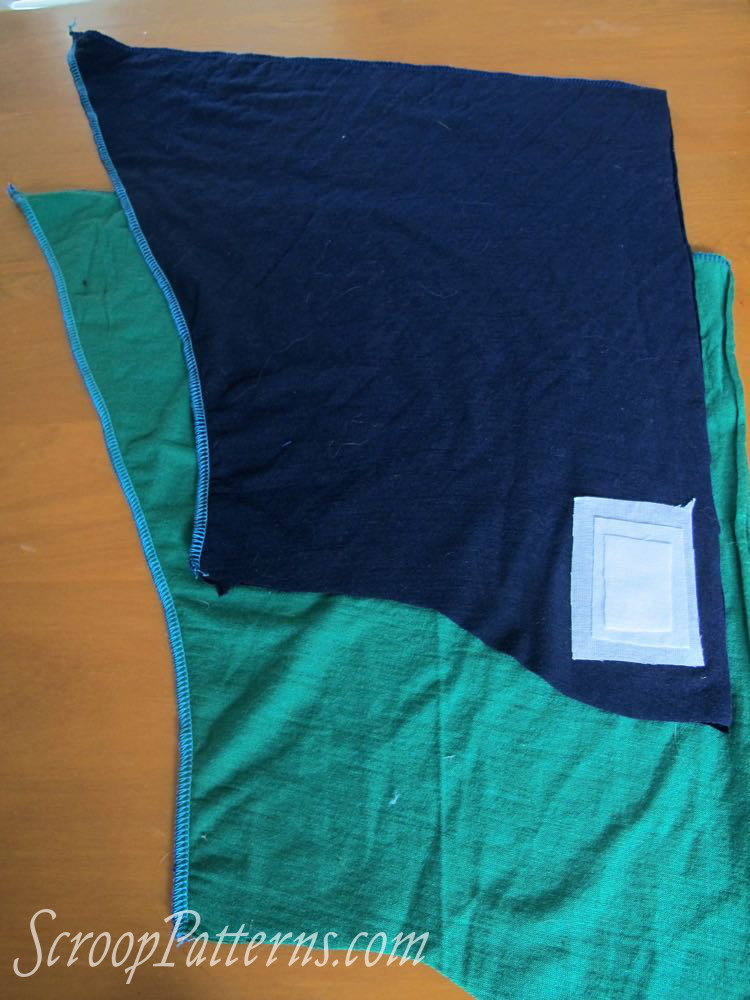
32. Start with your hood outer. Right sides together, matching notches, pin/clip and sew the curved side panels H to the long sides of central hood panel I.
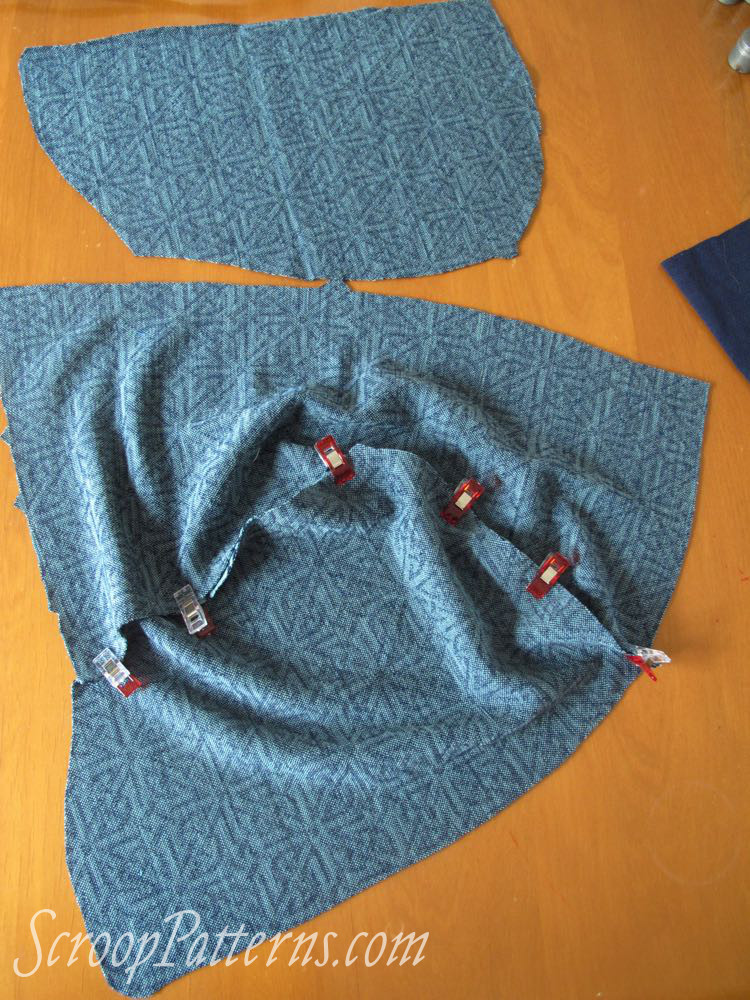
33. Repeat with your hood lining pieces:
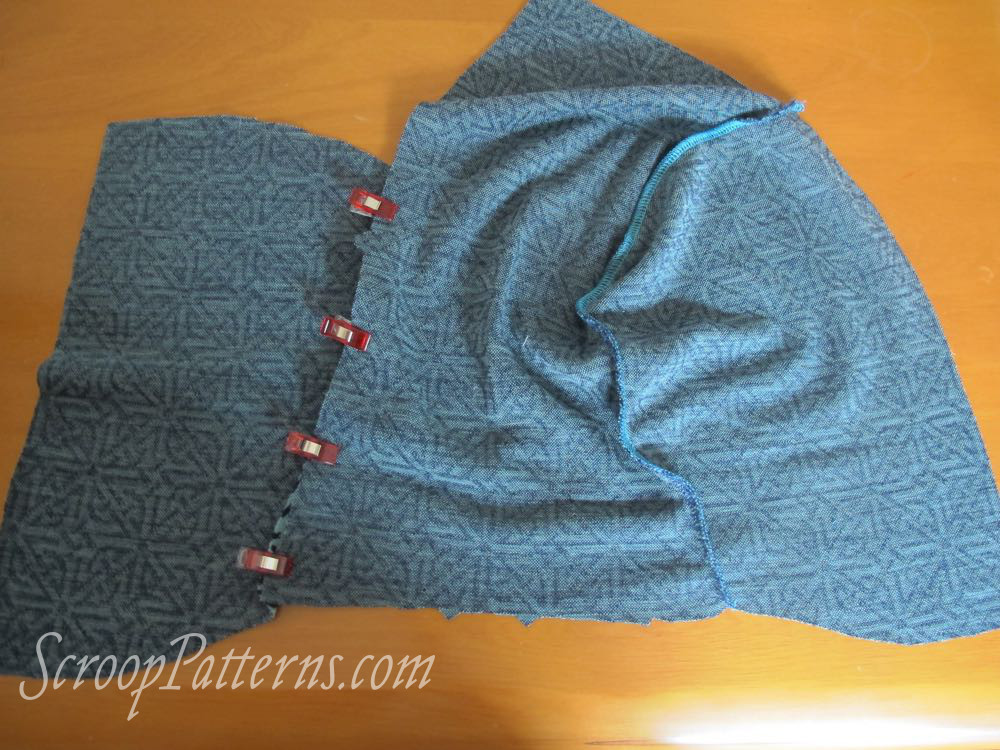
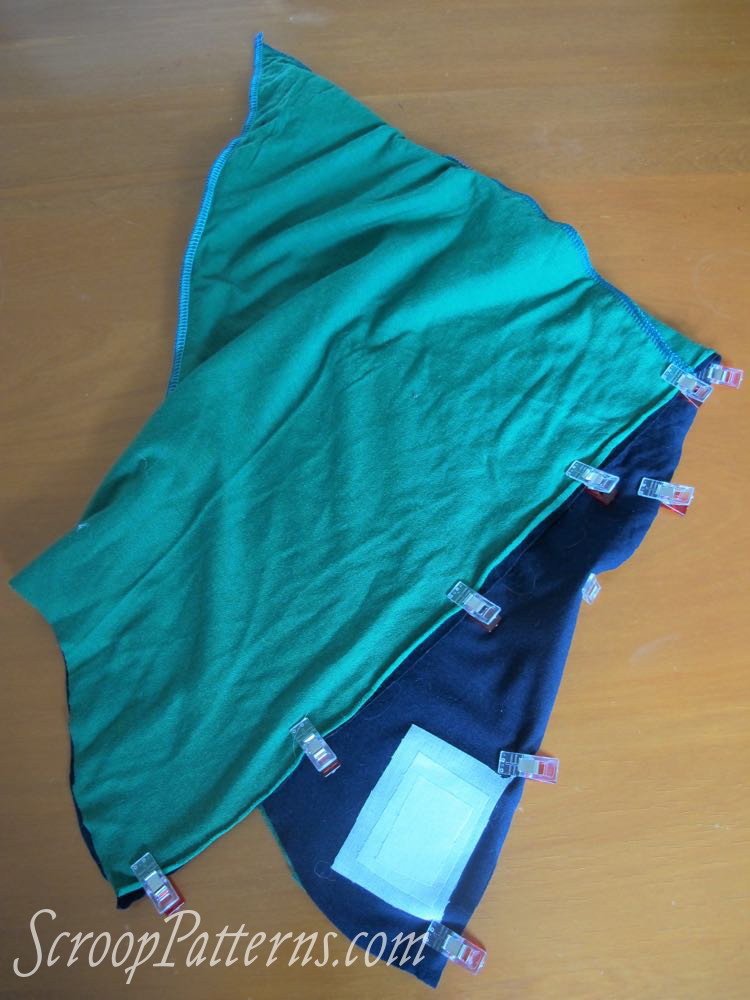
34. Right sides together, pin/clip and sew hood outer and hood lining together along the straight front edge. Be sure to match your seamlines at the top of the hood.

Assembling the View B Hood
32. Start with your hood outer. Right sides together, matching notches, pin/clip and sew the hood along the top and back edge.
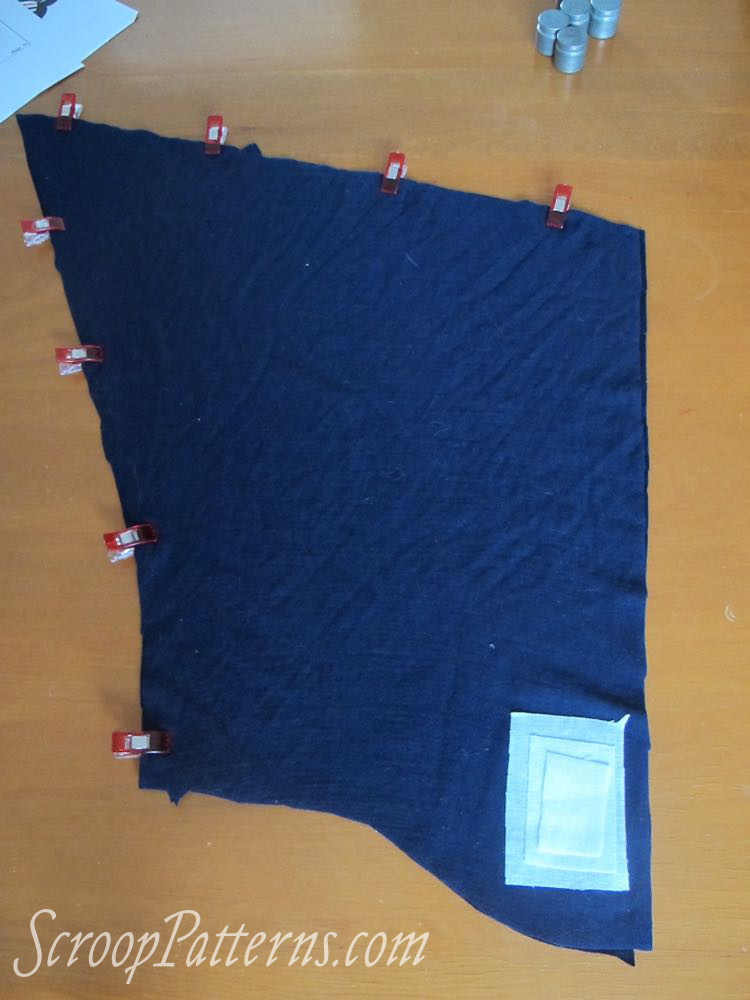
33. Repeat with your hood lining pieces:
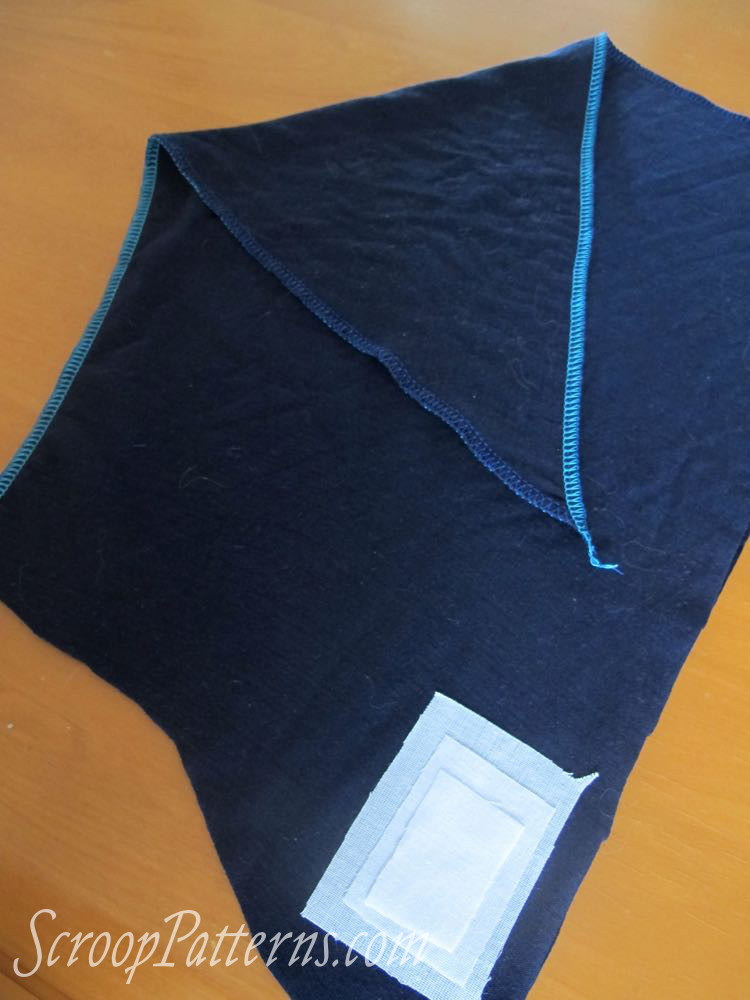
34. Right sides together, pin/clip and sew hood outer and hood lining together along the straight front edge. Be sure to match your seam at the top of the hood.
Understitching
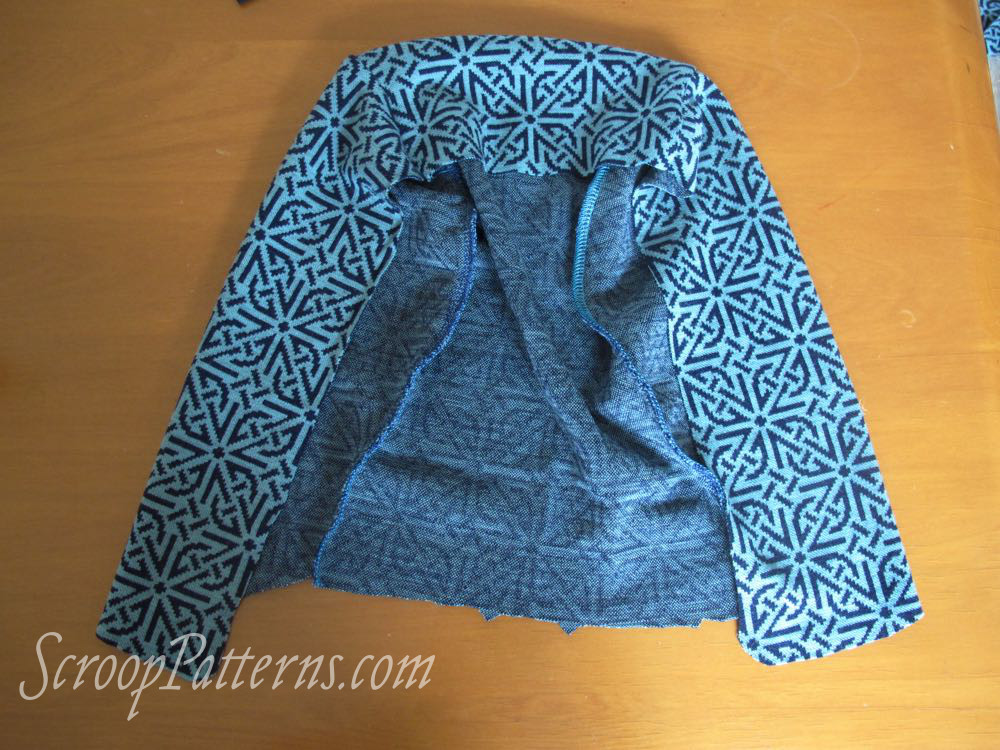
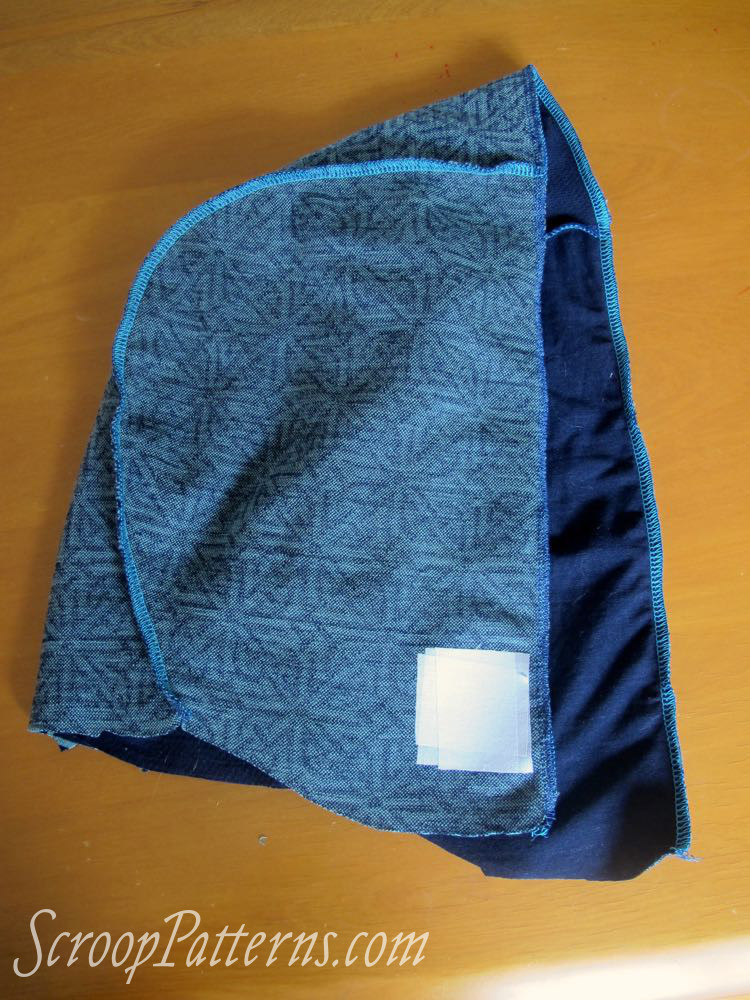
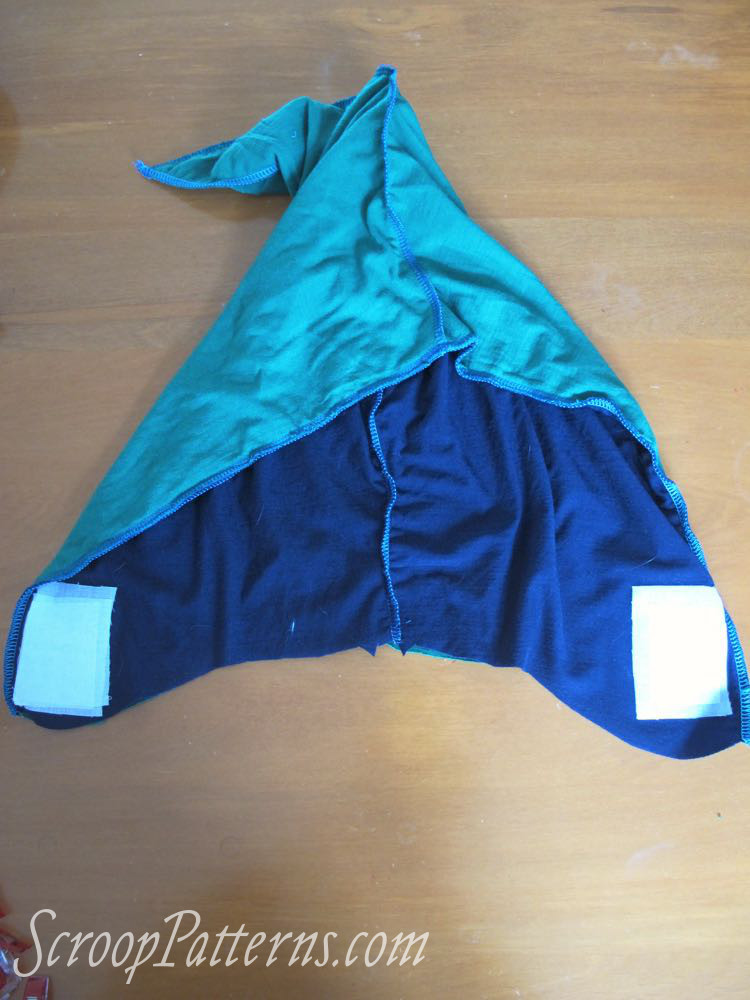
35. Turn the hood right side out. Understitch the front edge of hood. Press the front edge of the hood, forming a nice, crisp crease, with the lining tucked to the inside.
 Tip>>>
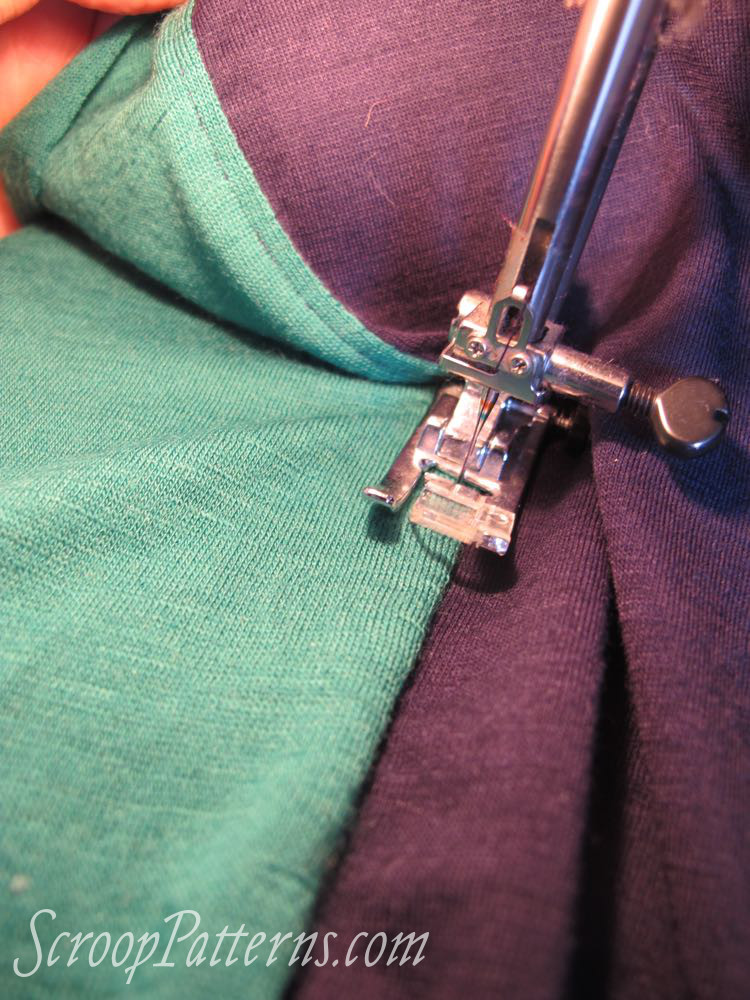
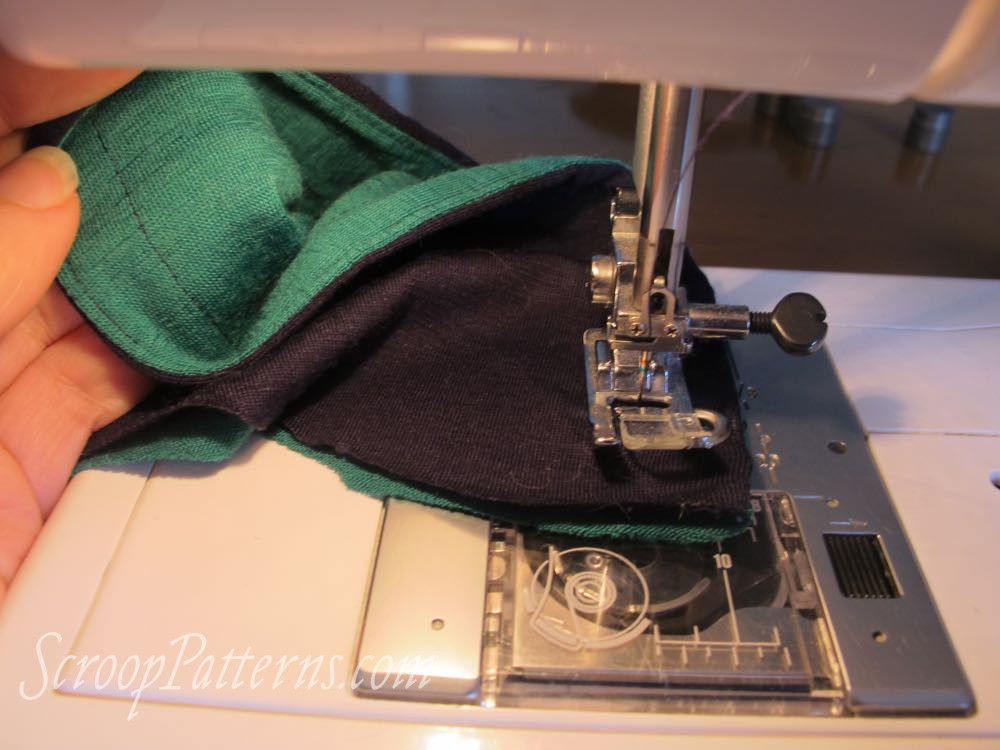
Understitching helps facings and linings to sit neatly on the inside of the garment.
To understitch, press the seam allowances towards the lining, and stitch through the lining and seam allowances, 1/8″ 2mm from the seam joining the lining to the outer. My lining is green.
A lot of people think you should press before understitching, but this can create problems, and yields an inferior result in most circumstances. For best results when understitching DO NOT press before understitching. Instead, pull apart the seam as you understitch. This helps you to avoid warping the seam with pressing, or accidentally pressing in a tiny bit folding in the fabric at the seam.
Grommets
Grommets vs Eyelets >>>
Grommets are two piece reinforcers for holes. They consist of the shaft portion, and a washer. Eyelets are one piece reinforcers for holes. The washers distribute the grip of a grommet over a much wider area of fabric on the back of a piece, making them significantly stronger and less likely to rip through your fabric than an eyelet.
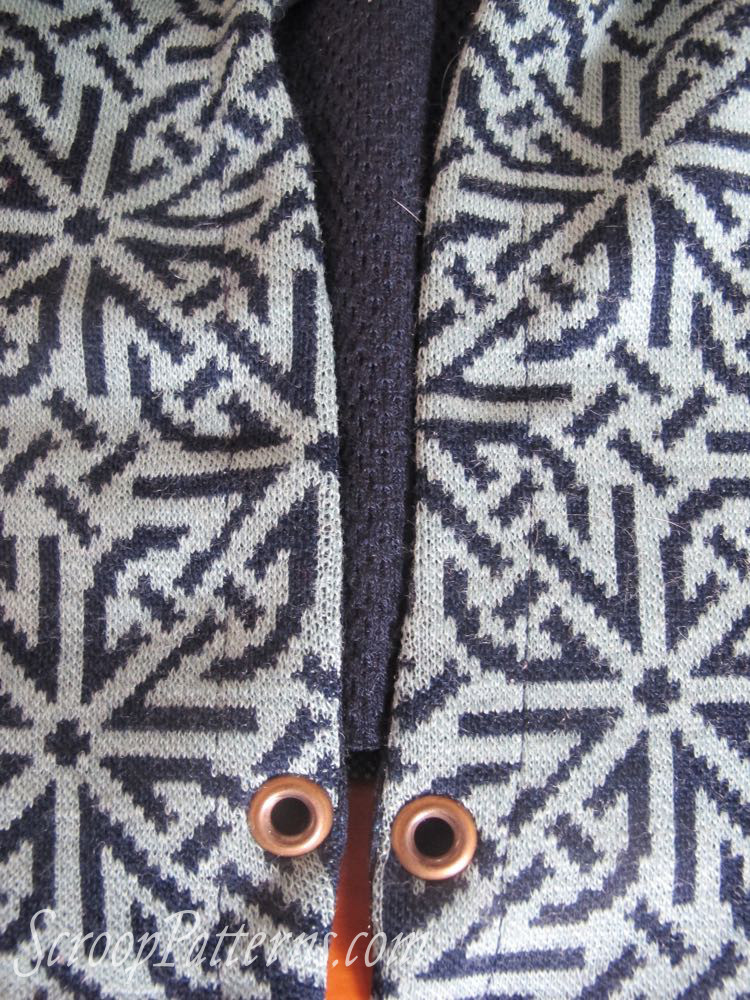
36. Insert your grommets in the hood outer at marked points.
First, mark the points. Placement is very important: the grommets should be 1/4″/5mm out from the seamline joining the hood lining and the hood outer. Too close, they will make the seam warp, too far out, and it will be impossible to sew a tidy channel in step 37.
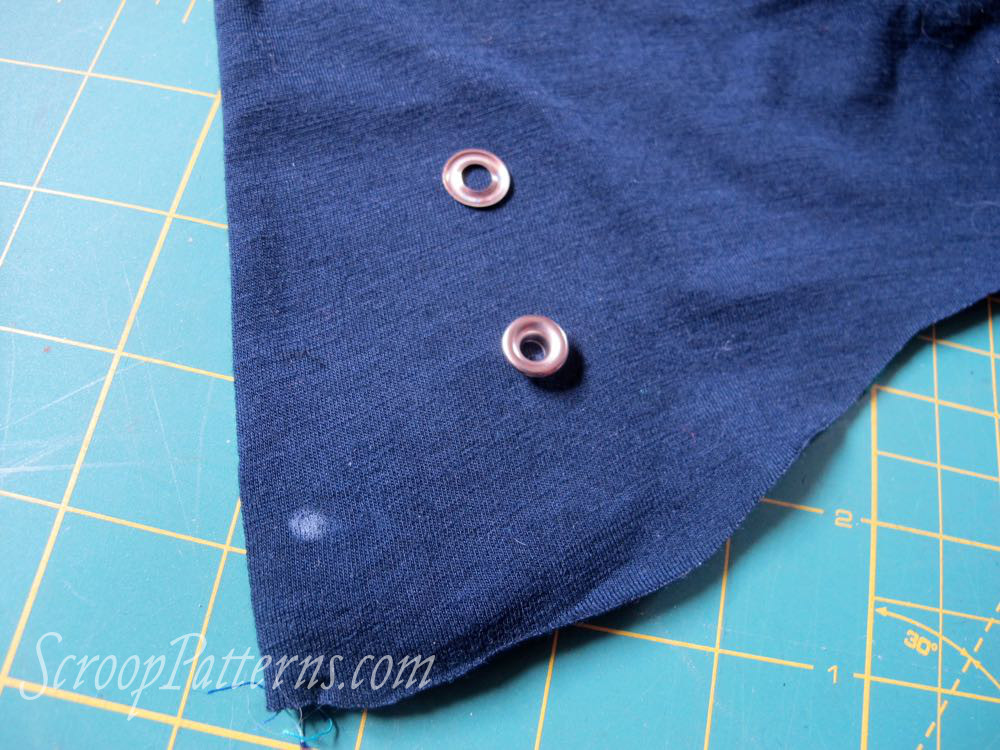
With your placement triple checked, use an awl (a sharpened chopstick will do in a pinch, or the points of very small scissors) to create a hole just big enough to push the shaft of your grommet through.
Push the grommet through the hole, and put the washer over the back of the grommet.
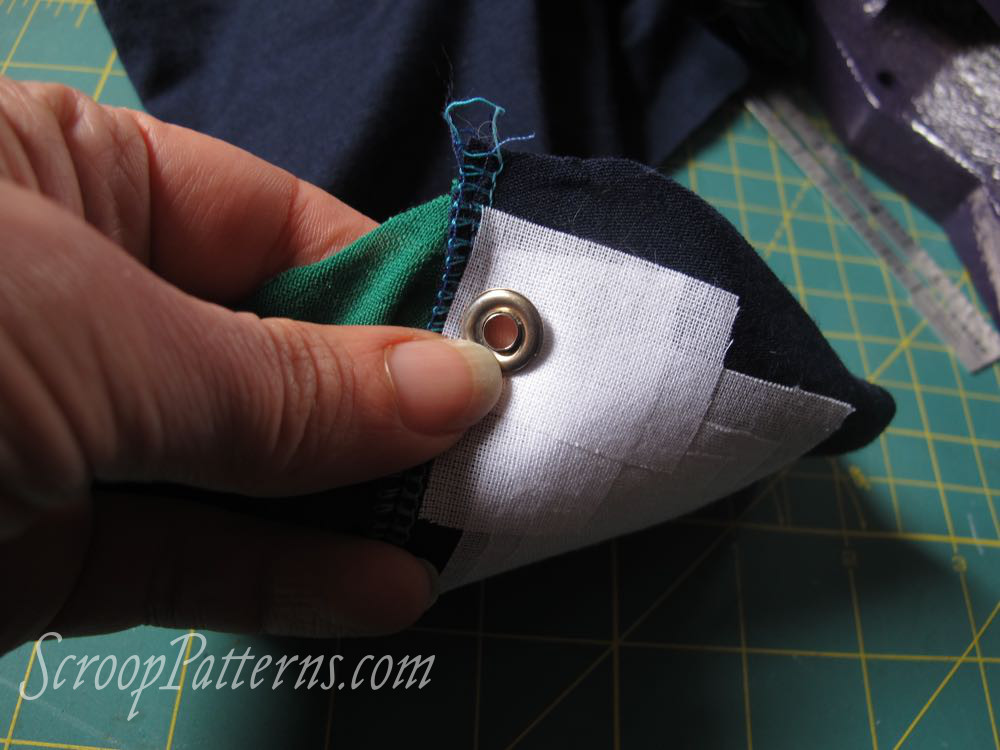
Use a grommet press, or the setting pieces that came with your grommets, to crimp your grommets in place.
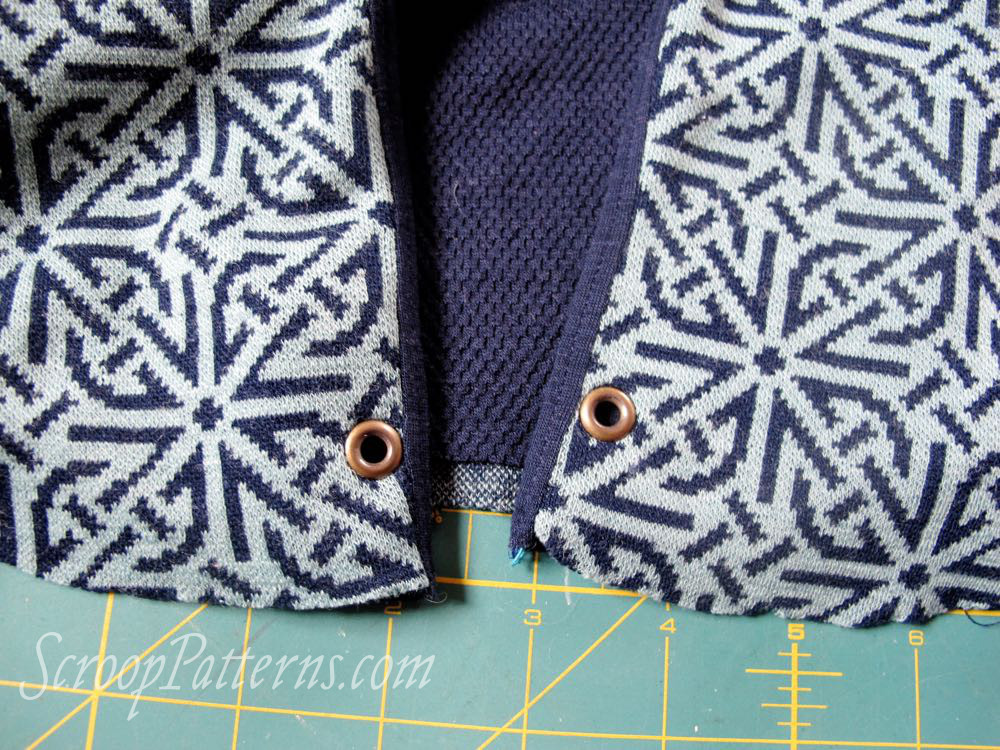
The Cord Channel
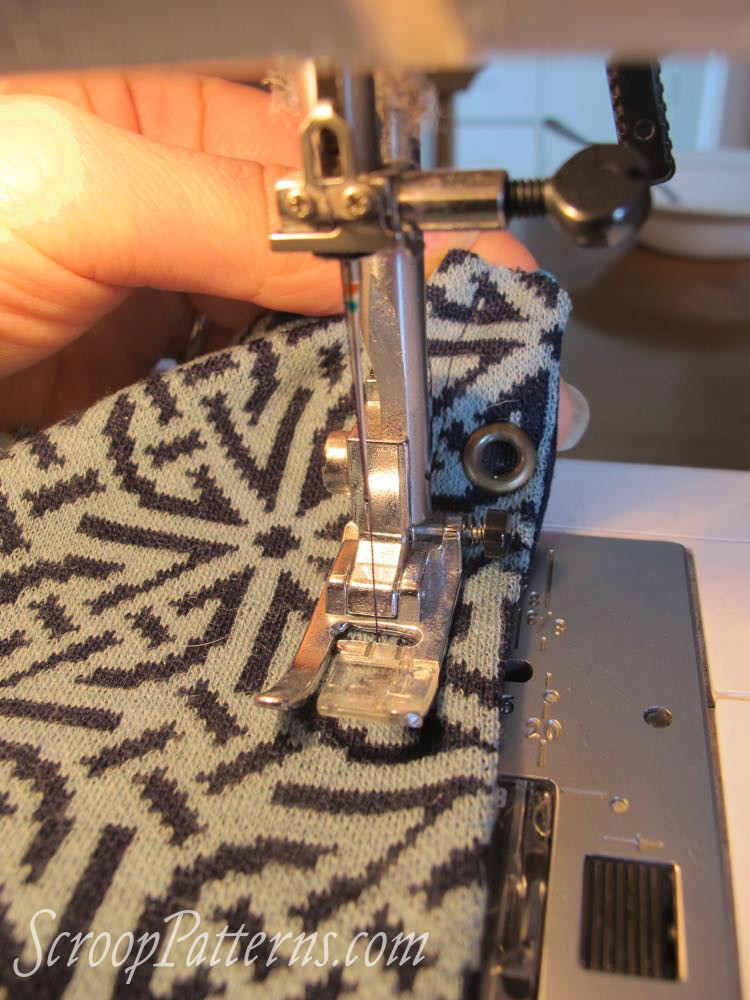
37. If needed, clip or pin the front edge of the hood in place. Using a straight stitch, and stretching very slightly as you sew, sew a channel 5/8″/1.5cm in from the pressed front edge of the hood.
Tip >>>
If you used a larger grommet than the size 00/9mm outer grommets recommended in the pattern, you’ll have to adjust the size of your cord channel accordingly.
Catching the Outer & Lining Together
To keep the lining from falling away from the outer I recommend catching the two layers to each other. This just helps to keep the hoodie tidy with wear and use. However, this step is completely optional, so you can skip it if you want. I sometimes do myself – particularly with the pointed hood of View B.
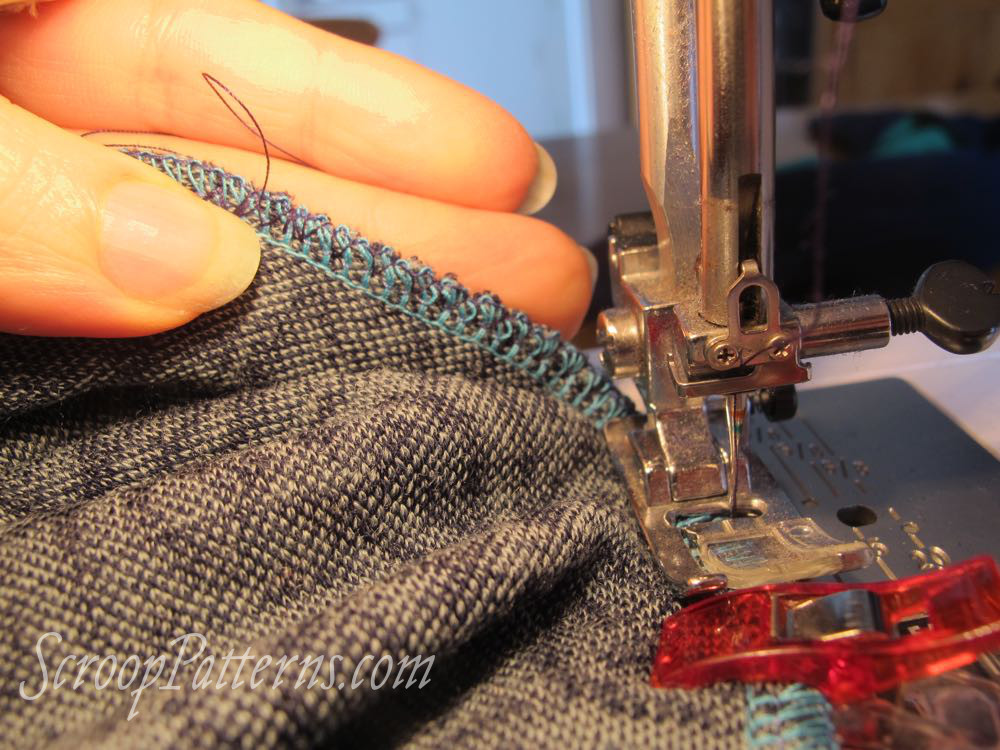
38. For View A, reach into the hood and match the interior seams at the notch. Use a zig-zag stitch to catch the two layers together for an inch/a couple of cm on either side of the double notches.
Tip >>>
Reach in and find the match points for the left seams first, turn the hood halfway right side out, pin/clip and sew them, and then turn the hood right side out again. THEN do the same thing with the right seams. If you try to do both sets of seams at once you’ll sew your hood into a sort of weird mobius strip that can’t be turned right side out properly.
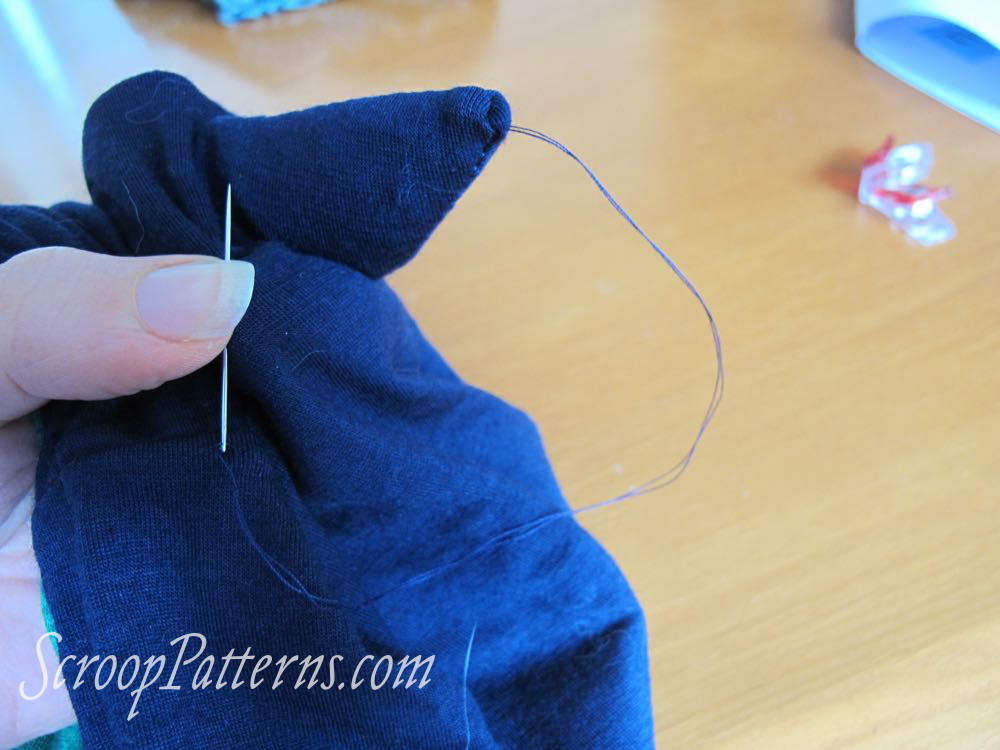
38. For View B, use a needle and thread to hand sew through the tips of the hood. Poking a thimble covered finger right into the tip makes this much easier.
Basting
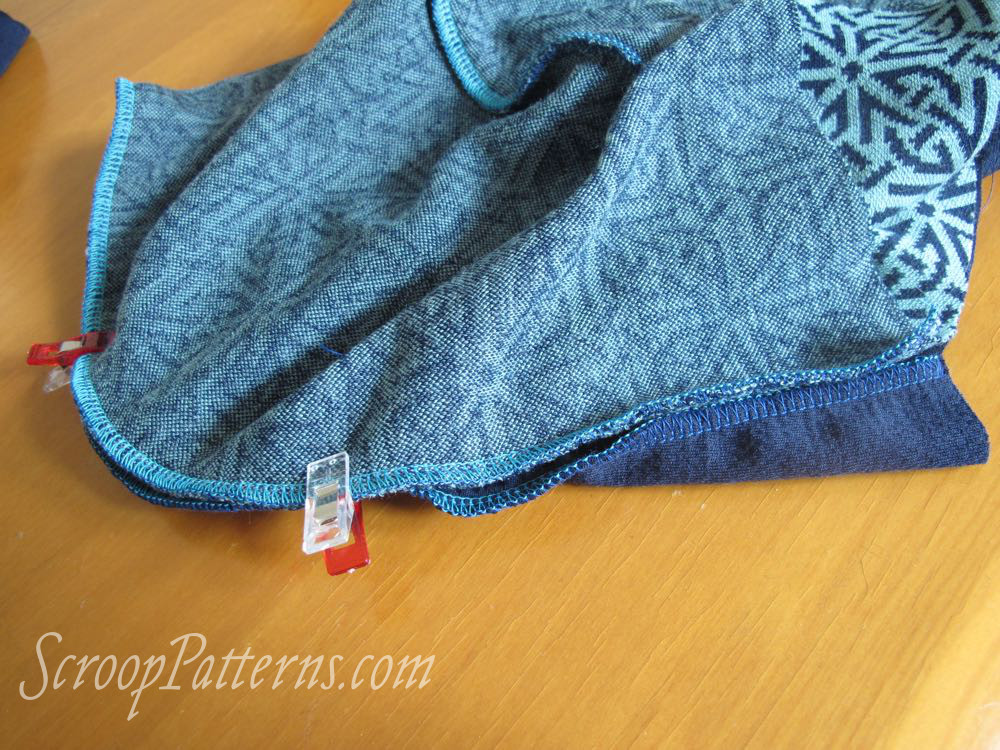
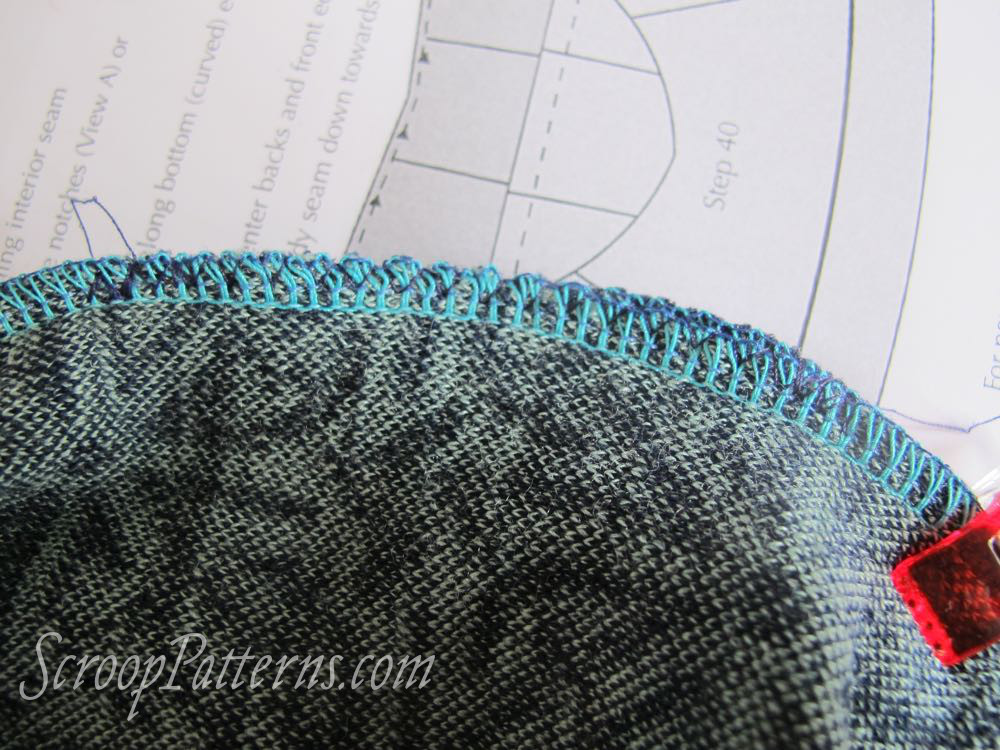
39. Baste your hood outer and lining together along the curved bottom edge.
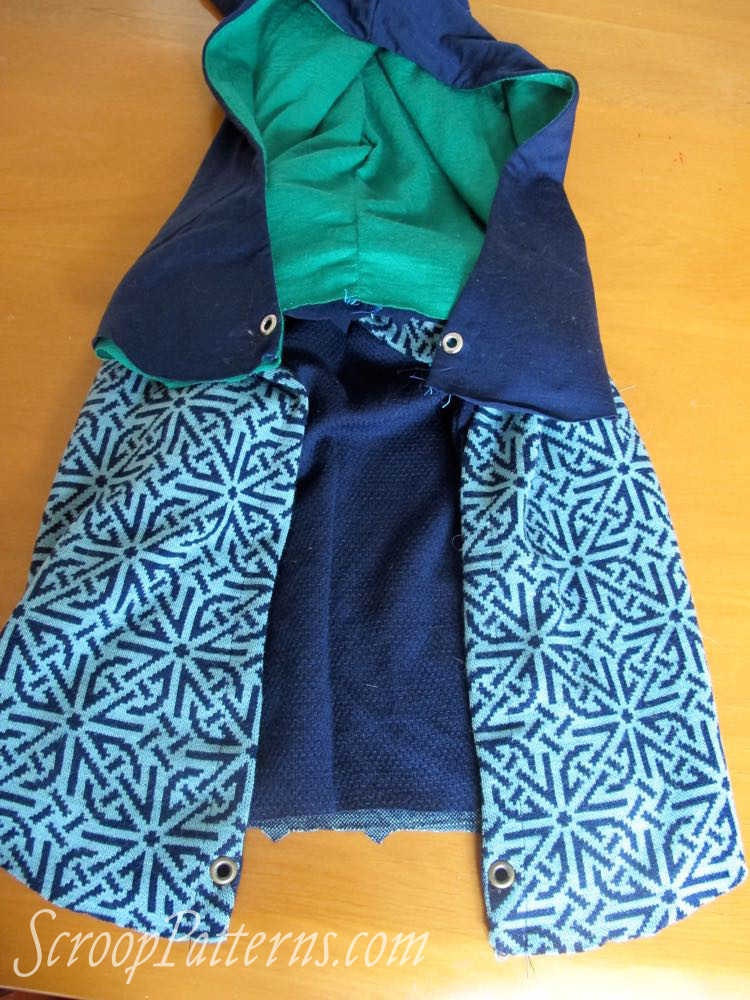
And there you go! Your hood is completely assembled, and ready to be attached to the body of the hoodie.
In the next Sew Along post:
Attaching the hoods to bodies, and FINISHING!
Want to join in? Buy your Otari Hoodie Pattern Here