I’m long overdue for a tutorial, and long overdue for an update on some sewing progress, so I’m multitasking.
I love multitasking.
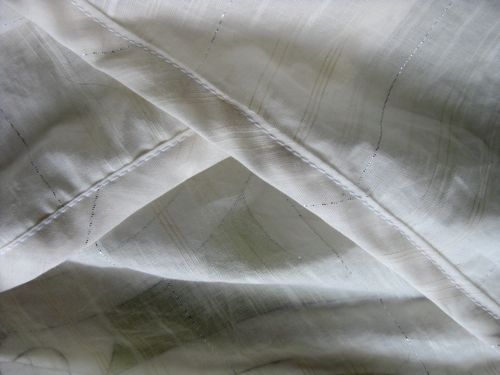
I hemmed my not-so frothy fairy dress (now dubbed the Marianne gown, because it combines Sense and Sensibility) with self fabric bias binding, which is my favourite hemming technique.
It takes a little longer, but it provides a beautiful effect, especially on curved hems. It is also very strong, and can be replaced if the hem gets soiled (unlike traditional hems).
Whether you use it for hems, or any other technique, self fabric bias binding is a useful thing to know how to make. You can buy metal tools to make it, but I find they don’t save much time, and don’t give you nearly as much flexibility in terms of size.
To make your own self fabric bias binding, cut bias strips of the fabric you intend to use.
This tutorial uses many of the same techniques as my self-fabric piping tutorial, so you might want to check that out.
Your strips should be just under 4x as wide as the you want your final bias binding to be. I prefer to cut strips that are 1 3/4″ wide, to end up with half inch bias binding.
Sew your strips end-to end to make one long strip.
Press your seams open, and trim off the bits that stick out beyond the edges of your strip.
Fold your strip in half lengthwise, and iron the crease.
Once your entire strip is folded and pressed, fold in one of the edges till the raw edge meets the centre fold.
Do this for the entire strip.
With the first side folded under and pressed, fold under and press the second side along the entire length of the strip.
The second edge should not be folded in quite as far to the centre as the first edge. This will help you to catch both edges as you sew. I find that the slight overhang on one edge happens naturally for me.
I wind my bias binding around a book or CD case as I iron it (even a piece of cardboard will do), to ensure that the creases remain crisp.
To bind an edge, pin your bias binding around your edge with the slightly shorter side facing up.
Once you have pinned the binding around your entire edge, you are ready to sew it. The slightly shorter top edge allows you to sew very close to the top edge that will be visible without any chance of the bottom edge not being caught by the stitching.
Sew carefully along the binding, just catching the top edge with the needle.
When binding a hem, you are working with a circle, so when you get back to the start of your bias binding you will have an overlap. I backstitch on the machine, leave the last bit hanging, and then finish it off by hand.
I find the effect of bias bond edges especially fetching when working with striped fabric, because the diagonal stripes of the bias add a nice contrast to the hem. The contrast of straight and bias stripes is something that is seen on quite a few historical dresses.
With the hem bound, I finished off the back fastening of the dress with more bias binding, some buttons, and self-fabric button loops.
The dress is at a good stopping point, so it’s going to languish in a bag for a few weeks while I do bits and pieces of prep for my upcoming Pompeii to Paris event.


Beautiful! I wish I had the patience. I just alway buy mine in the closest color possible.
You can buy a metal gadget for folding bias binding, makes it much quicker, for those without the patience to do it by hand. I quite enjoy doing it, and usually use the quilt binding technique instead, which is to cut it wider, press in half, then sew the raw edge to the garment, then fold and press the folded side and sew down. Er, makes more sense in pictures I think!
Thanks for the tips Mrs C! I find both those techniques more troublesome than mine, but I think that is just a case of what you are used to doing. 😉
I absolutely agree. I can’t be bothered with the metal thingy and cut and press my own like you do but others swear by them. I like the control of the double fold method but it adds more layers to the binding so it’s not always suitable. I think knowing how to do tings different ways is empowering eh 🙂