I’m sure some of you were wondering if I was every going to get to this point on Shell’s dress.
Yes! It’s here! It’s done! After an afternoon in Mrs C’s sewing room and another in mine all the ruching on has been draped on Shell’s bodice, and here is how I did it.
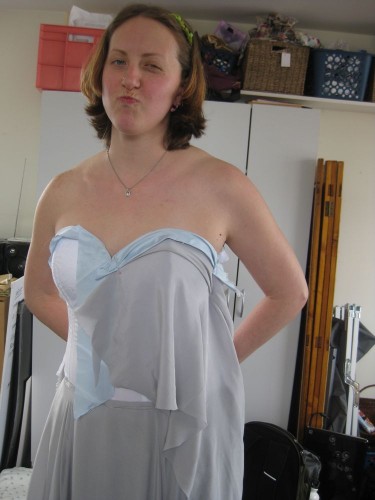
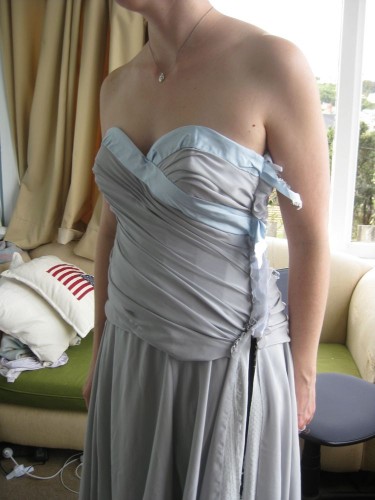
First I sewed on the blue silk taffeta bindings from the back, but didn’t sew them down in front. Then I basted on my first draping panel, and stood back to admire how beautifully it draped:
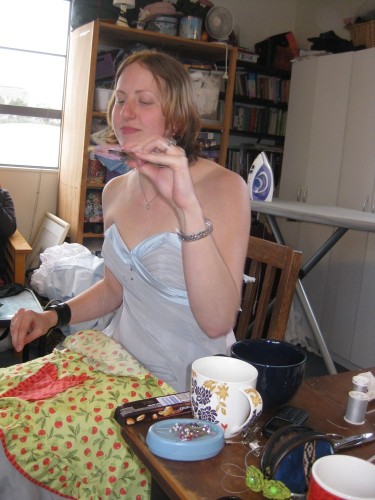
Then I told Shell that she wasn’t going to be able to sit down, eat, or use the loo for the next four hours while I did the ruching on her bodice:
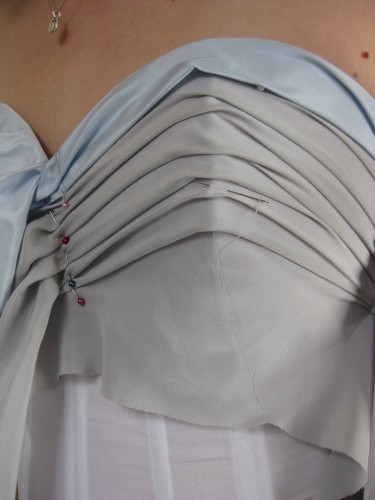
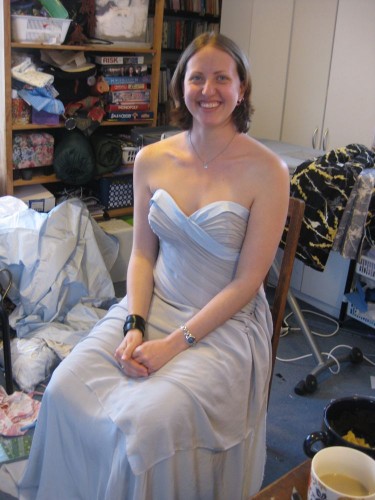
With the bride under control, I began controlling the fabric, carefully pinning a pleat at the bodice centre, tacking it as it curved across the bust, and then pinning it at the side seam.
It’s very time consuming and detailed work: getting all your pins in the right place (as opposed to the bride, or your fingers!), having three or four needles going at once to baste all the ruching down, and making sure that the fabric tension was even.
It was exhausting, for me and the bride. Every 20 minutes or so I would take a break to stretch my fingers, and Shell would get to sit down for a bit.
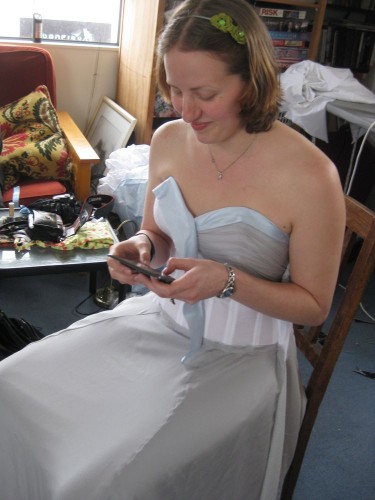
She would take the opportunity to let the world know the current status of her wedding dress.
After an hour and a half of draping, we needed more than just a rest, so I popped down to the dairy (corner store) for high-calorie reinforcements: crisps and candy bars. Crisps (potato chips) are not the best wedding dress food: all that grease won’t come out of silk! So Mrs C came to the rescue with an apron and tongs.
Refreshed, we pressed on, and I got almost all of the front draping done that afternoon.
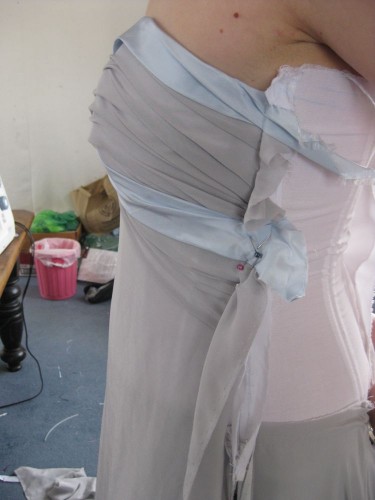
I was pretty knackered by this point, as was Shell, so we called it a day, I took the dress home, turned some of my basting into proper stitching,a nd we attached the dress again the next day in my lounge.
I learned something interesting doing the back draping. My left hand is so much weaker than my right that draping from left to right on the left side of the bodice back took almost twice as long as the right, and was much harder to get right. I didn’t notice it doing the front of the bodice, because it isn’t symmetrical.
It all looks a bit wonky in the photo below because the skirt side seams aren’t sewn together, so pull apart, and the bodice is pinned very loosely, but it really is almost done!


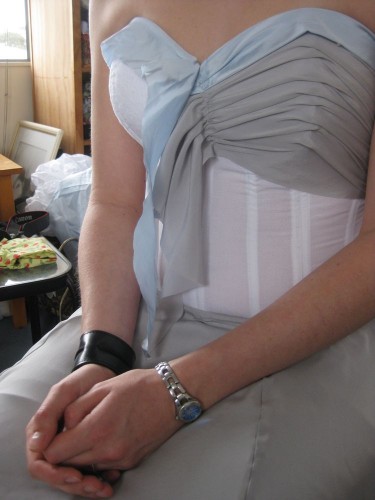
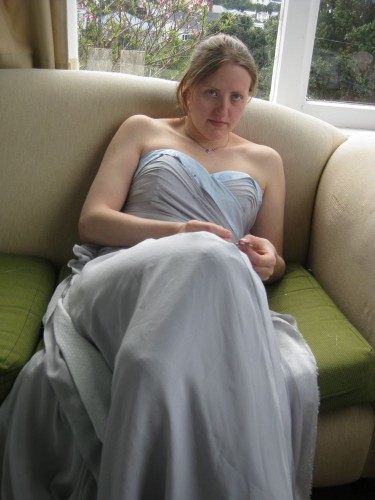
Wow. I like the pic of her sitting on the couch. She looks very comfortable despite the gown being in the draping stage. And it looks incredible.
Wow, that’s really extraordinary. It’s great watching it come together. And it’s so lovely of Shell to let you share the in-progress pictures with all of us along the way!
VERY impressive. You should be proud.
Wow! This is gorgeous! I love all the process photos.
Thank you so much for sharing this process. I am in the midst of making my daughter-in-law to be’s gown. Her dress will be ruched almost exactly like Shell’s and I was mulliing over how I would do it. Thanks to you, I feel confident that all will be well! Amazing. I am so lucky to have stumbled across your site.
thanks for posting! i learned how to drape the prom dress i will be making this year! yay!
Fantastic – glad I could help and hope your dress goes well!
Hi! Your entire blog has been extremely helpful for me, and all of your work is so beautiful! Hopefully I can reach your level of quality within the next… hundred years maybe. I was wondering if you could tell me how you stitched the ruching pleats so that they stay down? Thanks!
Your blog is so awesome and made so much sense to me when it came to some detail work! May I know what do you do after the draping front and back? I mean you basted at the side seam with wrong sides together with the corset together as well. Did you eventually sew everything with right side together and add a lining inside for the corset? Sorry for the long question.
Glad you enjoy the blog and are finding it useful.
After draping the bodice I undid the side basting, and sewed the side seams with right sides together. There is no additional lining, as I wanted to avoid any bulk in the bodice – instead the side seams are bound with bias binding made from the same silk fabric. This also makes it easier to adjust if needed.
Please can you make a tutorial on how to make the inmer and outer bodice. Thank you.
Unfortunately making the inner and outer bodice is too complicated and technical to be suitable for a tutorial.