
I’ve shown you the skirt construction details for the 1813 Kashmiri dress, and promised to do the bodice construction in just as much detail. I’ve covered them slighty here as well.
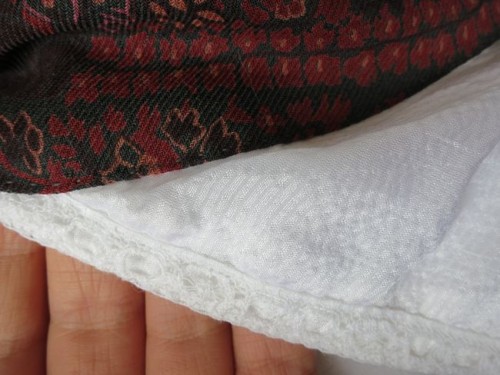
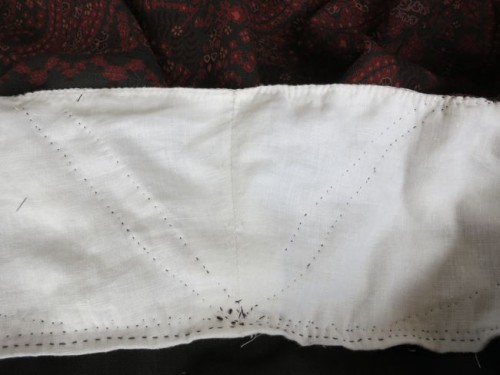
I started by cutting out my bodice pieces in white linen, to serve as a lining/under support.
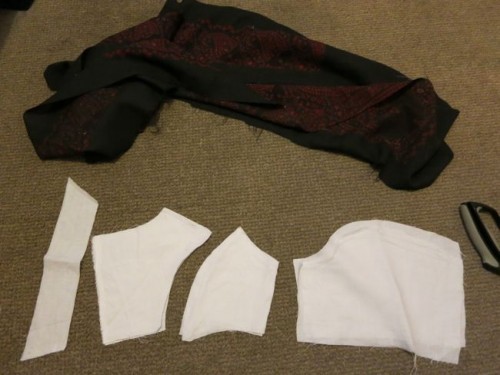
The cut-out linen bodice under-lining
The inner linen lining/under support layer was sewn together first, and I checked the fit of it. I ended up letting it out about 1/2 and inch in the centre front. With the under support sewn together, I began sewing on the wool twill outer layer, starting with the side-back pieces.
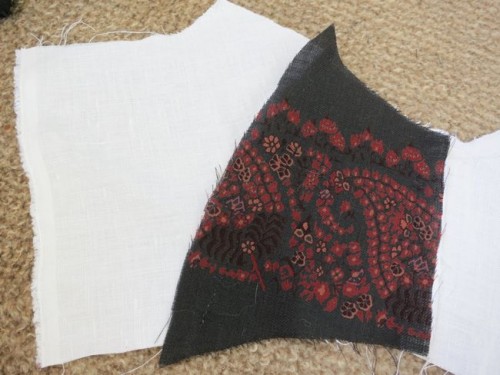
The basted on side-back piece
Then the centre back piece got sewed on, and the centre back and back neckline got finished:
The finished back pieces
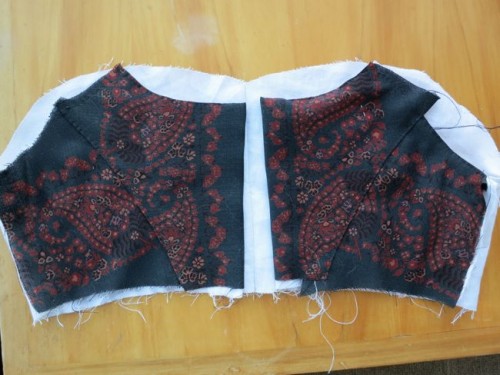
Then (after lots of dithering and messing with different options) I sewed on the white silk front panel, and sewed the side-front wool pieces to it. Then the front wool drape got sewn down over both pieces (after lots of draping and pinning to get the look right). The point where the drape meets at the centre waist is just raw, with lots of over-stitching to keep it neat. I couldn’t figure out any other way to make it work without too much bulk.
The bodice front, with silk panel and wool drapes
Just before I finished tacking down the top of my wool bodice drapes I sewed a piece of lace across the top of the silk panel, to help snug it in to my insufficient bust and add some texture and interest.
The lace trim at the top of the bodice (and the tiny stitches holding down the bodice draping)
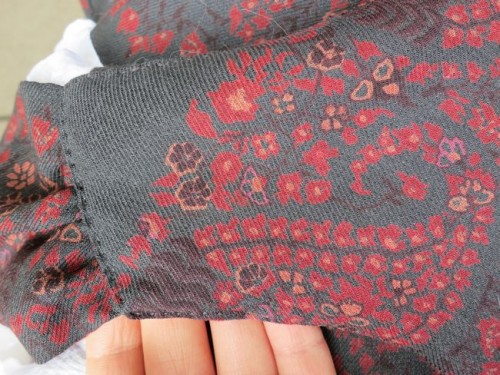
You can see in the detail shots that the silk panel actually has a very fine self-stripe, which shows just how wide the possibilities are for the Historical Sew Fortnightly Challenge #6: Stripes are! Even if you don’t like stripes, you could do something like that. Anyway, back to the topic at hand…
Because the lengths of fabric I had to work with with the bodice were so narrow the bodice drape doesn’t continue all the way down to the waistline, but does a diagonal seam from the waist to the underarm, roughly mirroring the line an underwire in a bra takes.

The underarm seam (left), bottom of the bodice drape, and waist seam
For the first wearing of the dress, it was unfinished and the tops of the bust drape were still flapping free, waiting for me to attach the sleeve drapes to them.
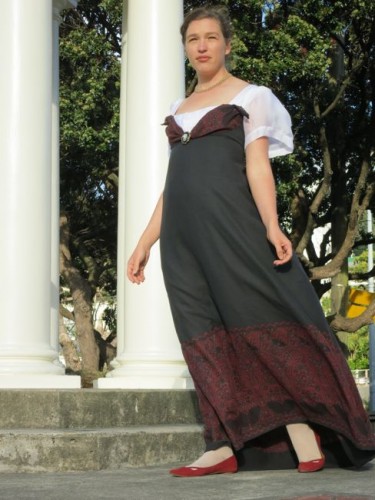
The loose bust drape ends flapping in the wind
I attached the sleeve drapes by laying them right sides together over the ends of my bust drapes, with the sleeve drapes hanging over the bust, and sewing a seam right at the top of the bust drapes. Then I folded the sleeve drapes back over the sleeves, and trimmed and basted down the raw edges of the seam underneath the sleeve drape to hide it.
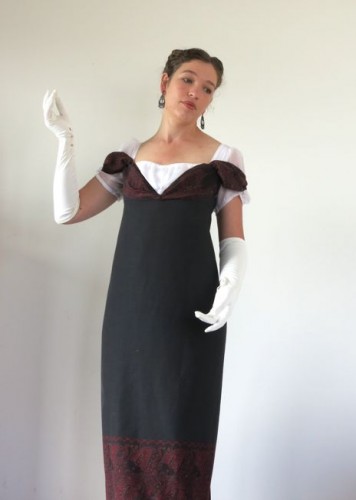
The finished sleeve drapes
I finished the drape in back by unpicking the low-shoulder seam at the top of the back bodice, tucking the other raw edge of the sleeve drape under, and re-sewing it down. I can’t believe how much hand-sewing I re-did with this project!
The sleeve drape tucked under the back bodice seam
The back fastens with hooks and hand-sewn hook loops. I know hooks are period accurate, though the examples I have seen have always had metal loops rather than hand-sewn loops to fasten. My hand-sewn loops work a lot better, and are much more subtle, so they don’t bug me.

Hand-sewn hook loops
When the dress was assembled I had armhole edges, and a big, ugly, uneven, raw skirt to bodice seam inside the dress to finish off. I finished the armhole edges very simply: by whipstitching them to strengthen them and avoid the worst of the fraying.
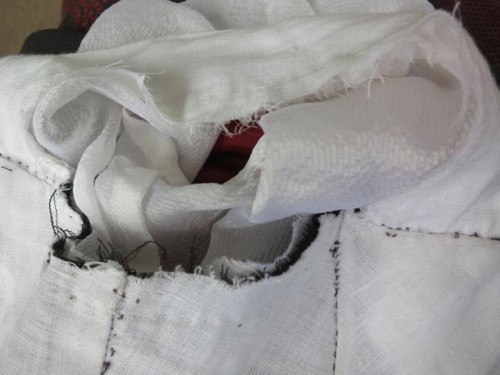
Icky raw armhole edges

Armhole edges roughly but effectively finished with whipstitching
The waist seam was a little more complicated. It started out dreadfully uneven and messy:
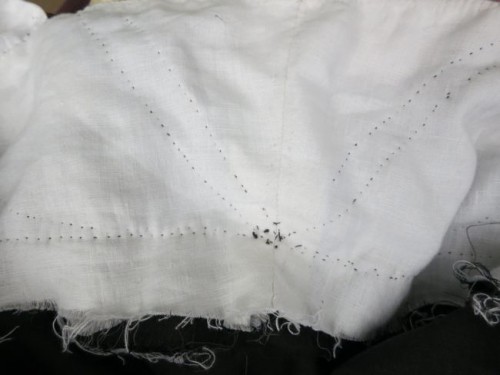
Big, messy, nasty waist seam
I trimmed it just enough to even it and get rid of the worst of the fraying. Then I cut back the wool layer to within 1cm of the waistline. Then I could fold back the linen layer over the wool and sew it down, enclosing the raw edges of the wool in linen.
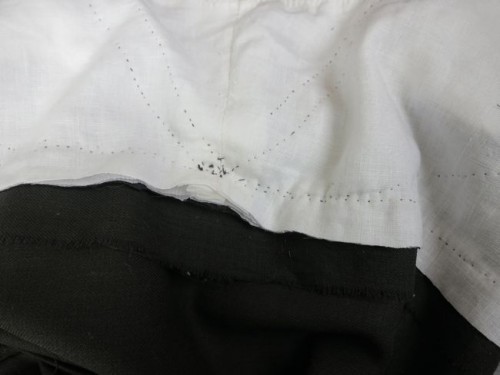
The trimmed waist seam
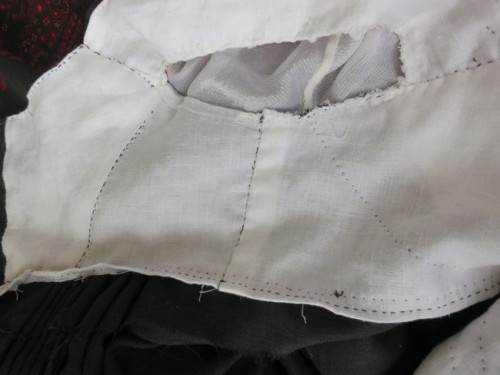
The folded back and sewn down waist seam
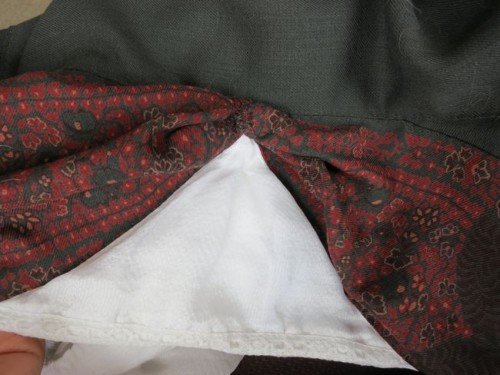
In the interior shots you can see the sewing lines where I have sewn down the different panels of wool twill over the linen lining/support, and the lines where I have sewn down the silk panel and bodice drape.
Interior stitching lines
So, that’s how I did the 1813 Kashmiri dress bodice. It’s certainly not period-perfect, but I feel it’s a reasonable balance of first-decade-of-the-19th-century techniques, the demands of the fabric, and my learning curve. Next time I’ll aim for period perfect!
I’ll do one last post about the construction of this dress covering the sleeves and some decorative details.
I know for me a lot of the learning comes in the doing. I think this is lovely!
Laurie
Thank you! I feel exactly the same way – you can read and plan as much as you want, but sometimes you have to figure out as you do.
Wow, it looks so simple from the outside, what a lot of construction details and hard work.
I like how the bodice has a modest neckline, but looks really low cut from far away.
Thank you! I find that in a lot of things the simpler something looks the harder it is to actually do 😉
This is a wonderful project. Absolutely stunning. It must feel lovely to wear. You look like a windblown portrait in the ‘unfinished’ picture. I’m not usually a huge fan of the 18 teens shaped skirts and froof, but this is really quite stunning in its simplicity.
Awww, thank you! That’s very sweet! And it’s lovely to see you back in the blog world 🙂
Your loops are cute.
I’m having trouble wrapping my head around the construction process, the sewing onto a linen basis thing – I guess I’d understand better if I tried it out myself… which I still may with my striped dress, though that’s different. What exactly are the reasons for doing that? Were most bodices of the time lined this way? Would it be correct if I did that with my drop-front dress?
Hi Hana,
If you think about the construction of 18th century gowns, where the silk outers of the gown literally had to be sewn on to a base which supported and controlled the pleating of the outer, it makes sense that an inside-to-out construction would remain the norm in the early 19th century. All the examples of early 19th century gowns that I have seen that had any sort of interior fabric/lining were sewn this way. It’s not until a few decades later that we see the flat lining that was the norm for most of the 19th century. The advantage of the inside-out method is that you can do all your fitting with the lining/support, and the inside is beautifully finished and smooth. If your drop-front dress needs an extra layer of lining/support it would be correct to do it this way. There are certainly plenty of examples of Regency frocks without any lining that were meant to be worn over separate slips/bodiced petticoats.
Thank you for the explanation! Yes, it makes sense from that point of view. That’s actually what I love about looking further into historical clothing, that gradual development…
I think it is going to need an extra layer – there certainly has to be an extra layer in the front, so why not go the whole way? 😉