There is much debate in the sewing community about what the ‘best’ or ‘proper’ way to sew with knits is. It’s my opinion that the ‘best’ way to do any technique is the way that works for you – as long as you don’t find it too hard to do, like the result aesthetically and in terms of wear, then it’s good!
I suggest four different ways to sew knit fabrics in the Miramar Dress, Top and Tunic pattern (buy it here!), and give a little information on their benefits and drawbacks, to help sewists new to knits choose a suitable one to start with.

Here is a more in-depth look at the four main techniques used for sewing knits, and when, and why, I choose to use one, or not use one. These are my observations based on my own experience sewing with knit fabrics, and my experience in teaching hundreds of students how to work with knits as they have made leggings, T-shirts, cardigans, knickers, camisoles and the Miramar Dress, Top & Tunic.
For the purpose of this post I’ve arranged the techniques in order how fancy and specialised your machine needs to be in order to do them – from one that can be done on almost any sewing machine (even my hand-crank 1893 rotary shuttle machine!), to one that can be done on any standard modern-ish sewing machine, to one available on fancier modern machines, to overlocking – which, of course, requires an overlocker.
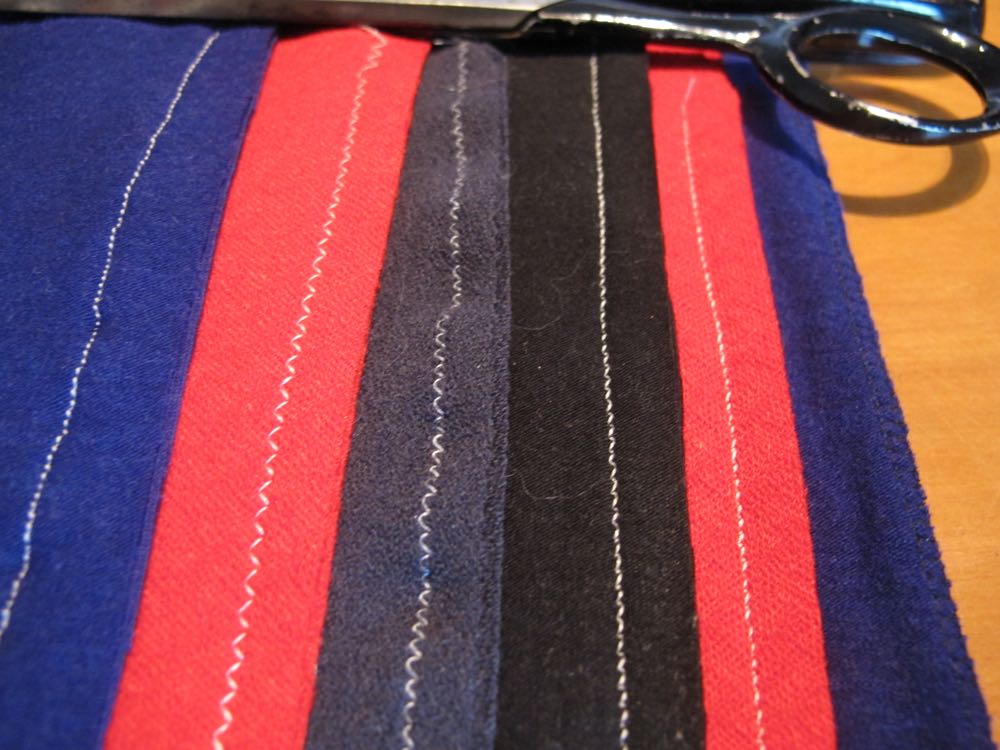
I’ve demonstrated the stitches on the fabrics I used for my Miramar samples, so you can see how they relate to the finished items. The red is the same fabric (just in a different colour) as the blue dress on the front of the Miramar pattern.
So, here are four ways to sew with knits:
#1 Stretch as you sew:
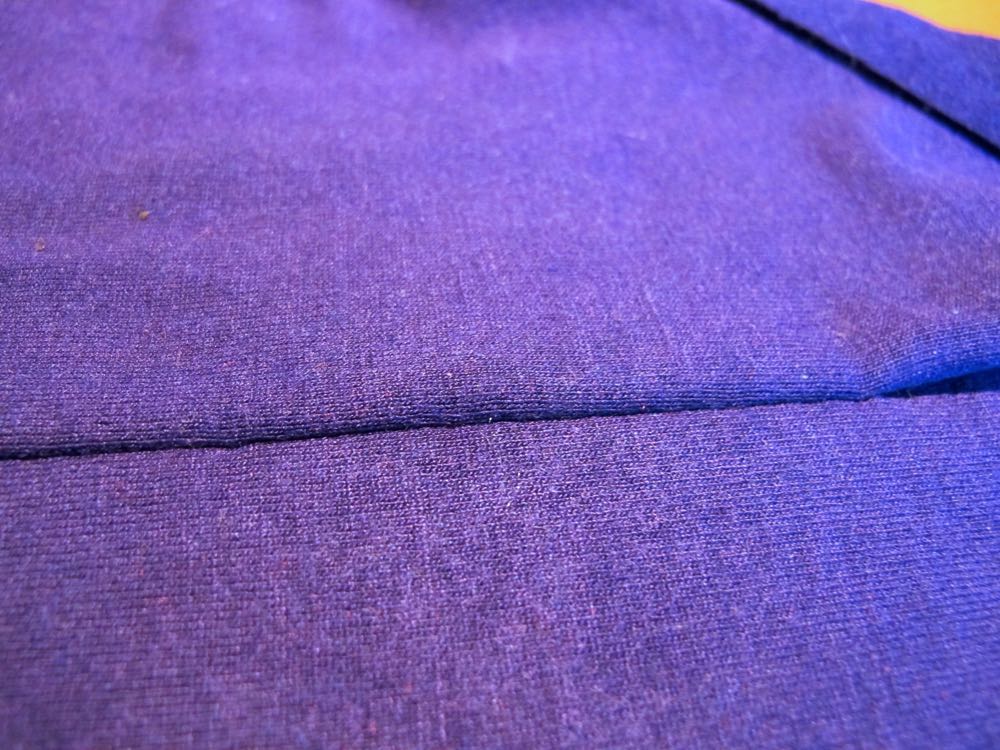
This stitch can be done on any sewing machine (as long as it can sew a straight stitch), because it’s just a straight stitch, and you build the stretch needed for knits in by pulling (stretching) the fabric as you sew with it. This means that the fabric will happily stretch while you wear it to as far as you stretched it while sewing.
Pros: Can be done on almost any machine, and the end result is a very smooth, tight seam, that stretches nicely and can be pressed completely open and flat.
Cons: It can be very tricky to sew a completely straight seam with this method, as your stitches will move in relation to the seam allowances, depending on how much you are stretching at any given time. Can be quite tricky to unpick, as stretching as you sew means the resulting stitches are tiny (and the bigger you make your stitch length, to compensate for this, the harder it is to sew a straight seam). May stress some fabrics, and cause them to ripple and warp: this can usually be fixed with a good steam iron, but will occasionally be irreversible.
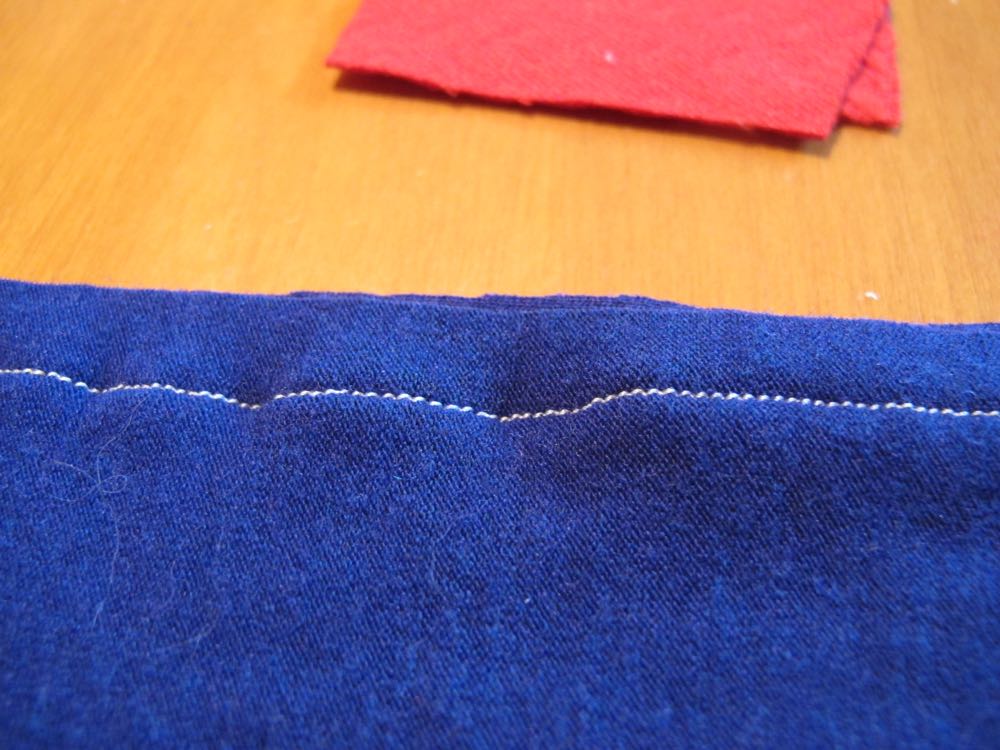
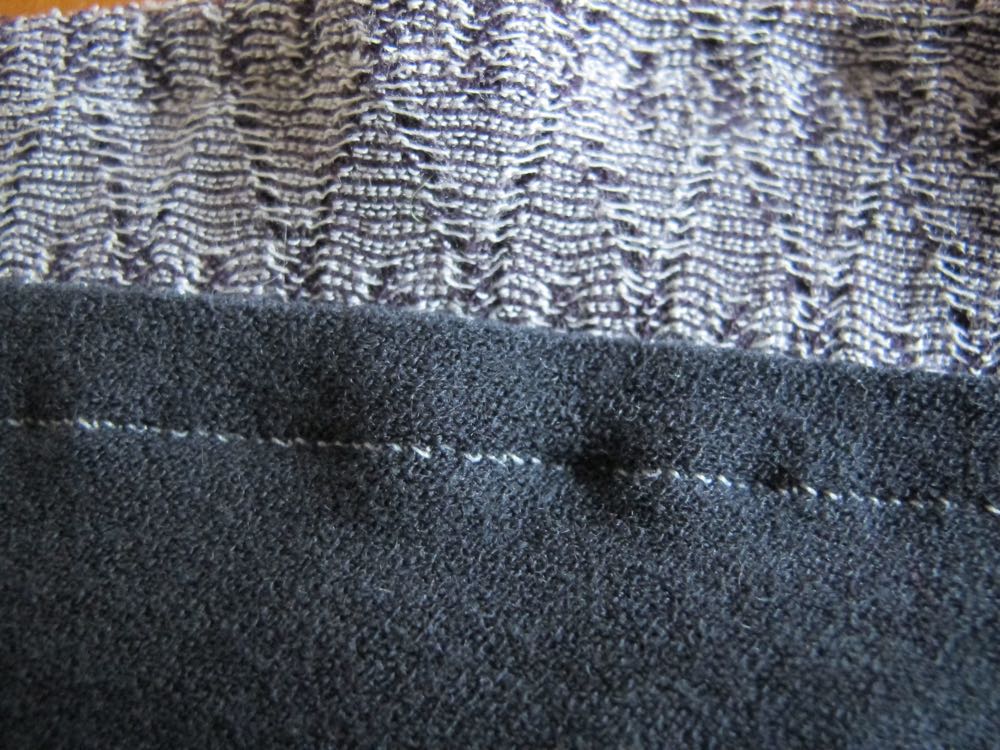
A slightly ripply seam (easily fixed with a good press), and tiny, hard-to-unpick stitches from stretch-as-you sew stitching
When do I recommend using this stitch? On very stable knits, on seams that you’d be stretching as you sew anyway (such as T-shirt necklines) and on very short lengths of seam, such as knickers. Also works well, with very little stretching, on seams that are not required to stretch much, such as the CF neck portion of the Miramar, and on knickers.
#2 Zig-Zag Stitch:
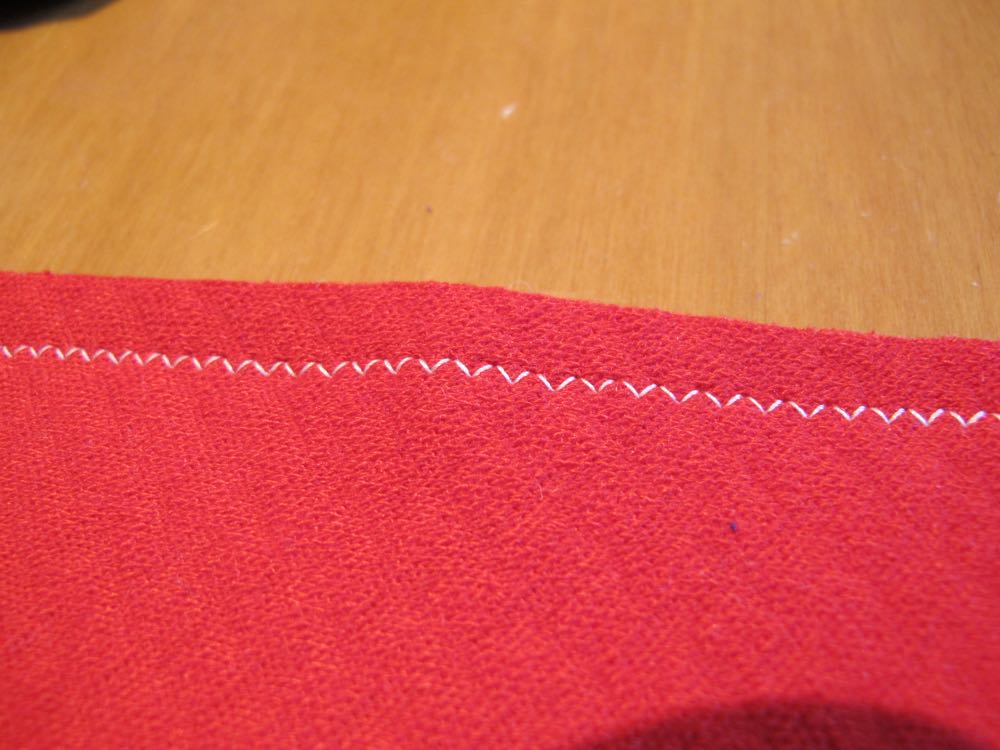
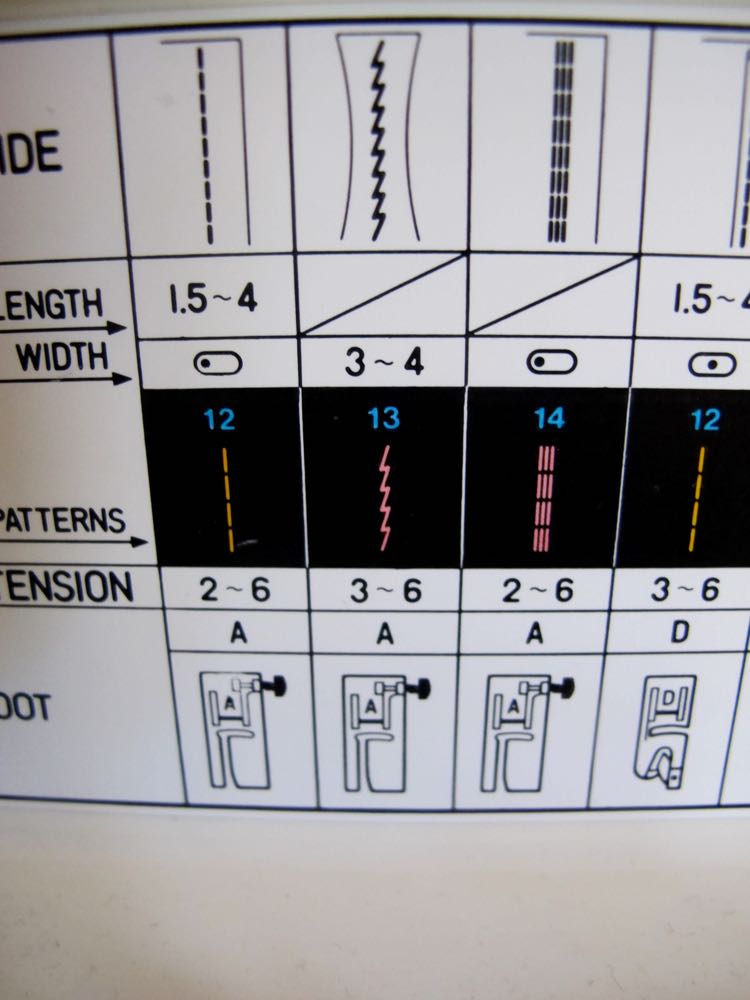
A standard sewing machine set to a moderately narrow, moderately shallow zig-zag stitch (I prefer a 2 length, 2 width on a sewing machine with a range from 1-5). Some sewers recommend a very shallow, slightly wider zig-zag stitch, but I find that a slightly higher, slightly tighter stitch has more stretch, and provides a more robust seam.
Pros: Can be done on any machine with a zig-zag function. Very easy to control, and relatively easy to unpick.
Cons: The resulting seam takes up a lot of space and can’t be pressed open. If you make your stitch too narrow, too wide, or too shallow, it won’t have enough stretch, and can break when the fabric is pulled. Lower-end sewing machines with preset zig-zag stitches may not have one that is ideal for knits (which honestly, is why I never recommend a machine without fully adjustable stitch length and width – ultimately it does limit your sewing). Doesn’t look as nice from the outside as the other three methods.
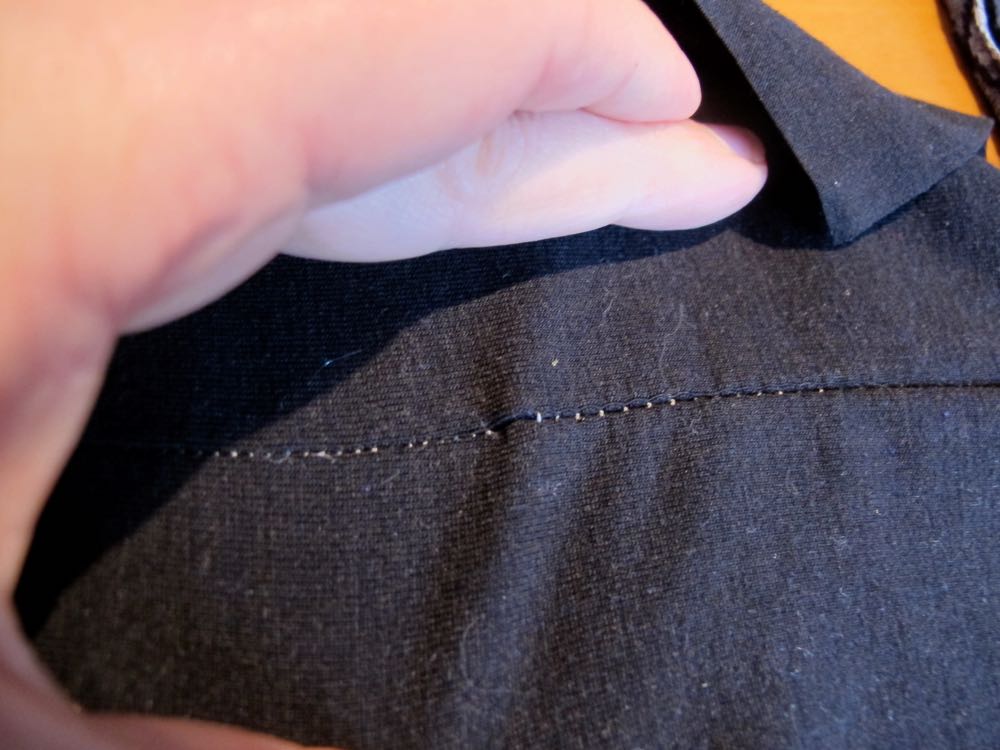
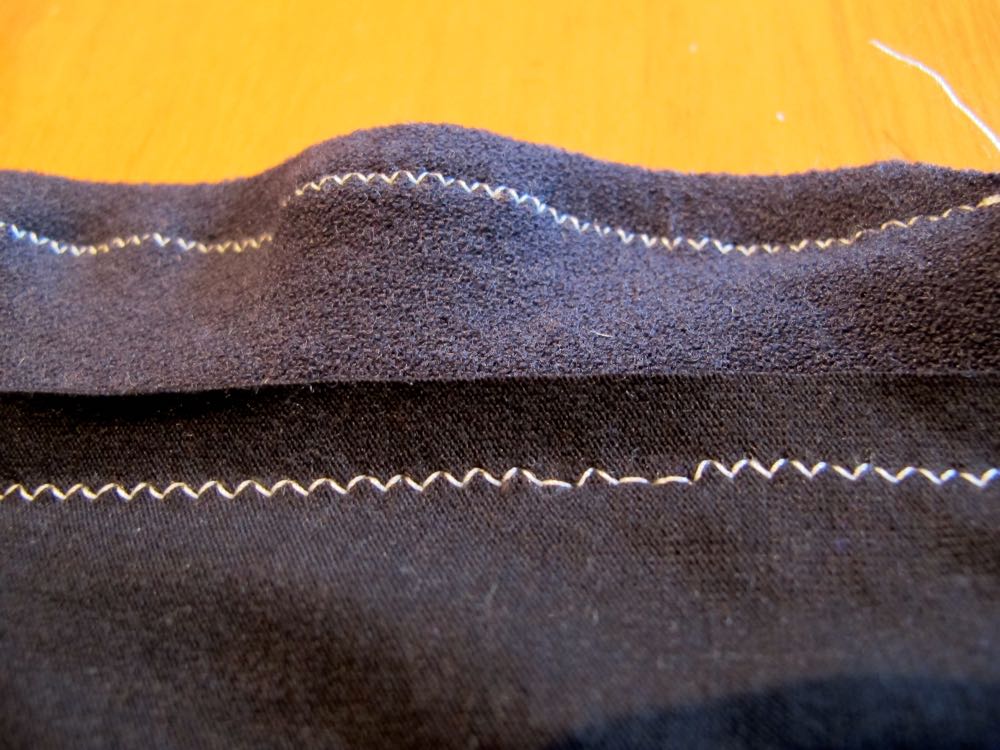
On the left is a lightning stitch seam, on the right, a zig-zag. Notice how much smoother and tighter the lightning seam is.
When do I recommend using this stitch? On pretty much any kind of knits. This is the first knit-stitch that I teach beginner sewers, because it’s easy to do, generally works well (as long as you get your width/height right) , and can be done on almost any modern machine.
#3 ‘Lightning’ Stitch
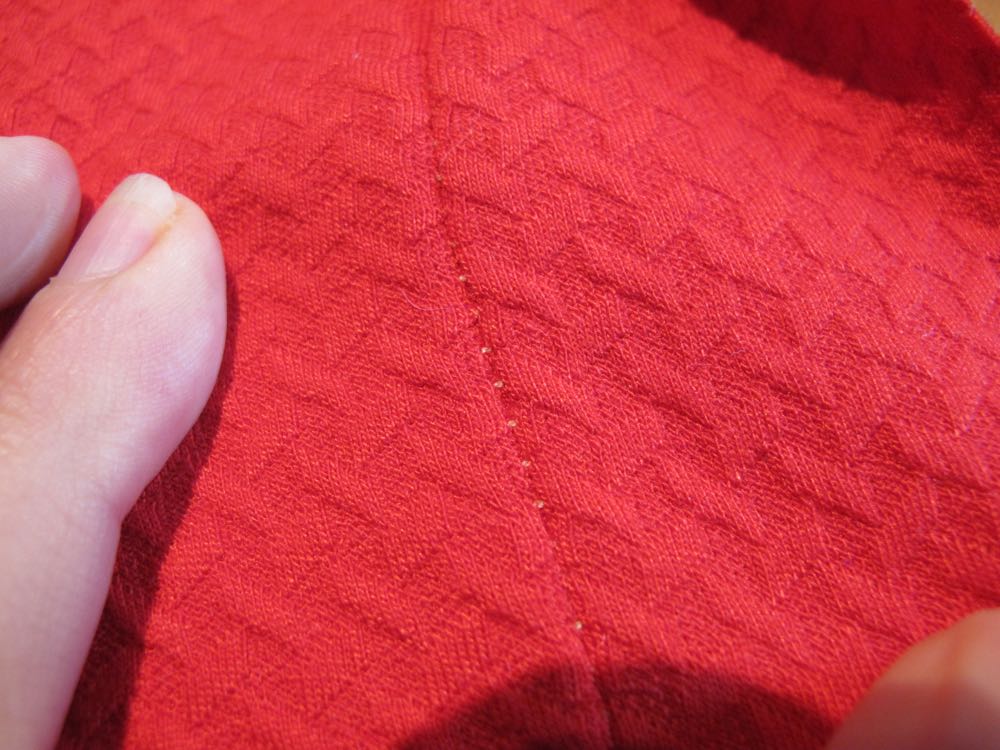
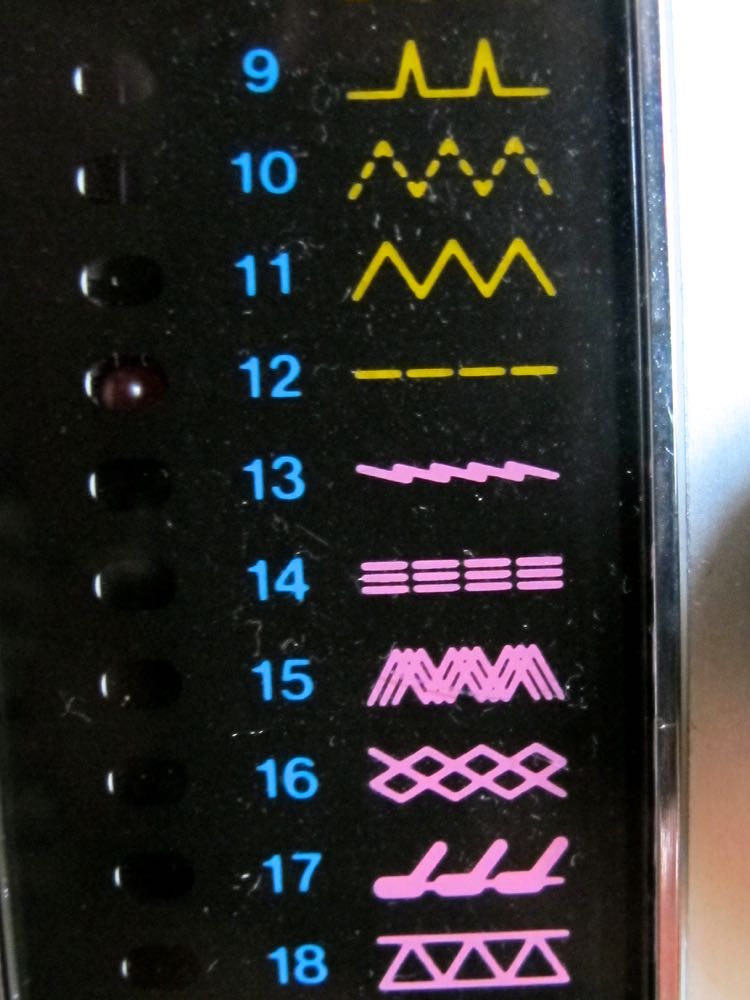
Since the 1980s some higher-end (and these days, mid-range) sewing machines come with a ‘lighting stitch’ – an offset zig-zag stitch developed specifically for knits. It looks like lightning bolts, hence the name. This stitch combines the instant stretch of a zig-zag stitch, with the smooth finish, and press-open-able seam of a straight stitch.
Pros: Very easy to sew, great stretch capabilities, and a smooth, tight, press-open-able seam.
Cons: Can be quite difficult to unpick, especially as some computerised machines don’t allow you to adjust the length/width of the stitch. Can stretch some fabrics and cause them to ripple – this is usually fixable with a good press and a bit of steam.

Rippling along the lightning-stitched sleeve of my grey-blue wool crepe Miramar dress
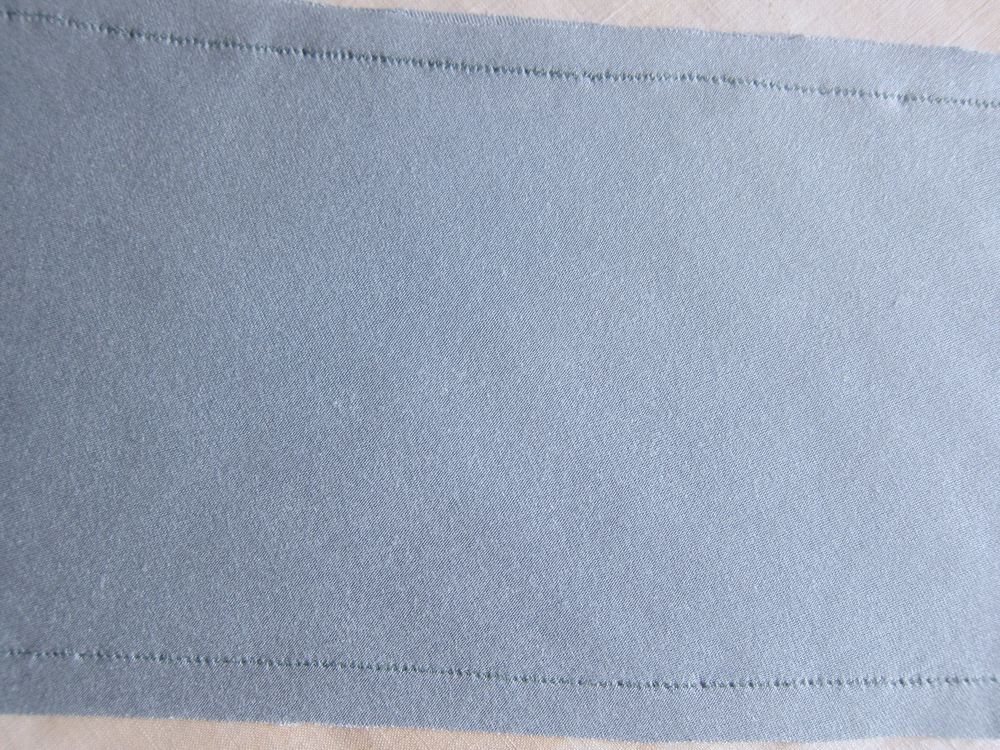
Quick press, and hey presto, no ripples!
When do I recommend using this stitch? Once you’re sure of the fit of a garment. The first time I sew any new knit pattern, I use the zig-zag stitch, so it’s easy to make alterations to the fit. The second time, once I know I have the fit perfect, I’ll either use this stitch or an overlocker, depending on how stable the fabric is, and whether I want to press my seams open or not.
#4 Overlocker/Serger:
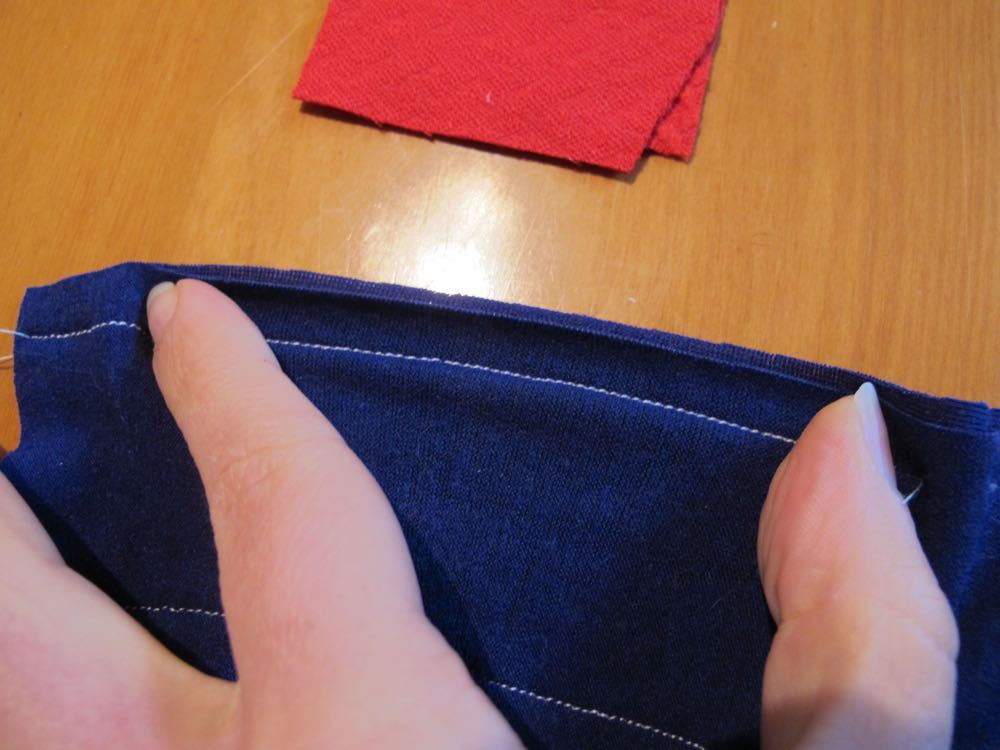
Commercially, knit fabrics are almost invariably sewn with an overlocker, and if you have one, they are an awesome way to sew knits. Just be sure not to attempt to sew a garment with a three-thread overlocker, rather than a four-thread, as a three-thread overlocking stitch isn’t strong enough to act as a seam stitch, and you definitely don’t want seams to start coming undone as you’re wearing a garment! Even if you use an overlocker for most of the Miramar, you’ll still need an ordinary machine for hemming and for the CF neck portion.
Pros: Works on all knits, doesn’t warp the fabric or cause it to ripple, provides lots of stretch and a perfectly smooth seam from the outside.
Cons: Really annoying to unpick, and can’t be pressed open. Also slightly tricky and scary to do on seams that have a lot of pins.

Sewing the neck seam of a Miramar with an overlocker
When do I recommend using this stitch? Once you’re sure of the fit of a garment. The first time I sew any new knit pattern, I use the zig-zag stitch, so it’s easy to make alterations to the fit. The second time, once I know I have the fit perfect, I’ll either use an overlocker, or a lightning stitch.
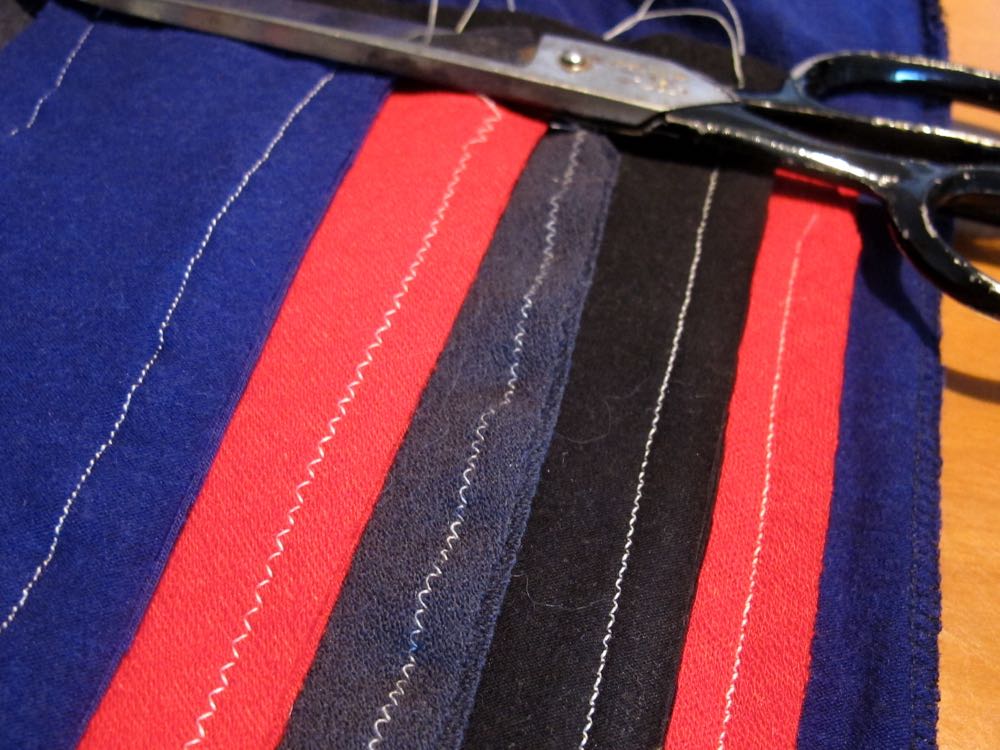
And here are all four methods together (before being pressed):
Those are my observations based on sewing lots of knits, and helping lots of students to sew lots of knits. Hopefully they are helpful – and if you find you feel slightly differently about each stitch, based on the kinds of fabrics you like to work with, and your machine, that’s absolutely fine too!
A few more tips to get the best result when sewing with knits:
- Always use a ballpoint needle – a jersey needle (for standard knits), or stretch needle (for really high-stretch knits).
- Always use a polyester thread, and always use the best quality thread you can possibly afford. Cheap thread is much more likely to pull holes in the knit fabric. Much as a love cotton thread, I’ve yet to find a cotton thread that was strong enough to not break when a knit fabric was stretched, while still being fine enough to not pull holes in the fabric over time (such a thread may exist, but even Aurifil, which sells for a whopping $20 for 1300m in NZ, failed my standard knits-thread tests, so for now I only recommend polyester for knits).
- If you’re sewing with a knit with a very high elastane/lycra content, and you notice that your stitches are skipping, try using a stretch needle rather than a jersey needle.
- If your machine has adjustable foot pressure, switch to less pressure, and your fabric will ripple less.
I hope my analysis and tips are useful. Happy sewing!


I was taught to never put pins perpendicular to the seam when using a serger, instead placing them parallel in such a way so that you can pull them out as you sew. It can sure be a pain, especially in seams where one is required to pull one edge to fit the other, but it outweighs my fear of accidentally putting one into the cutting blade D:
I like to place them perpendicular, because it does a much better job of holding your fabric stable, because if you’re careful you can place your pins so they are entirely within the seam allowance (important with knits that are liable to hole) and because it means you can’t possibly miss seeing them to pull them out.
I almost never use pins with a serger, or with knit fabrics though – the neck seam of the Miramar is probably the only place.
Like the stitching, this is definitely a case of doing what works for you though!
Unpicking overlocked seams is not too bad if you know how. I found this tutorial http://scruffybadgertime.co.uk/2014/03/overlocker-tips-unpicking-seams/ very helpful.
This is helpful! My only machine is a little Singer Featherweight that does a lovely straight stitch and nothing else. I always feel a bit left out since I want to be able to sew knits like everyone else! (Especially because I find it almost impossible to raise my arms in woven sleeves but I do like having sleeves.) Its nice to hear someone saying definitively that it can be done with straight stitch, though I probably shouldn’t sew anything too terribly reliant on stretch.
Give it a try! Lots of experienced sewers who have machines that could do fanciers stitches swear by stretch-as-you-sew, and you can totally make an elaborate stretch garment with it.
Thank you for this very helpful guide! I’ve been screwing up the courage to try sewing knits for a while, and this may carry me over the edge. Have you ever used a double needle to sew knits? I saw it mentioned somewhere but I don’t really know how it works.
I’ll do a post on sewing with a double needle too 🙂
Any chance you could amend this to include how to tell which polyester thread is high quality? I mean, walk into the store and buy the most expensive thing they have IS one method, but I was hoping for something more specific.
At the moment the only brand available in NZ that I trust is Gutterman. Mettler used to be good, but they have recently switched their production to China, and I haven’t been happy with the quality since. I’ve heard of other brands, but I can’t get them here, so I haven’t been able to trail them.
Look for a very smooth, tightly woven thread, fine and narrow, with no visible fluff.
I’m so glad to see this tutorial post, Leimomi! In my college sewing class, we had to make a tee and fleece sweatshirt on our sewing machines and then on the sergers. My dh surprised me with a Janome serger he found a great deal on from Woot.com. I can’t wait to set up my sewing/craft/art studio in our next place.
I have a pile of clothes that need altering. I’m going to get a dress form–I have a very large bust, and it really affects the line on my dresses. I can’t just cut off the length anymore. I am excited to finally be able to tailor my clothing the way I want. I’m also saving some of my favourite but worn out clothes as well as thrift store/consignment finds to use as patterns. Like I have one wool blazer that fits like a glove but isn’t very attractive. I made a lined wool vest as one of my projects, and our teacher showed us a great shortcut for sleeves so I’m not afraid of trying my hand at making a blazer. Thanks to Project Runway and you, I’ve discovered Mood.com which has some gorgeous wools.
I’m going to practice linings by adding linings to a couple of boiled wool jackets I love that and wish had linings (I am very hot blooded, and I love wearing these warm but thin jackets over my short and 3/4 sleeve shirts). I’m excited about taking this opportunity to use a really gorgeous and bright fabric.
I’d love for you to do a post about linings. What material should coat linings be made from? I know that for skirts, etc. that can be laundered, the lining needs to be made from fabric that can be laundered the same way/won’t shrink/hangs correctly. But what about items that will only be dry cleaned? I know cost is a factor, but other than that, is there a reason why I shouldn’t use a silk charmeuse to line my wool jackets? I wasn’t planning on fully stitching the bottom lining into the jacket–just hem it and let it hang (so if the material *does* shrink a bit, it won’t affect the hang of the jacket) I’m not a fan of artificial fabrics–unless they’re in a blend or are required for certain items. I’ve had too many items ruined by cheap linings. I love the feel of silk and don’t mind paying extra for it since my bare skin will be touching the lining. (also after living in a cold, snowy area for several years, I detest the static cling from artificial fabrics)
This is wonderful! Thanks for such great details and comparison shots.
This is the post I’ve been waiting my entire life for. Thank you Leimomi, you are the best!
Yay! So glad it’s helpful!
Thanks so much for posting- it’s so clear, well-written and organized. You’ve really helped a newbie knit sewer here!
This is fantastic, thanks very much. I don’t have an overlocker. I’ve done a few small alterations using zigzag on my machine but haven’t been confident enough to do a whole project.
This was helpful! I’m still learning with knits and one of my common problems is with the fabric getting pulled down through the hole in a zig-zag plate. I have a serger too and have been basting with a straight stitch using a standard machine with straight stitch plate and then serging pin-free afterwards. It takes longer but it’s helping me while I learn to use the serger too.
Thank you!
The ‘fabric getting pulled down is a problem, and some machines are much more prone to it.
Some tips:
– Make sure you’re using a new, clean needle, and good thread.
– Start your stitching a few cm forward of the edges, and reverse back to them, OR…
– Sew a few stitches at the start, stop, and pull your sewing off the machine, leaving long threads, which you can use to pull the sewing backwards (keeping it taut and out of the hole) when you re-start.
Hope that helps a bit!
Thanks! I’ll try those tips!
I know I’m commenting on an old post, but perhaps you’ll see it! Do you ever hand-stitch your knits? I only sew by hand at the moment, and I’ve been on the hunt for advice. Alabama Chanin here in the US has a lot of terrific guidance on hand-stitching cotton jersey garments (mostly with a plain ole straight stitch!) but they’re the only people I’ve ever seen doing this, and I’m curious to cross-reference their methods with other knowledgeable people who might also sew knits by hand. Ever tried it? If so, any favorite methods or stitches?