Remember the ca. 1799 gown I wore at Old Government House in Parramatta? The one I wasn’t that happy with?
If you are a very keen reader with an excellent memory and a good eye for detail, you may have realised that the dress re-appeared, now with a wrap front, at the Sew & Eat Historical Retreat, and at the picnic where I debuted my new Regency bonnet.
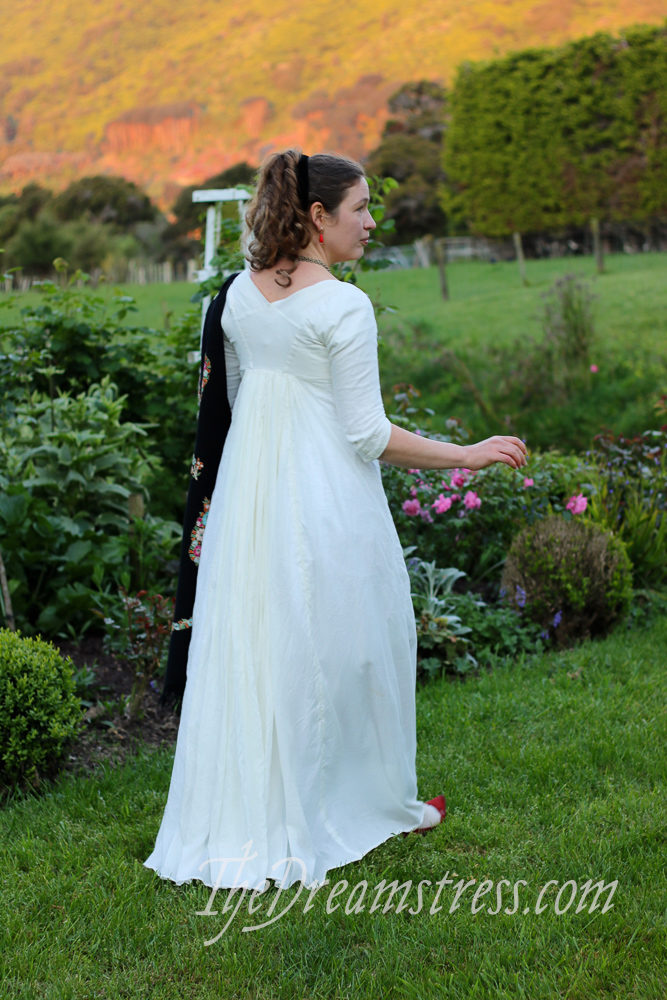
As I wasn’t happy with the dress as I first wore it in Australia, I had a go at re-styling it.
First, I fixed the fit issues: unpicking the sleeves, giving them a little more room, and re-setting them.
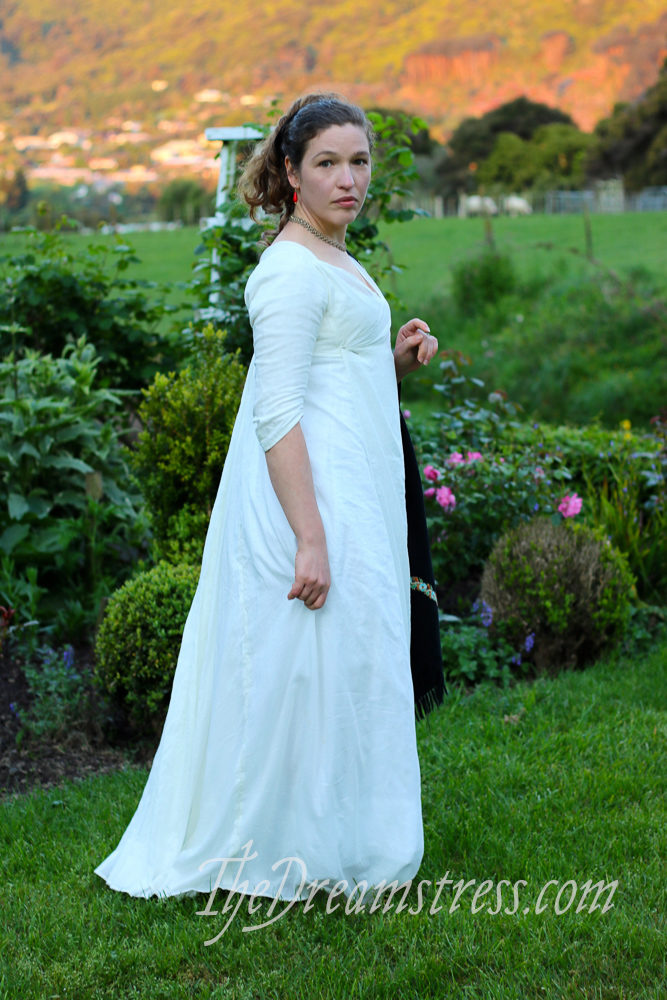
They are definitely more comfortable now. In their first iteration they cut into the front of my arm rather painfully: I had great posture, but couldn’t reach anything in front of me! Now I have full range of movement. First part of the re-make? Total success!
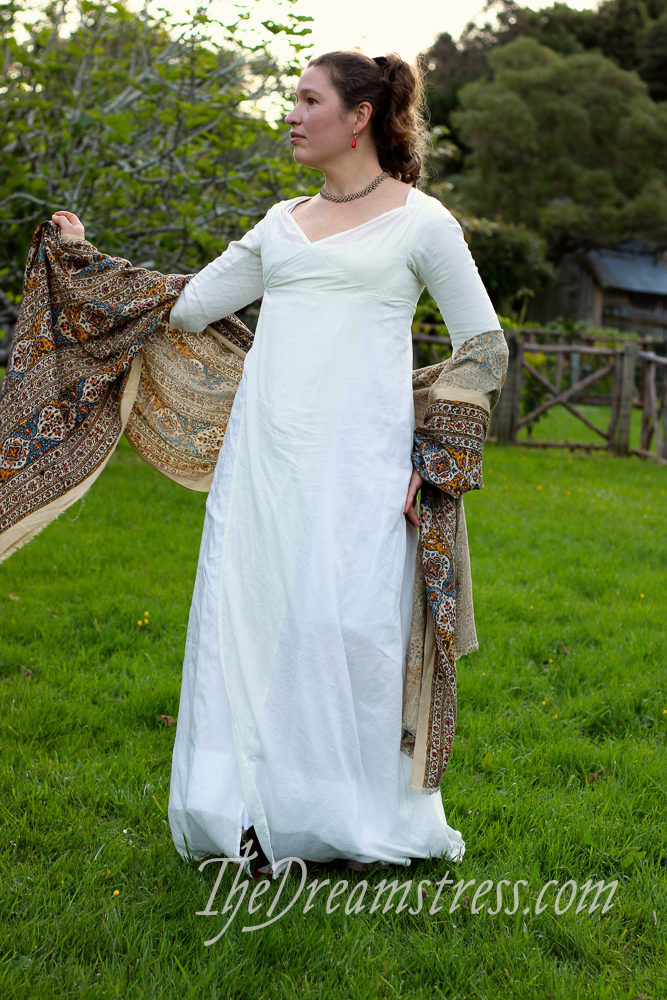
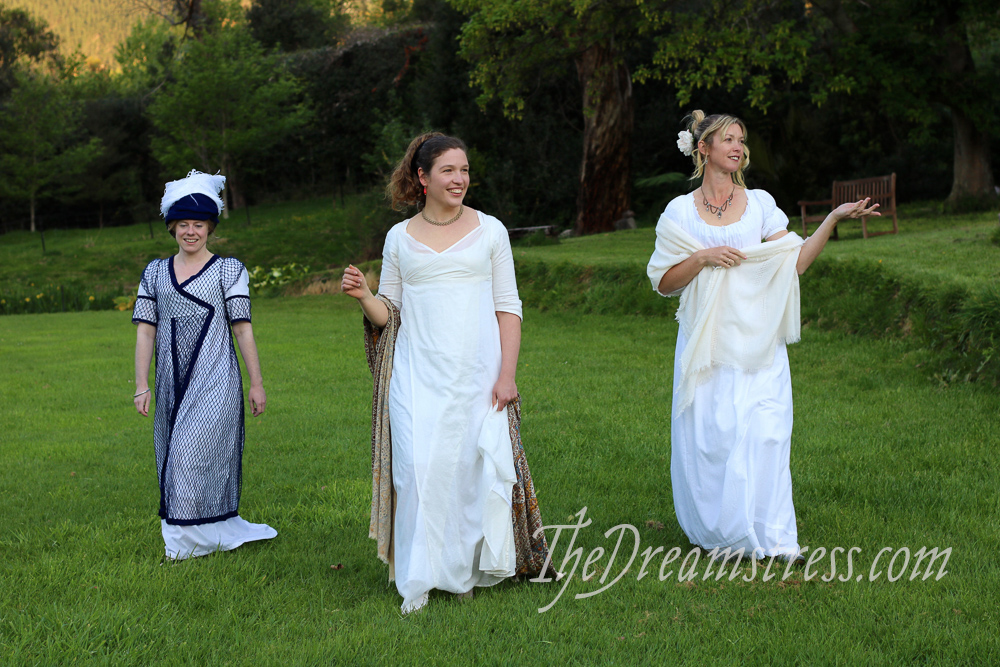
I’m significantly less thrilled with the second part of the remake. I decided to try a wrap front, instead of the gathered front the dress had had before. I used the few scrap of fabric I had left to create a wrap bodice, sliced the skirt up the centre front, and moved fullness from the back gathers, to create a new shape.
Unfortunately the wrap flaps open in the skirt, and refuses to stay sitting nicely on my bust. It’s most annoying, and I don’t like it.
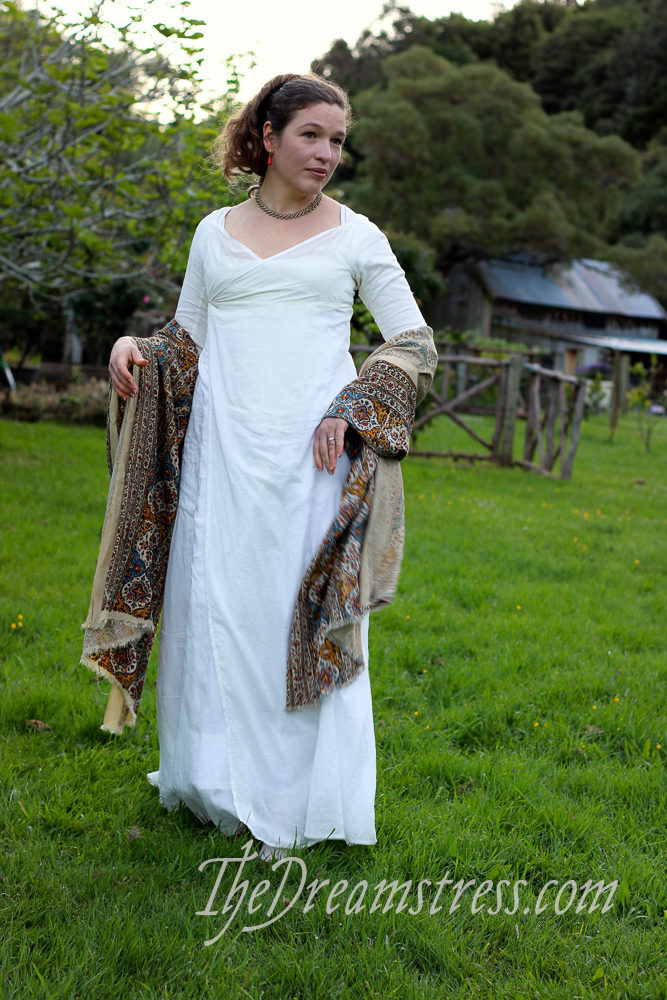
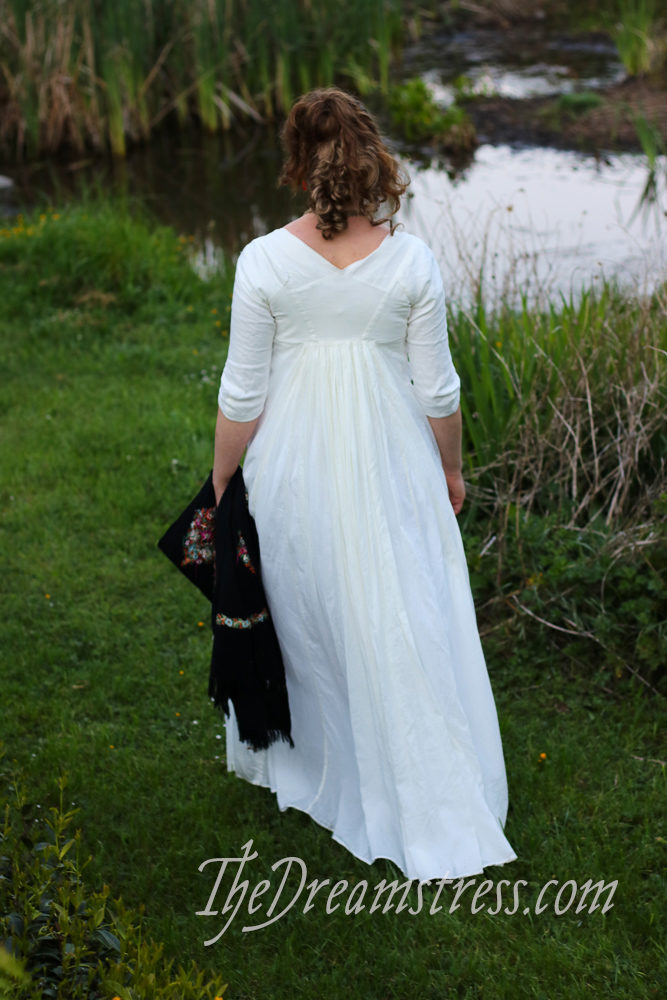
I am, however, very happy with the back view:
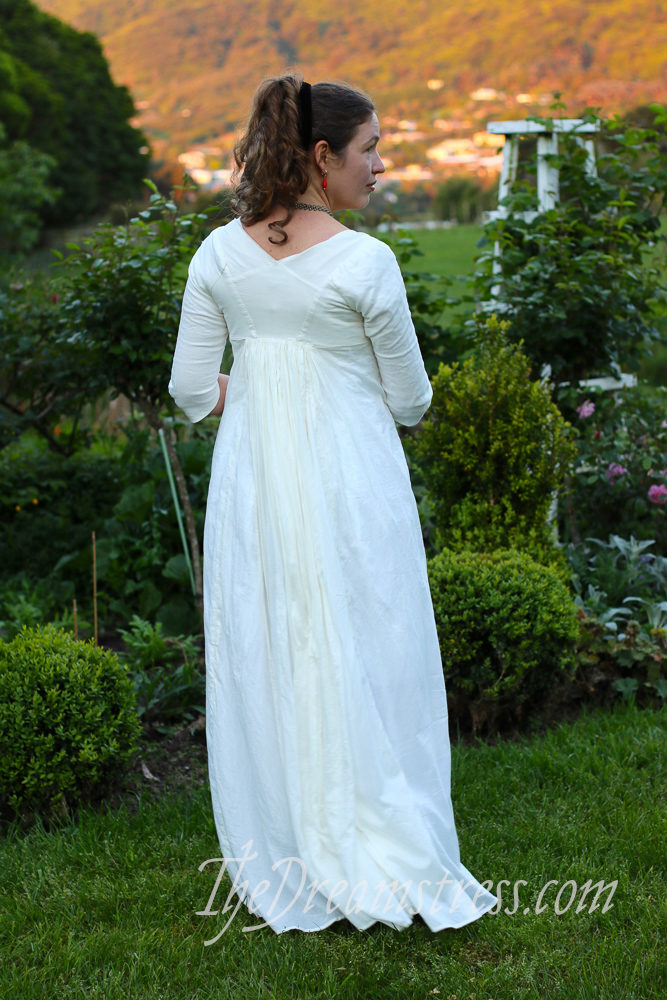
The reduction in fullness is just what the dress needed. I absolutely love the effect of the new back view.
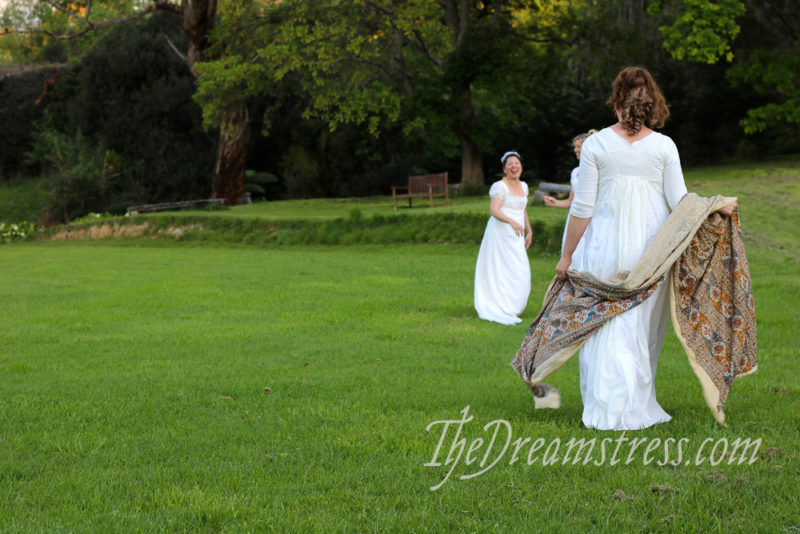
But I’d really like to get this dress right, so it’s headed into remake #3 (third time had better be the charm!)
For remake #3, I’ve unpicked the two panels that formed the wrap, and will turn one of them into a new front panel for the dress. I’ll split the other one in half, and re-sew it on each side, two form two narrow side panels, so the skirt won’t loose any fullness, but won’t have a big seam down the centre front.
I’m still working out what exactly I’m going to do with the front bodice. Either a bib front with sewn-down gathers, or a return to a drawstring front.
I also plan to add darts to the under-bodice. With my small bust, I really need all the help I can get in keeping the under-bodice under my bust – right now it likes to creep upwards.
If I do switch to a bib front I’m considering adding lacing (instead of the current overlap-and-pin situation) to the underbodice.
And I may shorten those sleeves to a bit above the elbow, and add a lace edge, as you see in so many portraits of the early 19th century.
But before I have to decide all of that I have lots and lots of skirt seaming to do!

The back of that gown looks amazing now, Leimomi! I am sure I would have given up after the first go, with all the unpicking you had ahead of you. Great job!
Ah, so you did re-do the gown! I’m sorry it still isn’t all you want it to be, but I’m sure you will get it to a point you are pleased with. The back certainly looks lovely. And you look just right with your paisley-ish wraps.
The back view is exquisite!
I agree, the back view is great! Very columnar, in an elegant way.
This is really neat, insofar as it evokes women remaking their dresses as the trends change. That’s not necessarily what is happening here, but I’m reminded nonetheless.
I have never been a fan of wrap fronts: one boob looks perky and the other gets lost, and then there is either an awkward protrusion of the back part of the wrap-front, or it’s a pretend-wrap that is even worse. Your chest, like mine looks better when you have control of the gathers, so I suggest bib-front. Still, artists need to experiment, so hooray!
Ok, now I have questions:
1) In the period, would a wrap-front that extends to the feet been sewn down so that it wouldn’t flap? Would trim have been added to the seams to add definition?
2) How does the petticoat work? When it was shown, it looked like it starts at the waist, but an empire neckline with under-floof (that’s the technical word) starting at the waist sounds unflattering. So how does it work? Man oh man, it’s fun to read here.
Oh, and I like so much of this dress!
I agree that the rear view is now excellent, and that the wrap-front doesn’t quite work. Perhaps if your breasts were larger, things would be different, but as it is, I’m in favor of your planned third re-make. And I’m ambivalent about the sleeves. They are attractive in themselves, but I’m not sure how well I think they go with the rest of the dress.
Yay about the sleeves! And the back looks awesome! Too bad about the fronts though… I hope the next remake is a success! Some of my remade dresses have gone through at least 3 remakes as well. You’ve got my moral support!
Best,
Quinn
Thank you! Your remakes are an inspiration!
Dear Leimomi,
It’s still a lovely dress and I echo everyone about the gap. Your photoshoot location was delightful, too!
Mmm, something about wrap-fronts: mine has been through three restylings too. The first go suffered boob gap — most embarrassing – – so I tightened it, the sleeves have been redone twice, and now they’re too loose, but I made the wrap gap a plus by wearing either a colored petticoat underneath, or a heavily embroidered one, made from a salvaged remnant of an original Edwardian skirt. I’ve worn it more than any other costume, oddly enough.
Re lacing the front underneath a bib: it really might help in the push-up department, though you’ll want to make sure the bottom wraps tightly around your ribcage. Hanging an under-petticoat from its bottom with wee Dorset buttons will add weight and help slow creep-up. Have done that before.
Very best,
Natalie in KY
I’m also feeling with restitching my Regency gown. I similar issues so it is great to see how l yours turned out. Well made!