My hoopskirt tutorial has been getting a lot of use, and I have had a request to do a tutorial on making the petticoat that goes over the hoopskirt, so here goes.
For your petticoat you will need:
- 7 yards (6.25m) of 45″ wide fabric (60″ if you want your petticoat to be longer or can be bothered hemming)
- 2.5 yards of 3/4″ wide cotton waist tape
- 10 yards of cotton cord for cord gathering
Apologies in advance for the quality of the photographs with this tutorial – I guessed at what I would need as I made the petticoat, and then wrote the tutorial, and my guesses were hopelessly off, so I need to go back and make another petticoat and photo-document the process properly.

At least I got a hopelessly adorable photo of Felicity reminding me how much more important she is than a tutorial
Step 1: The Hem Ruffles
Cut 14 7″ wide strips from the ends of your length of fabric. Each strip will be 45″ long (unless, of course, you bought 60″ fabric, in which case you only need to cut 10 7″ wide strips). I find it easiest to fold the fabric in half lengthwise and cut two at a time, cutting from both ends of the fabric at the same time.
Divide your strips into two piles of 7 strips (or 5 for 60″ long).
Sew each pile of strips end to end to form two 300″ long strips.
Sew the loose ends of each strip together to form a loop.
Narrow hem each loop (I use my roll hem foot for this)
Gather each ruffle loop into 155″ using my tutorial for corded gathering. DO NOT tie off and sew down the ends of cord, as you may need to shorten/lengthen the ruffles later on when you attach them to the hem of the petticoat.
Step 2: The Waistband
Cut another 5″ strip off one end of the remaining fabric. It will be 45″ long and 5″ wide. This will be your waistband.
Fold it in half lengthwise and and iron in the crease, then set aside for Step 7
Step 3: The Petticoat Body
Take your remaining fabric (it should measure about 150″ long) and, with wrong sides together, sew the raw edges together.
Finish the raw edges using either a french seam or a flat felled seam.
Step 4: Hemming
As you are using the entire width of the 45″ fabric, both your hem and top edge are already finished. How easy is that!
If you are using 60″ wide fabric, or are quite short, you can hem the fabric shorter, or you can just fold it over at the top edge so that there is an extra ruffle on the inside, at your waist, which will help to give you extra ‘poof’ and bell shape around your waist – not at all a bad thing with a crinoline petticoat!
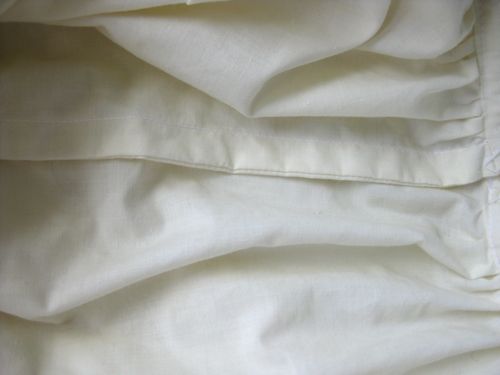
If you finish your petticoat, put it on over your hoopskirt, and find it is too long, don’t dismay – you can just shorten it with one or more grow tucks. Grow tucks are perfectly period accurate, help the petticoat to hold its shape at the hem, and can be taken out later.
Step 5: Attaching the ruffles
Lay your petticoat body out, and measure up 5″ and 10″ from the bottom edge/hem. Mark a line at 5″ and 10″ from the bottom all the way around the petticoat.
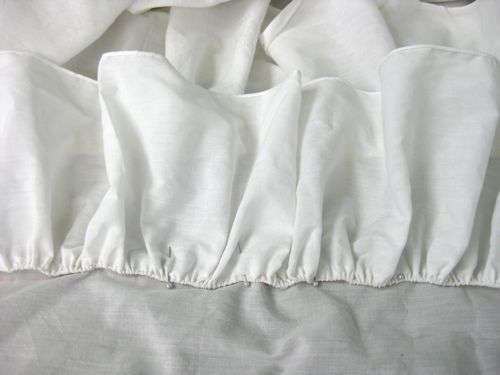
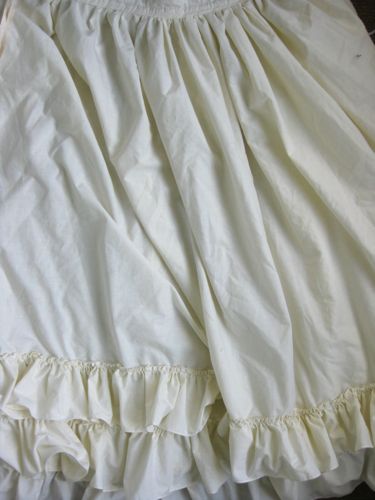
Take your first ruffle, and carefully pin it to the line which is 5″ from the bottom. Adjust the gather of the ruffle as needed. Sew the ruffle down, with your stitch line falling just under the stitch line for the gathering cord.
Pin the second ruffle at the 10″ mark, adjust as needed, and sew as with the first ruffle.
Step 6: Gathering the Petticoat
Take your petticoat body and fold down any extra length at the top edge of the petticoat, so that it measures exactly the length you want (this length will depend both on your height, and the width of your hoopskirt, but 42″-45″ is a good average length).
Cord gather the top edge of the petticoat body, either laying the cord inside the fold of the extra length, or just folding over a scant 1/2″ of fabric to hold the cord. Gather the petticoat top until it measures 45″. Do not tie off the cords yet.
Step 7: Attaching the Waistband:
Take your 45″ long waistband strip, and, wrong sides together, pin it to your 45″ long gathered top of the petticoat body. Sew the petticoat body and waistband together with a 1/2″ seam allowance.
Flip the waistband up from the petticoat, so that the all the raw edges, and the cord gathering, are all pointing up from the petticoat body. Press, being careful not to press out the centre fold line you pressed in in step 2.
Fold down the top raw edge of the waistband 1/2″ toward the wrong side of the fabric, so that it is pointing toward the other raw edges. Press.
Flip the petticoat out to the right side, fold the waistband down over the all the raw edges and cording, using the centre fold line you pressed in during step 2. Both raw edges of the waistband, and top edge of the petticoat with the cording, should now all hidden inside the waistband.
Press the whole thing one more time, and then top stitch the loose edge of the waistband down onto the right side of the petticoat.
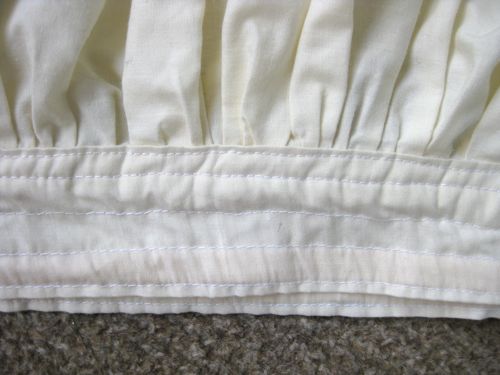
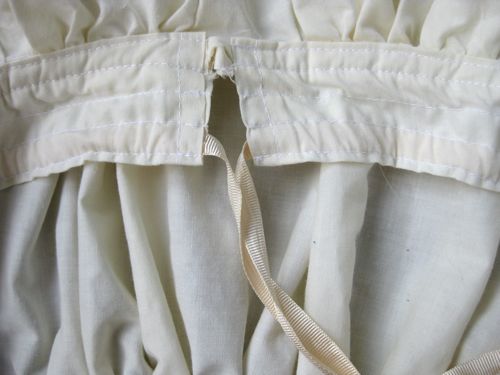
Stitch a line 1/8 from the top edge of the waistband, just to keep everything neat and tidy. Stitch another line 1/2″ from the bottom stitching line of the waistband, to keep all the raw edges out of your gathering channel.
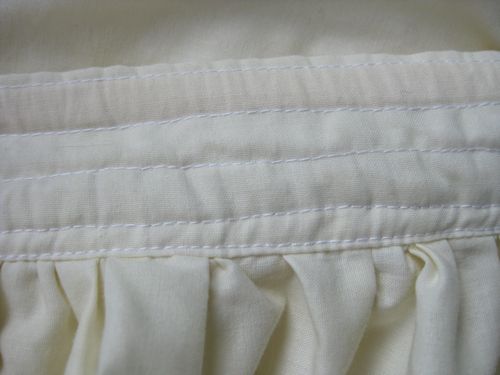
See the stitch a tiny distance from the top edge, and another just at the bottom? Ignore all the other ones that managed to come out dreadfully wobbly.
Step 8: Finishing touches:
Thread your waist ribbon through the channel left in the waistband (I use a large safety pin for this), and ta-da, you are done!
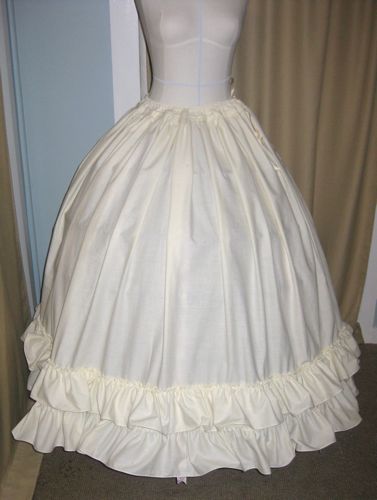
Put your petticoat over your hoopskirt, and enjoy the smooth line it provides for your skirt to lie over. And, of course, the more petticoats you make and wear, the better your outer skirt looks!





thank you very much for providing this step by step. I am in the processing of learning how to sew my own clothes and the first in the list this petticoat because we are going to use it on our presentation. again, many thanks!!!!!!!!
nice tutorial, thank you much for this~ the petticoat you made in this tutorial looks very nice and cute~ Thank you~
Hi! I am SO glad to have stumbled across your tutorial. I have the task of either making myself an over-the-hoops petticoat, or spending over thirty dollars to buy one right now. I am going with the first option if at all plausible! I currently have approximately 174 inches of white cotton muslin that I thought would be enough if I just tried to make a simple skirt. Your tutorial calls for 7 inches, which is also for the ruffles and waistband. Now… I’m pretty tiny (5’4″, 100 pounds) and my hoops are very small — they’re actually child’s hoops. Do you think it would be possible to still make this petticoat with only 5 yards of fabric? And do you have any suggestion on how I can follow your tutorial and save fabric at all costs?
Hi Ashley, Your petticoat should be at least the diameter of your largest hoop (the bottom one) plus one extra yard of fabric, so if you have a small hoop you can use less yardage. You may omit the ruffles to save on fabric, though the skirt you put over it won’t hang quite as nicely without them.
I was just wondering is there a way to get that same volume in the petticoat without using a hoopskirt? Maybe layering some tulle underneath? Or is the petticoat too heavy do do that? Great tutorial, by the way 🙂 Very helpful!
If you use light enough fabric for your petticoat, you could get the same volume by layering it over a very full tulle petticoat, one which has numerous ruffles at the hem to keep the bottom from ‘collapsing’. It would need to be made out of very crisp, stiff tulle.
Hi, Beautiful and so helpful! Believe me! Us new sewers are sew grateful! I have a hoop with a 149″ circumference…. does this mean I need to add a yard as I thought I saw in the comments above you mentioned the width of the petticoat should be at least the width of the hoop plus a yard? Does the same hold true for making a skirt to go over the hoop and petticoat? Thanks for your help! 🙂
Yes, add at least a yard to your 149″ circumference. The skirt that goes over should be a little bigger than your petticoat – so add another 1/2 yard or more for it.
I forgot to ask above…. Is this still appropriate for a 27 inch waist or should adjustments be made? Thanks again for the lovely tutorial!
This should be perfect for a 27″ waist – that’s my corseted measurement, so it’s definitely been worn at that measure.
Thanks so much! 🙂 Can’t wait to try this!!!!