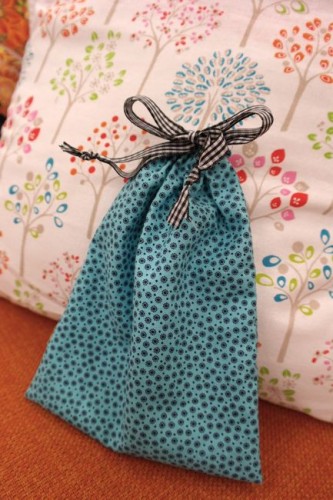
Last week I shared the tutorial for making the simple zippered cushion cover that I use to teach zip insertion in my Absolute Beginners class. This week I thought I’d share an even easier tutorial – one for the simple drawstring bag that is the very first thing that I teach my Absolute Beginner students to sew.
I love these bags, and have been making them for almost as long as I could sew. My mother doesn’t like wrapping presents, so I made her dozens of them in lovely festive fabric, and she just pops her presents in them – easy-peasy, looks gorgeous, and totally green and recyclable, because she’s still using the ones I made her 10 years ago!
These days I make little ones to keep my pearl necklaces in, middle sized ones to hold the accessories to each of my historical outfits, and bigger ones for sorting socks and undies when I travel.
This tutorial makes a a 15cm (6″) wide x 22cm (8 3/4″) long bag – perfect for a chunky pearl necklace, or a mobile phone.
To make a different sized bag your piece of fabric should be the width you want + 3cm (1 1/4″), and the length you want + 12cm (4 3/4″). Your ribbon length should be the width of your bag x2 + 30cm (11 3/4″).
For this tutorial you will need:
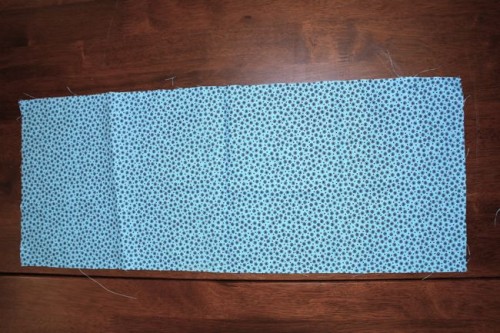
- One piece of fabric 18cm (7″) wide x 52cm (20 1/2″)
- Two lengths of 1 – 1.4cm (3/8 – 1/2″) wide ribbon, each 60cm (23 1/2″) long
Step 1: The side seams
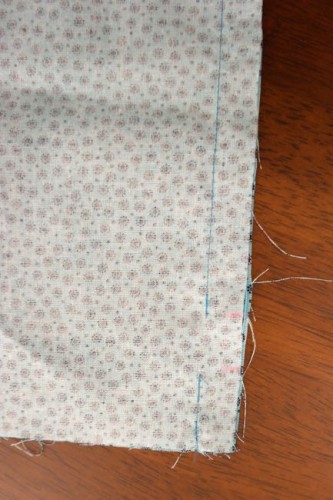
- Start with your long, narrow length of fabric. Fold it in half widthwise, and measure down 4cm (1 1/2″) from the cut ends. Make a mark. Measure down another 2cm (3/4″) and make another mark. Finish all four edges with zig-zag stitches if desired (I decided not to for this bag).
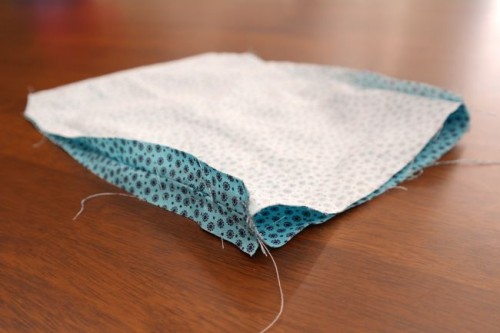
- Using a standard stitch length (2.4-2.6) and a 1.5cm (5/8″) seam allowance, start at the top on one side of your folded fabric and backstitch. Stitch down to the first mark, and backstitch again. Leaving the 2cm space between the marks open, backstitch below the 2nd mark, and stitch down to the bottom of the fabric, backstitching at the end. The space between the marks will be where you thread your ribbon. Repeat on the other edge of your folded fabric.
Step 2: Securing the ribbon holes.
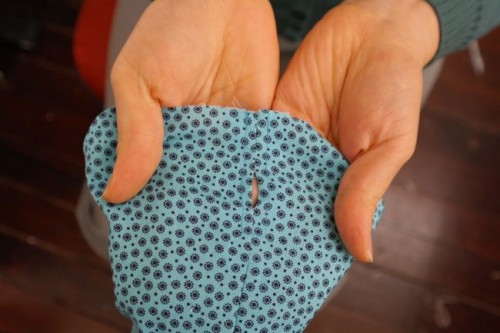
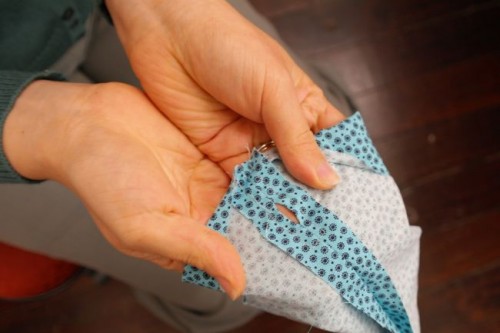
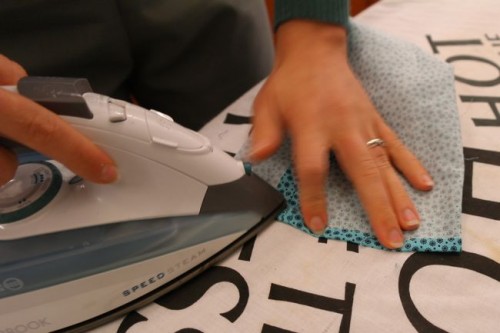
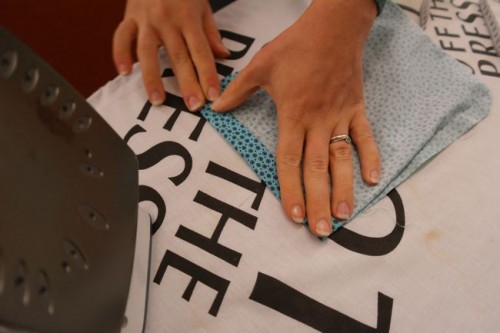
- Press the two side seams that you just sewed open, so that the threading gap is nicely visible. Starting at the top (raw) edge of your bag and sewing through the outer fabric and the seam allowance so that you are sewing the seam allowance open, topstitch 7mm (1/4″) from the side seam down to just past the gap in the seam. Lower your needle, lift your foot, turn your fabric 90 degrees, sew across the bottom of the gap, turn your fabric again, and sew back up to the top of the fabric. Backstitch again.
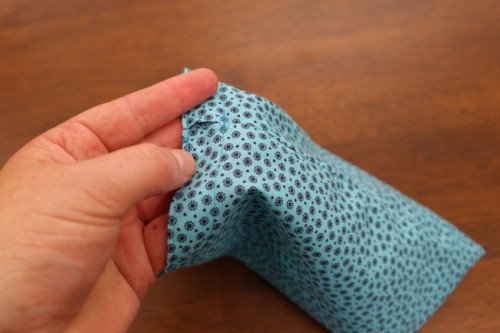
- Repeat for the other side. Both of your threading gaps should now be nicely sewn open, so that it is easy to slip ribbon through them.
Step 3: Creating your threading channel for the ribbon.
- Turn the top edge of your fabric over 1cm (3/8″) and press.
- Turn the top edge again, this time 2.5cm (1″), so that the raw edge is completely enclosed, press.
Step 3: Sewing your threading channel for the ribbon.
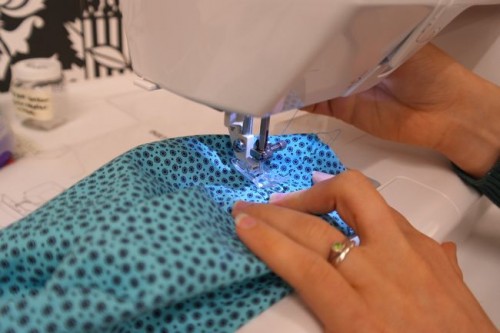
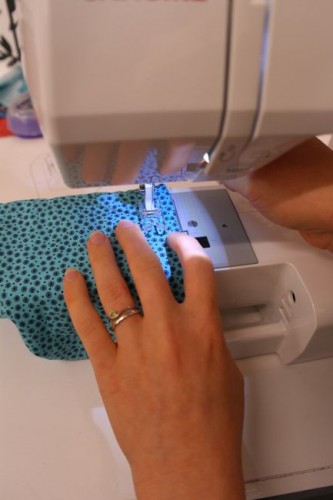
- Using your sewing machine with the box off (free-arm sewing), slip your bag over the sewing machine arm and topstitch a line of stitching 2cm (7/8″) from the top edge of the bag around the entire top of the bag so the line of thread overlaps, backstitching as you begin and end.
- Topstitch another line of stitching around the entire bag, 3mm (1/8″) from the top edge of the bag, backstitching at beginning and end. You’ve now created an enclosed channel that your ribbon can run through.
Step 4: Threading your ribbon
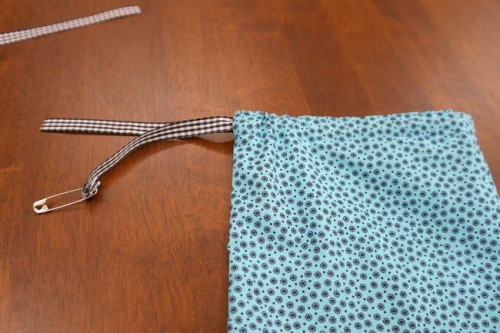
- Take one length of your ribbon, fold the end over a cm or so, and pin a safety pin through it. Insert the safety pin into one threading gap, and use it to thread the ribbon through the threading channel. Thread it past the gap in the channel, all the way back to the gap you inserted it in to. Tie the ends of the ribbon together.
- Using a safety pin, insert the other length of ribbon into the second threading gap, and thread it all the way around and back out in the same gap, in the same way you did it with the first ribbon. Tie off the end.
Ta da! Your bag is done. Tug on both lengths of ribbon at the same time to pull the bag closed, and tie off in a bow.





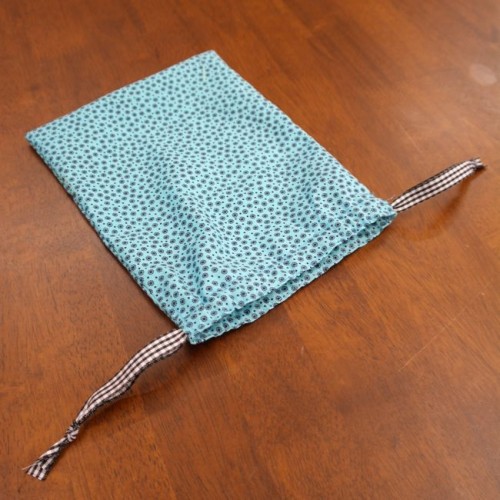
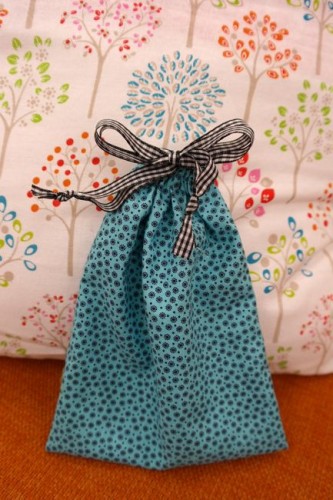
This is the first thing I ever learned to sew in my “how to sew” class, too! It was taught by my then-bestie’s mom and came after some sewing lessons from my mom so I kinda cheated, but still. Also, I make fabric Christmas wrapping bags for my family but they’ve been slow to adopt them (we need more, too). To be fair, at least my mom has stopped buying new paper! They’re fantastic for those really oddly shaped gifts that don’t lend themselves well to wrapping, and they definitely don’t give me the icky tummy feeling I get when I see a pile of torn and balled up Christmas paper that was perfectly nice 5 minutes ago and is now useless.
It’s a good starting point!
You can believe though that my house never had balls of useless torn up paper – it got recycled till it fell apart (and then used as fire starter).
The idea of recyclable gift bags is very appealing!
Ha! You nearly had me there, temptress. I found myself thinking what a good excuse this would be to go looking for nice little remnants online! And me with the cupboards bulging!
I never even thought of that! I’m very good at only using fabric I have left over from projects for these!
Very cute! I do these in organza or other sheer fabrics, sometimes, too–ruins the surprise a little but it’s very pretty. I also sometimes do the drawstring about 1/3 of the way down the bag, so you get a “floof” at the top–so many fun variations with this project! And great for offloading odd-sized fabric scraps, too.
I like the look of the sheer ones for necklaces and things, but they are such a pain to sew in sheers, and don’t protect the jewellery as well, so I usually just go for craft cotton and labels.
Necklaces in drawstring bags! Why didn’t I think of that earlier?
Yes! Keeps them from getting tangled, and since I love pearls, and pearls scratch, it’s important to keep them in bags (OK, only two of my necklaces are real pearls, but even the fake one scratch). These bags are also great for fans.
[…] To make your own little bags in lieu of gift wrapping try this pattern […]
[WORDPRESS HASHCASH] The comment’s server IP (72.232.113.35) doesn’t match the comment’s URL host IP (74.200.244.59) and so is spam.
Brilliant! I show people who want to learn how to sew how to make these bags too, but I never thought to use them for jewelry or green gift-wrapping! Totally stealing that idea.
Please do! Happy to share! They are also great for slipping pairs of shoes into (or doing matching sets so you can put each shoe in its own bag if you are really fussy).