
On Monday I showed you how to sew the bottom of your paniers to the side piece, and how to sew the panier inside piece to the bottom. Now we need to attach the panier inside piece to the panier side piece, so that you have your full assembled bag.
Before we can do this though, we need to do a quick check of how your fabric will pleat into your waistband. I’m making my panier out of midweight linen, so it pleats together without being too bulky. If you are making your paniers out of a thicker fabric it may be too bulky when you pleat the panier outside piece (the one with the hoop channels) and your panier inside piece together at the waistband.
To check if this is going to be a problem, quickly pleat the top of your panier outside piece, and your panier inside piece together until they measure 7″ across (or 3.5″ on each side of the panier pocket slit).
It will look like this on the outside, with multiple pleats to gather in the full 25″:
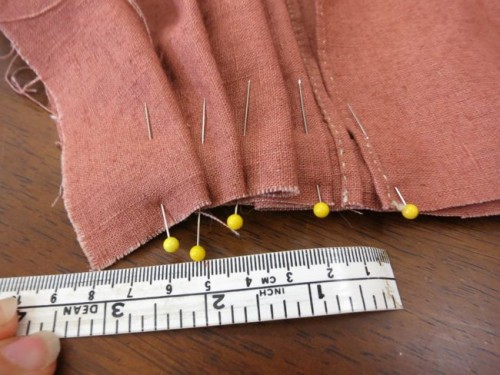
Pleating the top of the panier to check the thickness
And this on the inside, with one pleat to gather in the 11.5″:
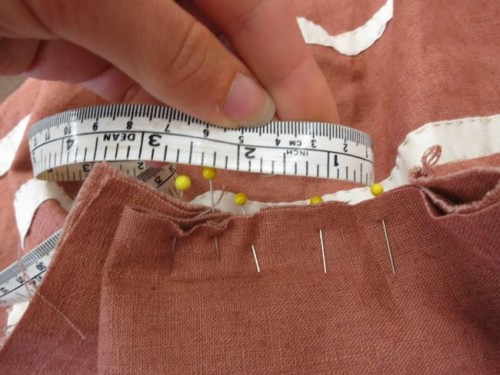
Checking the pleating width
Did it work? Or was it really thick and bulky and impossible to pleat?
If it was really thick and bulky, the solution is to cut off 5 inches of the length of your panier inside piece, taking it down from 16″ to 11″, creating partly open panier bags, like the ones on my mistletoe paniers:
The partly open style panier bag
Hem your cut-down edge, so it will be tidy and finished when your bag is done.

The shorter panier inside of the open-bag style
This style is perfectly historical, and does make it easier to fish things out of your paniers if you are using them as pockets and get things stuck inside. Unfortunately, it does make it slightly more likely that you drop something through your pocket slit and it falls out of the large opening over your hip.
Right, now that that is sorted, another step where you need to make a decision!
You have to decide if you want front and back ties (the ones that hold the left panier to the right over your front and back) to your paniers, like the Tidens Tøj paniers have, or if you want to skip the ties.
Paniers, Tidens Toj
If find they aren’t completely necessary, as the weight of your skirts generally keeps the paniers neatly in place, and there are period examples that don’t have front and back ties, but they do help keep things more secure. If you don’t add them now, and decide that you want them later on, you can always just hand sew them on at any point in the future.
I’m doing front and back ties 1) to show you how to do them and 2) because I don’t have a pair or panier with ties. You’re going to need 12 piece of twill tape, each 26″ long, as per the materials list.

Cut piece of twill tape for ties
The twill tape that I found for my ties was rather on the bright side, so I tea dyed it by steeping two black tea bags in a bowl of hot water, and then putting in my ties and soaking for 10 minutes, just to dull the brightness a bit.
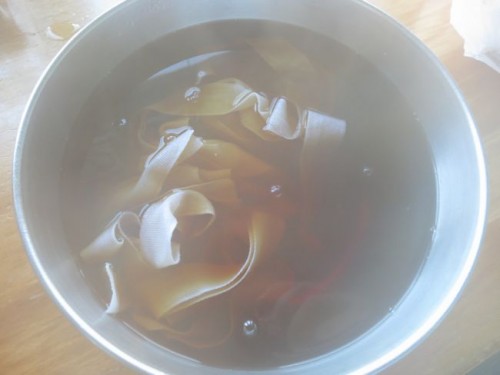
Tea dyeing my ties
Right, back to business! Now you are pinning the long 16″ or 11″ (depending on whether you shortened them or not) panier inside pieces to the 16″ edge of the panier side pieces with the hoop channels, right sides together.
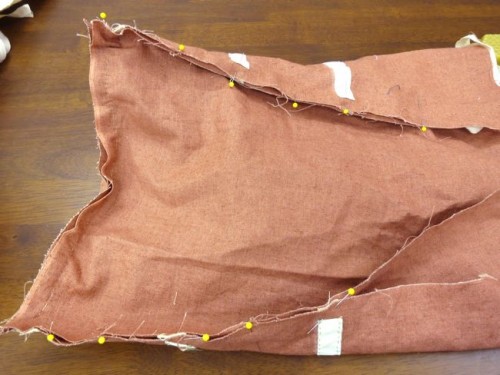
The panier inside piece pinned to the panier side piece at both sides
Your front and back ties go along the same lines as your hoop channels. Pin one piece of your ties twill-tape between your panier inside piece and your panier side piece.
Panier inside piece pinned to panier side piece
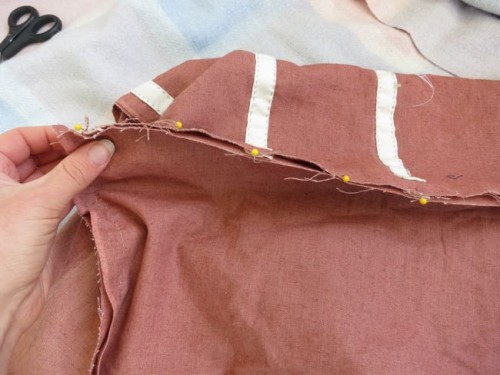
You can see the twill tape sandwiched here:
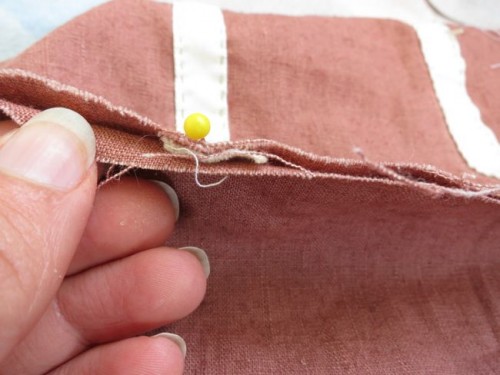
Tie sandwiched between side piece and inside piece
Now, starting at the point where you finished sewing the panier bottom to the panier side, sew up the panier side to panier inside seam:
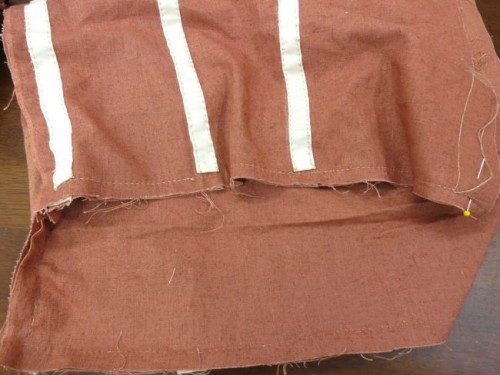
Your sewn panier side to inside seam
Once it is sewn, here is what it will look like right sides out:
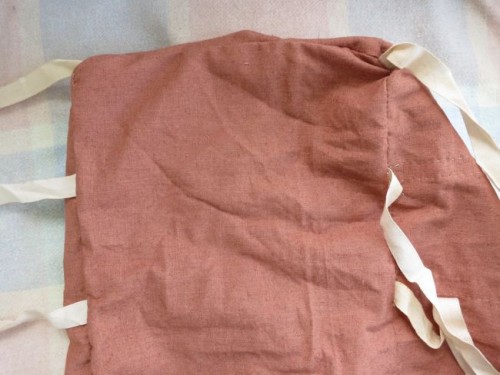
The panier inside piece pinned to the panier side piece at both sides
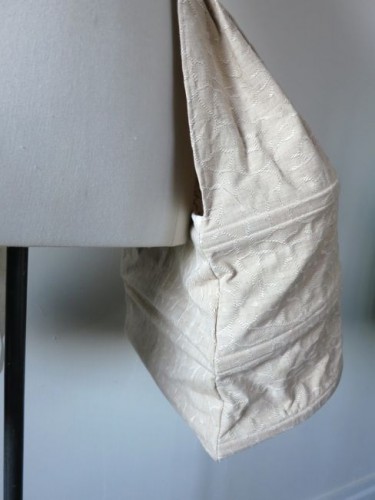
Look, it’s a fully assembled bag!
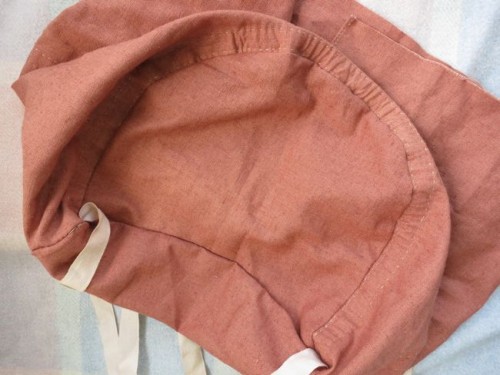
Panier bag, bottom view
Whee! We’re really almost there!
Next, I’ll show you how to put the hooping in, and how to soak it if you are using cane like me. Finally, we’ll attach the loops to put your waist-tape through, and then you are done!