
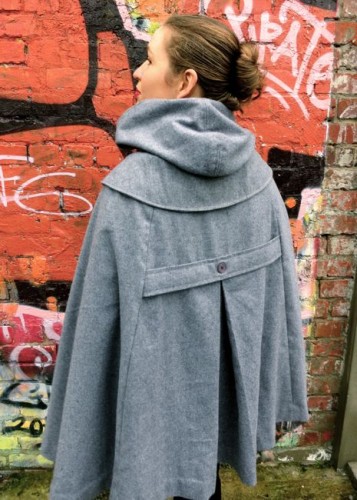
When I posted about the Modern Red Riding Hood Cape, I promised to post some construction details.
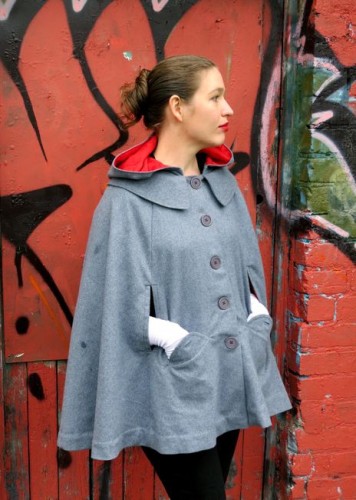
The cape is made from McCalls M6446. I made some changes to the pattern:
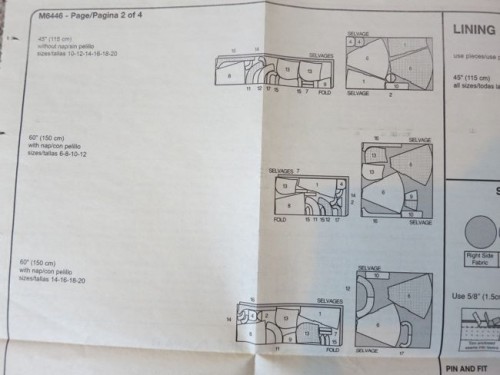
Cutting:
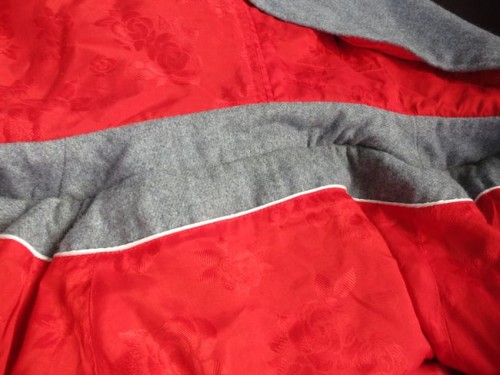
I cut the the pattern as directed, except for side back panel 6. The pattern has the grainline placed so that the grain of the fabric runs straight across the shoulder:
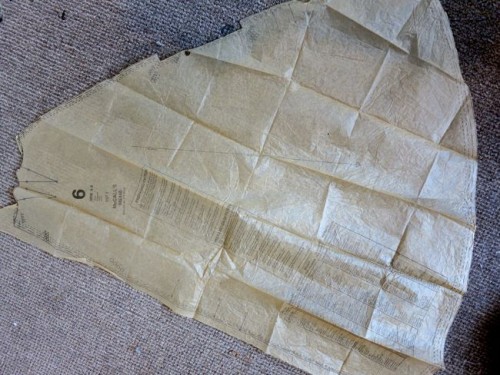
I felt this gave the cape a stiff, tent-like shape, and wasted fabric, so instead I cut panel 6 with the side-back seam (the seam facing down in the image above) cut parallel to the selvedge, along the grain of the fabric. Not only does this improve the fall of the cape (in my opinion), it also saves fabric.
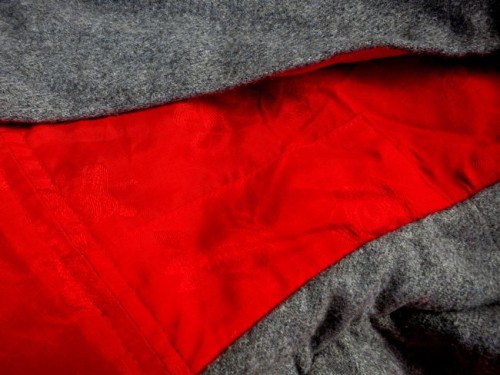
You can see here how the grainline as panel 6 meets the side-front seam is almost cross-wise of the grain now:
Lining:
M6446 doesn’t come with a pattern for the lining. To make one, I cut the lining fabric the same as the outer fabric for the side-back panels 6. I pleated and sewed the lower back piece to the upper back yoke, and then used that as a pattern piece for a back lining piece.
This means that my back lining piece has no pleat, so the lining is not quite as full as the outer cape. This is not a problem in wearing (in fact, it probably would be a problem if there was a pleat to the lining).
For the front piece, I cut a lining piece the same as the outer, minus the facing, plus seam allowances.
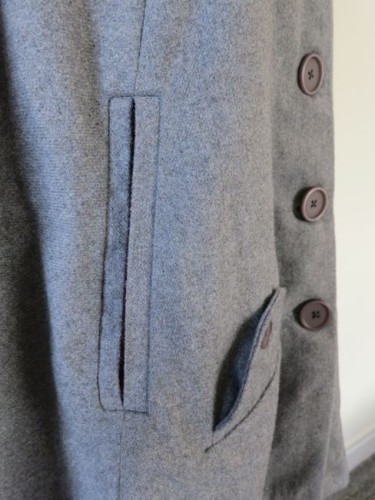
Finishing:
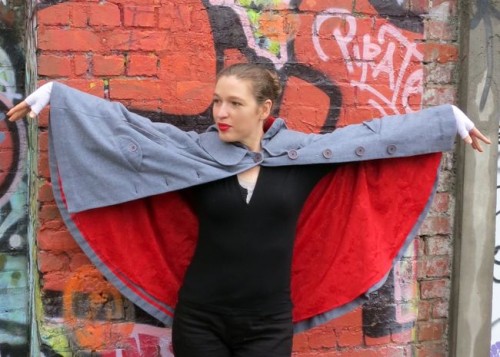
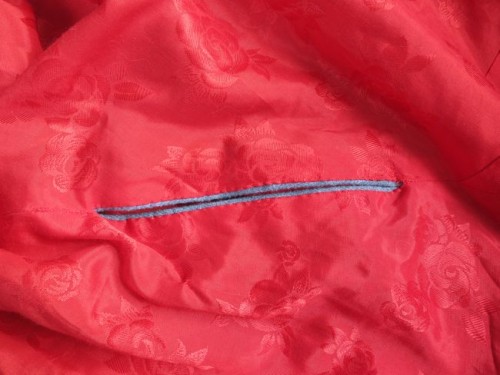
In order to still have arm slits with a lining, I left gaps in the lining the same size as the arm slits, and then hand-stitched them down around the gaps, just as you would stitch around the inside of a bound buttonhole.
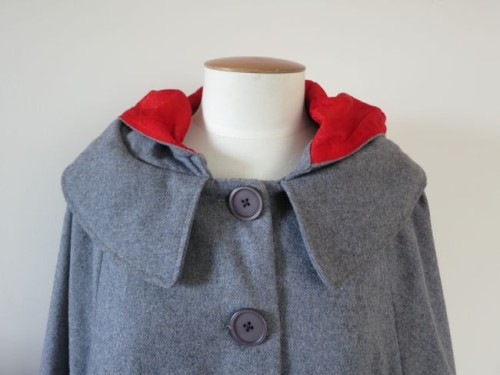
M6446 Modern Red Riding Hood Cape thedreamstress.com
I hemmed the red lining with a tiny narrow rolled hem, and hemmed the wool with a line of bias tape, hand-catch stitched to the outer.
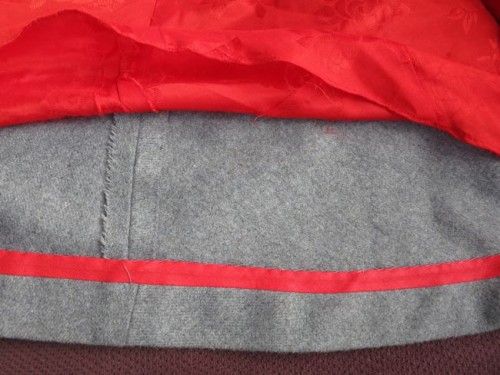
And since I love piping, and had some over from piping marathon 2013, I put a layer of tiny white piping between the lining and the facing, just as you might see a fold of a contrast fabric between the lining and facing of a really lovely man’s suit. It doesn’t show up well in photographs, but looks spectacular in person, and provides just the perfect custom finishing touch.
Everyone who has seen it says “Oooooh…”
Oh, and a few cool bits:
I really, really, really wanted to line this cape in the rose patterned red viscose jacquard. I didn’t actually have enough of it. So I pieced:
And I pieced:
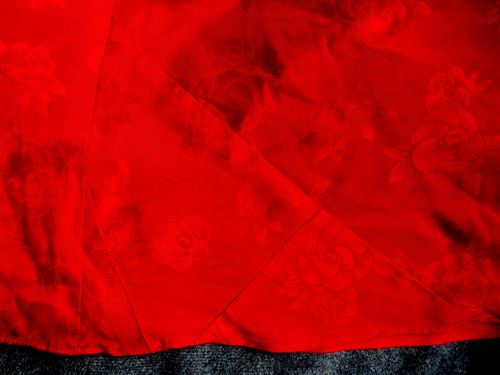
And then I pieced some more:

(Goodness. Sorry these look so crap. They look great on my computer, it’s only once I upload them to the blog that they turn into glowing red pits of sewing evil).
And there ’tis!
Yay! *makes notes* 😀
(I have extra reason for wanting a very NOT-fitted-tightly outer weatherwear item now, so I shall be hunting up my local pattern source soon, I think!)
Oh? Are congratulations in order? 🙂 It would be a good item for that!
Nooooot officially. Yet. 😉
I want a cape like this so bad, your’s is so fabulous! I have so much woollen fabric! It needs to happen! And I love the piping detail. I’ve seen and known about it forever, but have never actually done it myself – it’s high time I do something about that! Of course I’m also in love with this pattern: http://papercutpatterns.com/collections/all/products/watson-jacket
It wouldn’t be ridiculous to have one of each……right?
Thanks! I adore piping (which is probably a good thing as a mainly historical seamstress!).
Papercut patterns is based right here in NZ, but I’ve never made one of her patterns as they are cut totally wrong for my figure, and aren’t really my look anyway. I totally think you need the Watson jacket and a cape – they are completely different garments!
Fantastic cape! I love the lining — but you really showed some dedication piecing the lining together!
BTW, I have a cape pattern – which looks much easier — I can’t wait to make it!
Thanks! I really, really, REALLY wanted that lining 😉
Good luck with your cape!
Such beautiful work!
Thanks Jennifer!
Yay! I love seeing pretty construction details.
Your cape is gorgeous and the piecing is awesome.
This is also infinitely better than the last red & grey cape to appear on this blog (that awful thing worn by Margaret, Countess of Tyrol) and it looks lovely with the mitts. It all looks so warm and cozy that I want to make myself a cape now.
Oops. I mean no offense to Margaret! Since she never actually wore that thing, the painter is the one with the bad taste in capes.
Thank you!
And I totally understood the reference to Margaret 😉
I might have accidentally bought that pattern when I did my last order from McCalls pattern company; it’s a much better design than the cape I made myself many years ago; that had no arm slits or pockets.
‘Accidentally’? It seems like a good cape for Christchurch…do let me know if you end up making it up!
This looks completely fabulous. I love it! Also, I think I have a 1960’s pattern very similar to this one. Hmm…. *ideas*
Oh thank you so much!!!!
I have made this cape once and decided that yes, it needed a lining, but I didn’t know how to make one. Now I do!
Do you find that the hood slips off your head due to the lining? I might line the inside of my hood with velvet instead.
You’re welcome!
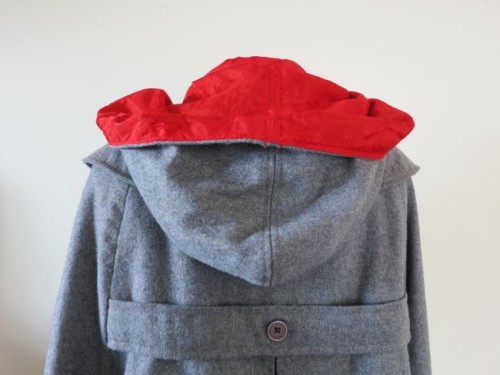
I find that the hood stays on my head quite well, unless I’m walking straight into a strong Southerly (in which case it could be lined in velcro and would still slide backwards!). The viscose jacquard has a lot of texture, and isn’t a very slippery lining. The pattern does have the hood lined in the same fabric as the outer, but I wanted a pop of red in the hood.
Love your cape! I am working on this pattern right now and I have question. My upper collar ended up being quite larger then my under collar. I am trying to determine if the pattern is off or my under collar shrunk when I fused the interfacing. Did you have a similar problem?
Thanks!
They are supposed to be slightly different. Ease the upper collar to the under collar: the smaller under collar helps it to fall nicely.
Thanks for sharing your pattern mods and notes. I bought this pattern a few months ago and was excited to see it with a lining on your blog. I expect your notes will be very helpful once I finally make this pattern!
I’m so glad I found this! I’m in the middle of making this in a plaid blanket-weight wool (fingers crossed it isn’t too heavy) and all I’ve done after a week of work is get three pieces plotted out. It is definitely not suited for plaid matching, so I’m thinking I might cut the back piece on the bias. It is so thick I don’t think it will grow. What would you do? The front and side fronts match with some tweaking but there’s just no way to match the back.