Way back in July 2012, when I got excited about swiss waists and what makes a swiss waist different from an underbust corset, I actually started making a swiss waist.
It even got worn by a model, not quite done, over my chemise a la reine, for a talk at a steampunk convention (ah Steampunk, such a great cover for a multitude of un-historicisms!)
And then I got really, really busy, and the swiss waist got shoved to the bottom of the PHD (as in, project half done, not the indefinitely postponed degree I may one day pursue…) pile.
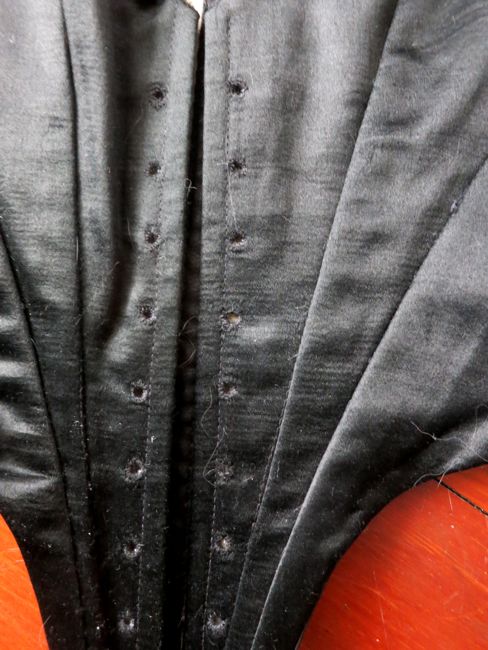
With the HSF Terminology challenge coming up, I remembered my swiss waist, and that all it really needed to be finished was two more hand-worked eyelets.
Easy!
Right?
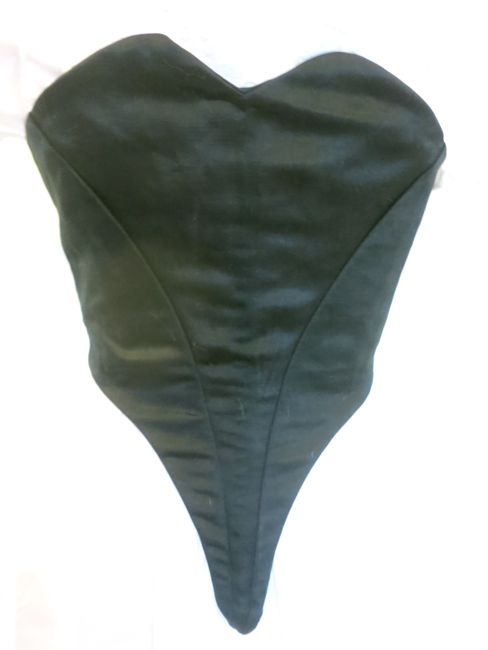
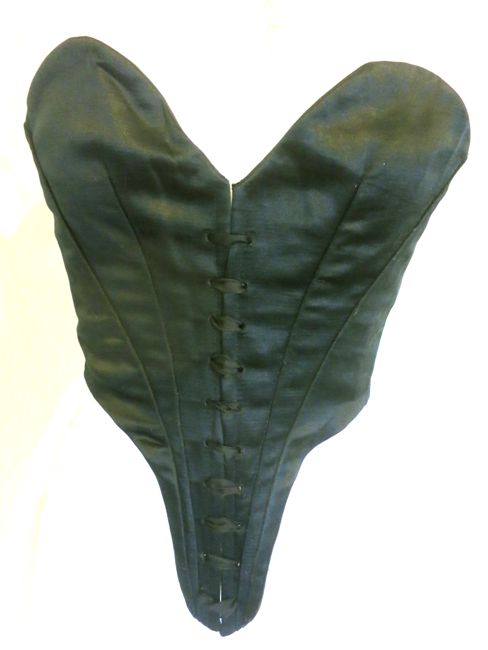
Well….you know me. Here is my swiss waist. The front, with lacing: 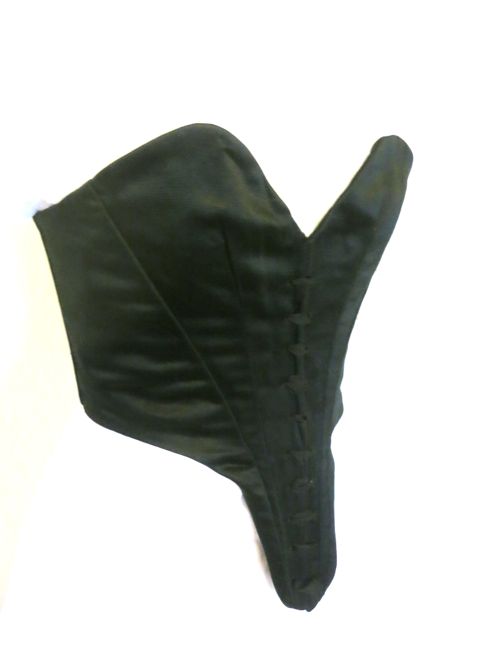 And the unlaced back:
  My main inspiration was this swiss waist. I really liked the uber-curvy swoops of the silhouette. I wasn’t so keen on the shoulder straps though, so skipped them, because there are enough swiss waists with shoulder straps that are clearly not part of the integral cut that I figured I could always add them later. Halfway through, I decided I didn’t like the pleated trim on the inspiration, so I left that off as well.
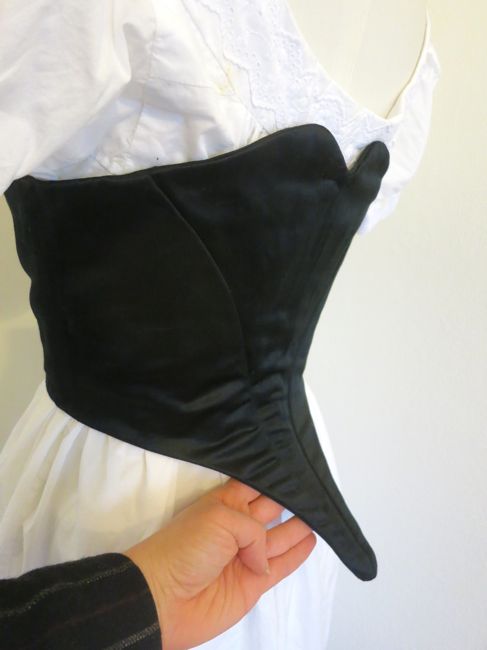
In the end, I ended up with a fairly simple swiss waist:
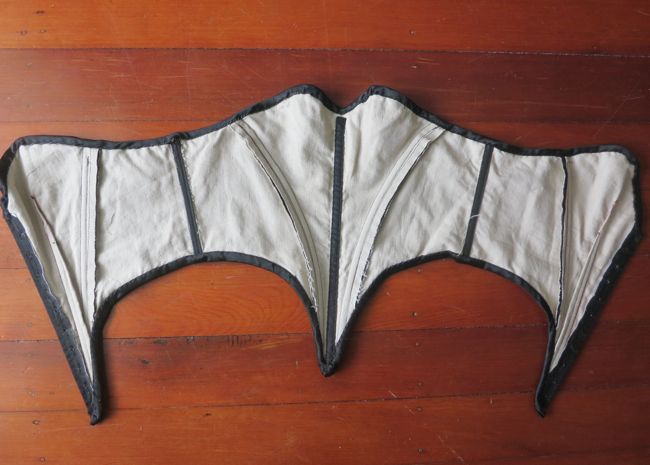
And in the end, it’s just not right.
I mean, it’s a proper swiss waist: hand done eyelets, almost no outside stitching, turnings instead of bindings.
But the shape? Just not doing it for me.
The back point is definitely too long, and the swoops just don’t look right. I suspect skipping the sleeve straps wasn’t the best idea.
Who knows though, I might like it a LOT more over an actual 1860s blouse and skirt. Which I don’t really have (at least not of the type I’d want to put a swiss waist over). So for now, I’m going to call it done. And when I do have a blouse and skirt and can see what it actually looks like, then I’ll re-assess. And maybe I’ll add straps and ruffles and do some re-shaping. Or just make another one 😉
The Challenge: #16 Terminology
Fabric: 1/2 of a recycled obi worth of black silk satin ($5 for the whole obi)), 1/2ish metre of cotton support fabric.
Pattern: My own
Year: 1860-65
Notions: cotton thread, plastic boning.
How historically accurate is it?: About 90%. The materials are about as close as you could get today (plastic boning included), and all the techniques match those on period swiss waists. The interior finishing isn’t quite right, and the overall look isn’t quite making it.
Hours to complete: Probably about 7, but I don’t remember anymore.
First worn: Unfinished, by a model who wasn’t quite the right size for it, in October 2012. Finished, not yet, and not for a while.
Total cost: Under $5.


I did a double-take on the third photo down – thought it
was the “Bat Signal”.
I do not really understand the technical critiques but
do admire the quality of your work and now know what
a ‘swiss waist’ is.
I do think it’s best to reassess it when you have a chance to see what it looks like over an 1860s blouse and skirt. To me it looks very similar to period examples I’ve seen, so I imagine that the deep points at front and back were a reasonably common design feature at the time.
I like the way you’ve done the bust shaping – looks very nice.
Looks great! I really like the shaping, so I hope you will find it much more becoming with the right garments.
I bet this would look cracking with a red Garibaldi-style blouse!
This looks just like the Swiss waist on Ariel’s blue and white dress from The Little Mermaid! It would be perfect for Aurora’s “Briar Rose” dress, too. 🙂
Well, I wasn’t aiming for Disney, but you’re right, it would definitely work if I ever wanted to!