I’ve been doing a lot of sewing lately: finishing up sewing PHDs (Projects Half Done), both physical and mental.
Physical PHDs are things I actually started that have languished unfinished.
Mental PHDs are things I bought (or was given) fabric for thinking “I’ll just do this project quickly”. Even though I haven’t actually started the project, it still preys on my mind as an unfinished idea!
Mental PHDs are particularly frustrating when they are really quick simple projects. Surely I could find the hour needed to make it!
And yet my life has so many ideas and so few hours…
But here’s one I did!
When I was down in Christchurch visiting Lynne last year she gave me a beautifully made nightgown of very high quality fabric which had some wear in the upper half, and a lost sleeve:
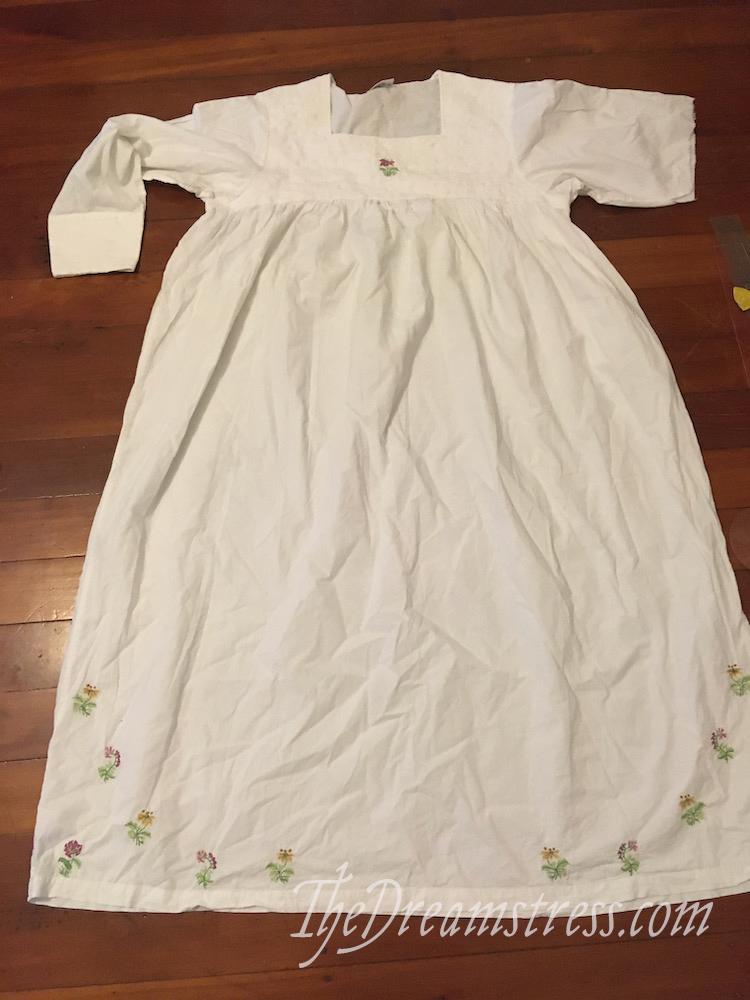
The skirt fabric was still in excellent condition, and I thought it would make the perfect 18th century under-petticoat.
Under-petticoats were shorter petticoats tied over the shift, and worn under the stays, pockets, and over-petticoats. You can see one here:
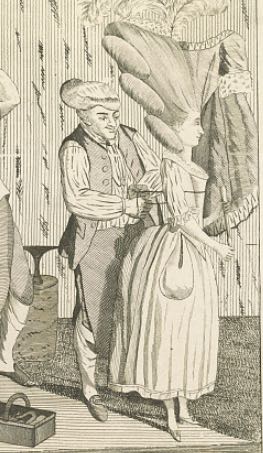
Bath stays or The lady’s steel shapes, Darly, Matthew, 1777, Library of Congress, PC 1 – 5444
Re-making a modern nightgown into an 18th century under-petticoat means mine won’t be fully accurate of course.
The nightgown iss cotton, which was a luxury fabric in the 18th century, so very uncommon compared to linen and wool (and even silk) for an under-petticoat. It’s also only 200cm around at the hem, which is a little on the narrow side. The embroidery designs aren’t typical of the 18th century, but the idea of embroidery is: many extant under-petticoats are decorated with embroidery.
The spirit of my petticoat is definitely accurate though: re-making, saving, and using what you have!
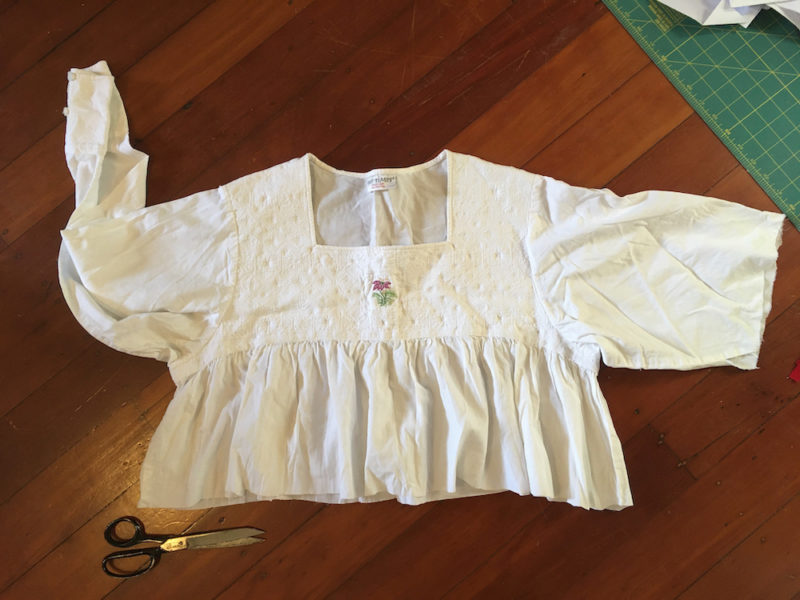
To make mine I measured up from the hem and marked the length I wanted: 85cm/33”

I cut it roughly:
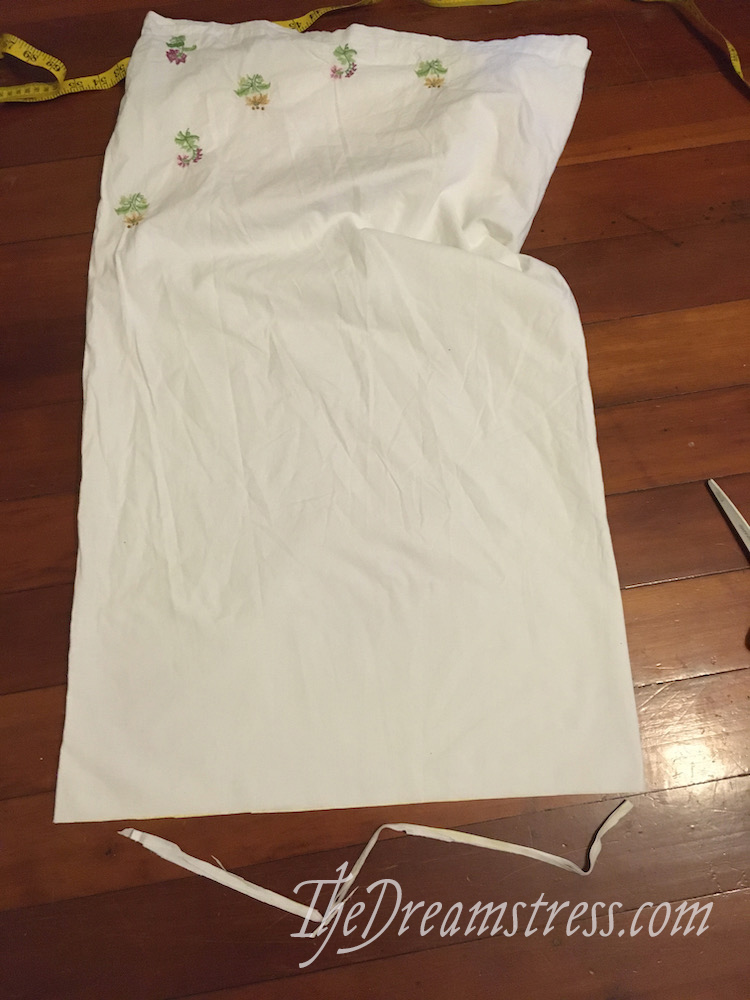
And then tidied up the edge:
Normally I prefer a centre back placket in an under-petticoat, but with two side seams already in place, a centre back placket would only add a point of weakness, and be more work.
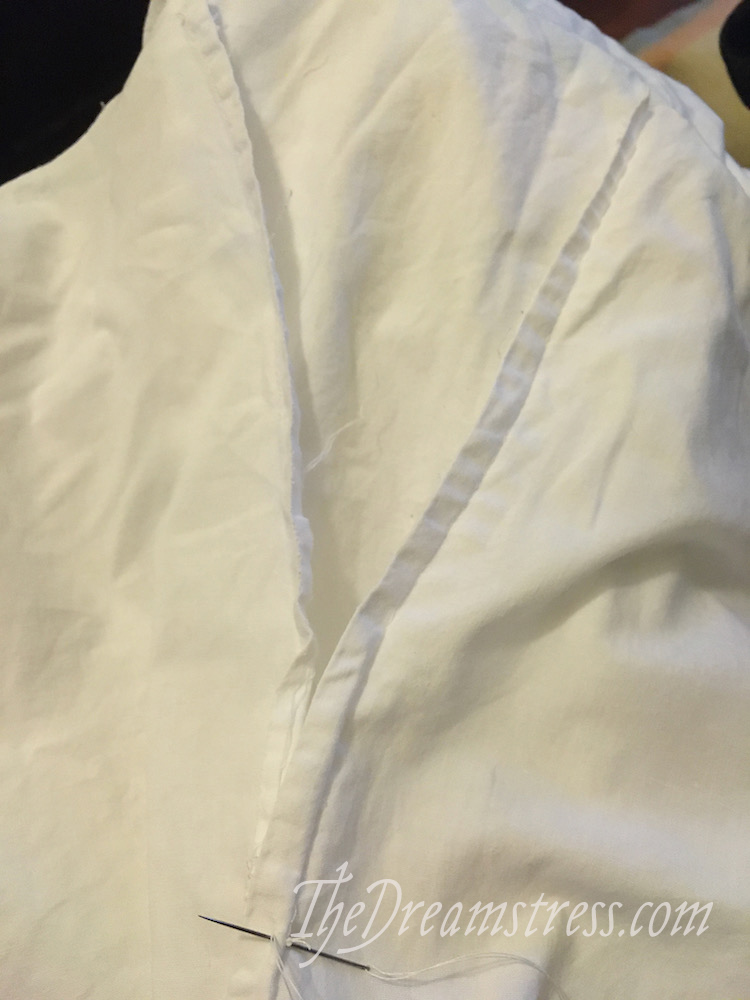
So I opened up the left side seam, reinforced the bottom, and hemmed the opening.
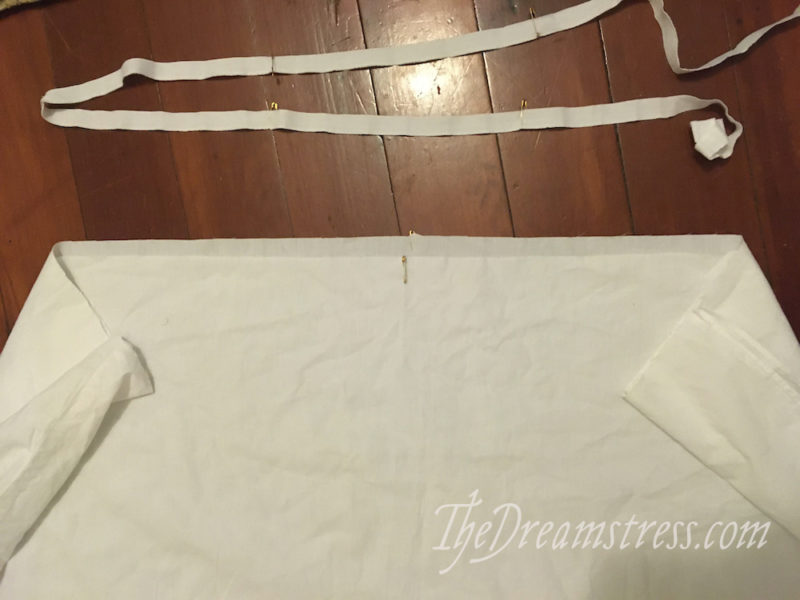
Then I cut a waistband, and marked quarters in the waistband and skirt. I made sure to keep m waistband a couple of inches shorter than my natural waist, so it could always be tied without trying to overlap.
Then the moment when the petticoat starts to look like something: I pleated the skirt to fit the waistband, with all the pleats facing away from the front, towards the centre back.
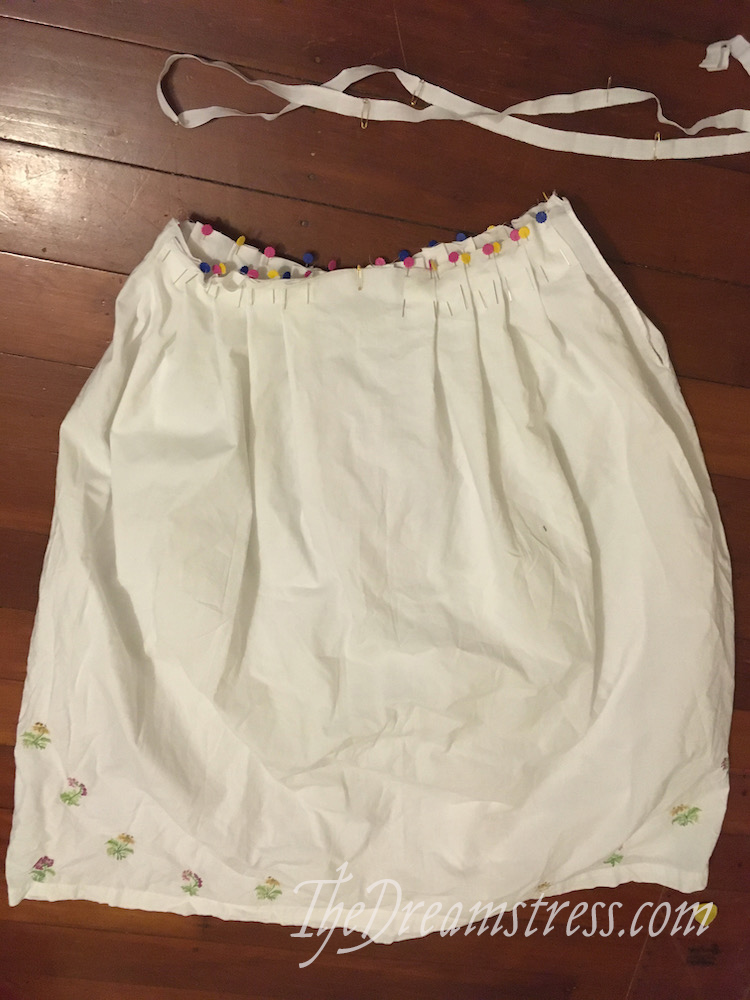
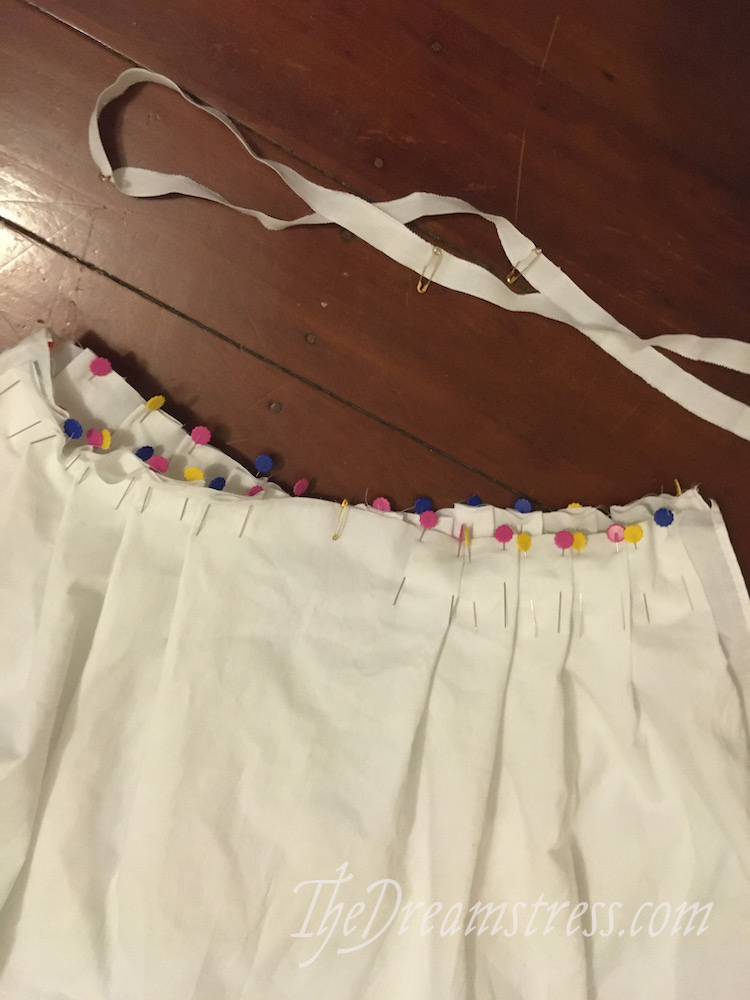
I pinned on the waistband:
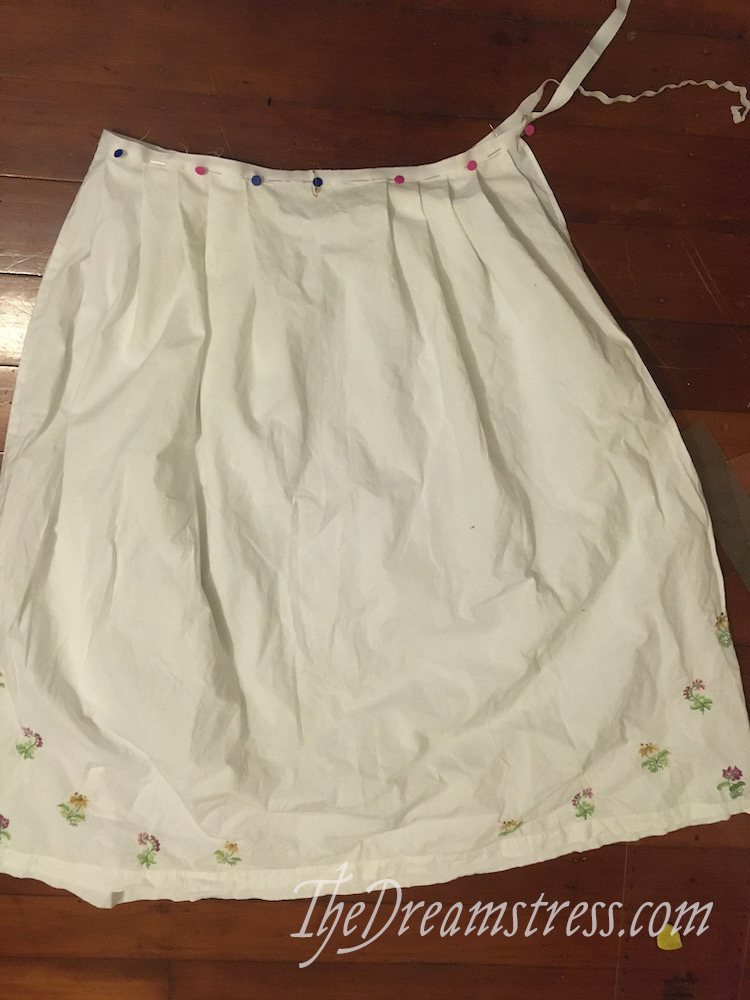
And then sewed it on.
By machine…
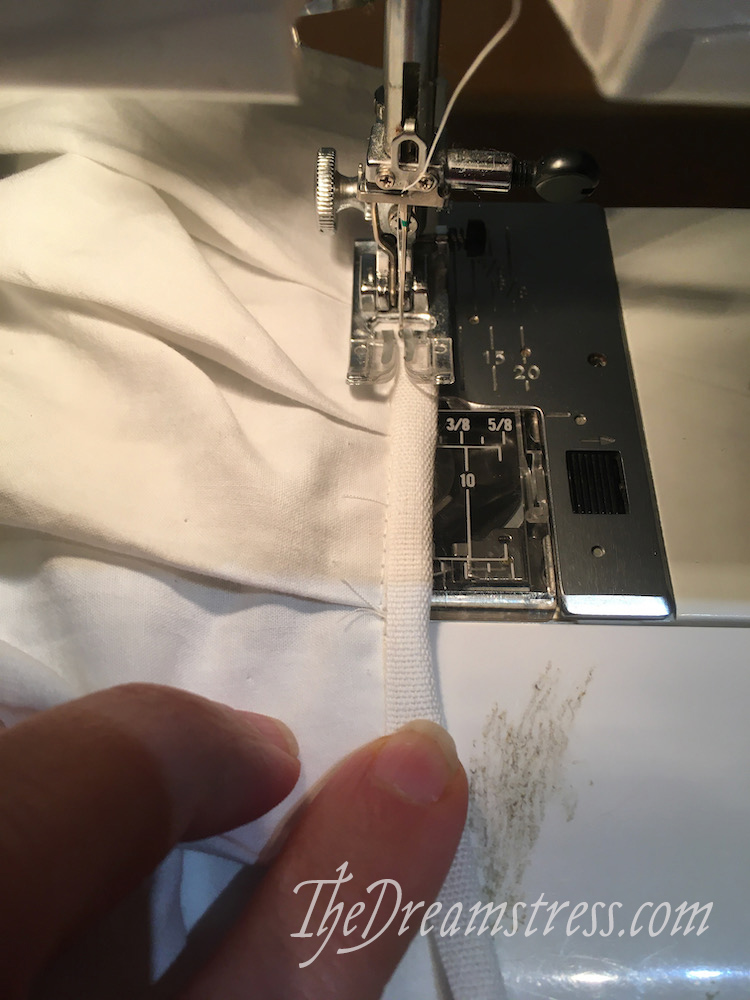
The petticoat already has lots of machine sewing, and since it’s winter I need to take care of my hands and limit hand sewing to the places where it really counts.
Like tie hems! Such a satisfying moment, and impossible to do beautifully by any method but with handsewing.

And there’s my under-petticoat!
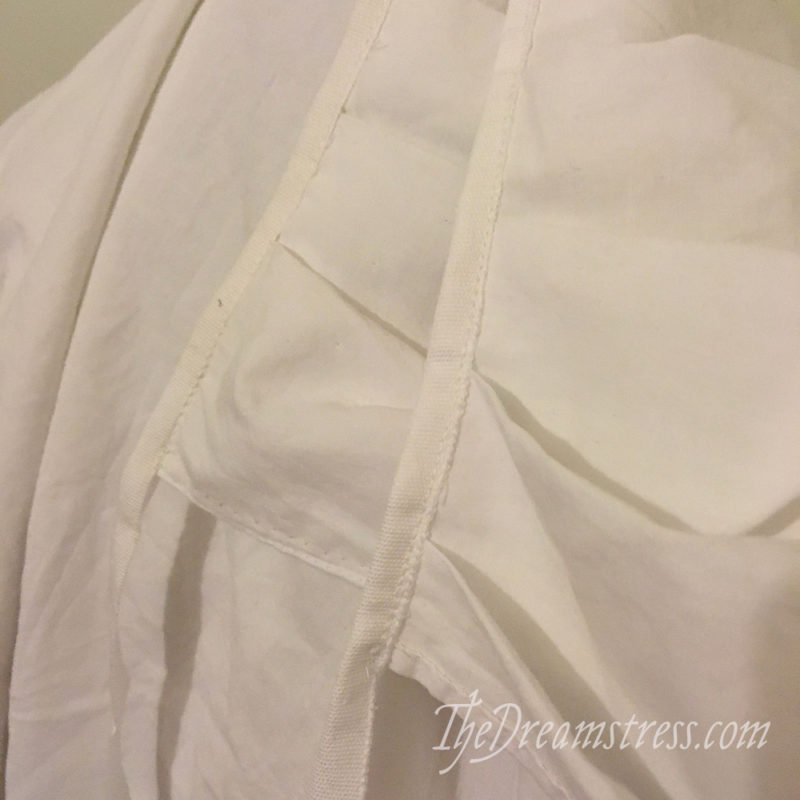
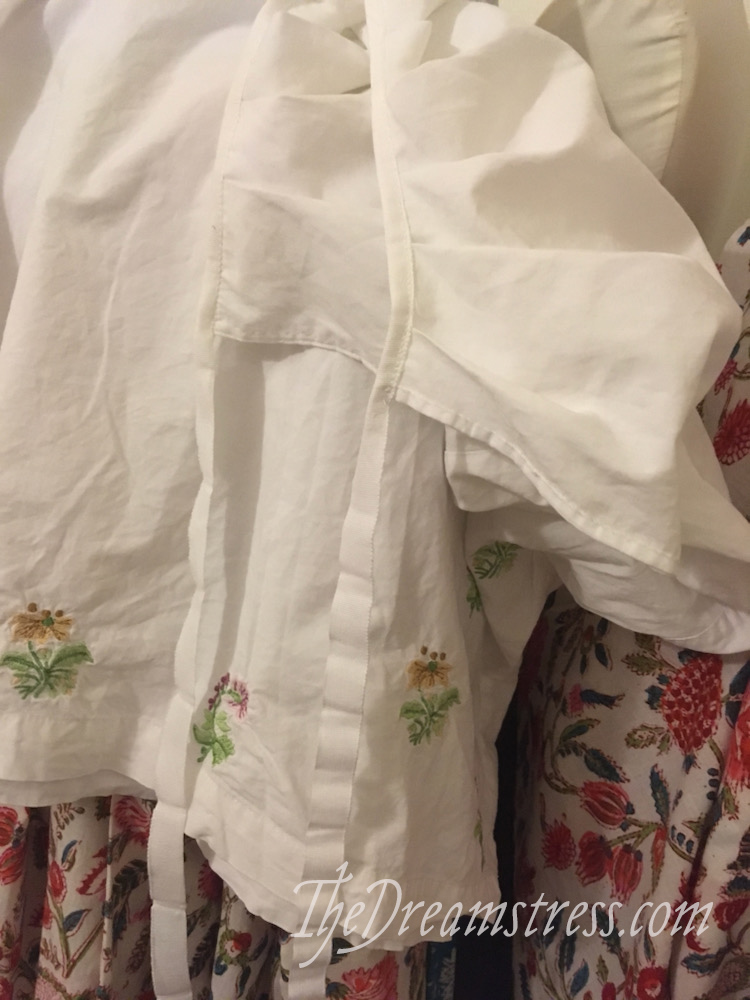
And very satisfactory it is! Works well too..it had its inaugural outing under the chintz petticoat you see behind it.
If you want to make your own, Burnley & Trowbridge have a video tutorial, and the American Duchess 18th century Costuming book includes under-petticoat instructions.
Now I just have to figure out what to do with the rest of of the nightgown. Oh dear. Another PHD…
And for the Historical Sew Fortnightly 2021:
The Challenge: The Costumer’s New Look (April): Give an old costume a new look, either by creating a new accessory or piece which expands or changes the aesthetic and use of an outfit, re-fashioning something into a costume item, or re-making an old costume.
Material: An old cotton nightgown
Pattern: None, based on period methods.
Year: 1750-1795
Notions: Cotton tape
How historically accurate is it? Not at all in precise techniques, but accurate in spirit.
Hours to complete: >1.5 hours
First worn: For an 18th century dinner, late June.
Total cost: 0!

it turned out so beautifully—that must be very satisfying. i have so many oddments of old garments and fabrics pieces that i saved to reuse in some nebulous way, but they never seem to get done maybe this will be the inspiration i need to make something, finally.
as for the remainder of your gown…perhaps a pocket or a reticule featuring the bit of embroidery from the bodice? even if no one else could see it, i know i would take mad satisfaction from having a pocket tied on that matched my petticoat… or the reticule idea would look pretty with a regency era white dress.
I have definitely considered a pocket! One can never have too many pockets!
That is really so neat. Enough of it is close enough and definitely fits the vibe of the period you wanted to show. And I just love the feel of older cotton. It’s so soft.
Nice work! This underpetticoat looks so delicate-yet-pratical.
What a delight to find on a sunny morning! I glanced at the link, and thought, “That looks like my nightie.” I sometimes forget what I’ve managed to get you to take away to a new life. Doesn’t that look good! The colours in the embroidery are a really good match for those in the lovely chintz, and I look forward to seeing it when you do a big photo shoot.
I can see the quilted embroidered bodice piece making a fine pocket, too. Too nice to waste.
You clever woman! I am decidedly chuffed!
I’m so pleased you like it! I remember that you’d thought I’d just use the cuffs, but actually there’s a lot of beautiful, robust, fabric left in this!
Lovely – in both its original and recreated forms!
The weather has inspired me to venture into making myself a flannel petticoat out of a worn and patched and turned flannel sheet. To my intense surprise (being a contender for the World’s Slowest Sewist) I figured out a pattern, cut a paper pattern piece, cut out the fabric and sewed it up – including waistband and bias-bound side opening – all in one evening.
All I have to do now is adjust the line of the side-seams at the bottom corners to correct the droop, finish the seams tidily on the inside, and attach the hook and eye fastenings.
I am of course already planning a second one in non-old-sheet red flannel (a la Nanny Ogg, if I am not mistaken).